
How to Install Joomla on Localhost Using the XAMPP Server?
Joomla is a widely used open-source content management system (CMS) that allows users to create websites without writing code. If you want to install Joomla on your local computer for development or testing purposes, you can do it using the XAMPP server. XAMPP simplifies the process by creating a local environment with all the necessary tools for Joomla to run, such as Apache, MySQL, and PHP. In this guide, we will see the step-by-step process of installing Joomla on localhost using XAMPP.
Why Do You Need to Install Joomla on Localhost?
Installing Joomla on localhost offers several advantages, especially for developers, designers, and users who want to test, learn, or develop their websites in a secure, private environment before going live. Here are some key reasons why installing Joomla on a local can be beneficial:
- Development and Testing: Installing Joomla on localhost allows you to create, test, and troubleshoot your website without affecting a live server. You can experiment with themes, extensions, plugins, and custom code, ensuring everything works ideally before deploying your website online.
- No Internet Required: Since Joomla is hosted locally, you don’t need an internet connection to access your website. This is especially useful when developing in areas with limited or unreliable internet access.
- Cost-Effective: You don’t need to purchase a domain name or hosting services when working on localhost. This saves costs during the development phase, allowing you to focus on building the site before investing in hosting and a domain.
- Learning Environment: If you’re new to Joomla or website development, installing Joomla on localhost provides a perfect learning environment. You can explore Joomla’s features, settings, and capabilities without worrying about breaking anything on a live site.
- Faster Development: Since localhost runs on your machine, it offers faster performance than working on an online server, making the development process faster and more responsive.
- Complete Control: You have full control over your local environment. You can modify the PHP settings, database configurations, and more without restrictions from hosting providers.
Joomla Installation Requirements
Some essential requirements must be fulfilled before installing Joomla on your local host. Joomla runs on a PHP-based framework and uses a MySQL database to store data. To ensure a smooth installation, here are the detailed requirements:
- PHP Version
Joomla is built on PHP, so the correct version of PHP must be installed on your system. The PHP version required varies based on the Joomla version you are installing:
- Joomla 4.x: Requires PHP version 7.2.5 or newer.
- It is recommended that PHP 8.0 or higher be used for optimal performance and security.
Joomla developers also suggest setting specific values in the php.ini configuration file to ensure smooth operation:
- memory_limit: Minimum of 64MB, but it is recommended to use 128MB or more to accommodate larger websites.
- upload_max_filesize: Minimum of 30MB or more to handle large media uploads.
- post_max_size: At least 30MB to ensure the system can handle form submissions properly.
- max_execution_time: Set to 30 seconds to prevent scripts from timing out during long processes.
- Web Server
Joomla can run on several different web server environments. The most common servers supported by Joomla include:
- Apache: Version 2.4 or higher with mod_mysql, mod_xml, and mod_zlib installed. Apache is one of the most widely used web servers and most recommended for Joomla.
- NGINX: Version 1.10 or higher. NGINX is another popular web server known for its speed and performance, particularly for handling significant traffic.
- Microsoft IIS: Version 8 or higher. IIS (Internet Information Services) is Microsoft’s web server commonly used in Windows-based environments.
Apache is the most recommended option when setting up Joomla on localhost with XAMPP, as XAMPP comes pre-configured with Apache.
- Database
Joomla supports different types of databases. You need a compatible database for your Joomla installation:
- MySQL: Version 5.6 or newer, with InnoDB support required. MySQL is the most widely used and recommended database for Joomla.
- PostgreSQL: Version 11.0 or higher. PostgreSQL is an alternative to MySQL that offers high-performance and advanced database features.
For a localhost setup using XAMPP, you’ll use MySQL (or MariaDB, a MySQL-compatible database that comes pre-installed with XAMPP).
- Operating System
Joomla can be installed on different operating systems, including:
- Windows
- macOS
- Linux
No matter which operating system you use, as long as it can run a web server, PHP, and a database management system like MySQL, you can install Joomla locally.
- Web Browser
To access and configure Joomla, you need a modern web browser. Browsers like Google Chrome, Mozilla Firefox, Microsoft Edge, or Safari are recommended.
- XAMPP for Localhost Setup
To run Joomla on your localhost, you’ll need a local web development environment such as XAMPP, which includes:
- Apache: Acts as your local web server.
- MySQL (MariaDB): The database management system for your Joomla data.
- PHP: The scripting language Joomla is built on.
XAMPP provides an all-in-one solution for creating a local host environment, simplifying installation. You can also choose from other local server environments, such as WAMP (for Windows) or MAMP (for macOS), but XAMPP is one of the most popular choices due to its cross-platform compatibility and ease of use.
Steps to Install Joomla on Localhost Using XAMPP
Follow these steps to install Joomla on Localhost using the XAMPP server.
Install and Configure XAMPP
To install and configure the XAMPP Server, follow these instructions.
- First, you need to download XAMPP software. Go to the Apache Friends site and download the version that is compatible with your OS and meets your specific requirements.
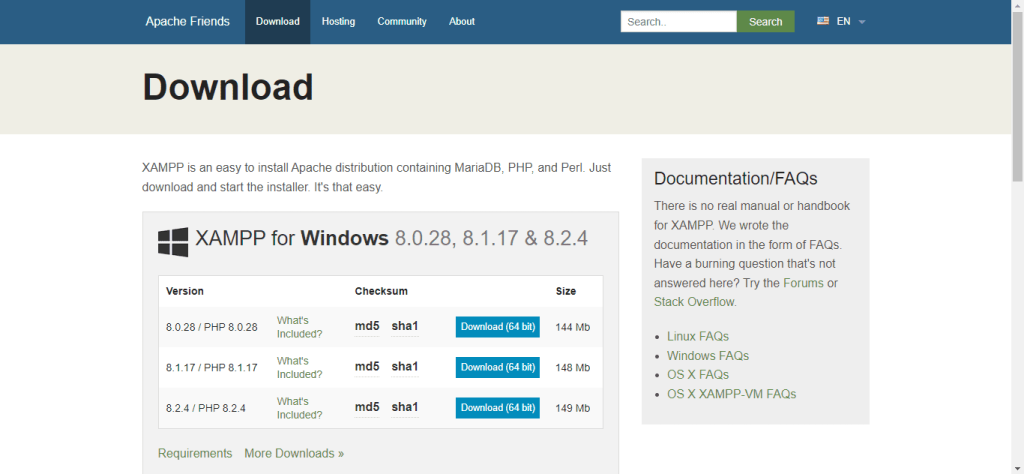
- After downloading it completely, run the software to install it on your system.
- Click on the Next button.

- Next, go with the default selection shown in the image and click on the Next button.

- The default location is C:xampp, but you can choose your preferred installation folder. Once you have made your selection, click on ‘Next.’

- Click the ‘Next’ button.

- The setup is now ready to install. Please click the ‘Next‘ button.

- Please wait as the setup wizard installs XAMPP on your computer. Once the installation is complete, the setup will be initiated.

- After completing the setup, you will see the following message: “Do you want to start the Control Panel now?“You can proceed by clicking the “Finish” button to exit the setup and access the XAMPP control panel.

- Launch the XAMPP control panel.
- Start the Apache and MySQL services by clicking the “Start” button next to each service.

- Ensure that the status indicator for both services changes to “Running.”

The green indicator means it is running.
- Now, configure PHP. Click on the “Config” tab in the Apache section of the XAMPP control panel.
- Locate the option for the PHP (php.ini) file and open it using a text or code editor.

- Inside the PHP (php.ini) file, find the following options and remove the semicolons before each row:
;extension=gd
;extension=intl
;extension=soap
;extension=sockets
;extension=sodium
;extension=xsl
- Additionally, extend the memory to 4G by modifying the value of the memory_limit variable:
- memory_limit = 4G
- Once you have finished editing the file, save it and close the editor.
- Finally, restart both Apache and MySQL services.
- Ensure that both options are running correctly.

Let it run.
Download Joomla
Download the latest version of Joomla from its official website.
- Go to the Joomla Downloads page.
- Click on the latest version (e.g., Joomla 5.x) and download the .zip file to your computer.
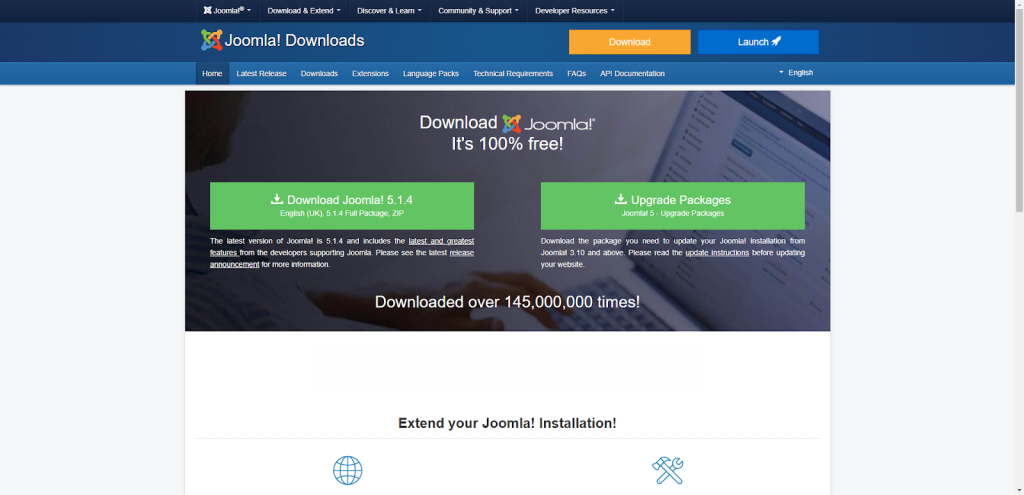
- Once the Joomla zip file is downloaded, extract the downloaded Joomla file and put it in a folder on your computer.

- Move the extracted Joomla folder into the htdocs folder within your XAMPP directory C:\xampp\htdocs\.
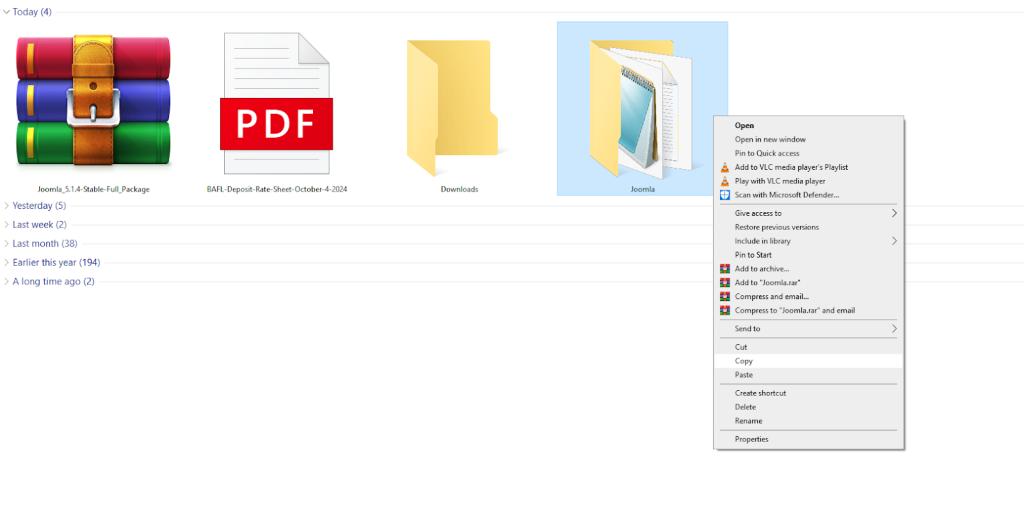
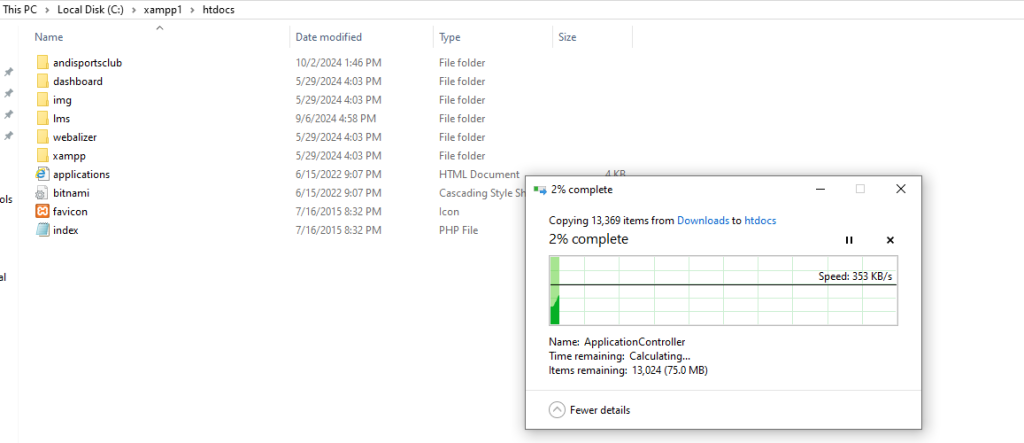
- You can rename the folder for easier access. For example, you could rename it to “Joomla-site.”
- Now that Joomla files are in place, you need to create a database for your Joomla installation.
- Open your web browser and go to http://localhost/phpmyadmin/.
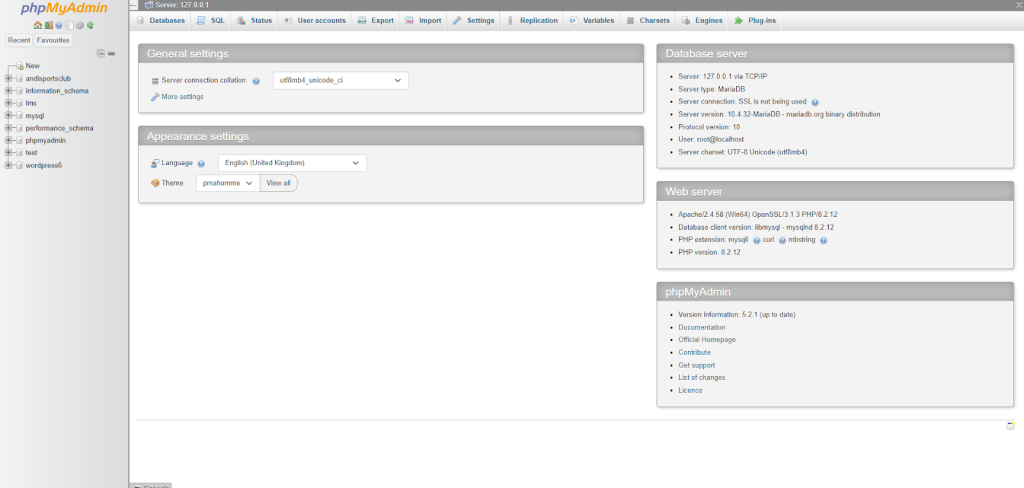
- In phpMyAdmin, click on the Databases tab.
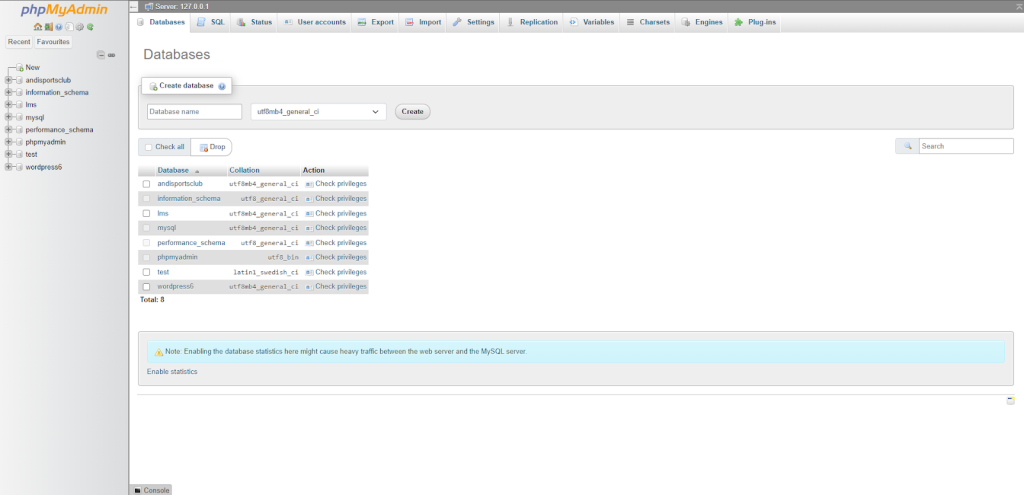
- Enter a name for your database (e.g., joomla_database) and click Create.
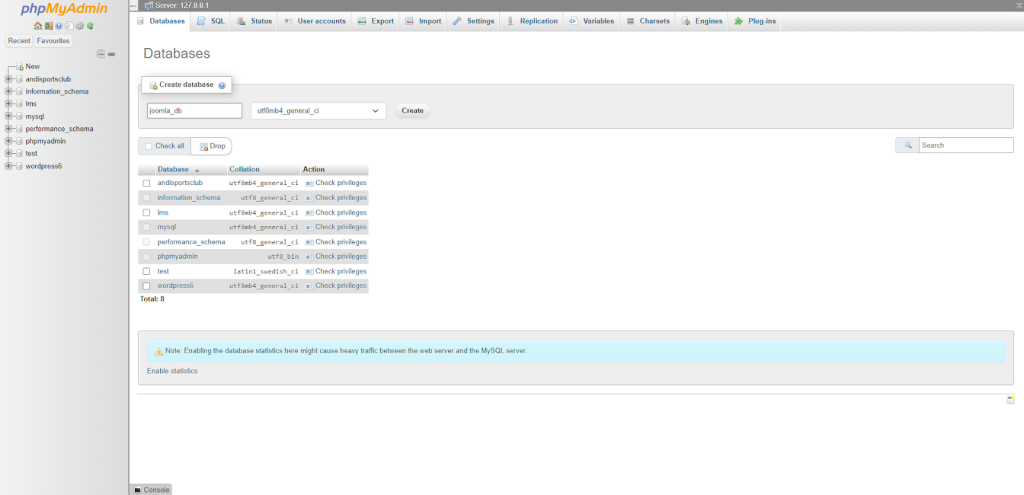
- Now that your files are in the correct folder and your database is created, you can begin the Joomla setup.
- In your web browser, enter the URL http://localhost/joomla-site (replace Joomla-site with the name of your Joomla folder).
- The Joomla setup page will appear. Choose your preferred language, enter your site’s name, and click “Setup login data.”

- Enter your username, password, and email address to set up your Super User account. This will be your admin login for Joomla.
After setting up your Super User, Joomla will ask for database connection details.
- Database Type: Choose MySQLi.
- Host Name: Enter localhost.
- Username: Type root (the default username for local databases).
- Password: Leave the password field blank (unless you’ve set a password for MySQL in XAMPP).
- Database Name: Enter the database name you created earlier (e.g., joomla_database).
Click Install Joomla to proceed.
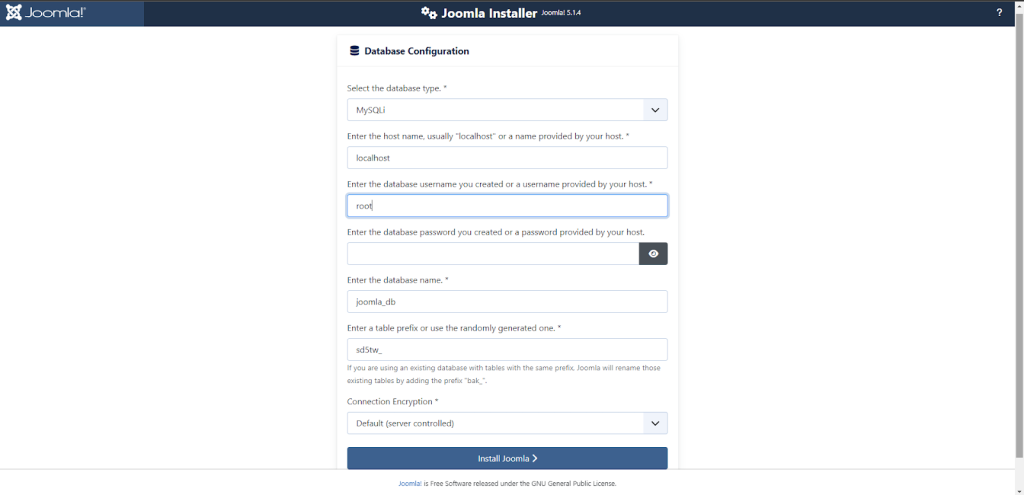
Joomla will now install on your local server. This process might take a few minutes.
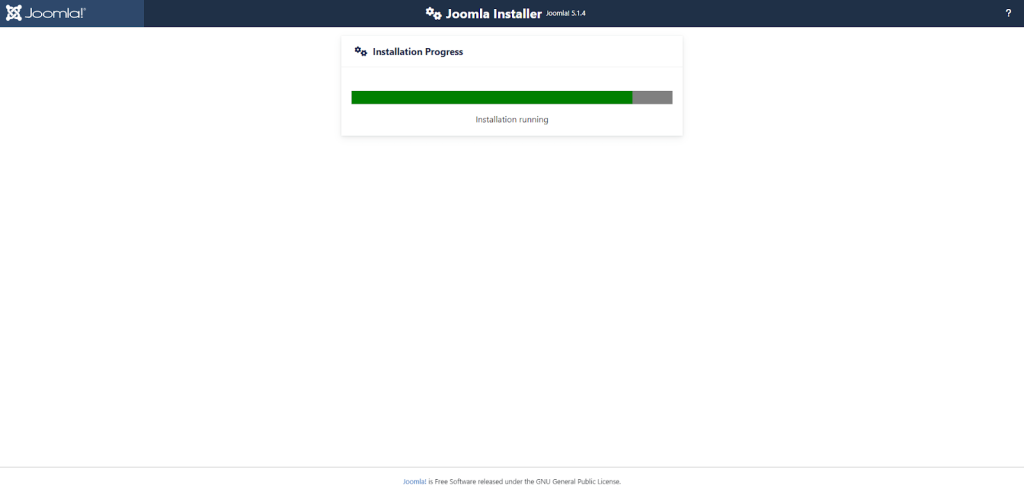
Once the installation is complete, you’ll see a confirmation message. By clicking the appropriate buttons, you can choose to view your site or log into the Joomla administrator panel.
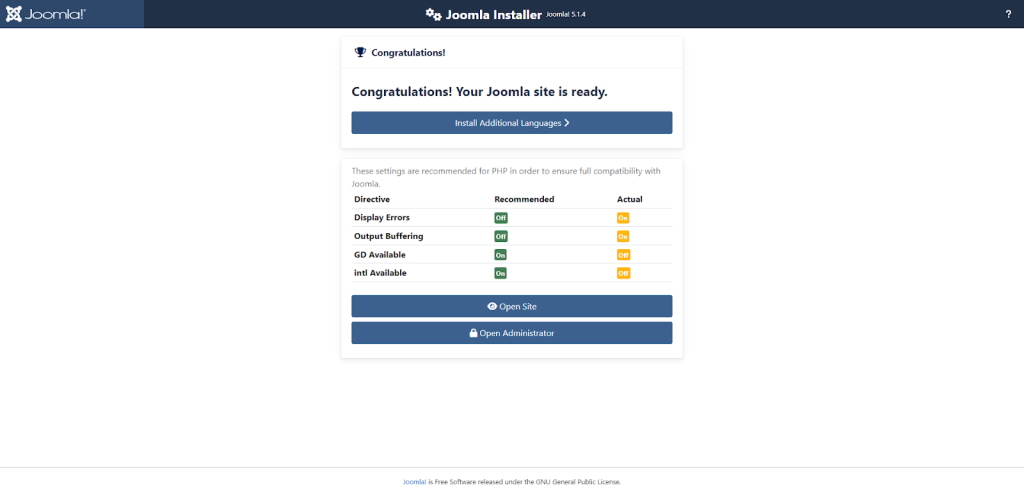
- To access the Joomla backend, click Open Administrator from the confirmation page, or go to http://localhost/joomla-site/administrator in your web browser.
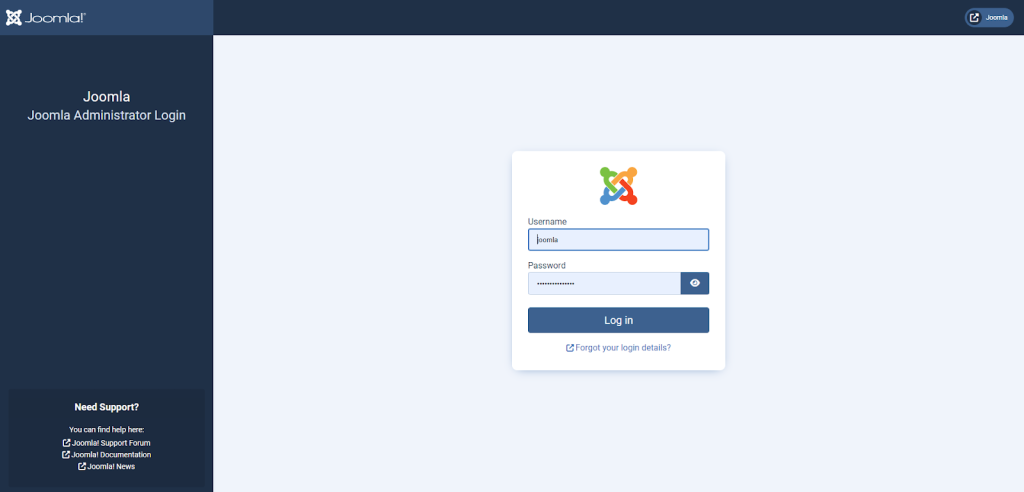
- Enter the admin username and password you set during installation, and click Login.
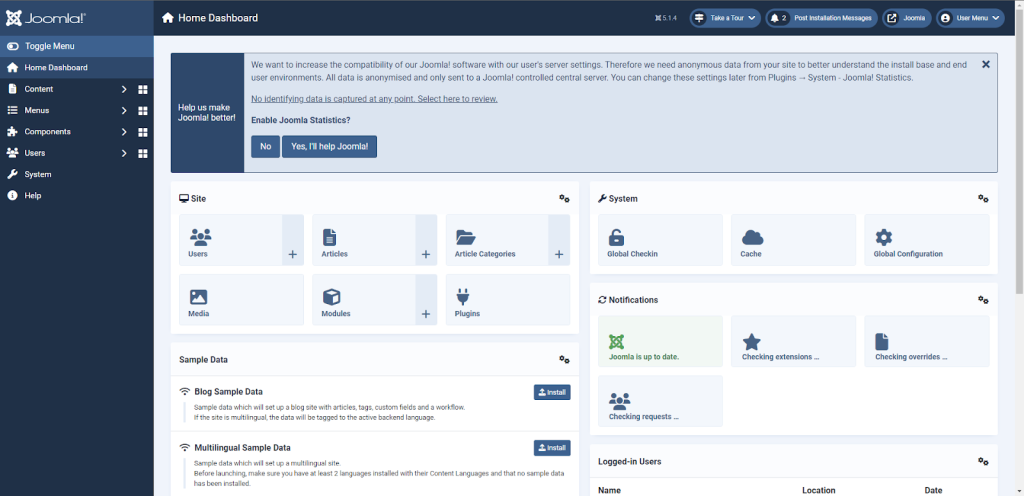
Congratulations! You’ve successfully installed Joomla on your local host. You can now explore Joomla’s features, install extensions, and build your website.
Conclusion
Installing Joomla on your local machine using XAMPP is a great way to develop and test your website without needing a live hosting environment. This local setup is like a real server and gives you complete control over your project.
