This blog covers the actual quick methods for Magento 2 debugging.
Debugging is an essential part of every development project or eCommerce store. Every Developer knows how necessary it is to debug the Magento 2 store when needed.
Magento 2 is a newer version of Magento; debugging Magento 2 is slightly different from Magento 1. For a developer, it is crucial to learn about it because Magento’s market share has increased from 9% to 13% in just the last year!
For a breakdown of Magento 1 and Magento 2, read our blog on which Magento version you should choose.
There are multiple methods used to debug code in a Magento 2 Store. In this article, I will show you some of the best Magento debugging methods so you can conveniently use the Magento 2 eCommerce store.
Why Do You Need to Debug Magento 2 Store?

Debugging is the testing framework; it will help you identify the bugs in your Magento eCommerce store. It will also assist you in resolving bugs/errors or abnormalities in computer programs.
Type of Development Mode in Magento 2 Debugging

Before going through the methods of debugging Magento 2, you need to understand the types of development modes. There are three types of development modes: Default, Developer, and Production mode—Let’s discuss each of them one by one:
1- Default mode
If no other mode is enabled, the default mode is “the default mode” with no amendments, changes, editing, personalization, or additions. This mode allows the following things:
- The error is not displayed to the visitors when using default mode and is stored in log files.
- The static files are published to the pub/static record to make them faster.
- The static file is dynamically generated in response to a request.
2- Developer Mode
The developer mode is used for development. It includes the following:
- The static files are published to the pub/static record (as in the default mode). With that, they are always generated from basic templates.
- Users can see the errors. It is displayed in the browser.
- Errors that get in var/reports are more detailed.
3- Production mode
Production mode is one of the best modes. It is fully optimized and suitable for server production. The production mode offers all data that will be loaded from the cache.
This mode allows the following things:
- The errors will not display in the log files
- The static files are displayed only in the cache.
To change the developer mode’s production mode, you must navigate bin/Magento starting with settings deploy:mode: set Developer.
After that, you need to delete the content of the directories that we mention below:
/*Code Start/*
var/cache
var/di
var/generation
var/view_preprocessed
pub/static
/*Code End/*
Note: Do not delete the .htaccess file and the pub/static/deployed_version.txt file.
Best Methods of Debugging Magento 2 Store

I have mentioned some of the best methods to check out and debug your Magento 2 eCommerce store. Let’s see how each method can make your Magento 2 store faster and wiser.
Xdebug and PhpStorm Combination

Xdebug and PhpStorm are both great combinations for debugging Magento 2. The main benefit of the method is the breakpoints installation process, and it can assist the Developer in reviewing and changing variables at any time
Magento 2 Developer mode
Magento developer mode shows the errors on your browser screen. If you want to enable this mode, you need to add the following code line in the directory using the console:
php bin/magento deploy:mode:set developer
Enable ‘Template Path Hints
The template path hints method shows the names of all page blocks and classes. To enable the template path, you need to do the following steps:
- Login into your Magento 2 store
- Next, navigate the store configuration
- Next, go to the Advanced section and click on the Developer
- Next, extend Debug from the menu and set Enabled Template Path Hints for Storefront
- Next, enable Template Path Hints for Admin and Add Block Names to Hints to YES.
Enable Magento 2 Display Errors
Magento 2 does not show the display error on the screen. However, if you want to show this error, you must rename the local.xml.The sample file was placed in pub/errors to local.xml.
The content of local.xml.sample:
<?xml version="1.0"?>
<!--
/**
* Copyright © Magento, Inc. All rights reserved.
* See COPYING.txt for license details.
*/
-->
<config>
<skin>default</skin>
<report>
<!--
"action" can be set to "print" to show exception on screen and "email"
to send exception on specified email
-->
<action>print</action>
<!--
in "subject" you can set subject of email
-->
<subject>Store Debug Information</subject>
<!--
"email_address" admin email address
-->
<email_address></email_address>
<!--
"trash" is handle about trace info
value "leave" is for store on disk
value "delete" is for cleaning
-->
<trash>leave</trash>
</report>
</config>
Magento 2 Logs
This method is hidden from the user and doesn’t require data display on the screen. Furthermore, in Magento 2, the PsrLogLoggerInterface class provides logging events and output variables to Magento log files.
Following are the public methods that you can see:
emergency($message, array $context = array())
alert($message, array $context = array())
critical($message, array $context = array())
error($message, array $context = array())
warning($message, array $context = array())
notice($message, array $context = array())
info($message, array $context = array())
debug($message, array $context = array())
log($level, $message, array $context = array())
Frequently Asked Questions
Here are answers to some frequently asked questions.
What is Xdebug PHP?
Xdebug is using the DBGp debugging protocol. It is a PHP extension that provides debugging capabilities.
What does Debugging mean?
Debugging is the process of identifying your Magento 2 store’s error.
What is Magento 2 Debug Log?
Magento 2 debug log is a tool that records detailed system events and errors to help developers identify and fix issues
How to enable debug mode in Magento 2?
By default, the debug log is on in default or develop mode and off in production mode. Here’s how to enable the debug mode to the true or false value.
Use:
bin/magento setup:config:set --enable-debug-logging=true
or
bin/magento setup:config:set --enable-debug-logging=false
Final Words
Debugging Magento 2 is a skill that will set you apart from most of the developers. Learning how to debug Magento 2 is crucial in the current era because customization and personalization are most important for eCommerce stores.
I hope this will be sufficient to debug a Magento 2 store using the methods mentioned above.
Also, if you have experienced one of the methods mentioned earlier, share it with us. We highly appreciate your feedback. For any queries, contact us at [email protected].
If you want a secure hosting platform with free migration, check out Devrims Magento Hosting.


Related Tutorials
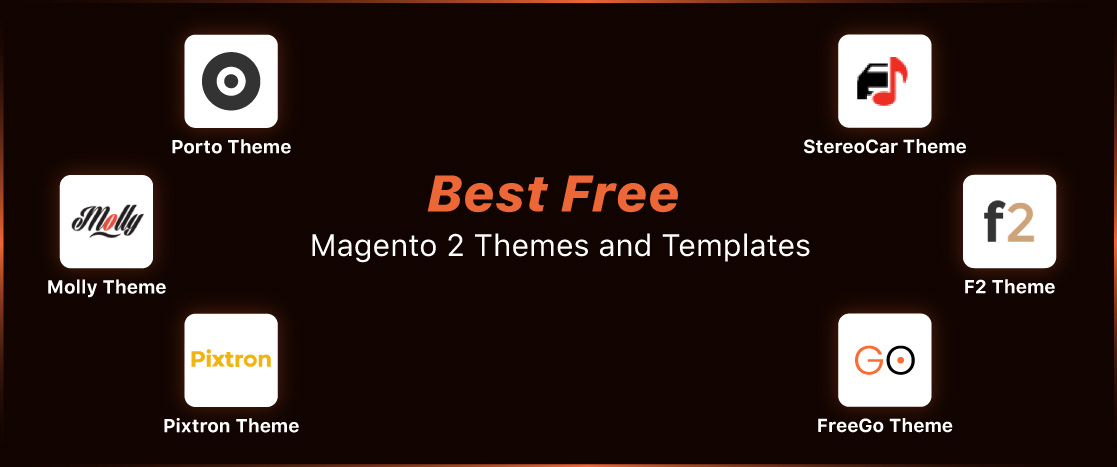
10 Best Free Magento 2 Themes and Templates for a Responsive Online Store (2025)