In today’s data-driven world, understanding user behavior and making informed decisions is essential for the success of any online journey. That’s where Google Analytics 4 (GA4) steps in, providing valuable insights into website performance and user interactions. If you are a PHP developer seeking to tackle the full potential of GA4, you have come to the right place.
This comprehensive guide will explore the seamless integration of PHP with GA4 using the powerful Google Tag Manager. By leveraging this combination, you can track and analyze user behavior, optimize your website’s performance, and make data-driven decisions to empower your online success.
Why should you care about integrating PHP with GA4 using Google Tag Manager? The answer lies in the all-important insights you will find. With GA4, you will discover user engagement patterns, identify popular content, track conversions, and more. By integrating PHP, a versatile and widely used scripting language, you will have the flexibility to customize your tracking implementation, capture dynamic data, and maximize the potential of GA4.
This guide will take you on a step-by-step journey, from setting up a Google Tag Manager account to implementing the necessary code snippets in your PHP templates. You will learn it all.
You don’t need to be a technical wizard or a data scientist to follow along – we have designed this guide to be beginner-friendly while still providing valuable insights for experienced developers.
So, whether you are an e-commerce entrepreneur, a website owner, or a PHP enthusiast eager to unlock the power of data-driven decision-making, let’s dive into the world of integrating PHP with GA4 using Google Tag Manager.
Integrate PHP with GA4 using Google Tag Manager (Step by Step)
Follow these steps to integrate PHP with GA4 using Google Tag Manager.
Setup a Google Tag Manager Account and Container
To set up a Google Tag Manager Account and Container, go to the Google Tag Manager.
If you are logged in with your Google ID, it will show you an interface like this.
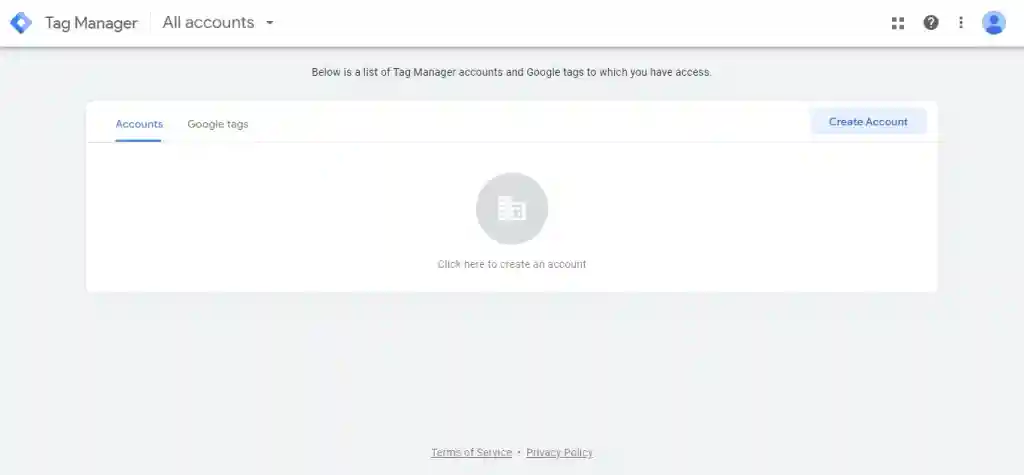
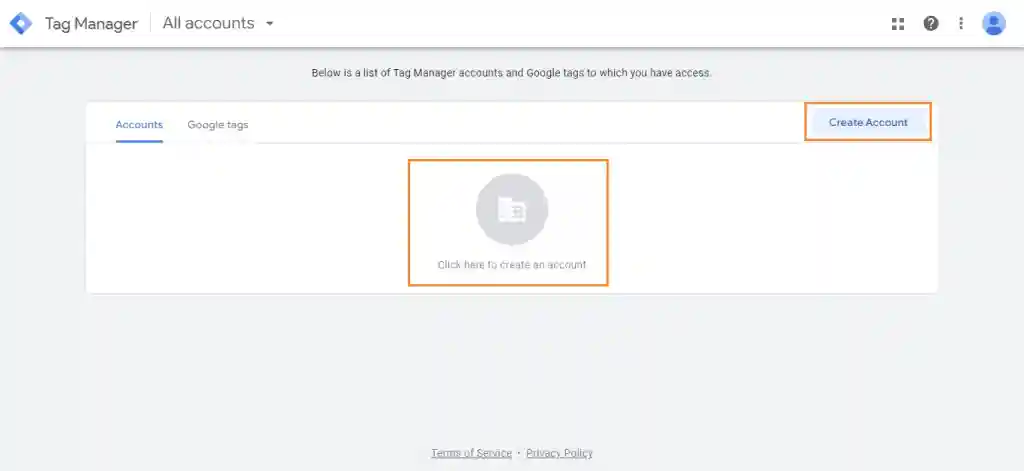
Now, click the “Create Account” button or “Click here to create an account” button to create a new account.
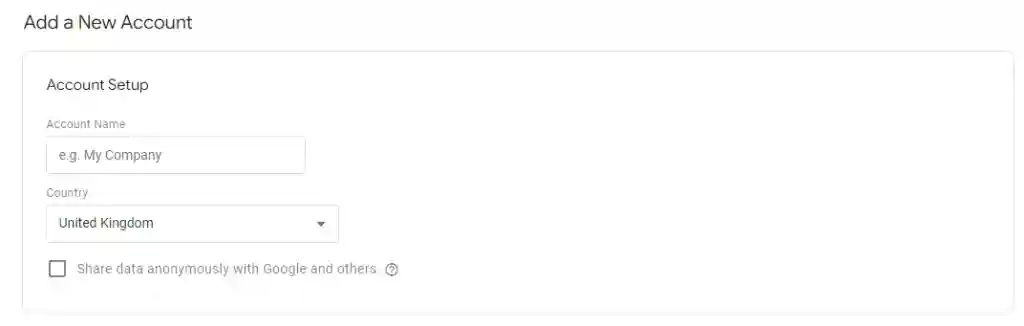
Set up your account by entering your name and selecting the country where your business is located.
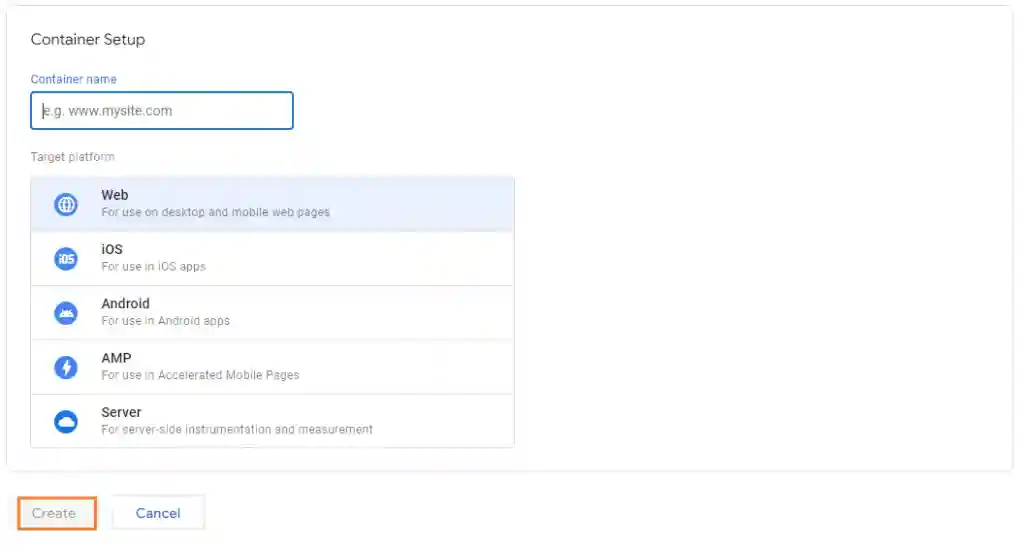
Complete the Container Setup by entering your website’s URL and selecting the Web. Once you add all the details of Account Setup and Container Setup, the “Create” button will be enabled. Click on the “Create” button to proceed.
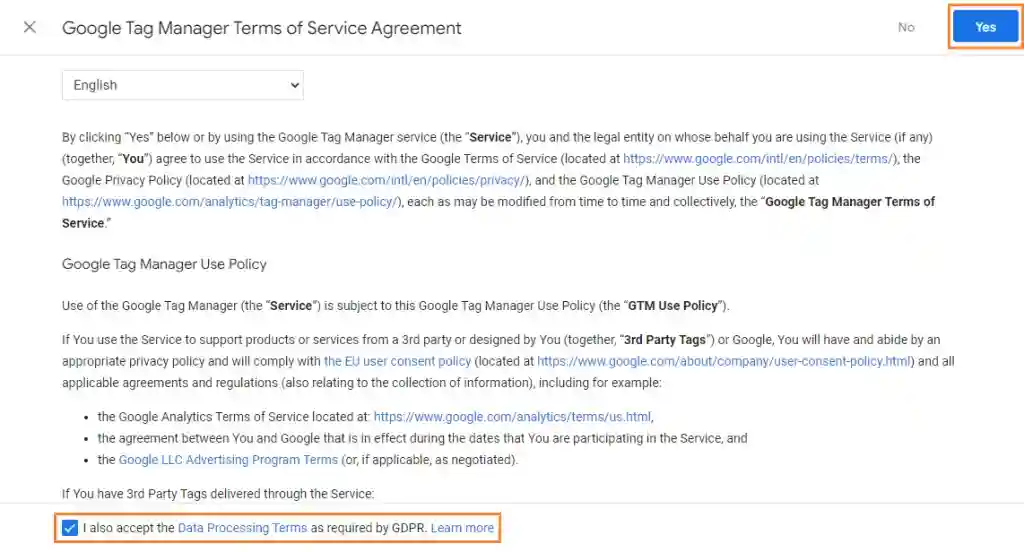
An agreement will appear when you click the “Create” Button. You must read all terms and conditions, accept them, and click the “Yes” button.
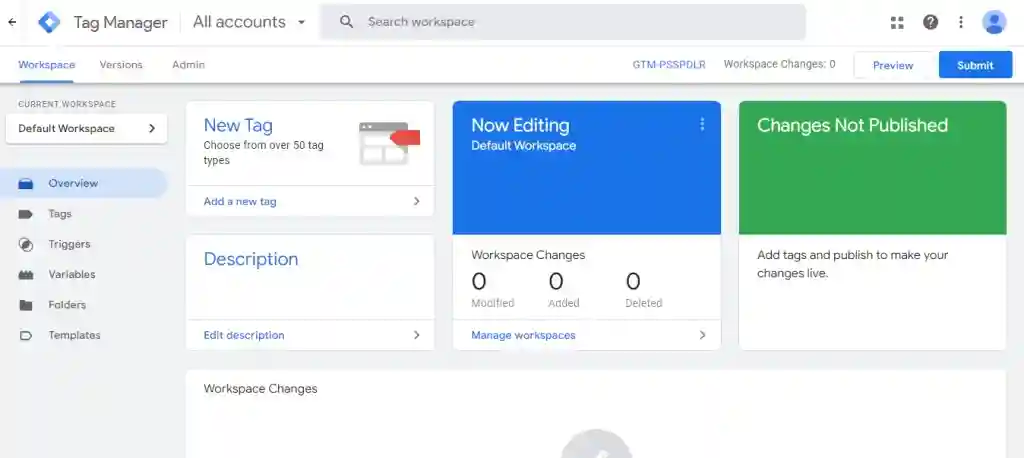
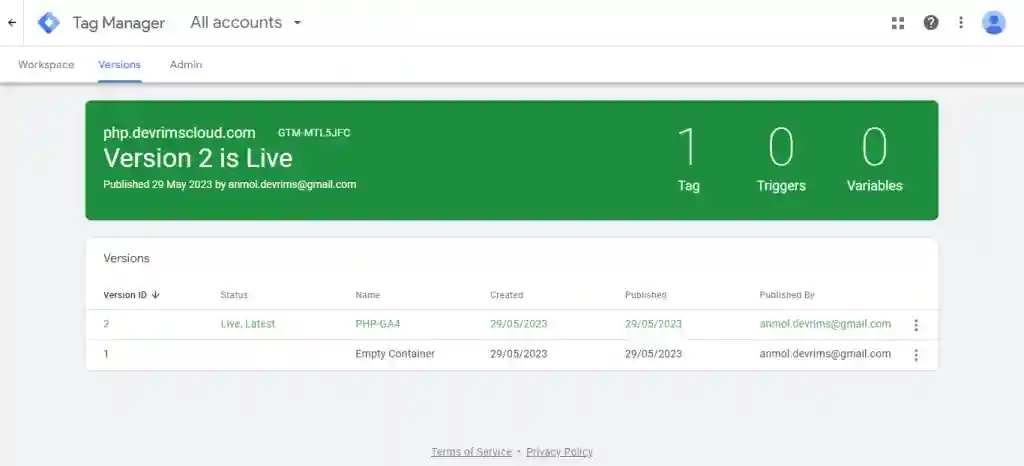
Here you go; you have successfully created a new Google Tag Manager Account and Container. You can access the dashboard now.
Install the Google Tag Manager Container Code
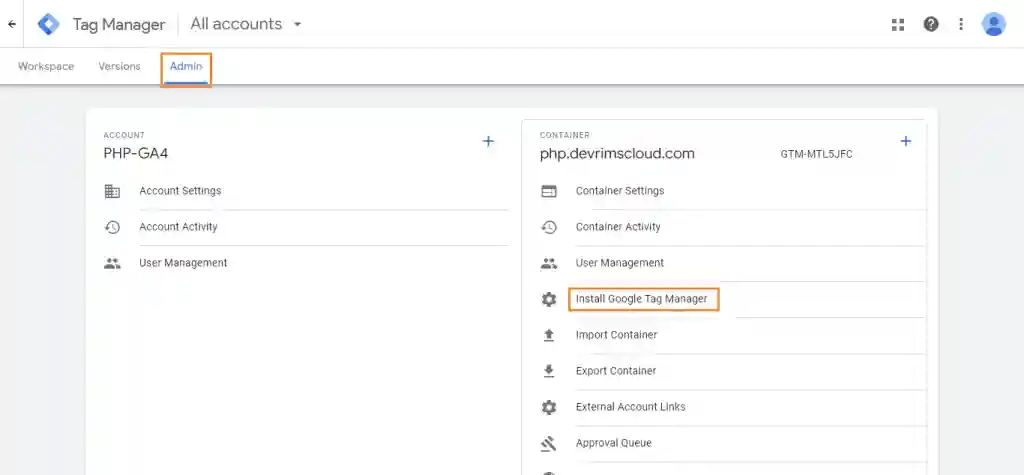
To install the Google Tag Manager Container Code, go to the Google Tag Manager Container dashboard and navigate to the Admin tab.
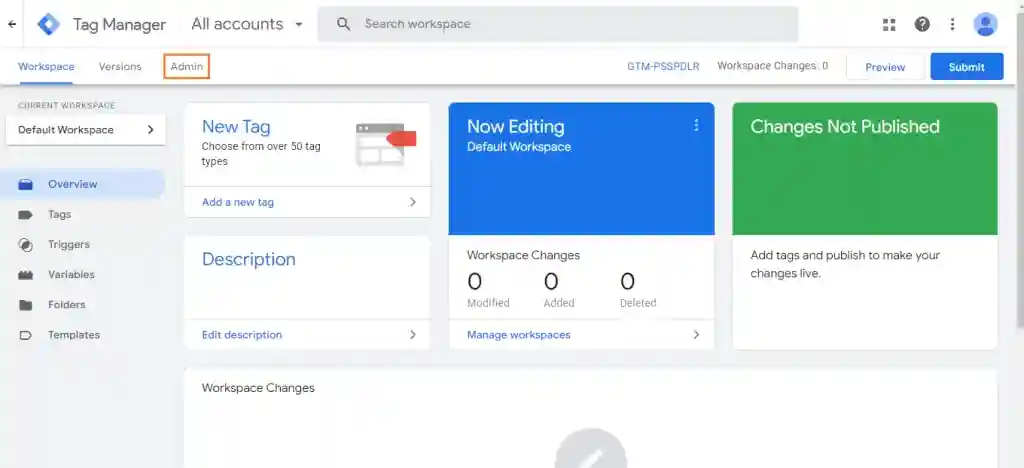
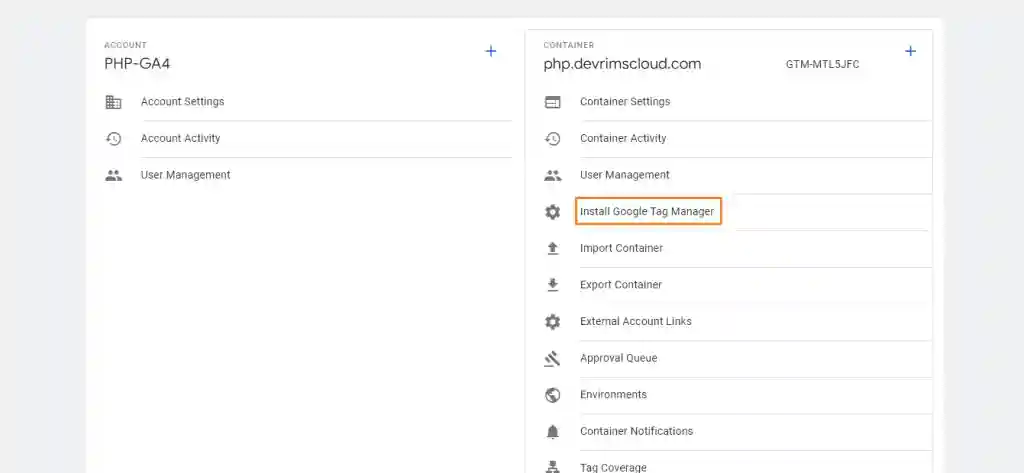
You will see a list of options on the right side. Select the “Install Google Tag Manager” option.
You will see two sets of code provided here, one for the <head> section and another for the <body> section.
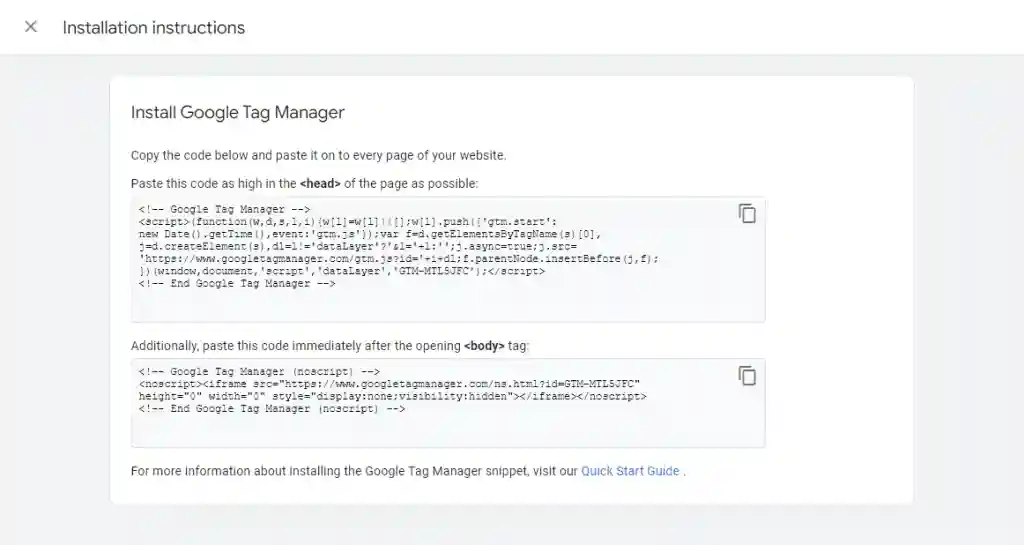
Copy the container code for the <head> section. It should look similar to the following:
<!-- Google Tag Manager -->
(function(w,d,s,l,i){w[l]=w[l]||[];w[l].push({'gtm.start':
new Date().getTime(),event:'gtm.js'});var f=d.getElementsByTagName(s)[0],
j=d.createElement(s),dl=l!='dataLayer'?'&l='+l:'';j.async=true;j.src=
'https://www.googletagmanager.com/gtm.js?id='+i+dl;f.parentNode.insertBefore(j,f);
})(window,document,'script','dataLayer','GTM-MTL5JFC');
<!-- End Google Tag Manager -->
Paste the code into the <head> section of your website’s HTML or PHP template file just before the closing </head> tag.

Save the changes to your website’s file and publish your changes in Google Tag Manager to make the container code live on your website.
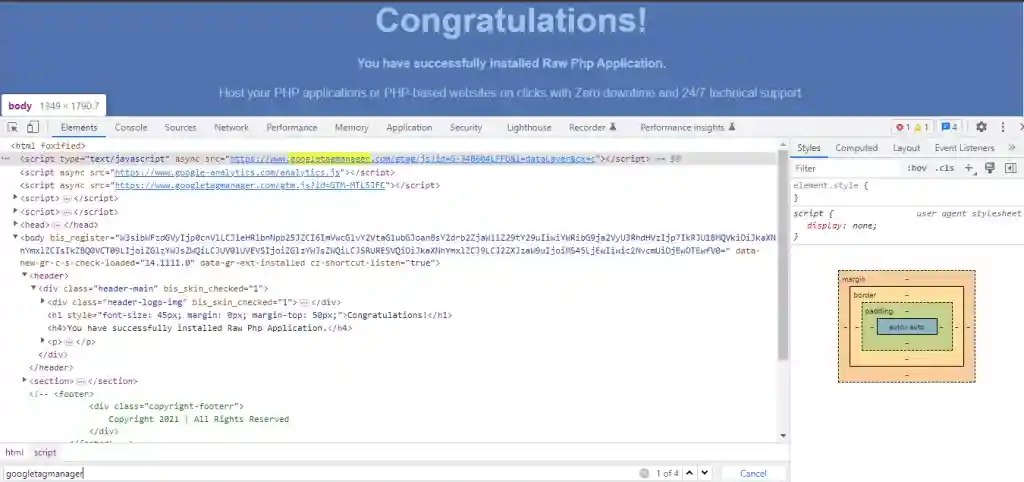
Once you are done making changes, go to your website and inspect the search to ensure Google Tag Manager is installed successfully.
Once the Google Tag Manager Container code is installed, it will work and provide the foundation for managing and deploying tags, including integrating GA4 and other tracking tools. Remember to test the implementation to ensure the container code functions correctly and captures the desired data.
Setup a GA4 Property and Get the Measurement ID
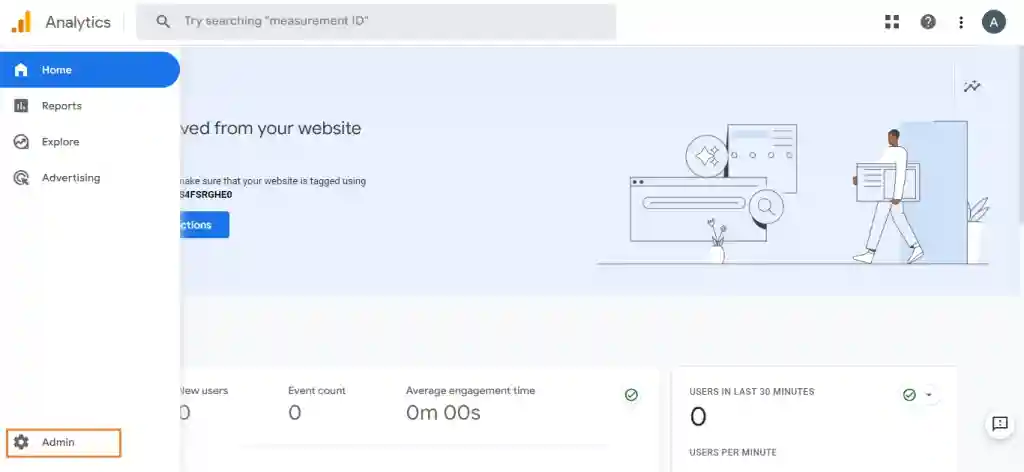
Go to Google Analytics (analytics.google.com) and sign in with your Google Account.
Once signed in, click on the “Admin” option in the lower-left corner of the screen.
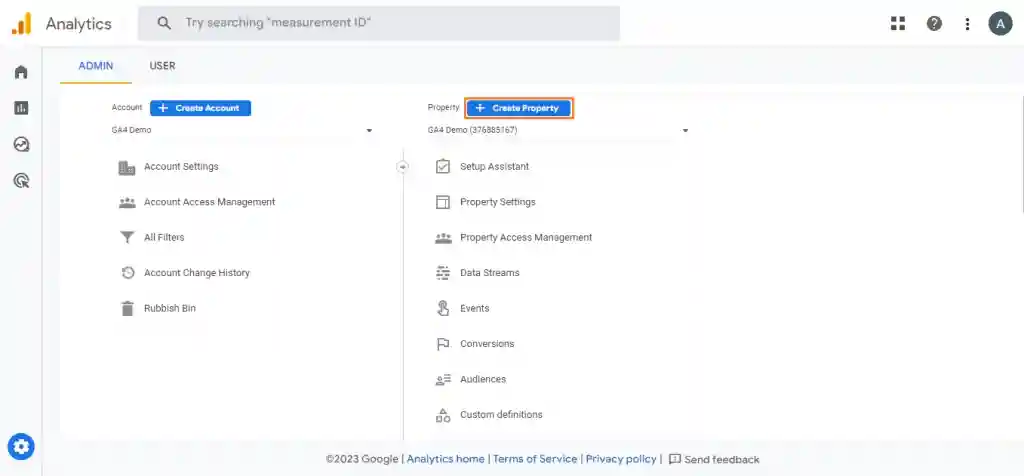
In the “Property” column, click on the “Create Property” button.
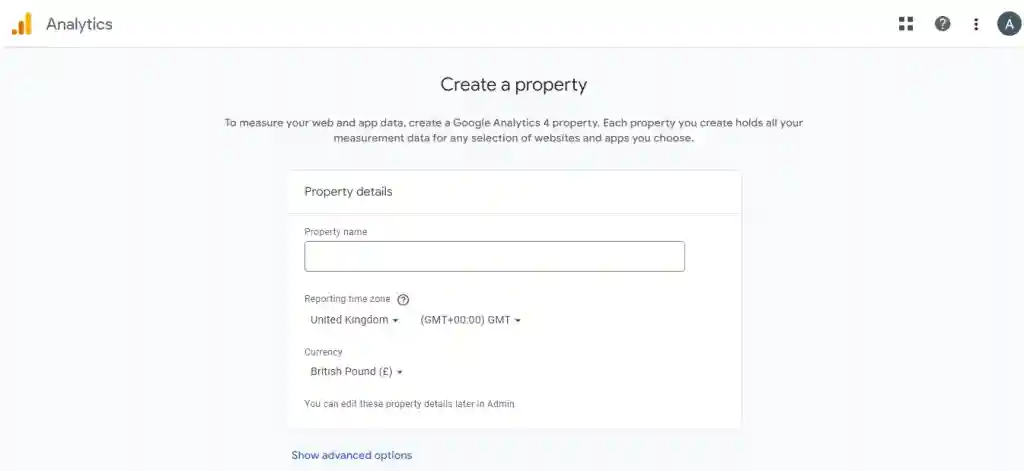
Enter all the required details, like property name, select time zone, and currency, then click the “Next” button at the bottom.
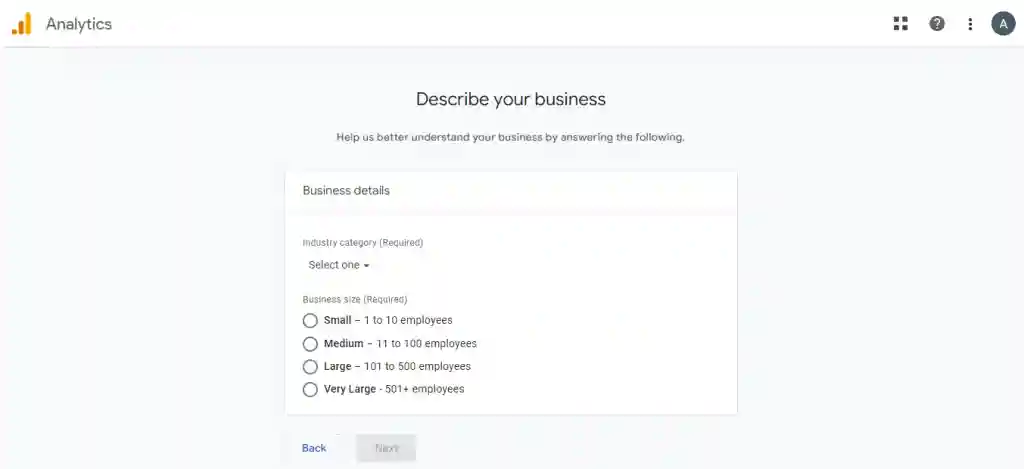
Then, select your industry type, describe your business size, and click the “Next” button.
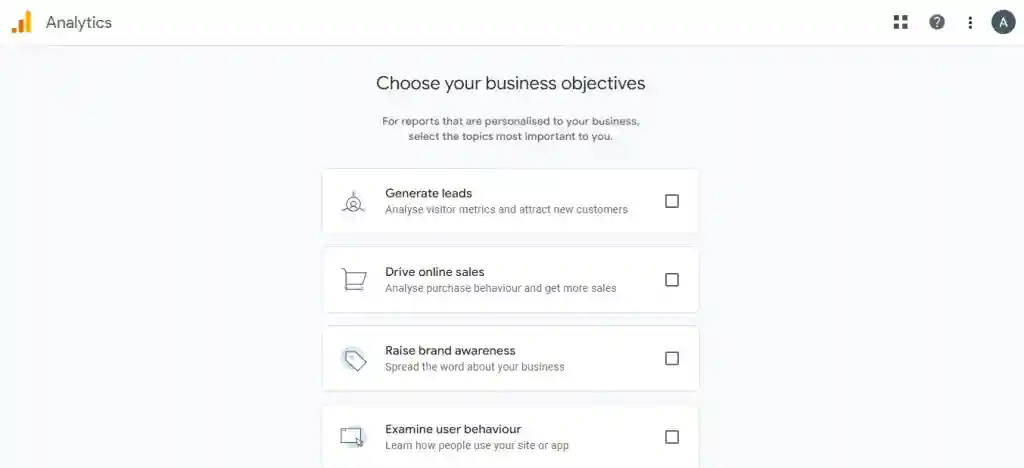
Now, select the options or activities you want to examine on your website or your business objectives. After selecting your options, click the “Create” button at the bottom.
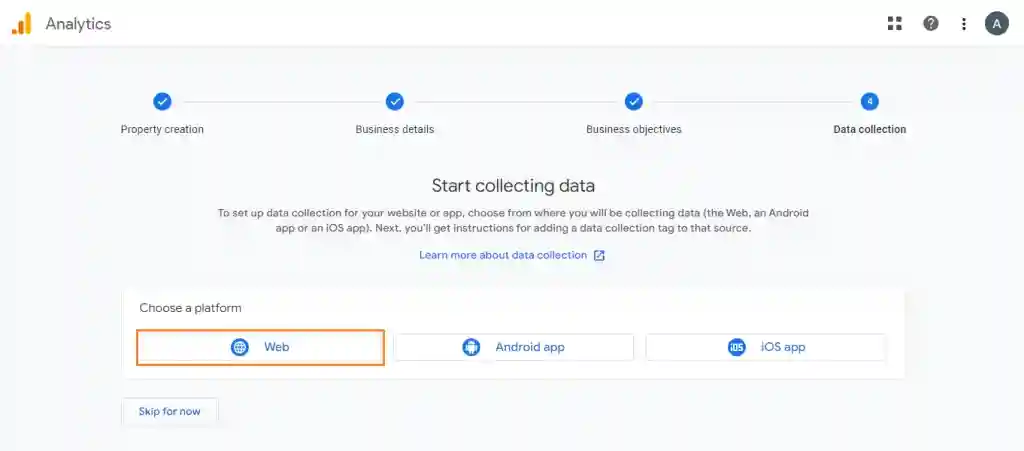
Choose a platform for whom you want to collect the data. In our case, it’s “Web.”
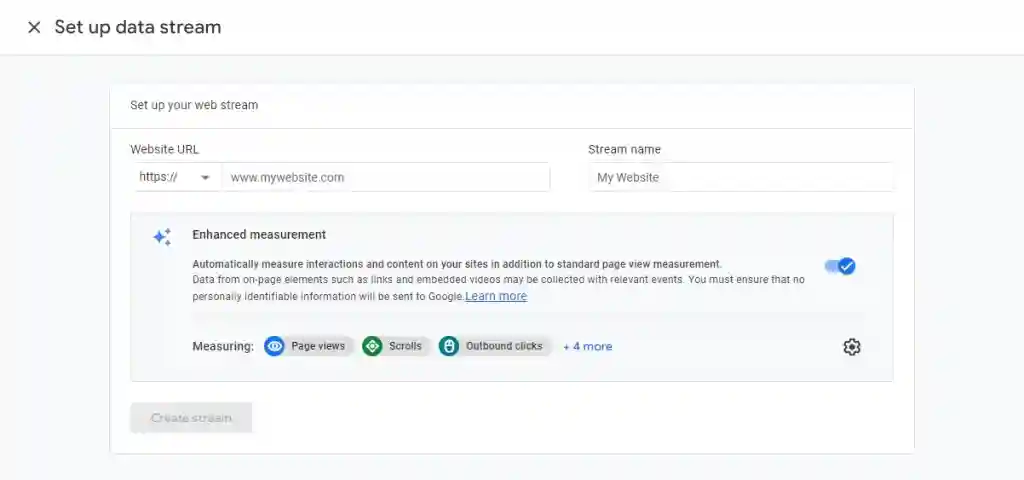
As you choose a platform, it will pop up a new window in which you need to set up your web stream. To set up a web stream, you must enter values in the required fields: your website’s URL and Stream name. Once you are done filling in the fields, click on the “Create stream” button.
When you are done creating a stream, a new window will pop up where you can see the stream details with Measurement ID.
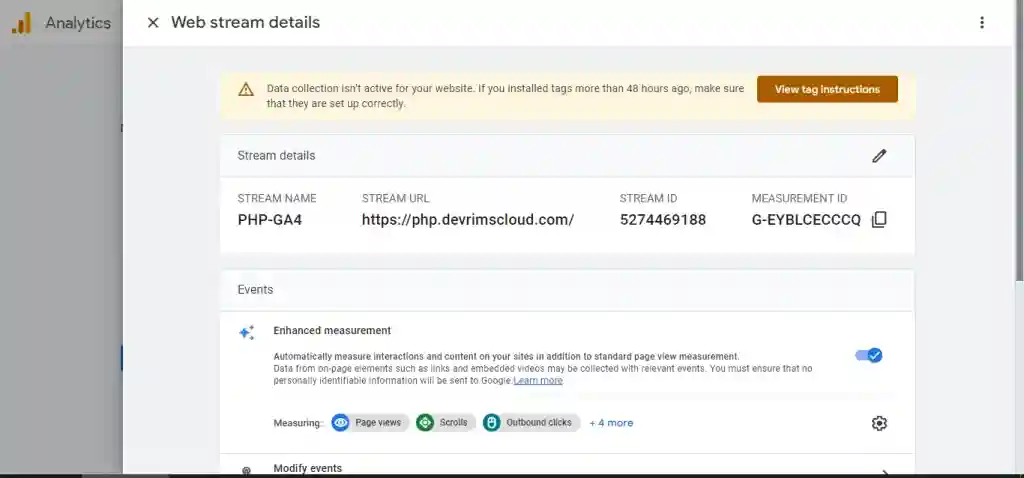
That means the property has been created successfully. Close this window, and you will see the property.
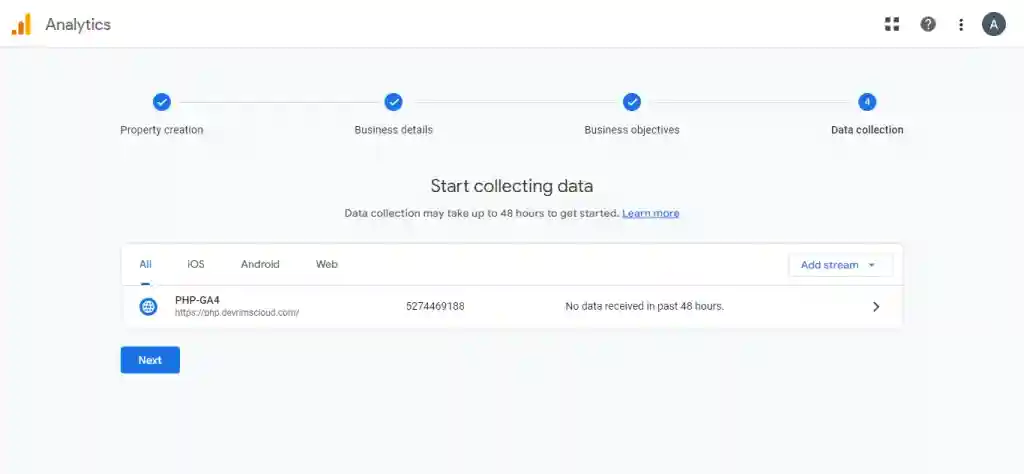
To get the measurement ID, click on the stream, and you will see stream details there with the measurement ID, as we saw above. Copy that ID, and you can use it anywhere; we will use it further.
Create a new Google Tag Manager tag
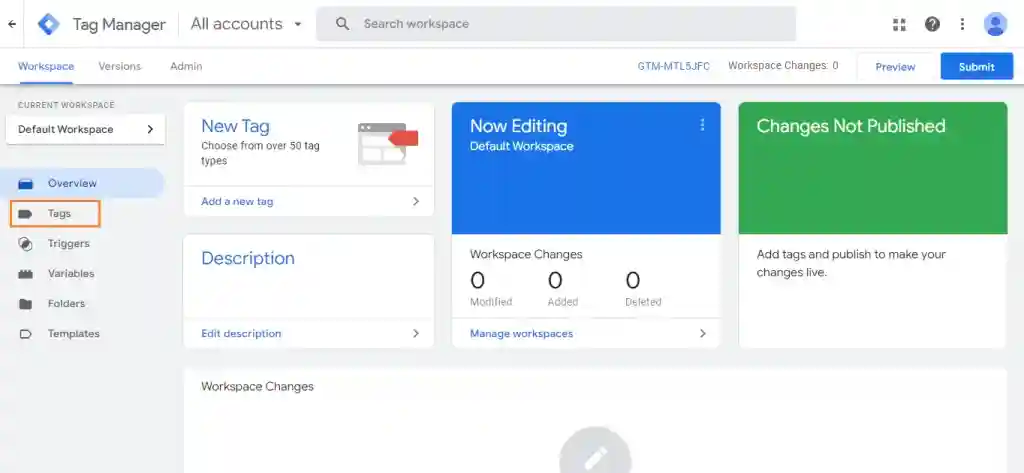
To create a new tag, go to Google Tag Manager. On the dashboard, select the container you created earlier. You will see a menu on the left. Navigate to the “Tags” section.
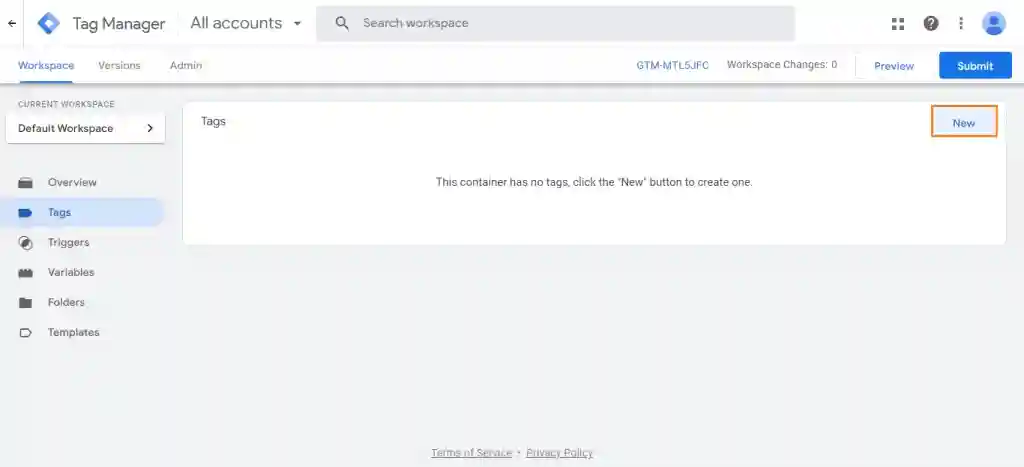
Click on the “New” button to create a new tag.
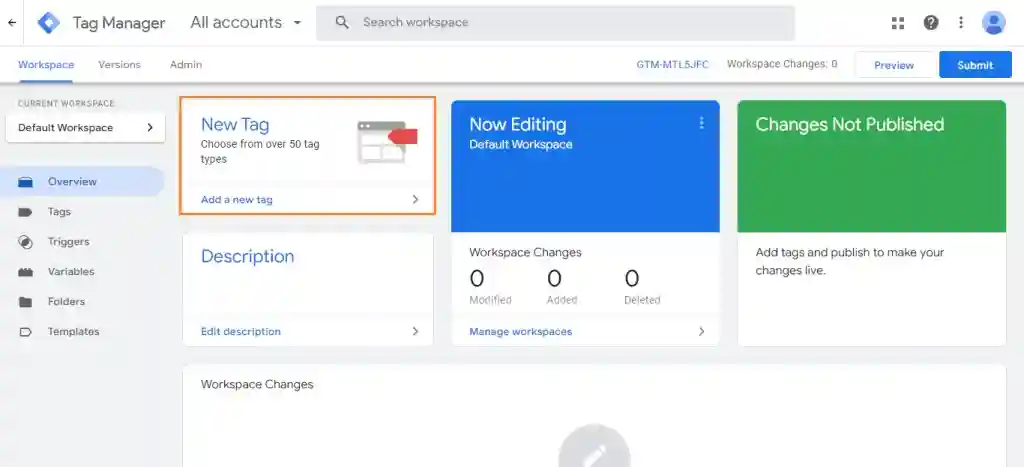
Or click on the “Add a new tag” card to create a new tag.
It will pop a new window in which a few things will be asked to be fulfilled.
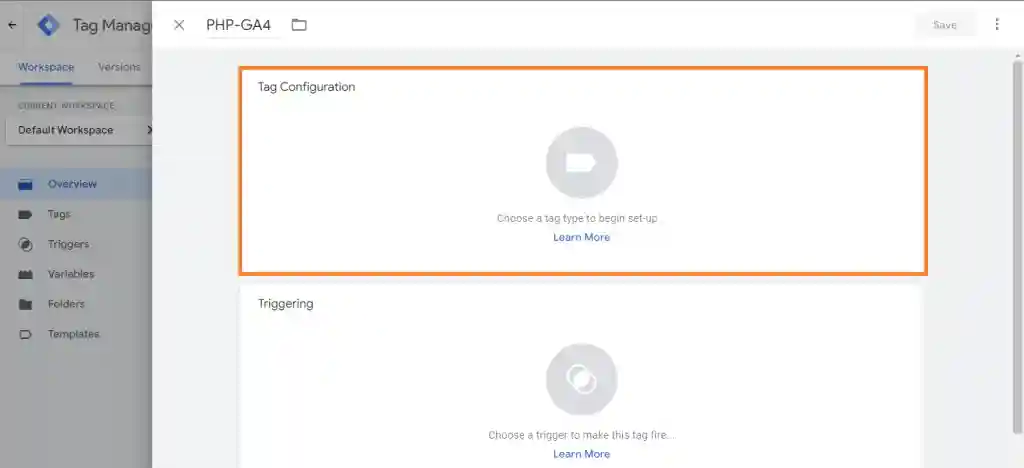
First, give a name to the tag.
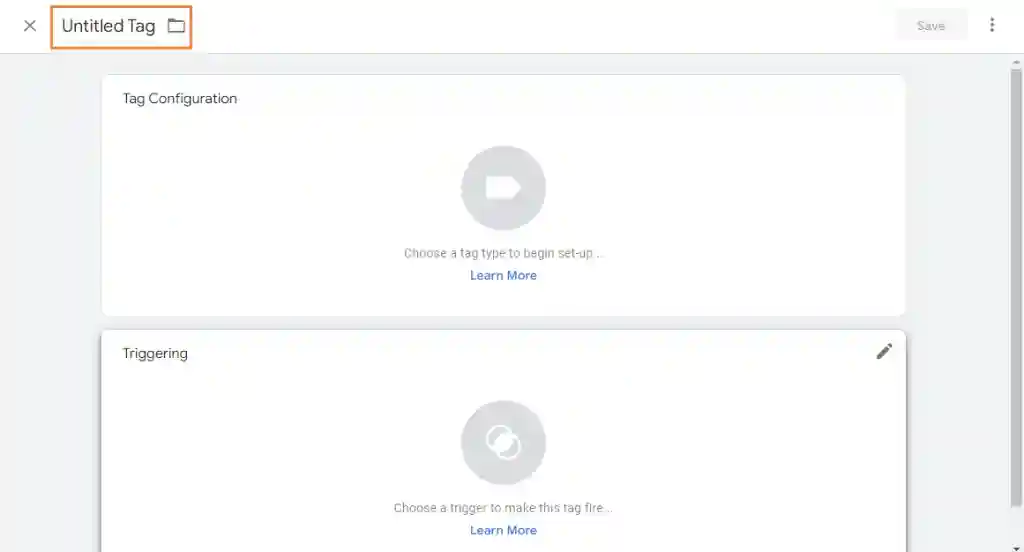
Then, click on the “Tag Configuration” box.
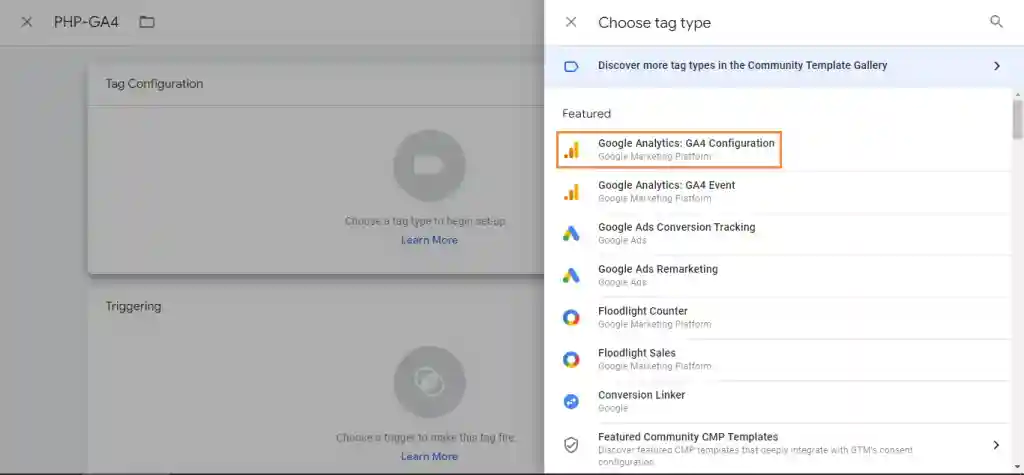
Now, from the “Choose tag type” section, choose the tag type you want to create. Search for “Google Analytics: GA4 Event” or “Google Analytics: GA4 Configuration,” depending on the type of tag you want to create. Select the appropriate option from the dropdown. I am selecting the “Google Analytics: GA4 Configuration” type here.
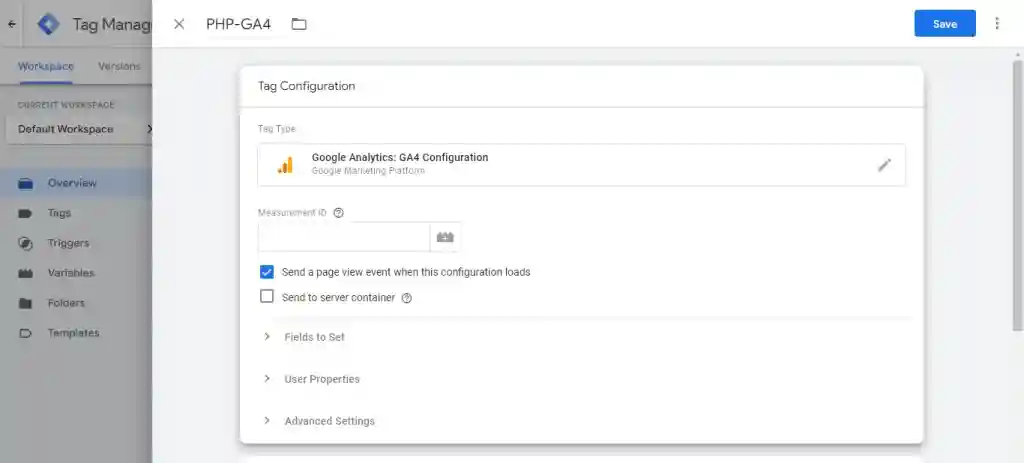
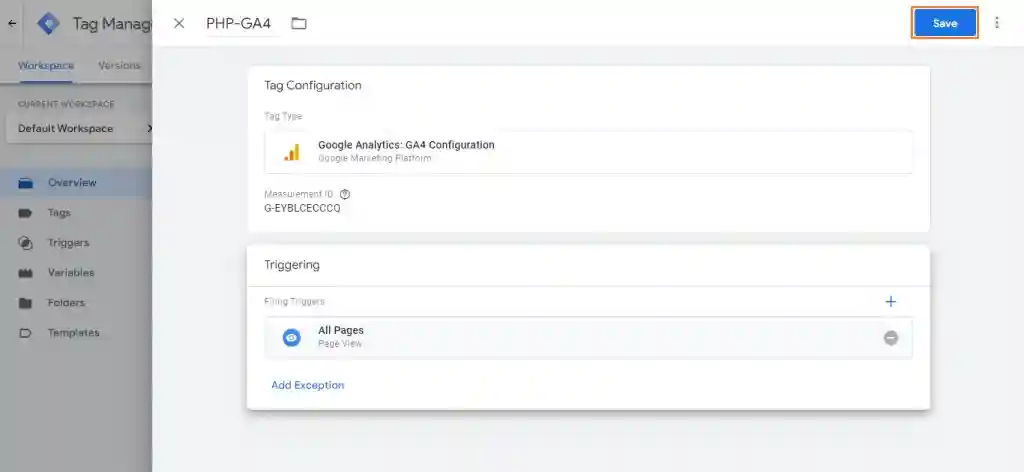
Configure the settings of the tag based on your requirements. This includes providing the GA4 Measurement ID, setting up event tracking parameters, enabling enhanced measurement, and more. The specific configuration options will vary depending on the type of tag you selected.
Add the measurement ID of your GA4 property that we created earlier. Also, add the values you want to track or require.
After configuring the tag, you can set up triggering conditions under the “Triggering” section. This determines when the tag should fire.
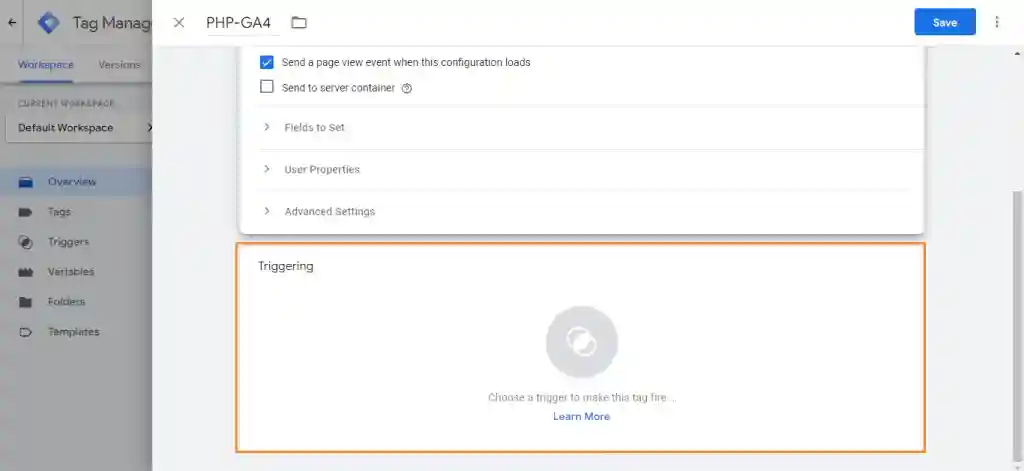
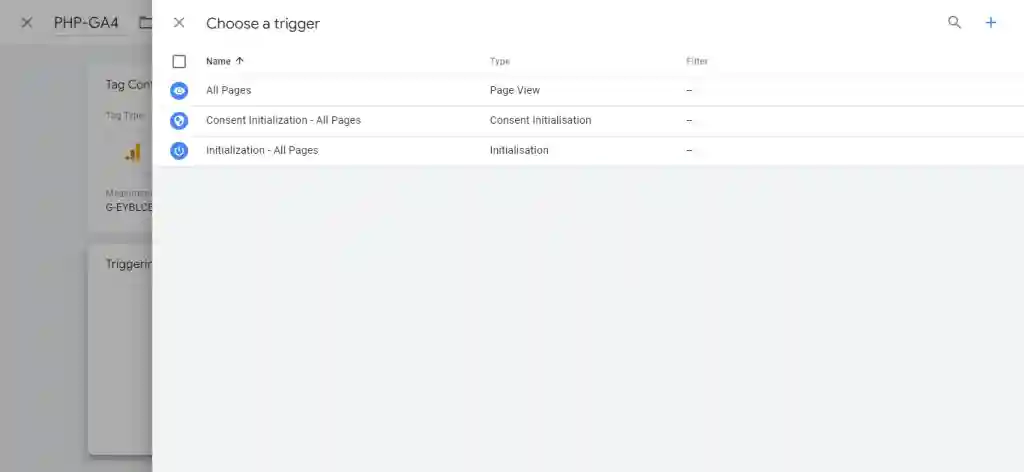
You can choose from pre-built triggers or create custom triggers based on specific user interactions or page conditions by clicking on the “+” sign.
Once you have configured the tag and its triggering conditions, click on the “Save” button at the top-right corner of the screen.
Congratulations! You have successfully created a new tag in Google Tag Manager.

The next step is to save and publish your changes to make the tag live on your website or app.
Save and Publish the Tag Configuration
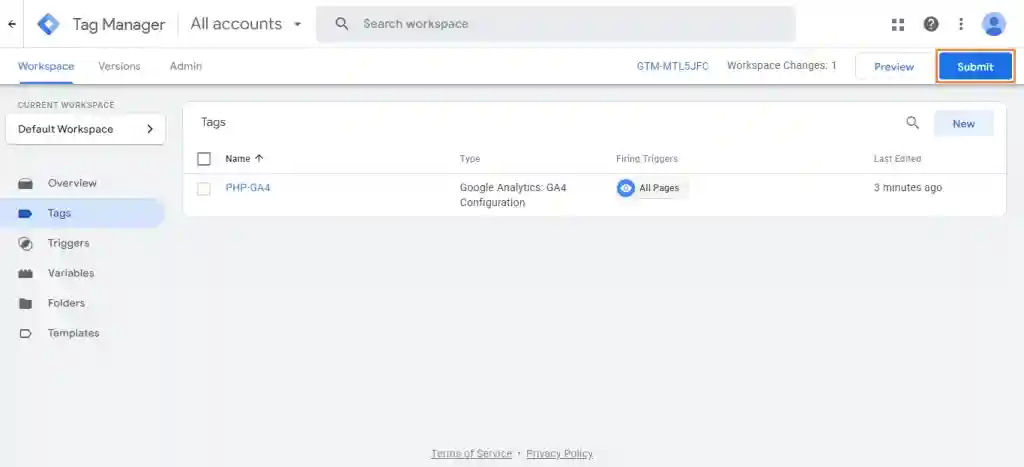
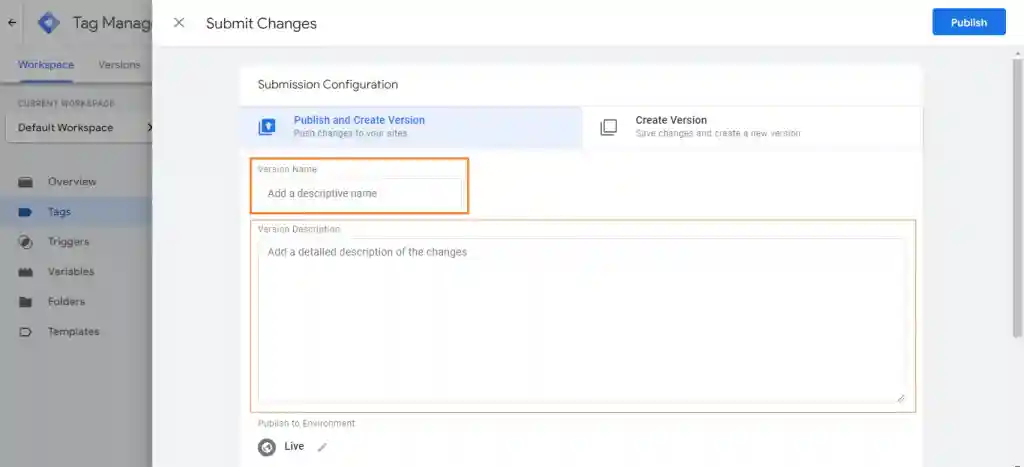
We have saved the tag configuration in the previous step. Once it is saved, you can publish it. To publish the tag configuration, click the “Submit” button at the screen’s top-right corner.
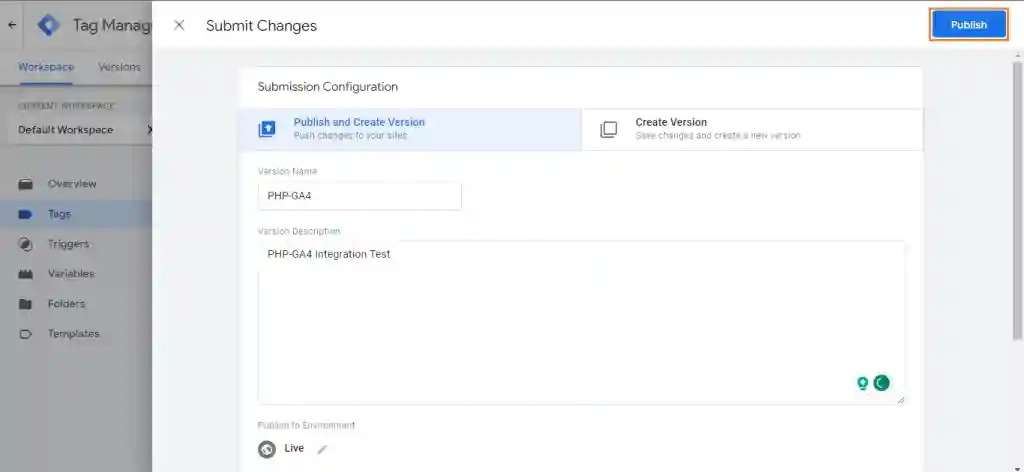
In the dialog box, provide a version name or description for your changes to the tag configuration. This helps identify and track different versions of your container configuration.
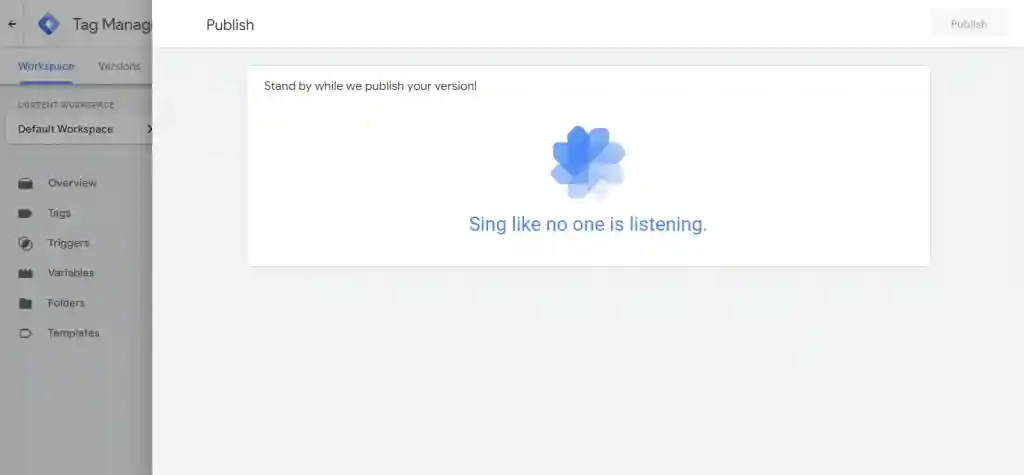
Now, click the “Publish” button to publish the tag configuration. It will make the changes live on your website or app.
It will take some time to get published.
Congratulations! You have successfully saved and published the tag configuration in Google Tag Manager.
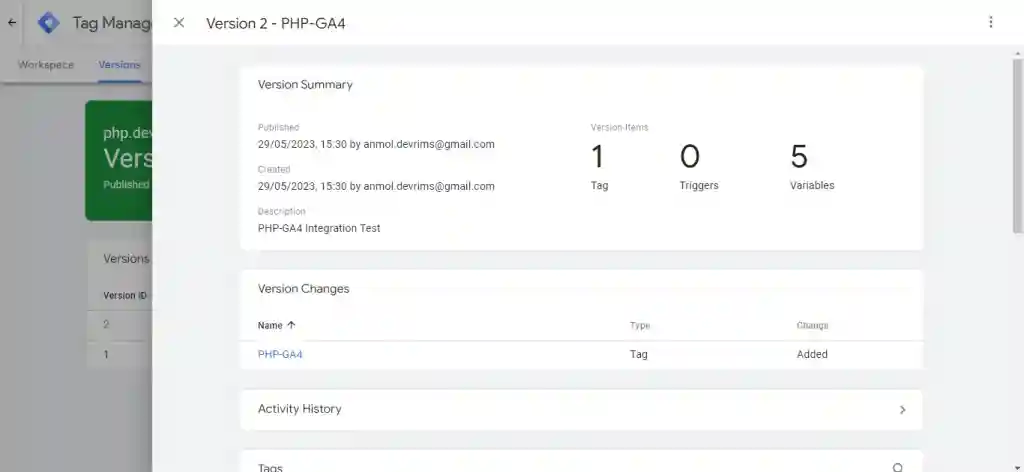
The tag will now be active and capture the specified data based on the configured triggers.
Implement the Google Tag Manager Container code in your PHP templates
To implement the Google Tag Manager Container code in your PHP templates, follow these steps:
Again, go to the Google Tag Manager Container dashboard and navigate to the Admin tab. You will see a list of options on the right side; select the “Install Google Tag Manager” option as we did earlier at the time of Google Tag Manager Installation.
You will see two sets of code provided here, one for the <head> section and another for the <body> section.

Copy the container code for the <body> section. It should look similar to the following:
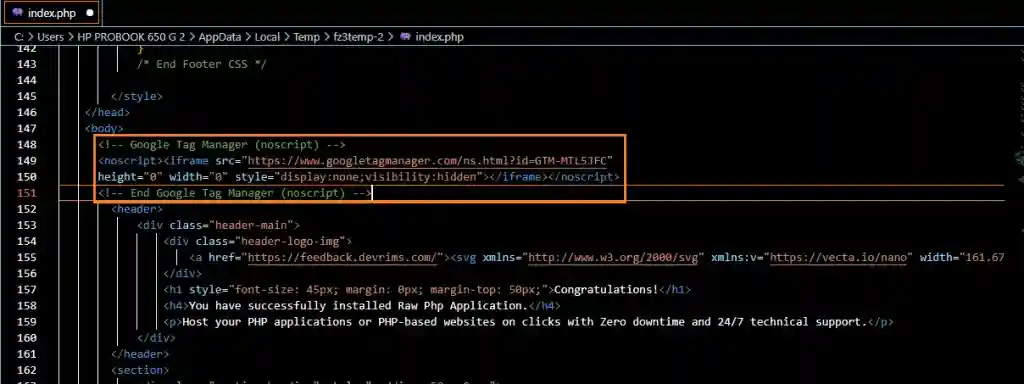
<!-- Google Tag Manager (noscript) -->

<noscript><iframe src="https://www.googletagmanager.com/ns.html?id=GTM-MTL5JFC"

height="0" width="0" style="display:none;visibility:hidden"></iframe></noscript>

<!-- End Google Tag Manager (noscript) -->
Paste the code into the <body> section of your website’s HTML or PHP template file just after the opening <body> tag.
Save the changes to your website’s file and publish your changes in Google Tag Manager to make the container code live on your website.
Once you are done making changes, go to your website and inspect the search to ensure the Google Tag Manager Container code in your PHP templates is implemented successfully.
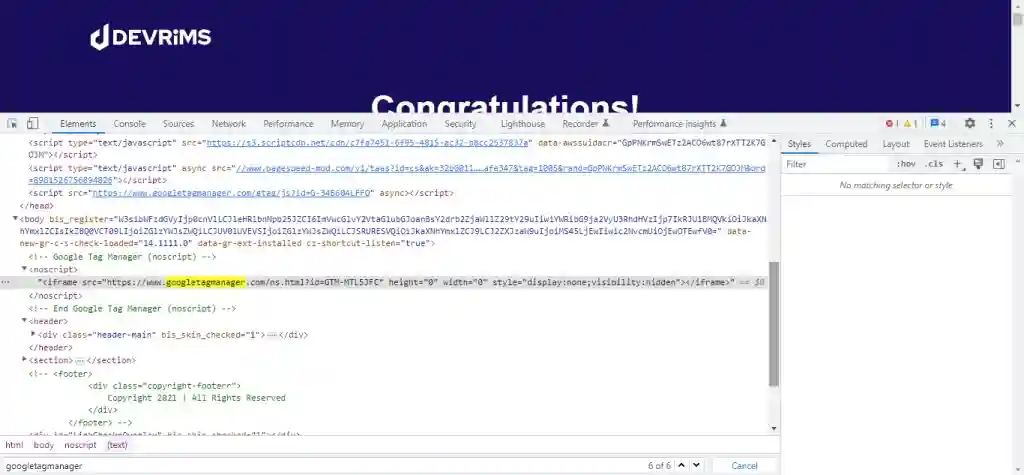
Once the Google Tag Manager Container code in your PHP templates is implemented, it will work and provide the necessary foundation for managing and deploying tags, including the integration with GA4 and other tracking tools. Remember to test the implementation to ensure the container code functions correctly and captures the desired data.
Test the Implementation
To test the implementation or to check whether you have done the whole process correctly, go to Google Analytics (analytics.google.com) and open your property. On the home page or dashboard, you can see the real-time results. Allow some users to visit your website and check the results or user activities in real-time monitoring on GA4.
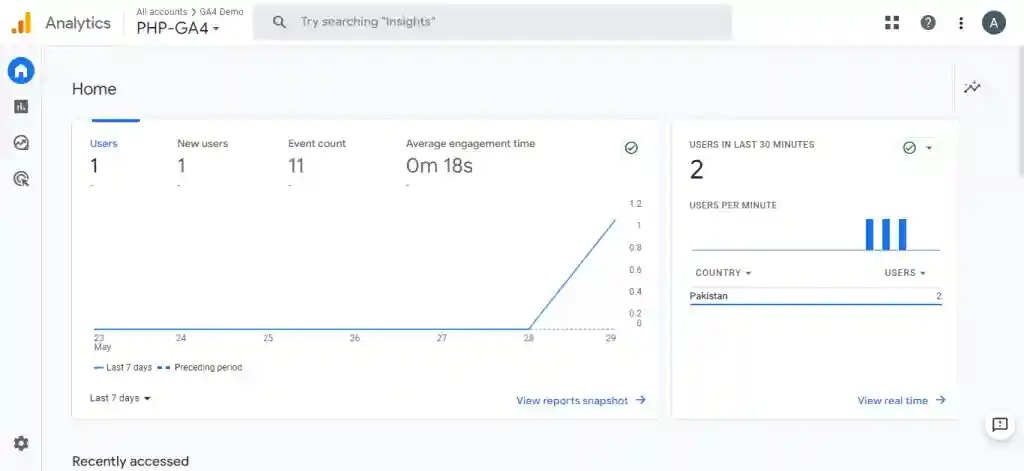
Congratulations! You have completed the integration process of PHP with GA4 using Google Tag Manager. Here you go; we can see the results.
Conclusion
Congratulations! You’ve successfully integrated Google Analytics 4 with your PHP website using Google Tag Manager. By following these steps, you’ve set up a strong system for tracking user interactions and gathering valuable insights. Remember, testing your setup is important to make sure everything is working properly. With GTM, you can also easily manage and update your tags in the future. Now that everything is live, you can use the data to make informed decisions and improve your website’s performance and user experience.
Related Topics:


Related Tutorials