Laravel 10 Search Box with Live Results Using AJAX jQuery
In today’s busy world, users expect quick and smooth responses when using web applications. Adding a live search feature can significantly improve the user experience by showing results in real-time as they type. This is especially helpful for applications with large amounts of data, where users might find it challenging to locate what they need without an efficient search function.
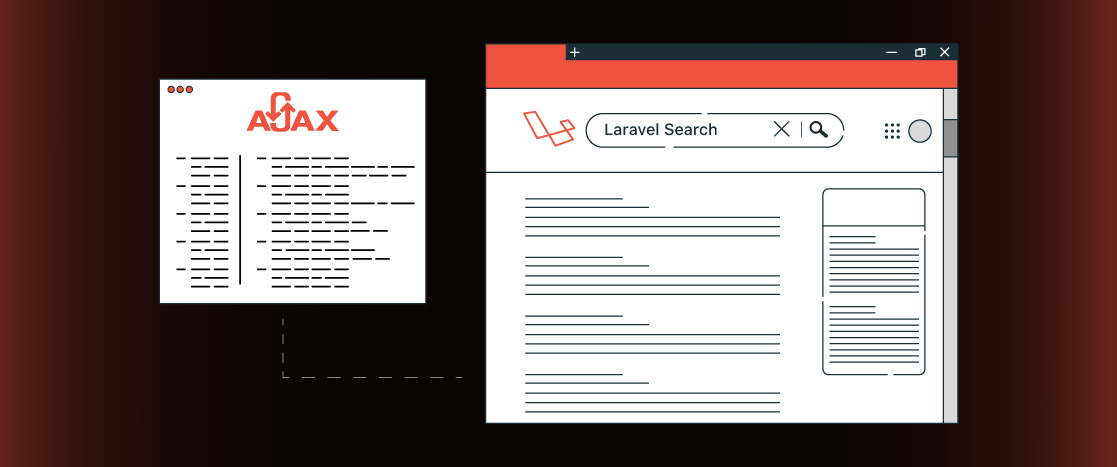
Using Laravel, AJAX, and jQuery together, you can create a dynamic search bar that shows instant results without reloading the page. In this article, we’ll show you how to set up a live search feature in a Laravel 10 application using AJAX and jQuery, making the user experience faster and more interactive.
Prerequisites
Before you get started, make sure you have the following:
- A working Laravel 10 environment.
- Basic knowledge of Laravel (controllers, routes, and views).
- PHP 8.0 or higher installed.
- MySQL or a compatible database.
- jQuery is included in your project.
It is also recommended that you test using a local development environment like XAMPP, WAMP, or Laravel Homestead. If you’re using a server or cloud solution, ensure your Laravel application is appropriately set up and running.
Why Implement a Live Search Box?
A live search box has several advantages over traditional search methods:
- Instant results: Search results appear instantly as users type, providing quick feedback.
- Better user experience: Users don’t need to refresh the page to see new results, making the process faster and smoother.
- Improved efficiency: The search is processed dynamically, reducing server load and improving performance.
- More relevant results: As users type, the search narrows down, showing more accurate results and helping them find what they need quickly.
Let’s now dive into implementing a live search box in Laravel 10.
Step 1: Set Up Your Laravel Project
First, ensure that Laravel 10 is installed. If you don’t have a Laravel project yet, create one by running this command:
composer create-project --prefer-dist laravel/laravel live-searchOnce the project is created, go to the project directory:
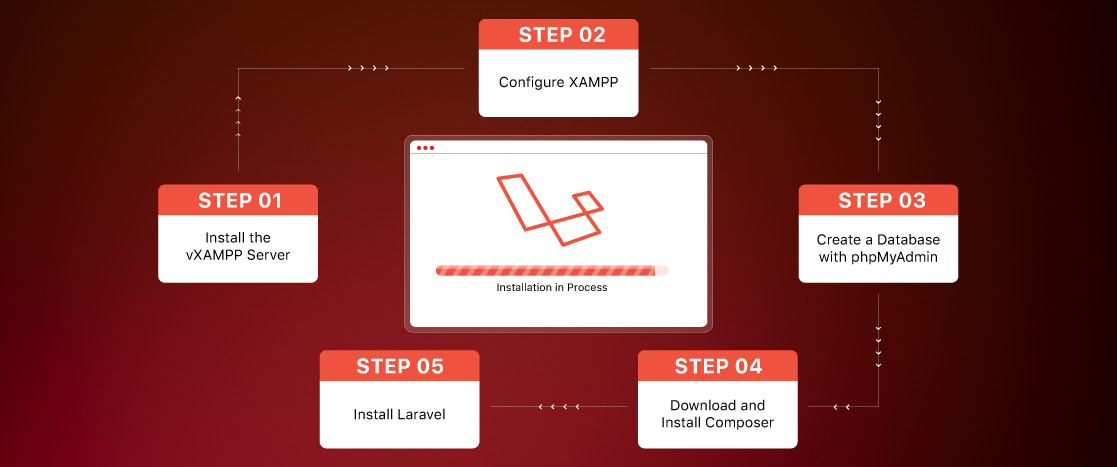
cd live-searchOr follow our guide on installing Laravel on localhost using the xampp server.
Step 2: Database Setup
Ensure that your database is correctly configured in the .env file of your Laravel project.
Go to the .env file located in the root directory of your project and update the following settings with your database credentials:
DB_CONNECTION=mysql

DB_HOST=127.0.0.1

DB_PORT=3306

DB_DATABASE=your_database_name

DB_USERNAME=your_database_username

DB_PASSWORD=your_database_password
Make sure to replace your_database_name, your_database_username, and your_database_password with the actual details of your database. After updating the credentials, you’re ready to create the products table.
Step 3: Create the Migration
Next, we’ll create a migration for the products table. Open your terminal and run the following command:
php artisan make:migration create_products_table –create=products
This command will create a new migration file in the database/migrations/ directory. Open the file and update the up() method to define the structure of the products table like this:
public function up()

{

    Schema::create('products', function (Blueprint $table) {

        $table->id(); // Auto-incrementing primary key

        $table->string('name'); // Name of the product

        $table->string('description'); // Product description

        $table->integer('price'); // Product price

        $table->timestamps(); // Timestamps for created_at and updated_at

    });

}
This schema defines a simple products table with auto-incrementing IDs, names, descriptions, prices, and timestamps.
After updating the migration file, run the following command to apply the migration and create the table:
php artisan migrateYour database now has the products table created. The next step is to add some sample data to the table, which you can do by either seeding the table or manually inserting data directly into the database.
Step 4: Create the Controller
Now that our database table is set up let’s create a controller to handle the search functionality. Open your terminal and run the following command to generate a new controller:
php artisan make:controller SearchControllerThen, open the app/Http/Controllers/SearchController.php file and add the following code:
<?php

namespace App\Http\Controllers;

use Illuminate\Http\Request;

use DB;

class SearchController extends Controller

{

    // Function to return the search view

    public function index()

    {

        return view('search.index');

    }

    // Function to handle AJAX search requests

    public function search(Request $request)

    {

        if($request->ajax())

        {

            $output = '';

            $products = DB::table('products')

                ->where('name', 'LIKE', '%' . $request->search . '%')

                ->get();

            if($products->count() > 0)

            {

                foreach ($products as $product) {

                    $output .= '

                    <tr>

                        <td>' . $product->name . '</td>

                        <td>' . $product->description . '</td>

                        <td>' . $product->price . '</td>

                    </tr>';

                }

                return response($output);

            }

            else

            {

                return response('<tr><td colspan="3">No products found</td></tr>');

            }

        }

    }

}
Explanation:
- The index() method returns the view where the search box will be displayed.
- The search() method handles the AJAX request. It searches the database for products based on the user’s name and returns the results dynamically.
Key Points:
- The search() method listens for an AJAX request, performs a database search, and returns the results as HTML rows.
- If no products match the search, it returns a message saying, “No products found.”
With this controller in place, you can handle the AJAX search functionality. Next, we’ll create the view to display the search box and results.
Step 5: Create the View
Now that we have set up the controller, we must create the view to display the search box and the results.
First, navigate to the resources/views/ directory and create a folder named search (if it doesn’t exist). Inside the search folder, create a file called index.blade.php and add the following HTML code:
<!DOCTYPE html>

<html>

<head>

    <meta name="_token" content="{{ csrf_token() }}">

    <title>Live Search with Laravel</title>

    <link rel="stylesheet" href="https://maxcdn.bootstrapcdn.com/bootstrap/4.5.2/css/bootstrap.min.css">

    <script src="https://ajax.googleapis.com/ajax/libs/jquery/3.5.1/jquery.min.js"></script>

</head>

<body>

    <div class="container">

        <h2 class="my-4">Live Search Products</h2>

        <input type="text" class="form-control" id="search" placeholder="Search products...">

        <table class="table table-bordered mt-3">

            <thead>

                <tr>

                    <th>Name</th>

                    <th>Description</th>

                    <th>Price</th>

                </tr>

            </thead>

            <tbody>

                <!-- Results will be injected here -->

            </tbody>

        </table>

    </div>

    <script type="text/javascript">

        $(document).ready(function(){

            $('#search').on('keyup', function(){

                var query = $(this).val();

                $.ajax({

                    type: 'get',

                    url: '{{ URL::to('search') }}',

                    data: {'search': query},

                    success: function(data){

                        $('tbody').html(data);

                    }

                });

            });

        });

    </script>

</body>

</html>
Explanation:
- The #search input field captures what the user types in the search box.
- The keyup event listens for each key press and sends an AJAX request to search for matching products.
- The query is sent to the search function in the controller, which returns the matching results.
- The results are displayed in the table as HTML rows.
Key Points:
- The search field updates the results instantly as you type.
- The table will show product names, descriptions, and prices based on the search query.
- The AJAX script uses the CSRF token to ensure the request is secure.
With this view in place, the live search feature is now connected to the controller, and the search results will be displayed in real-time. Next, you can test the search functionality!
Step 6: Set Up Routes
To enable the search functionality, we must define two routes to display the search page and handle the search request.
Open the routes/web.php file and add these routes:
Route::get('/', [SearchController::class, 'index']);

Route::get('/search', [SearchController::class, 'search']);
Explanation:
- The first route loads the main page, where the search box is displayed, by calling the index() method in the SearchController.
- The second route handles the AJAX requests when the user types in the search box. It calls the search() method in the SearchController to fetch the search results.
Once these routes are set up, your application can display the search page and return live search results.
Step 7: Testing the Live Search
Now that everything is set up let’s test the live search functionality.
- First, start the Laravel development server by running this command in your terminal:
php artisan serve- Open your browser and go to http://127.0.0.1:8000 (or the appropriate URL if you use a different server).
- On the page, you should see the search box.
- Start typing in the search box. As you type, the search results will update automatically based on the products in your database.
For example, if you type the letter “W”, the results will change to show products with names that contain “W”.
If everything works as expected, you’ve successfully set up the live search feature using AJAX and jQuery in Laravel!
Conclusion
In this tutorial, we’ve successfully created a live search feature in Laravel 10 using AJAX and jQuery. This method improves the user experience by showing instant search results without reloading the page. Adding live search to your Laravel applications can make them more interactive, whether you’re building a blog, an eCommerce site, or any other data-driven platform. Following this guide, you can add a fast and efficient search feature that keeps users engaged and happy with your application.

