Laravel is a robust open-source PHP web application framework that provides robust tools and an expressive architecture for building modern web applications. Developers widely adopt it due to its elegant syntax, extensive documentation, and vast community. While Laravel is designed for production environments, setting up a local development environment for testing and development purposes is essential.
This article will provide a step-by-step guide to installing Laravel on your local machine using XAMPP, a free, open-source, cross-platform web server solution. A local development environment allows you to experiment with Laravel’s features, debug issues, and test your applications before deploying them to a live server.
Our guide is designed to assist developers of all skill levels, from beginners to experienced ones, in successfully setting up Laravel on their local machines. By following the instructions, you can create and run Laravel projects locally, enabling you to explore its powerful features and capabilities efficiently. Let’s get started.
Why Do You Need to Install Laravel on Localhost?
For developers and designers working with Laravel, setting up a local development environment is crucial. Here are a few key reasons why you should install Laravel on your local machine:
Testing and Experimentation: A local environment allows you to safely test new features, updates, or patches before deploying them to a live production server. This minimizes the risk of introducing bugs or issues affecting your live applications.
Development Workflow: When working on client projects or personal applications, you can make changes, experiment with different approaches, and debug issues locally without impacting the live site. This streamlines your development workflow and enables you to catch and fix problems before pushing changes to a production environment.
Multiple Projects and Versions: Installing Laravel locally enables you to work on multiple projects simultaneously, each with its configuration and dependencies. You can also test your applications against different versions of Laravel without conflicts.
Laravel Installation Requirements
Before proceeding with the Laravel installation on your local machine, ensure that your system meets the following requirements:
- Web Server: Apache or Nginx (Laravel provides built-in support for both).
- PHP: Laravel requires PHP 8.0 or later, along with several extensions such as BCMath, Ctype, JSON, Mbstring, OpenSSL, PDO, Tokenizer, and XML.
- Database: Laravel supports various database systems, including MySQL, PostgreSQL, SQLite, and SQL Server.
- Composer: Laravel utilizes Composer to manage dependencies and install packages.
Once you have verified that your system meets these requirements, you can proceed with the step-by-step installation process to set up Laravel in your local development environment.
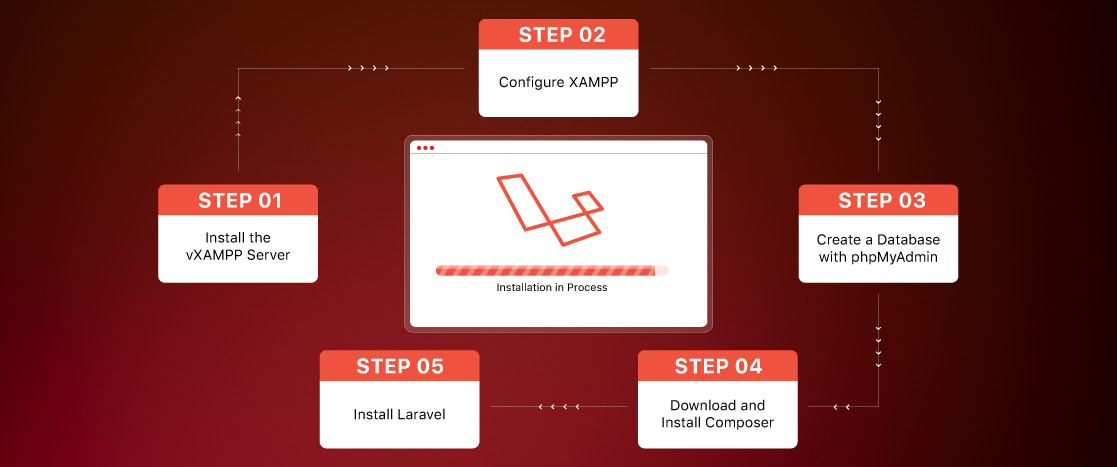
How to Run Laravel Project on Localhost? (Step-by-Step)
Follow these steps to install and run the Laravel Project on Localhost using the xampp server.
Step 1: Install the XAMPP Server
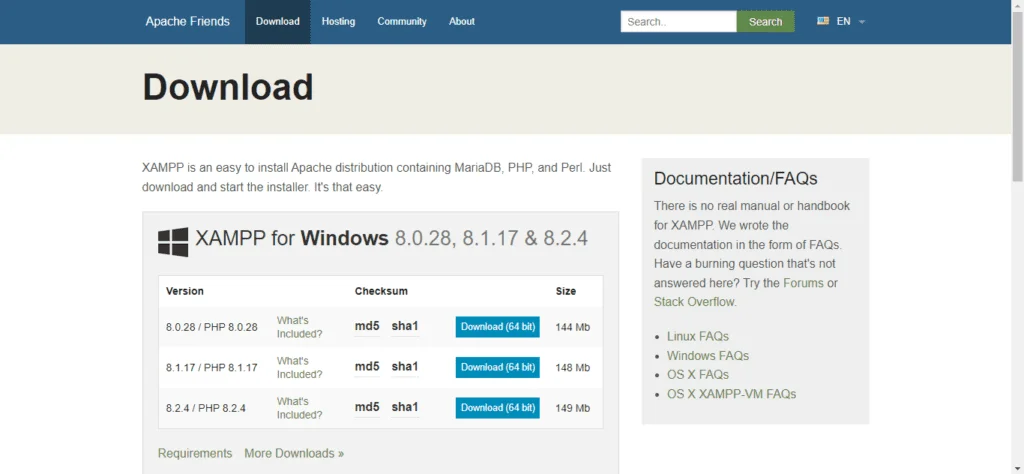
- First, go to the Apache Friends website and download the XAMPP software. Choose the version that is compatible with your operating system and meets your specific requirements.
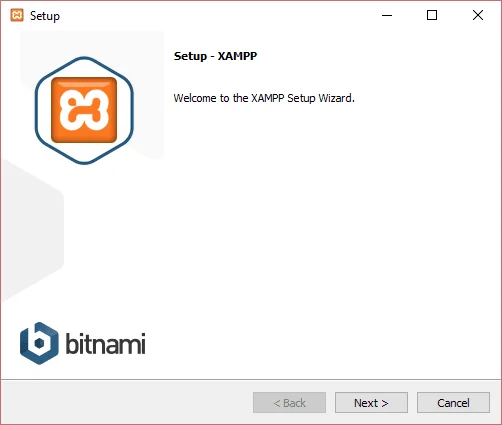
- Run the downloaded installer and follow the instructions below to complete the installation.
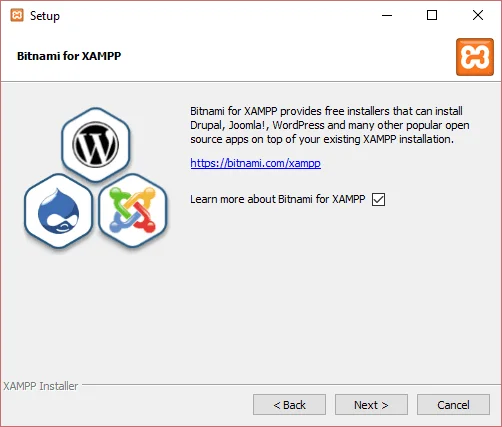
- Click on the “Next” button.
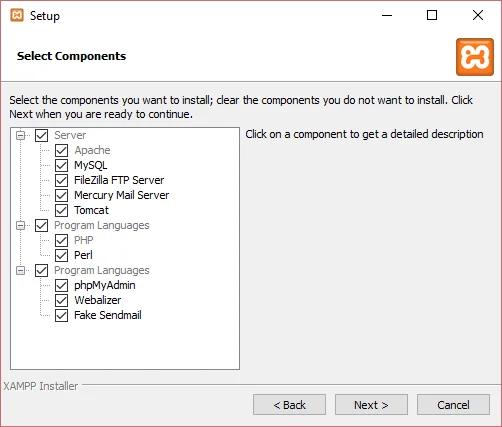
- Now, continue with the default selection shown in the image, and click on the “Next” button.
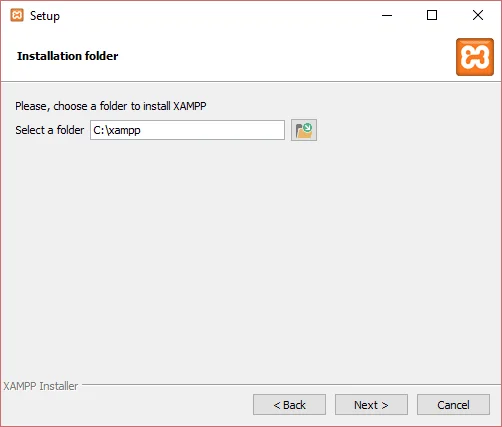
- The default location is C:\xampp, but you can choose the location according to your installation folder preference. Once you have made your selection, click on ‘Next.’
- Click the ‘Next’ button.
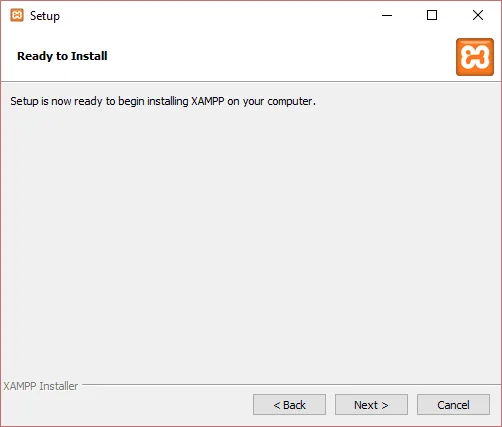
- The setup is now ready to install. Please click the ‘Next’ button.
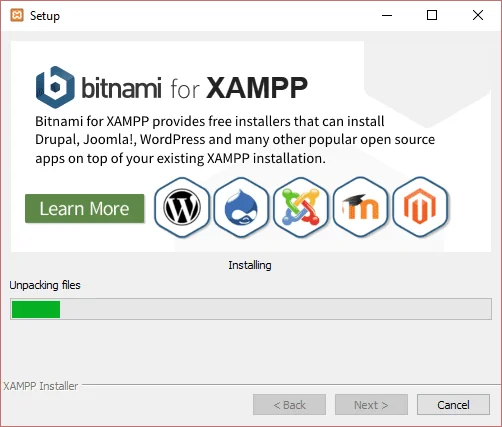
- Please wait until the process is complete, as the setup wizard will install the XAMPP server on your computer. Once the installation is complete, the setup will automatically run.
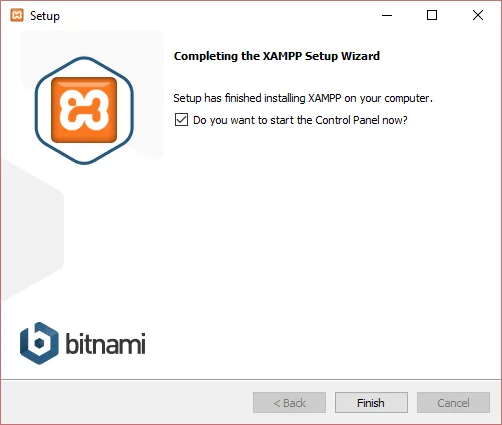
- Once the setup process is completed, you will see this message:
“Do you want to start the Control Panel now?“
- Click the “Finish” button to proceed further and exit the setup.
- You can now access the XAMPP control panel.
Step 2: Configure XAMPP
After launching the XAMPP server, we need to configure it. Follow these instructions to configure XAMPP on your system.
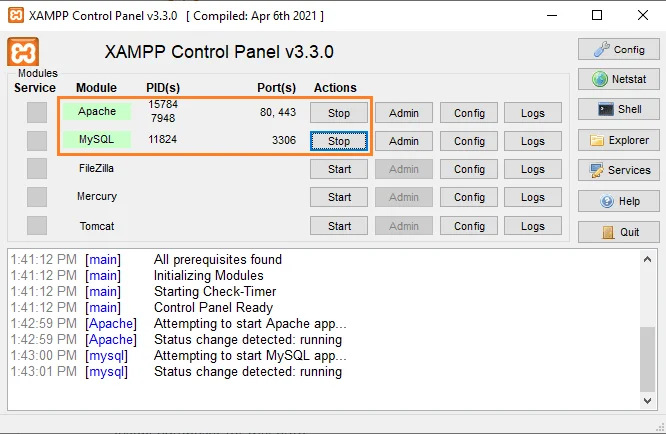
- In the XAMPP Control Panel, start the Apache and MySQL services by clicking the “Start” button next to each service.
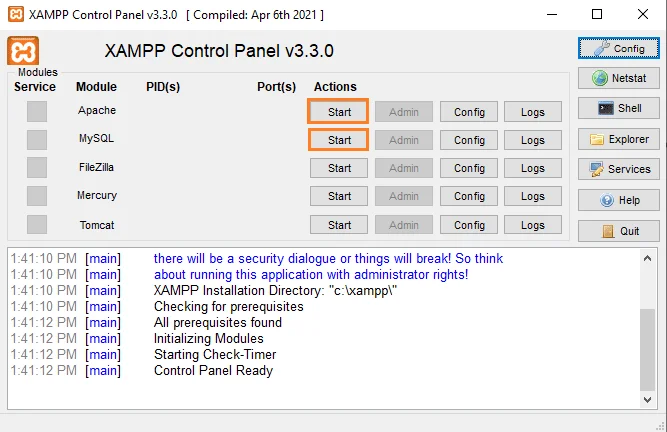
- Ensure that the status indicator for both services turns green, indicating they are running.
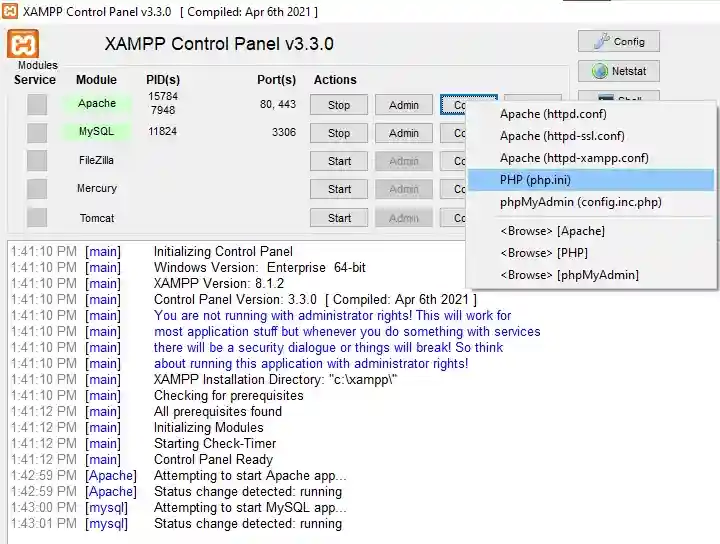
- Click on the “Config” tab in the Apache section of the XAMPP Control Panel, locate the “PHP (php.ini)” file, and open it using a text editor.
- In the php.ini file, uncomment (remove the semicolon) the following lines:
- extension=gd

   - extension=intl

   - extension=soap

   - extension=sockets

   - extension=sodium

- extension=xsl- Increase the memory limit by setting `memory_limit = 4G`.
- Save the changes to the php.ini file and close the text editor.
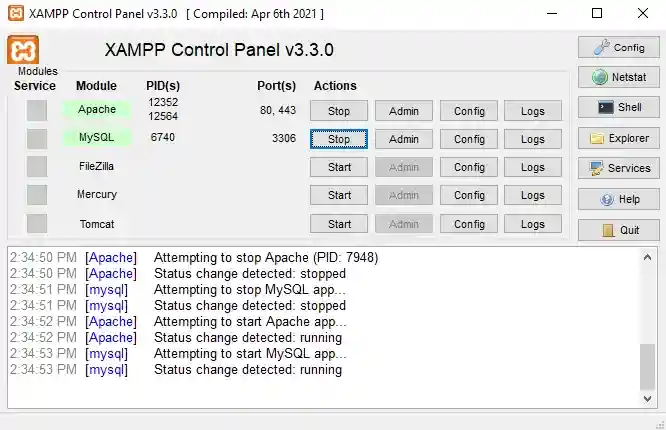
- Restart the Apache and MySQL services in the XAMPP Control Panel.
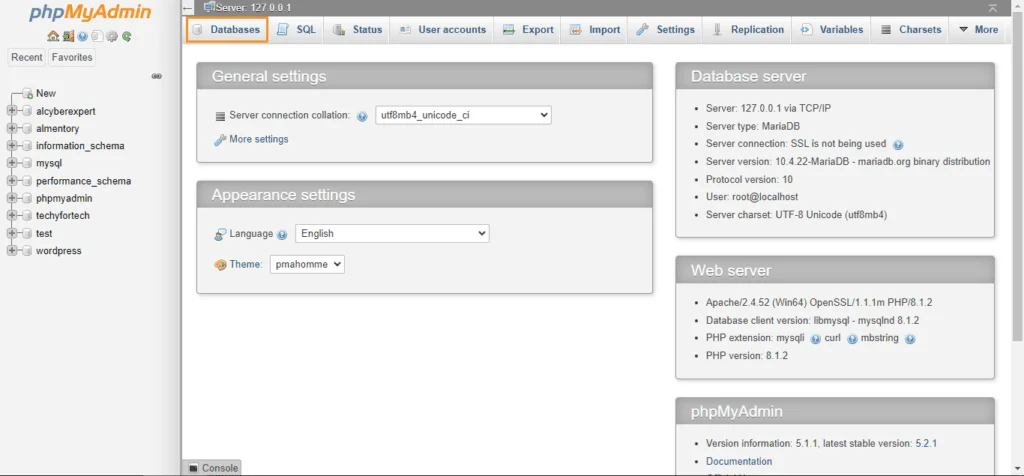
Step 3: Create a Database with phpMyAdmin
- Open your web browser and navigate to http://localhost/phpmyadmin.
- Log in to the phpMyAdmin account using your credentials (if prompted).
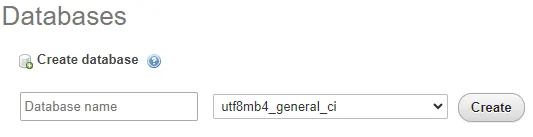
- Click on the “Databases” tab and enter a name for your new database.
- Click the “Create” button to create the new database.
- Create a table, enter columns, and click the Go button.

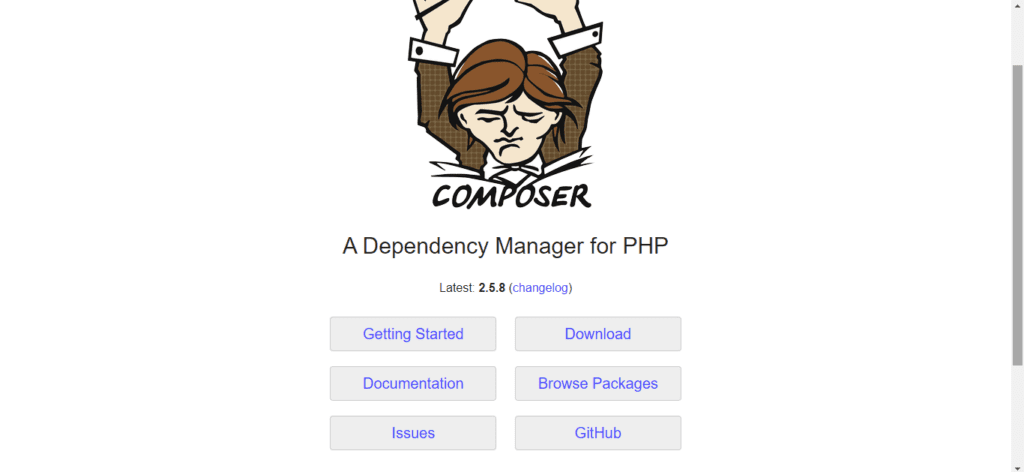
Step 4: Download and Install Composer
- Visit the official Composer website and download the installer for your operating system.
- Download this Composer – setup.exe file.
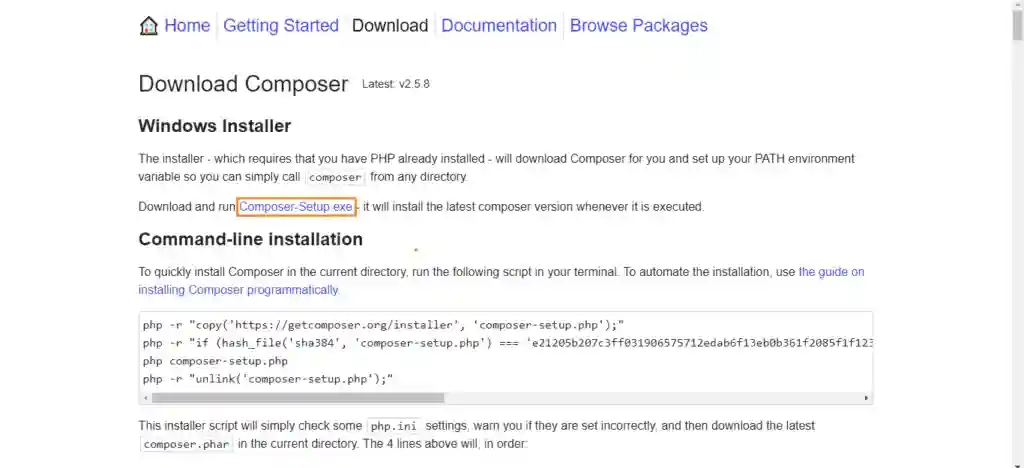
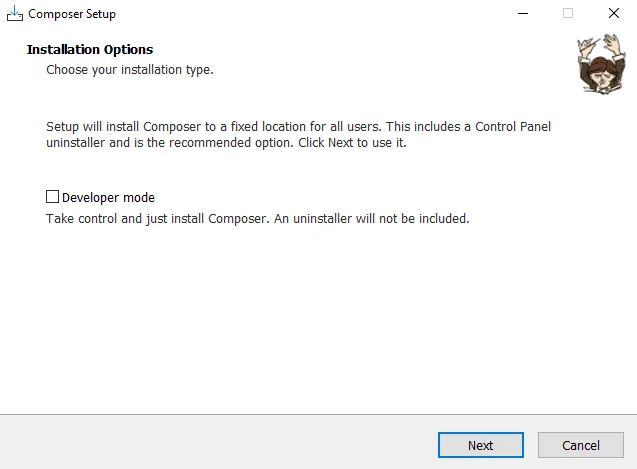
- Run the downloaded installer and follow the instructions below.
- Select a mode for installation; it is better to choose the recommended one.
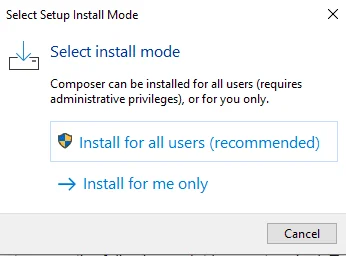
- Click “Next.”
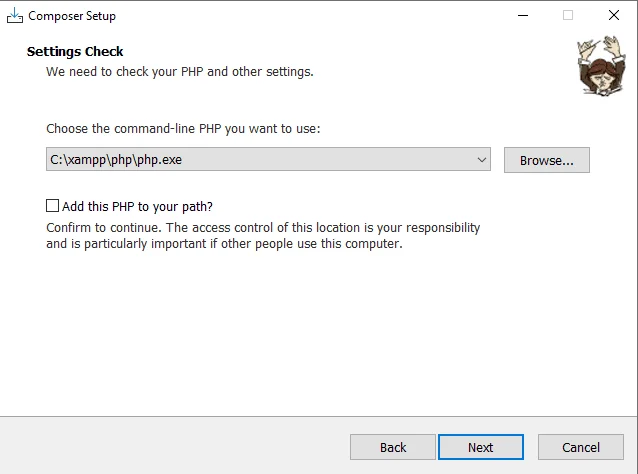
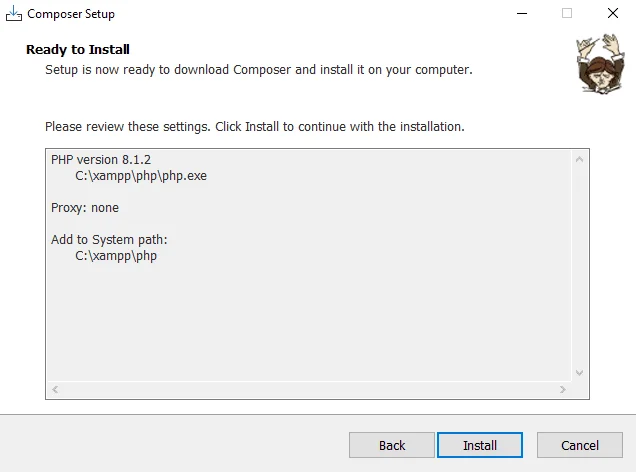
- Locate the PHP file address in the XAMPP folder and enter the location here. Then, check the “add this PHP to your path” box and click on the next.
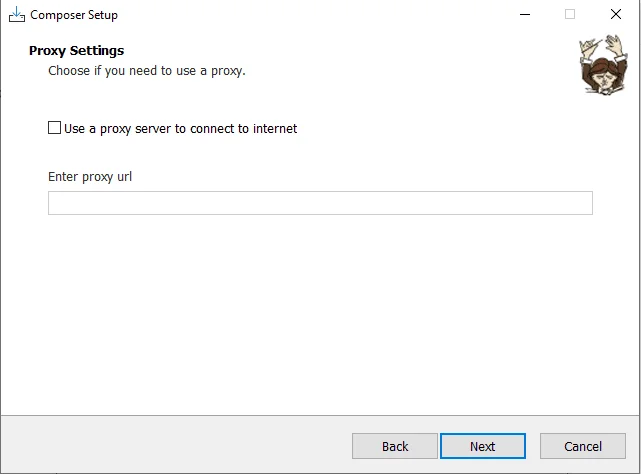
- Add a proxy URL if you want to, or skip it and click the “Next” button. (Optional)
- Click on the “Install” button to begin the installation process.
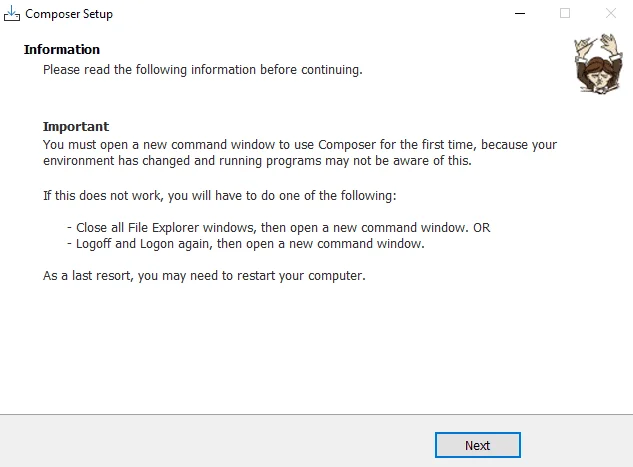
- Click on the “Next” button.
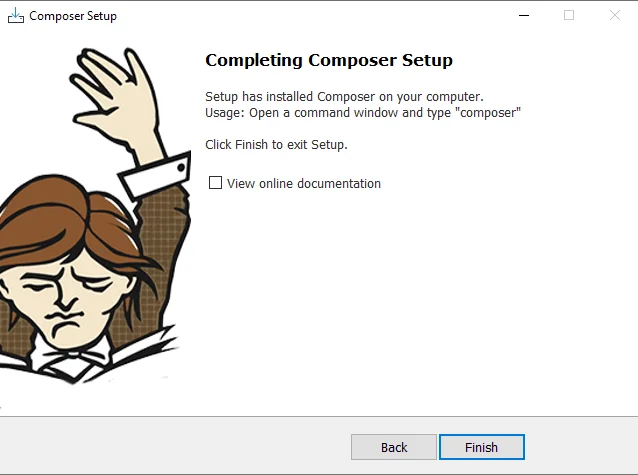
- Click on the “Finish” button to complete the installation.
- Open the Command Prompt and run the `composer` command to verify that Composer is installed correctly.
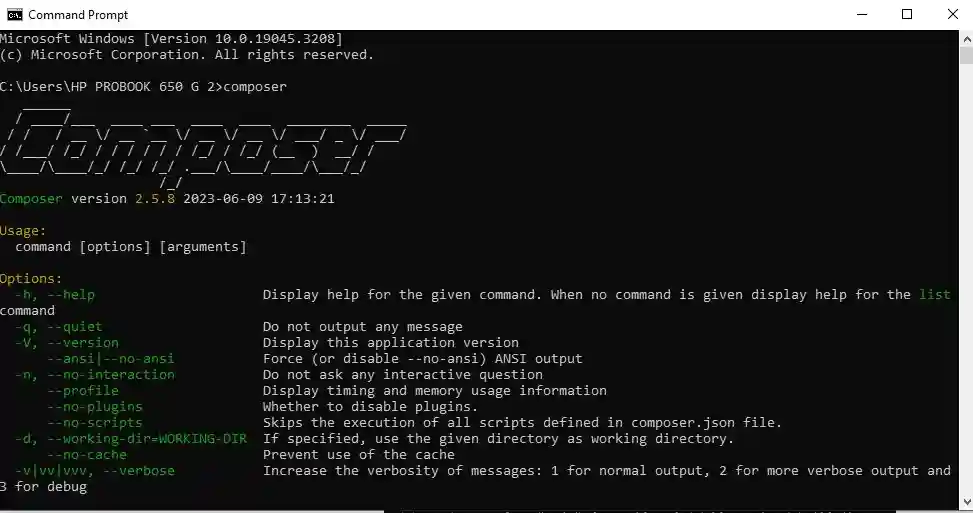
Here you go! We have successfully installed the Composer on our system.
Step 5: Install Laravel
We are done with all the installations and configurations. Now, our local environment is ready. We can install Laravel on it. Follow these instructions to install Laravel on your local environment.
- Open the Command Prompt and navigate to the htdocs directory within your XAMPP installation (e.g., `C:\xampp\htdocs`) using the cd command.
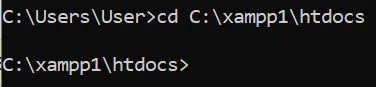
- Run the following command to create a new Laravel project:
composer create-project --prefer-dist laravel/laravel new_projectReplace `new_project` with your desired project name.
- While running the above command, you might get this error message.
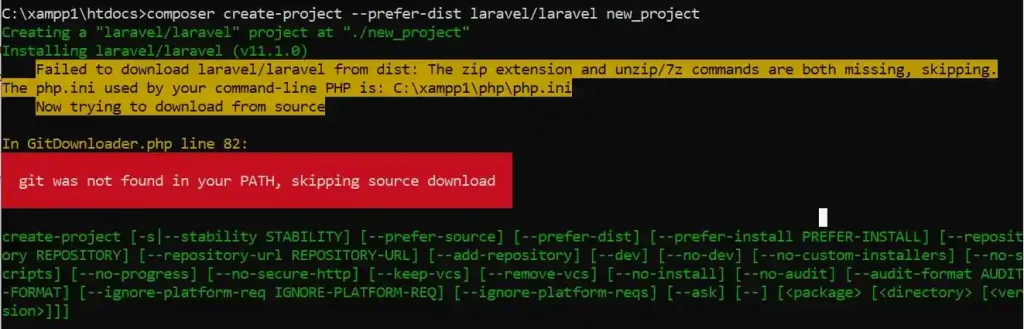
- This error can arise if your zip extension file is not enabled or git is not installed.
- You can solve this issue by installing Git from its official site on your system and following the instructions in the official documentation.
- This error mainly occurs because the zip extension file is not enabled. So, let’s solve this issue.
- Go to the C:/xampp/php/ folder and locate the php.ini file.
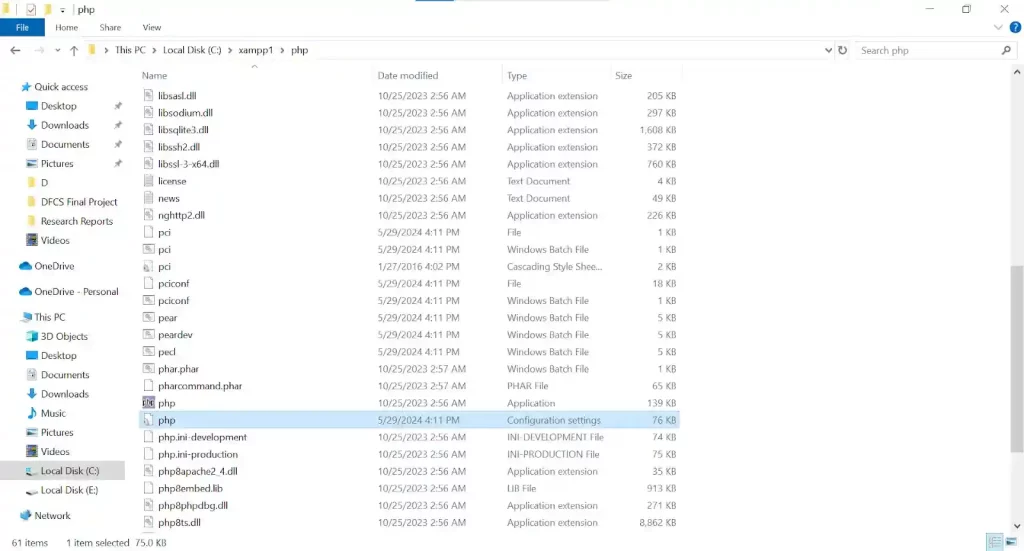
- Right-click on this file and open it with the Notepad editor.
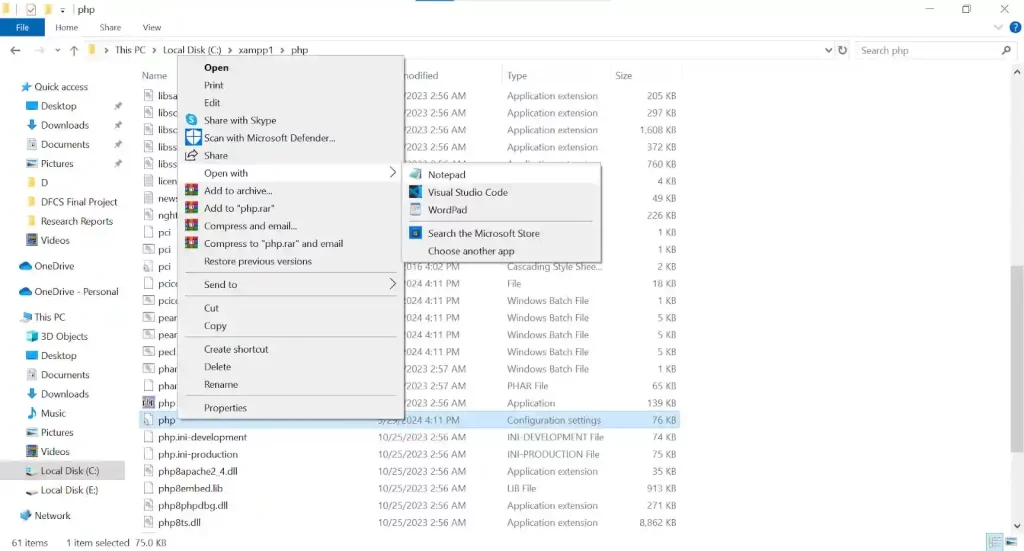
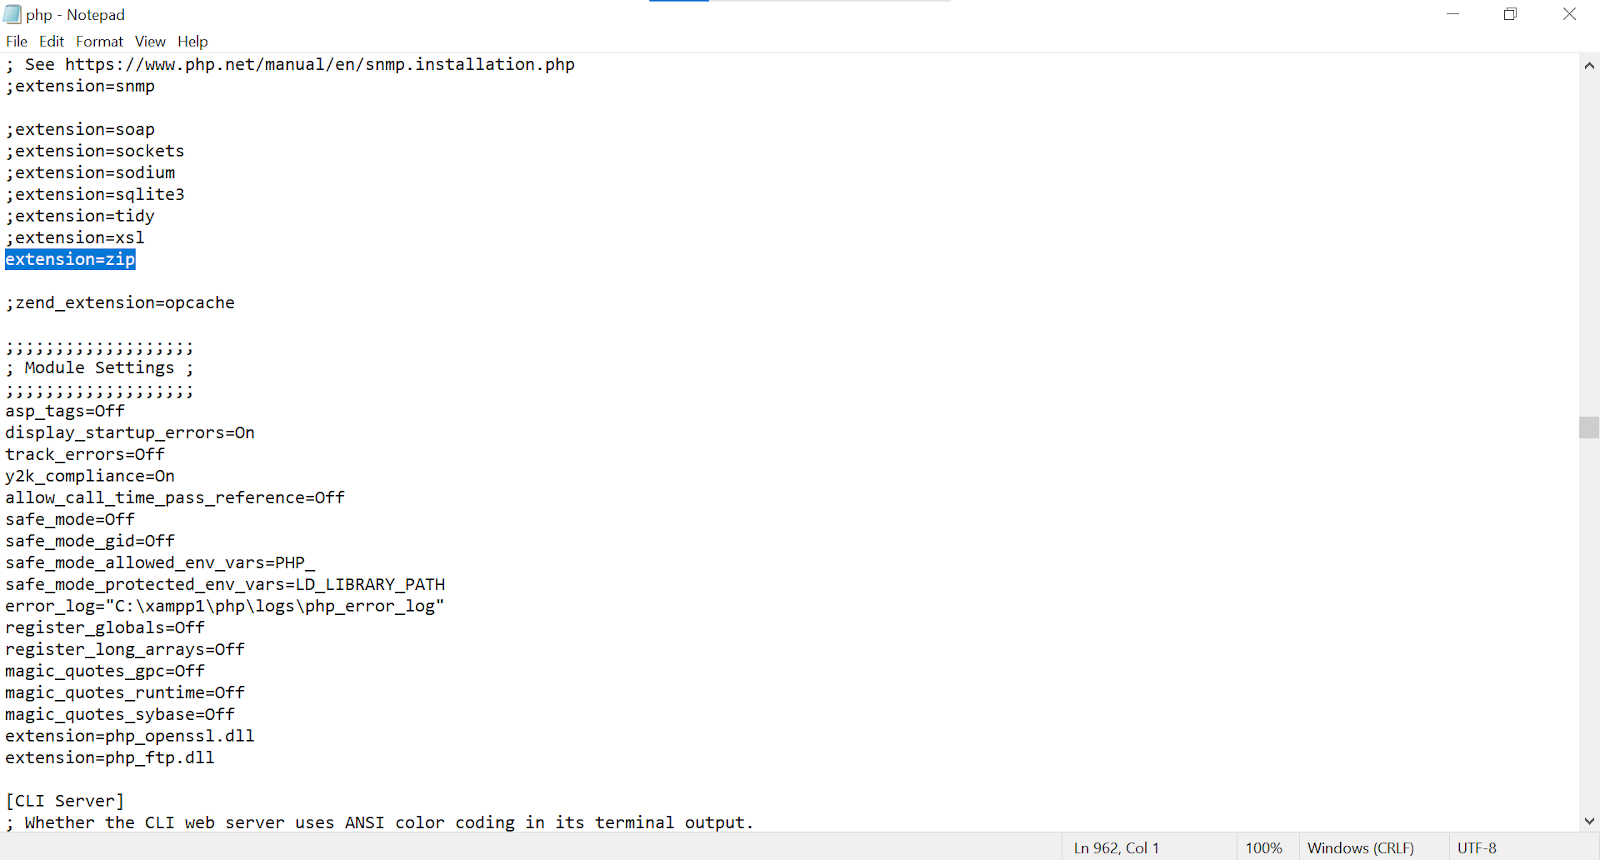
- Locate the extension=zip variable and remove the semicolon from the start.
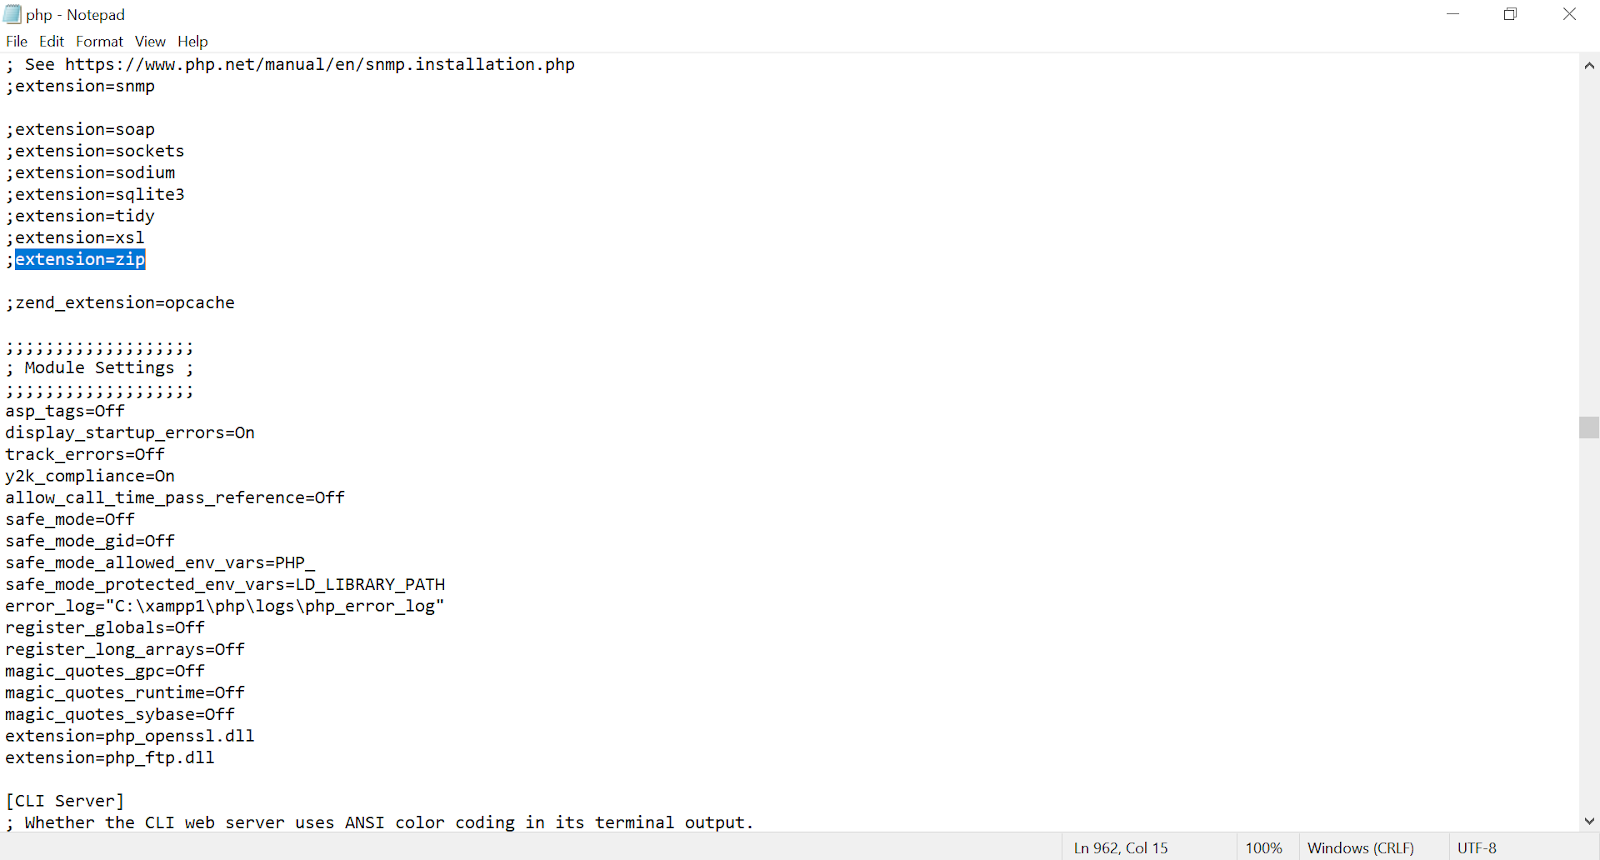
- Save the file.
- Now, restart your command prompt, navigate to the C:\xampp\htdocs folder, and run the composer create-project –prefer-dist laravel/laravel new_project command again.
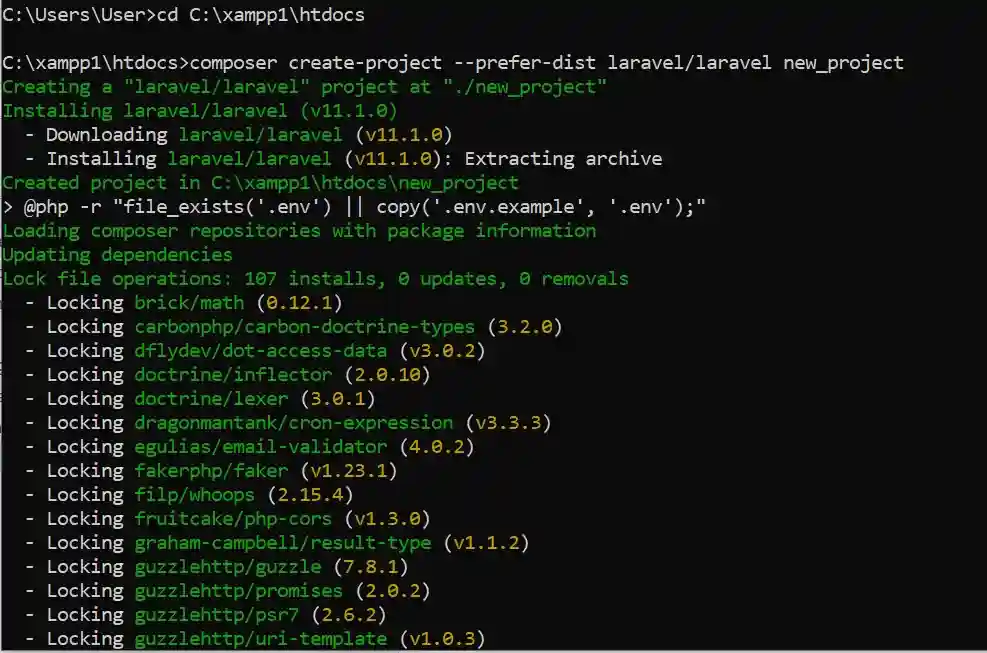
- It will start downloading and installing Laravel locally on your system. You can see it’s downloading and unpacking the necessary Laravel packages and dependencies.
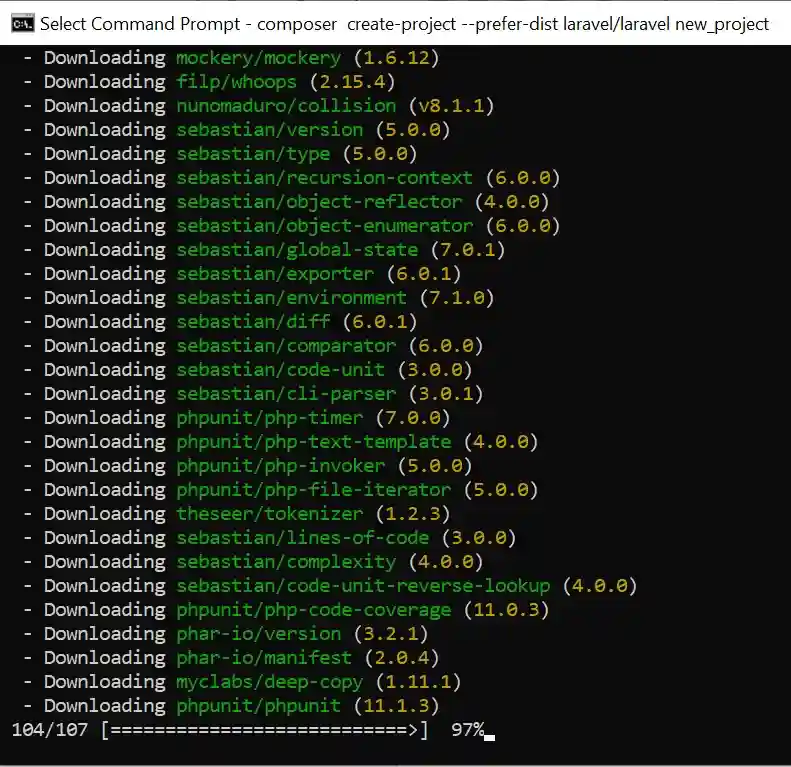
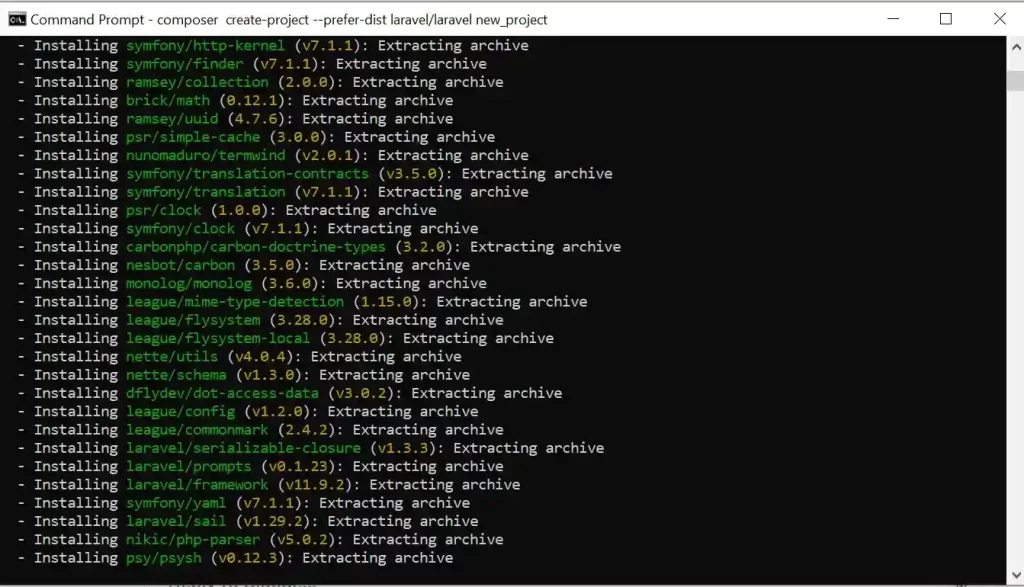
- Wait for Composer to download and install all the required Laravel dependencies.
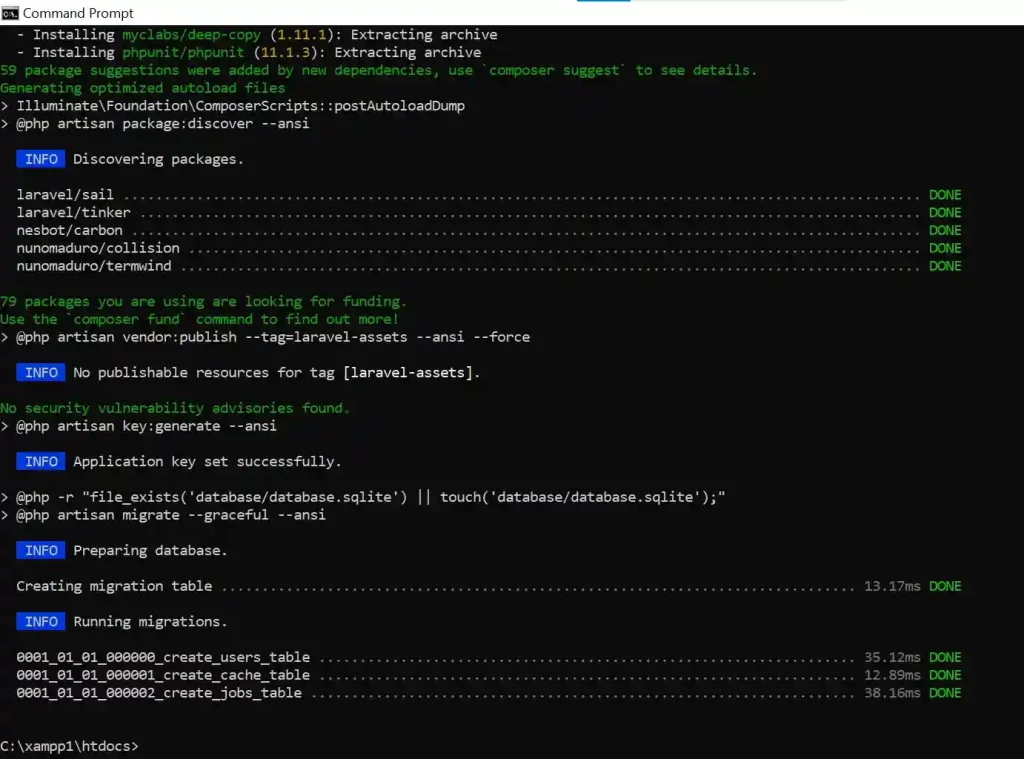
- It is installed successfully. Now the installation is complete, navigate to the newly created project directory:
cd new_project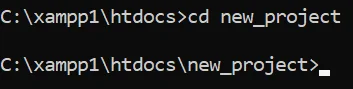
- Start the Laravel development server by running the following command:
php artisan serve
- You will see a message indicating the development server is running and providing a local URL (e.g., http://127.0.0.1:8000).
- Now, open your web browser and visit the provided URL or http://localhost/new_project/public to see the default Laravel welcome page.
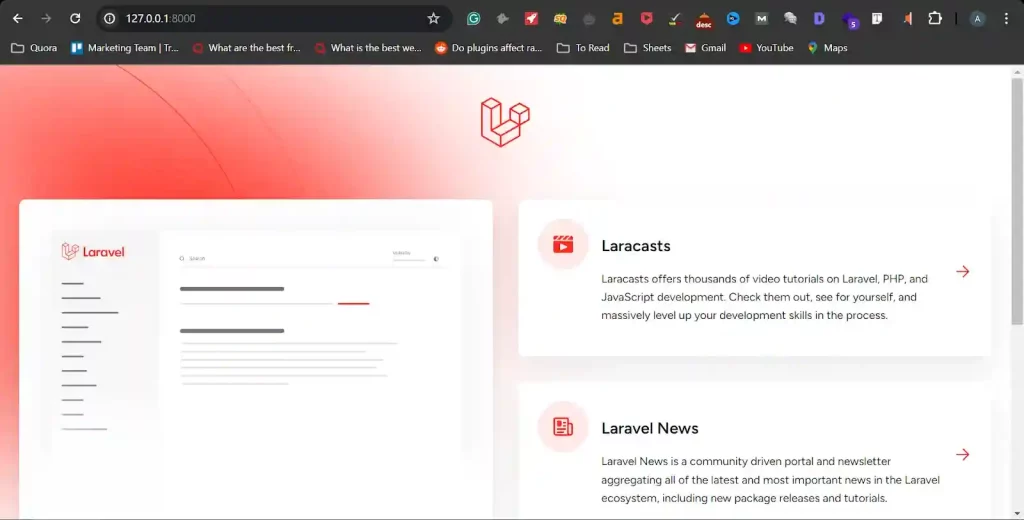
Congratulations! You have successfully installed Laravel on your local machine using XAMPP. You can now start developing your Laravel applications locally.
Conclusion
In conclusion, this step-by-step guide provided detailed instructions for installing Laravel on a local development environment using XAMPP. By setting up a local host server, developers can safely test and experiment with Laravel’s features, streamline their workflow, and work on multiple projects simultaneously without affecting live applications. After following the steps to install XAMPP, configure it properly, create a database using phpMyAdmin, install Composer, and finally install Laravel itself, developers will have a fully functional local Laravel environment. This local setup allows for efficient development, debugging, and testing before deploying applications to a production server. With Laravel installed locally, developers can exploit its powerful capabilities and conveniently explore its vast collection of features and tools on their own machines.
Related Topics:

Related Tutorials