Ecommerce is undeniably a part of our modern day lives. With ecommerce. In the last 10 years, retail ecommerce sales has seen a 4.4x growth; from USD1.3 billion in 2014 to USD5.7 billion in 2023. By 2027, it’s projected to cross the USD8.0 billion mark.
Creating an engaging online store can help you reach more customers and increase sales. But building an ecommerce platform is not that easy. It requires bringing together a complex ecosystem of products, orders, payments, and more. At the core, you need a robust framework to handle this complexity quickly and flexibly.
This is where Laravel comes in. As a PHP framework, Laravel provides an expressive and elegant syntax that makes building complex systems easy. With strong community adoption and scalable architecture, Laravel has become the go-to choice for developing ecommerce platforms.
However, reinventing every piece of the ecommerce wheel is an unnecessary challenge. This is where Bagisto comes in – an open-source ecommerce framework purpose-built on Laravel and Vue.js. Bagisto handles the heavy lifting, like cart flows, multi-warehousing, and optimizations, so you can focus on customizing the experience.
In this guide, we will leverage Bagisto to rapidly create a Laravel-based ecommerce store and go through the critical components needed to build a custom ecommerce website using Laravel. So let’s dive in and see how Laravel provides the tools to excel in ecommerce
Requirements
The proper foundation is essential to building your online store on the powerful Laravel and Bagisto stack. Before we start our journey of crafting ecommerce experiences, let’s ensure your system meets the following prerequisites:
- Operating System: Ubuntu 16.04 LTS or later for Linux and Windows 7 or higher with WAMP/XAMP for Windows is recommended for optimal performance.
- Web Server: Apache 2 or NGINX to efficiently serve application requests and content.
- Memory: At least 4GB RAM for smooth functionality as the store scales.
- PHP: PHP 7.4 or higher for the latest language features, speed optimizations, and security fixes.
- CPU: A multi-core processor with 1 Ghz+ clock speed will suffice for stable functioning.
- Database: MySQL 5.7 or higher and MariaDB 10.2.7 or higher are tuned for handling ecommerce data demands.
- Other: Up-to-date versions of Node, npm, and Composer for asset pipeline management.
Meeting these system and software requirements is necessary to avoid common environmental issues when building your Laravel/Bagisto-powered storefront. It will also provide maximum flexibility to customize experiences and scale infrastructure in the long run.
Install and Configure Bagisto using Composer
Bagisto offers a modern, modular ecommerce engine built with Laravel and Vue.js. By leveraging Composer, PHP’s dependency manager, installing Bagisto is quick and easy. For that, you need to install Composer on your system first. I have installed it, so I will create a project in a fresh directory to develop the store. If you want to know how to install Composer on your system, check out the Composer installation part of this guide. Open an SSH terminal session to your server and navigate to the folder where you want to install Bagisto. Then, run this command to create a new project named bagisto:
composer create-project bagisto/bagisto
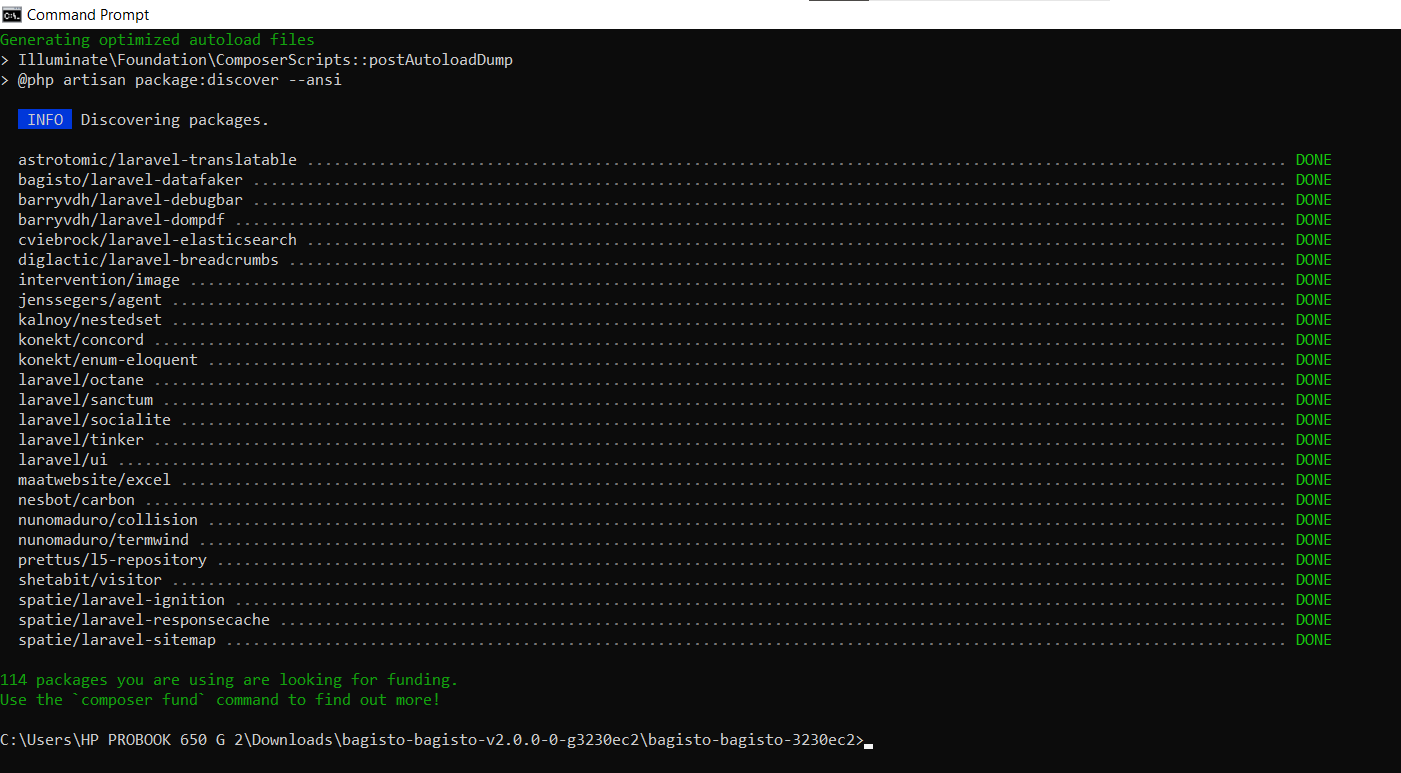
The Composer will fetch all dependencies and scaffold the Bagisto skeleton files.
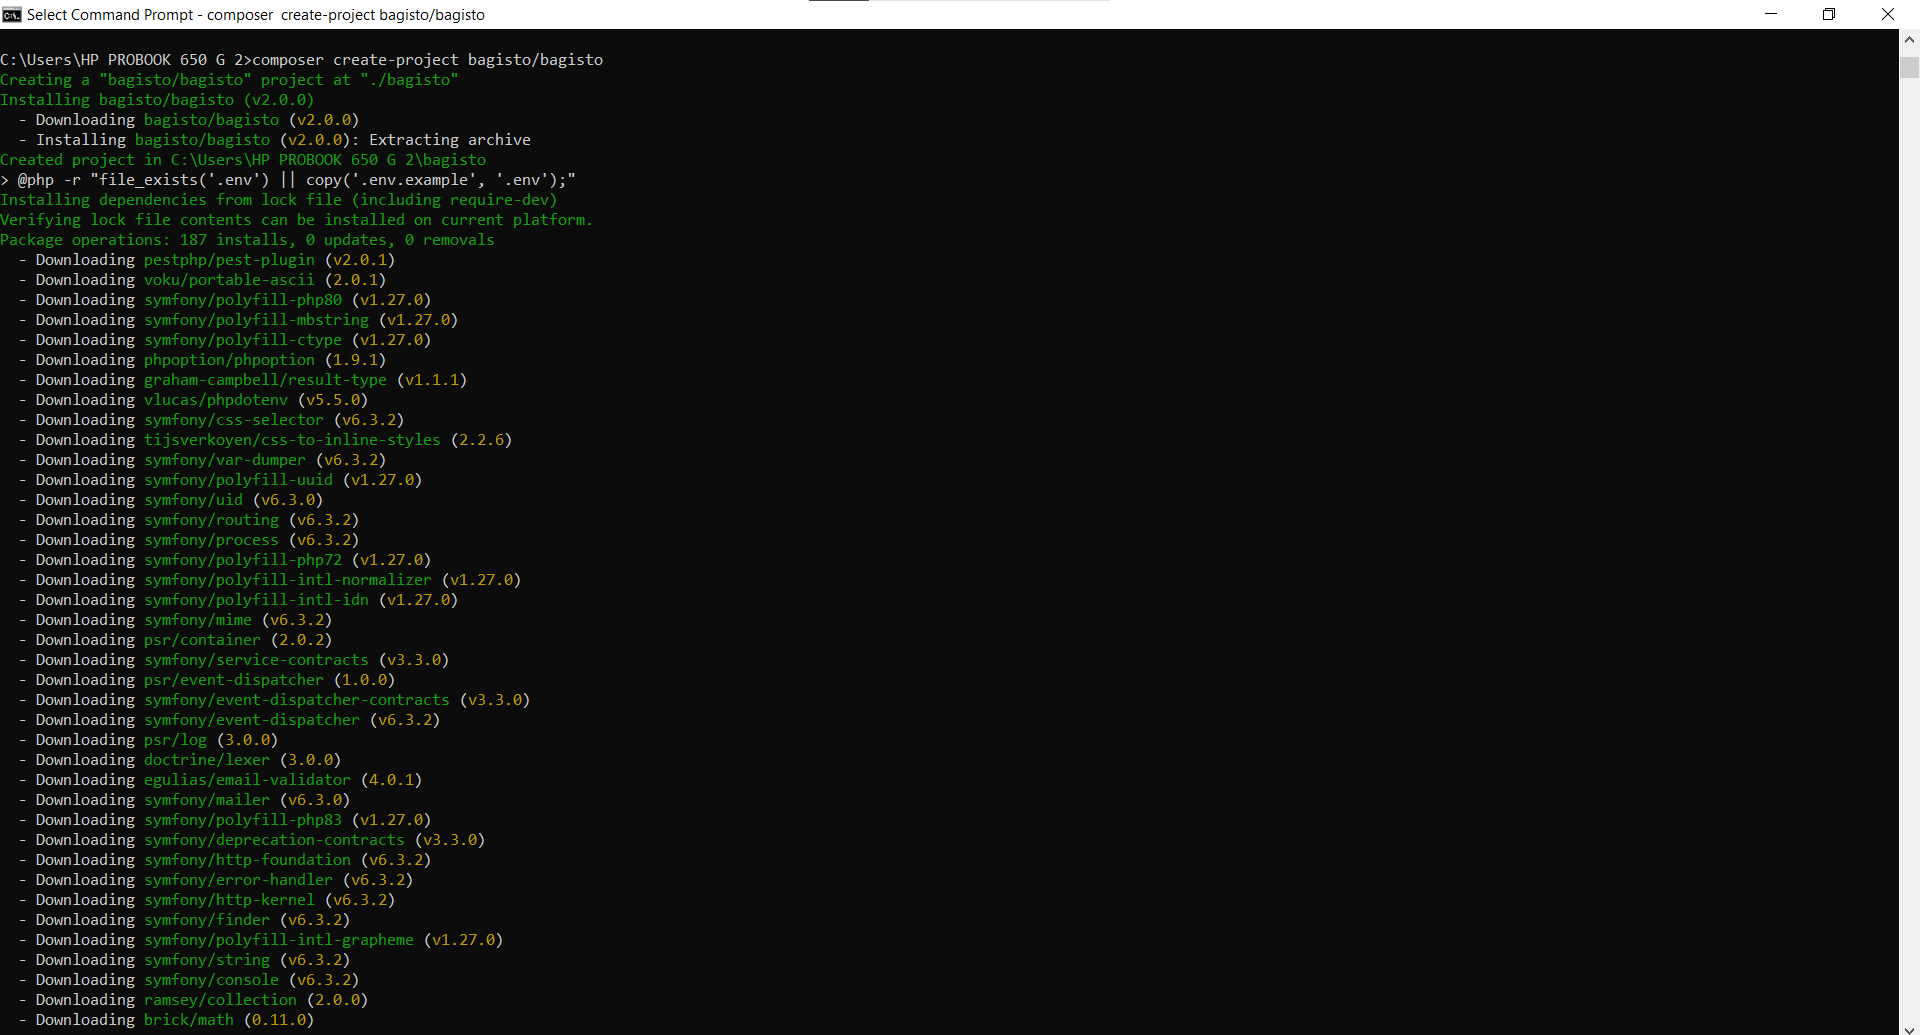
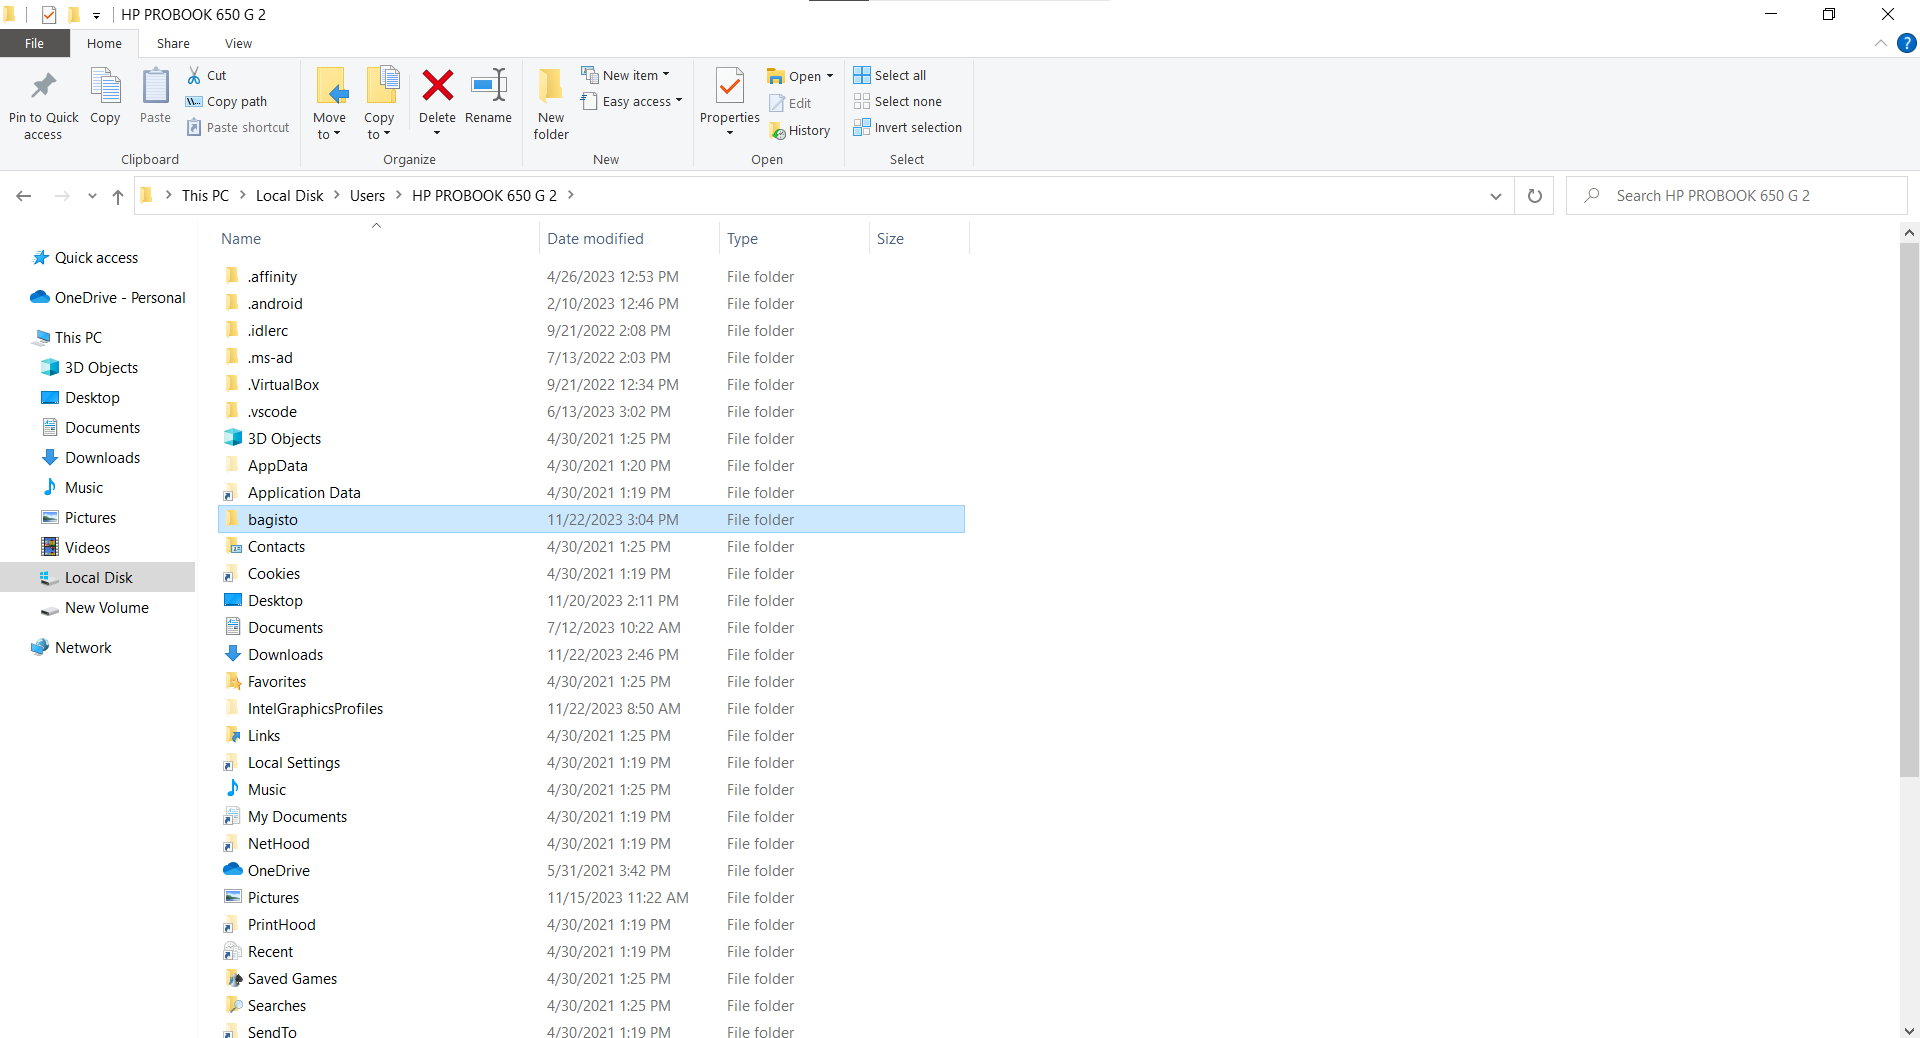
This will run the composer command to download and install the Bagisto files from the Bagisto GitHub repository into a new Bagisto folder. Composer is a PHP dependency manager that will install Bagisto and its dependencies.
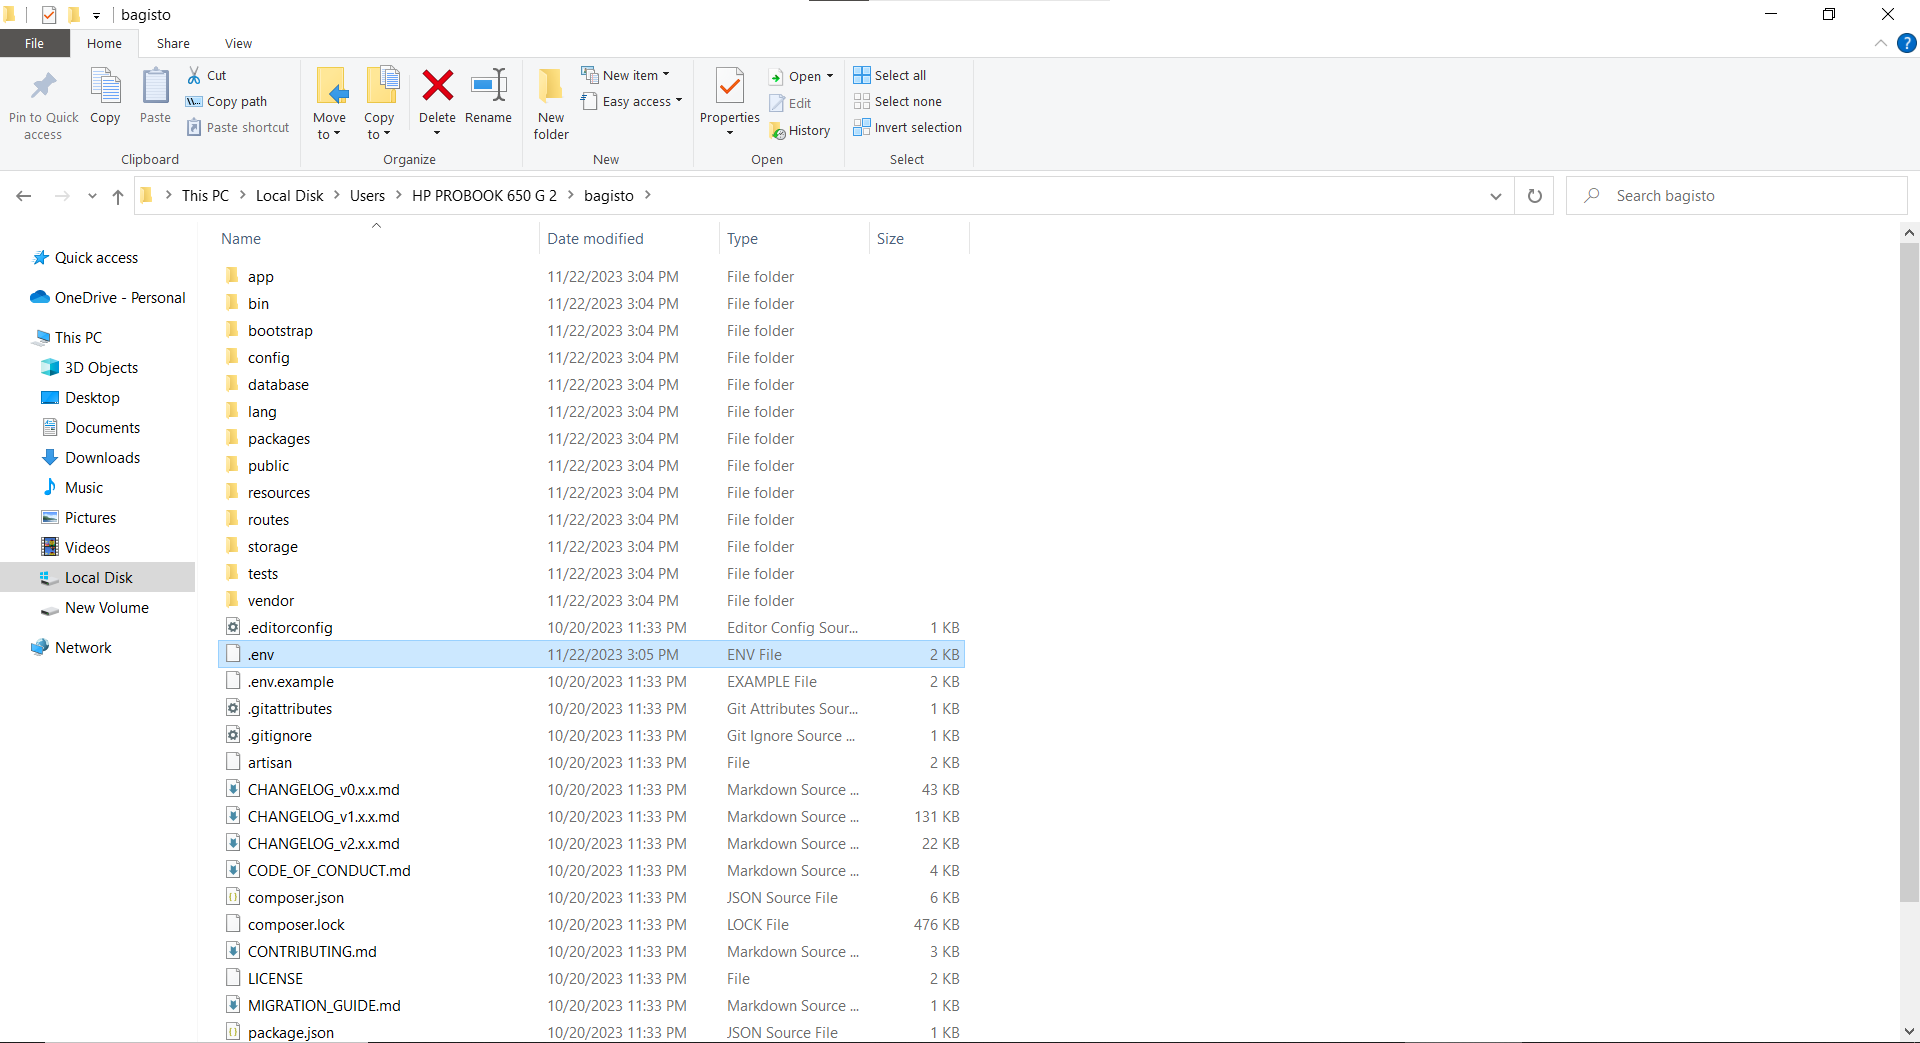
After installing Bagisto, you must configure the database and email settings by editing the .env file created inside the Bagisto folder. You would add your database connection details, mail server settings, etc.
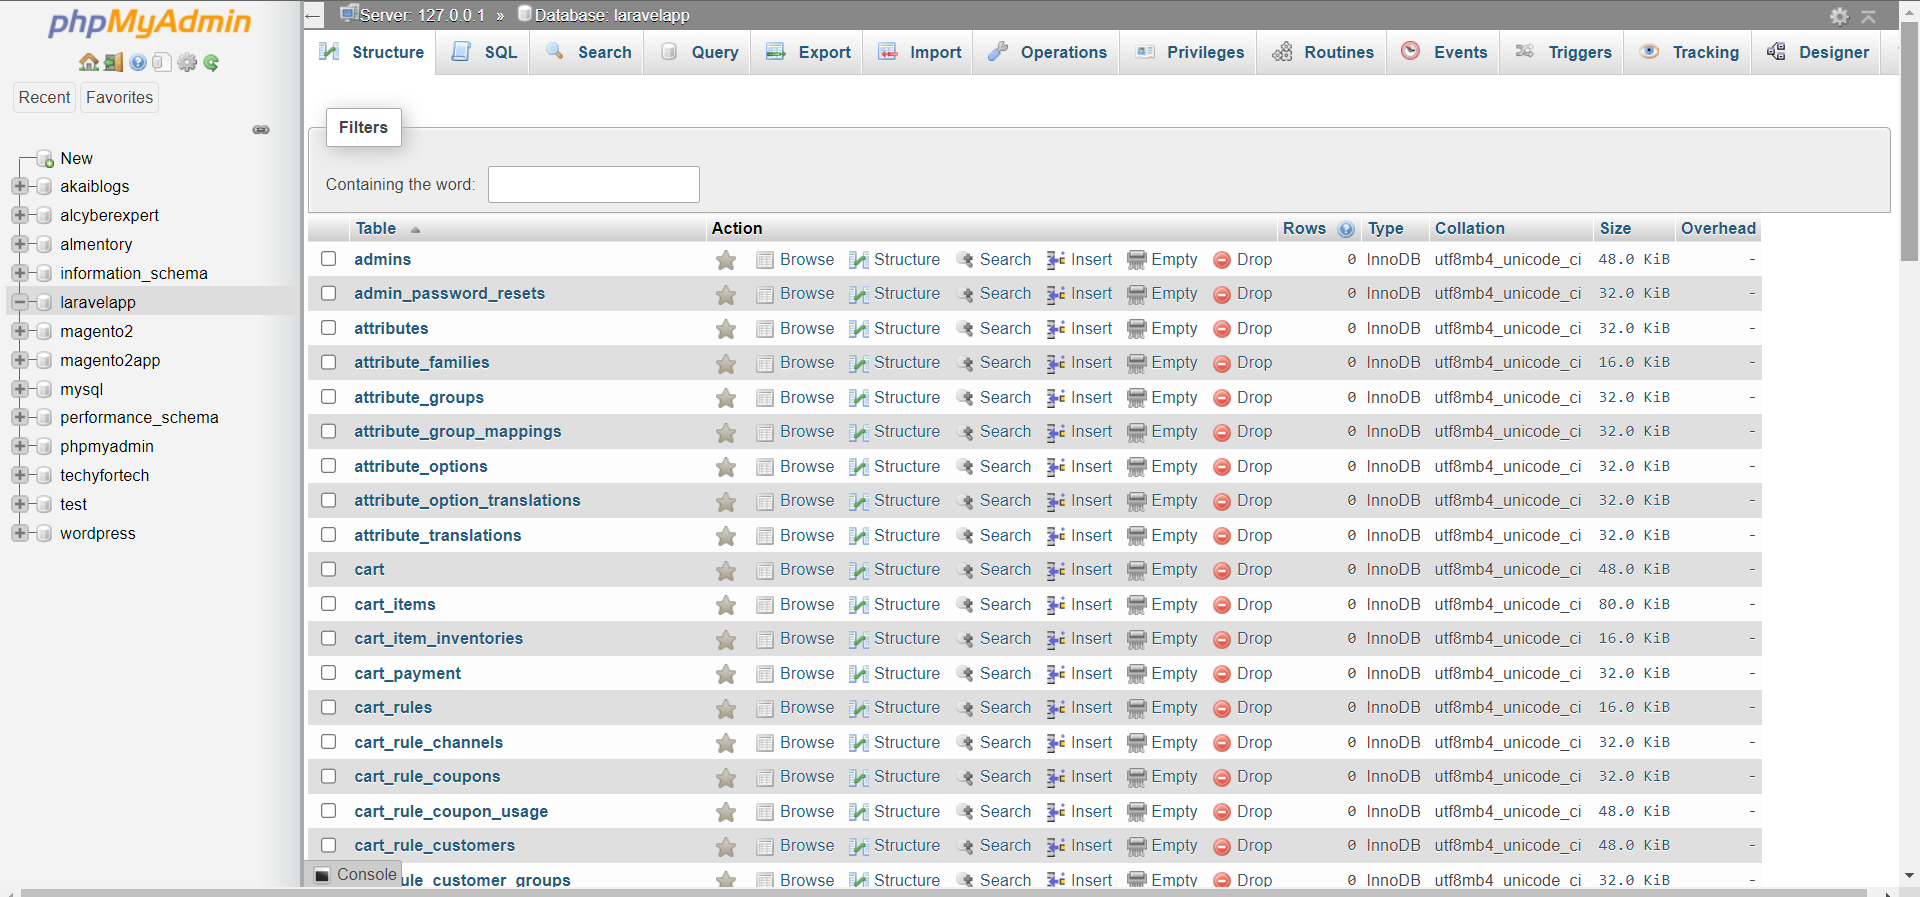
Note: If you do not have a database, go to the localhost/phpmyadmin and create a database there. After that, edit the .env file to connect your database with your application.
After this run the below command to install the Bagisto on the system.
php artisan bagisto:install
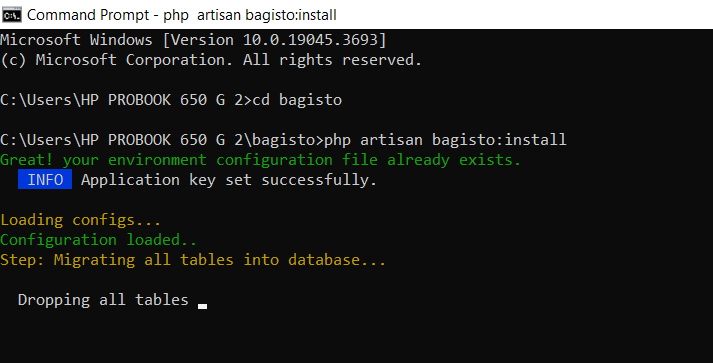
This runs an Artisan command (Artisan is the Bagisto CLI) to finalize the installation by setting up the database tables, generating app keys, etc.
You can manually download Composer if you don’t have Composer installed globally on your system.phar, put it into the installation directory, and run composer commands directly from there instead.
php composer.phar create-project bagisto/bagisto
This runs the composer create-project command by executing composer.phar instead of globally installed composer.
Install Bagisto with a Downloadable zip file
If you downloaded the Bagisto source code as a zip file rather than using Composer to install it, follow these steps.
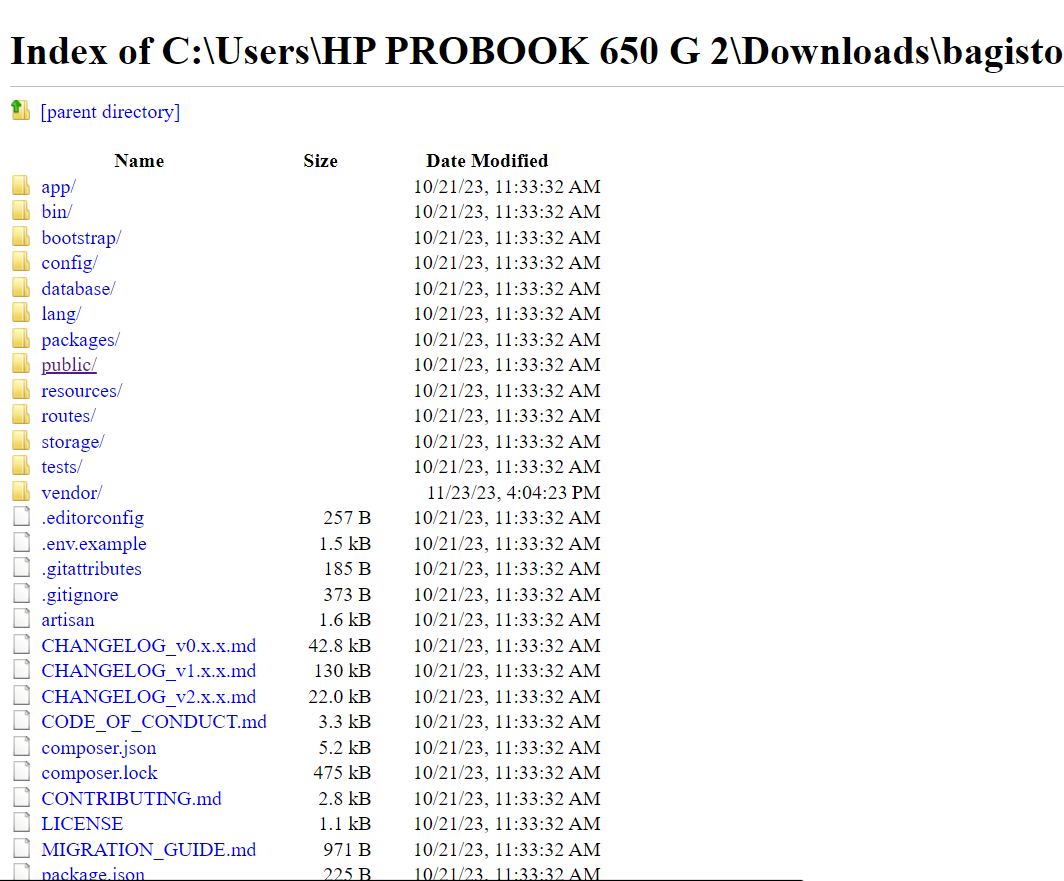
When you download the Bagisto source code as a zip file, it will be extracted into a folder like Bagisto-master.
Navigate into that bagisto-master folder using the command line/SSH.
Run Composer install
composer install
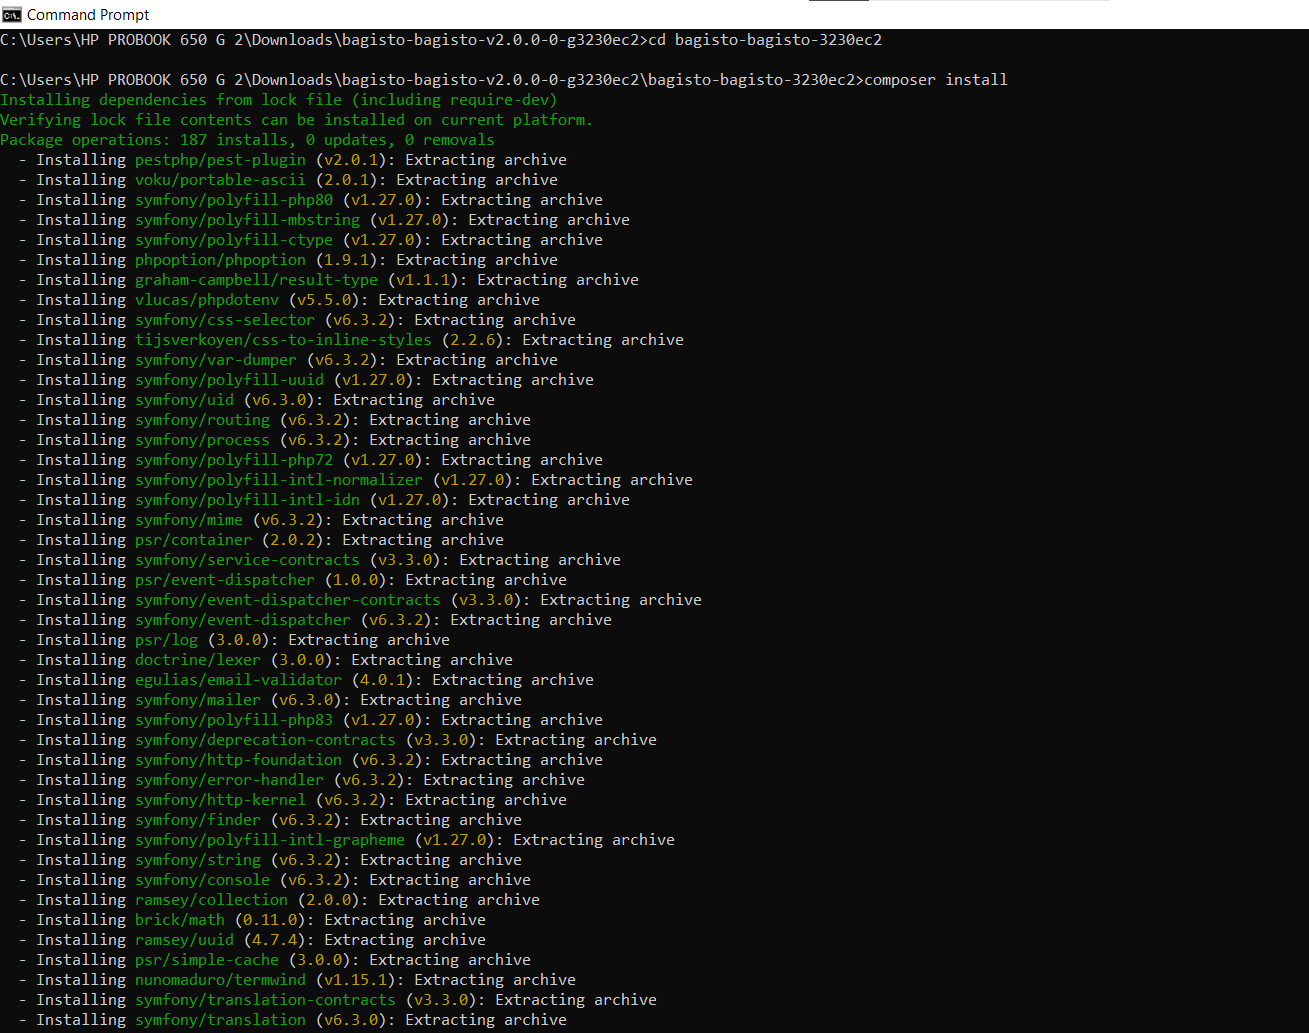
The composer install command will install all the PHP dependencies and libraries that Bagisto requires to run based on the composer.json file included in the source code.
This allows you to set Bagisto up and ready to configure even if you don’t have a composer available globally on your system. Changing into the bagisto-master folder and running composer install will run composer locally and download the PHP packages into the vendor folder.
Configure Variables in the .env file
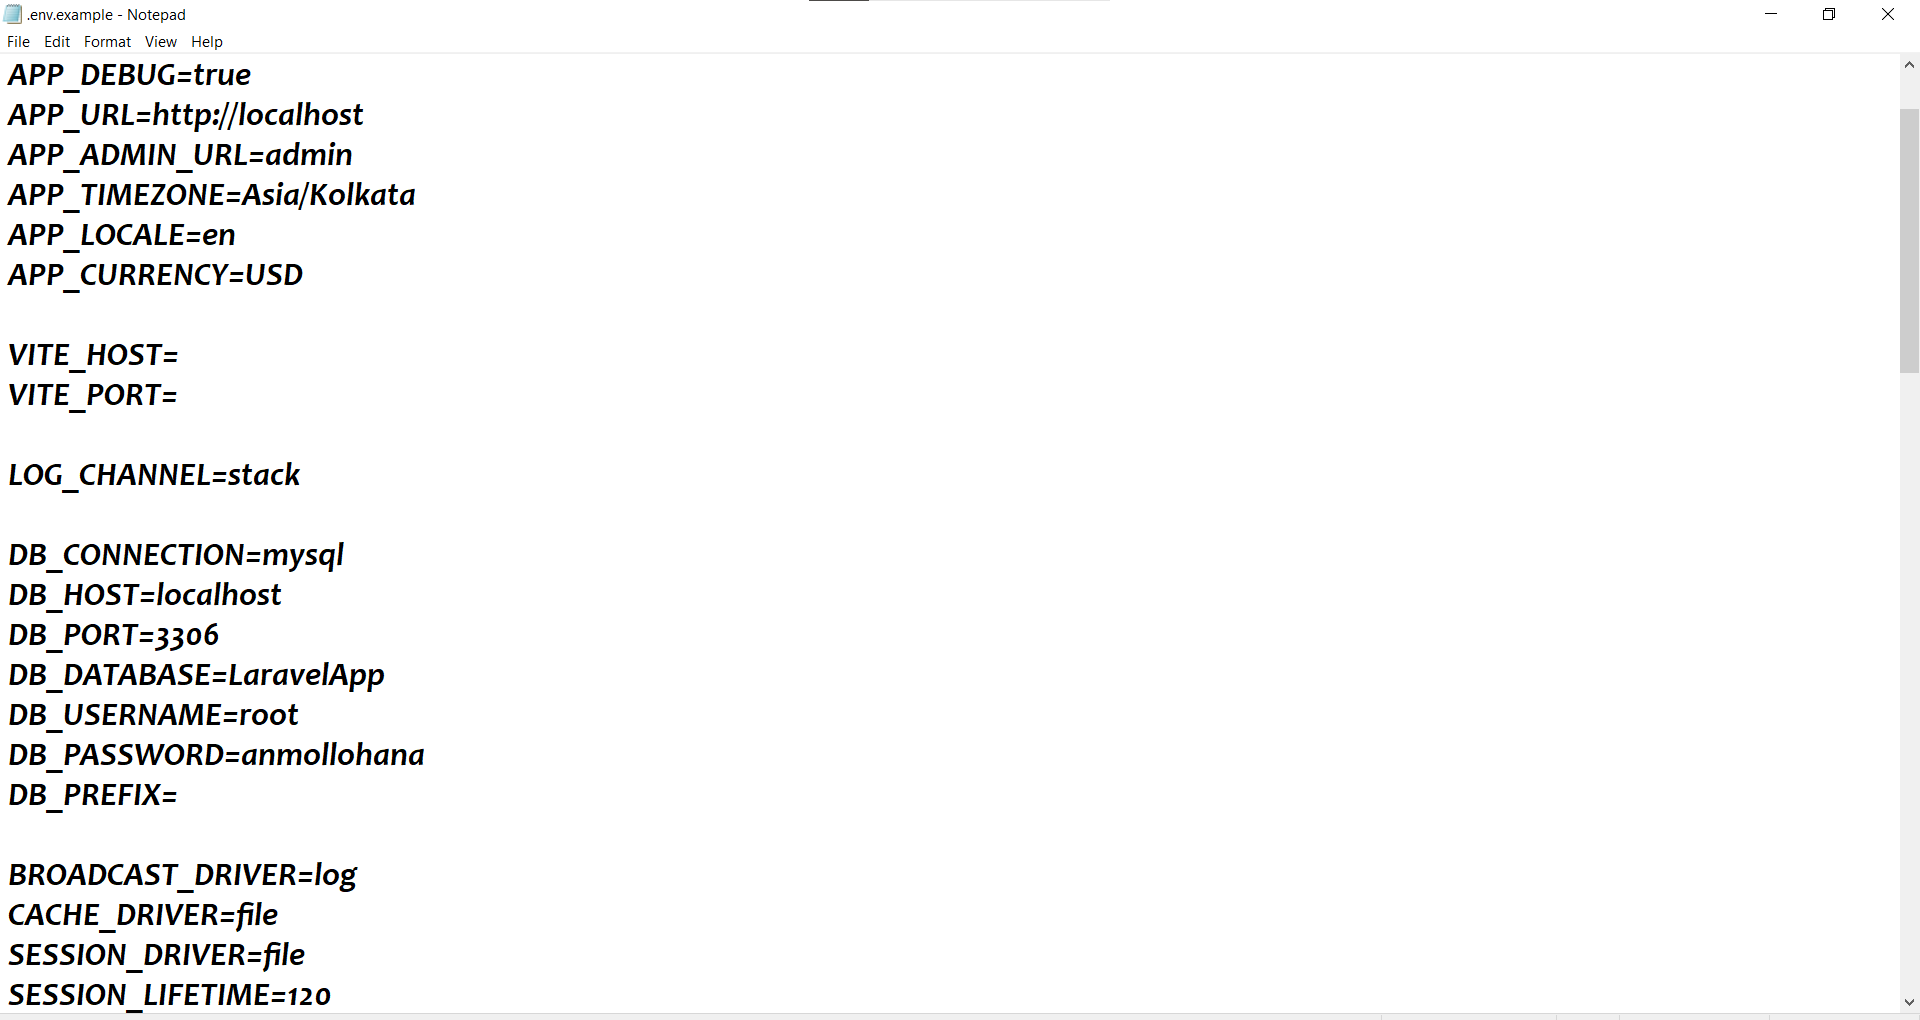
After running the composer create-project or composer install to download and install Bagisto and its PHP dependencies, the next step is configuring the environment variables in the .env file. The .env file contains configuration details for your specific Bagisto installation, like database connections, app URL, etc. It needs to be customized with your details. Set these variables:
- APP_URL – The base URL through which your Bagisto app will be accessed
- DB_CONNECTION – Database type (typically MySQL)
- DB_HOST – Database server hostname/IP
- DB_PORT – Database port number (default is usually 3306 for MySQL)
- DB_DATABASE – The name of the database you want Bagisto to use
- DB_USERNAME – Database authentication username
- DB_PASSWORD – Database user’s password
By setting these variables in the .env file, Bagisto will be configured to connect to and use your database.
This allows Bagisto to initialize the database tables it needs and save/retrieve data. The .env file securely provides the connecting details without hardcoding credentials.
Configure .env file for Downloadable Zip File
If you downloaded the Bagisto source code as a ZIP file rather than using Composer, you will get the .env.example file. The .env.example file contains example configuration values for the .env file. It is included as a template. Just make a copy of that file as .env. This creates the actual .env file that will store your absolute configuration. For that, run the command:
cp .env.example .env
This Linux copy command copies the .env.example to .env to create the file and also sets all the .env variables as mentioned above.
As explained previously, you need to edit the newly created .env file and set your database credentials, app URL, etc.
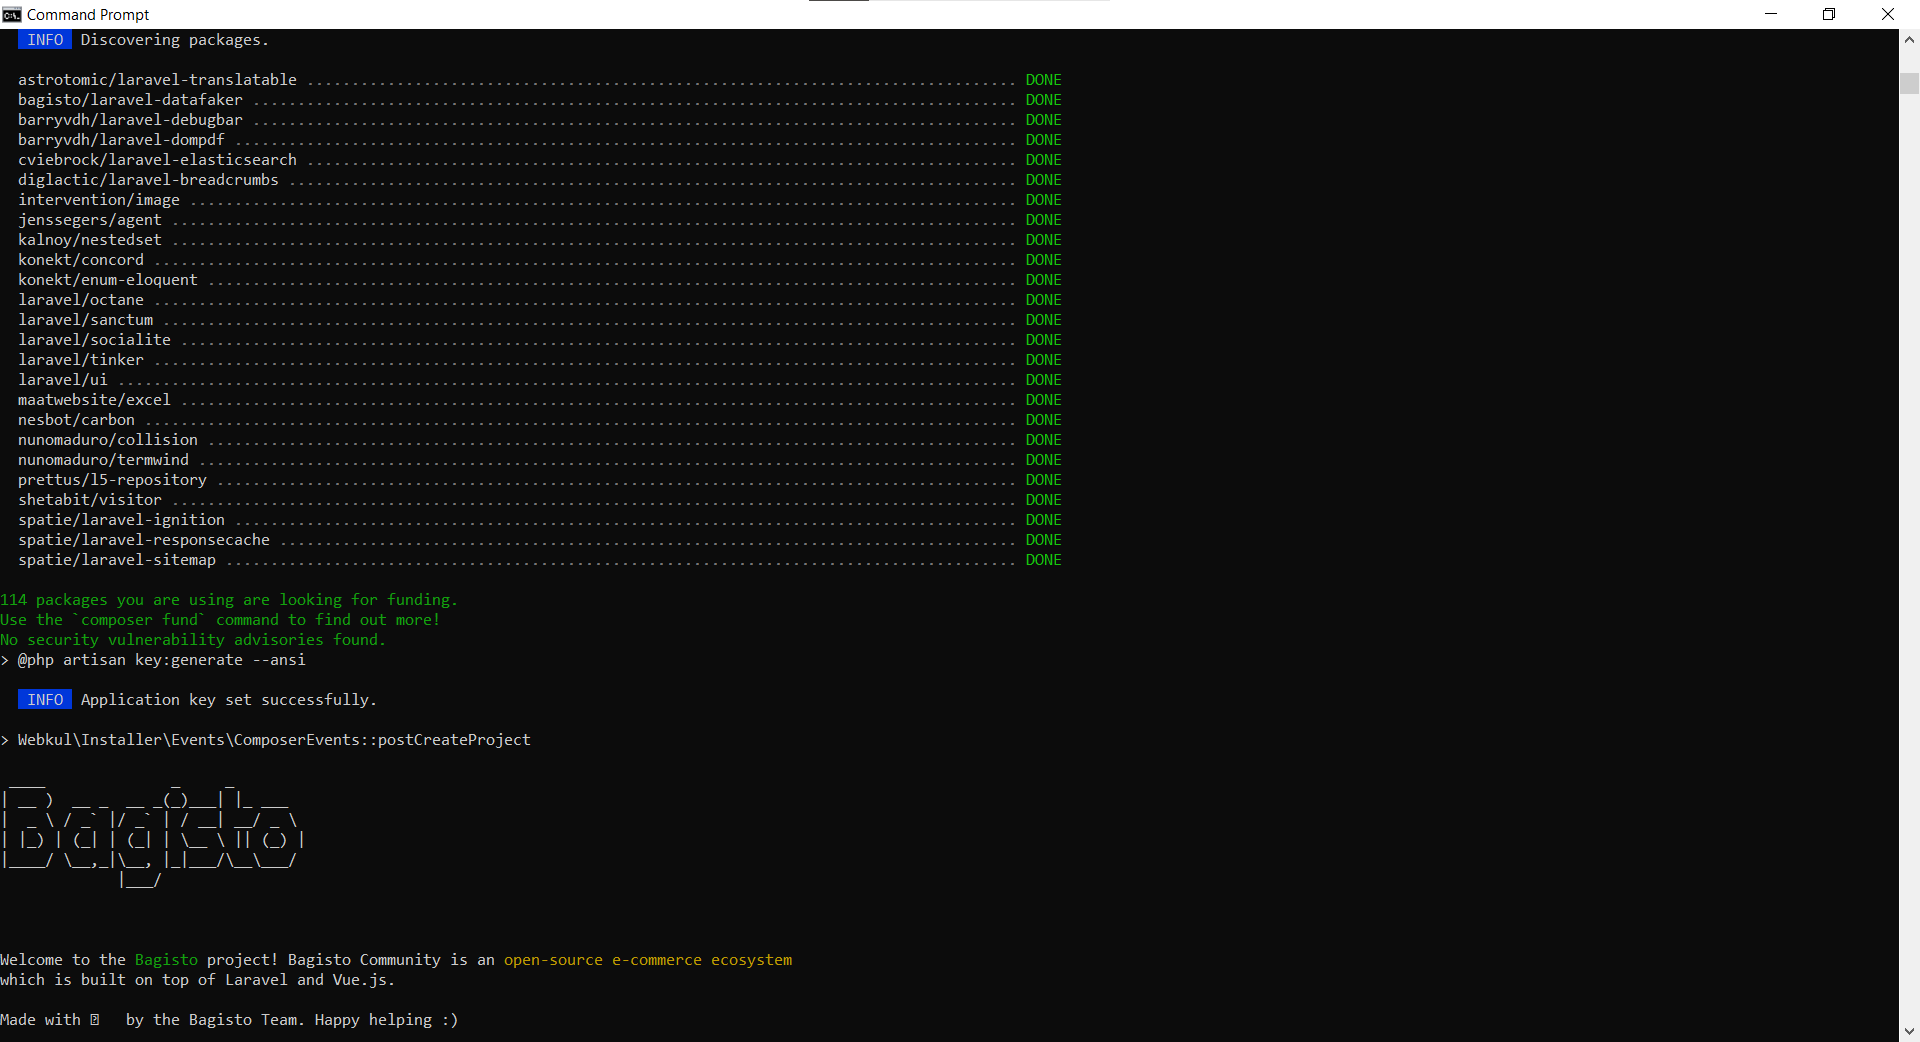
Once the variables have been set, generate the application key, which Laravel uses for encryption, by running the below command.
php artisan key:generate
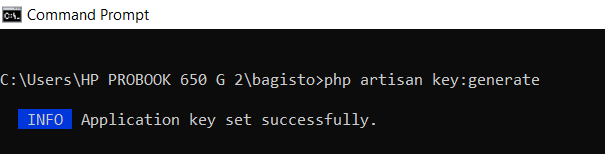
This artisan command generates and saves a random app key into your .env file.
Finalize the Installation Process
After setting up the .env file and generating an app key, some additional artisan commands need to be run to finalize the installation:
Run this command to create a migration table in the database as defined in your .env file.
php artisan migrate

This runs database migrations to create all the tables Bagisto needs in your database configured in .env.
Now, seed the database with default data using seed classes. Run the command:
php artisan db:seed

This will seed sample data, like products, categories, etc, into the database so you have some data.
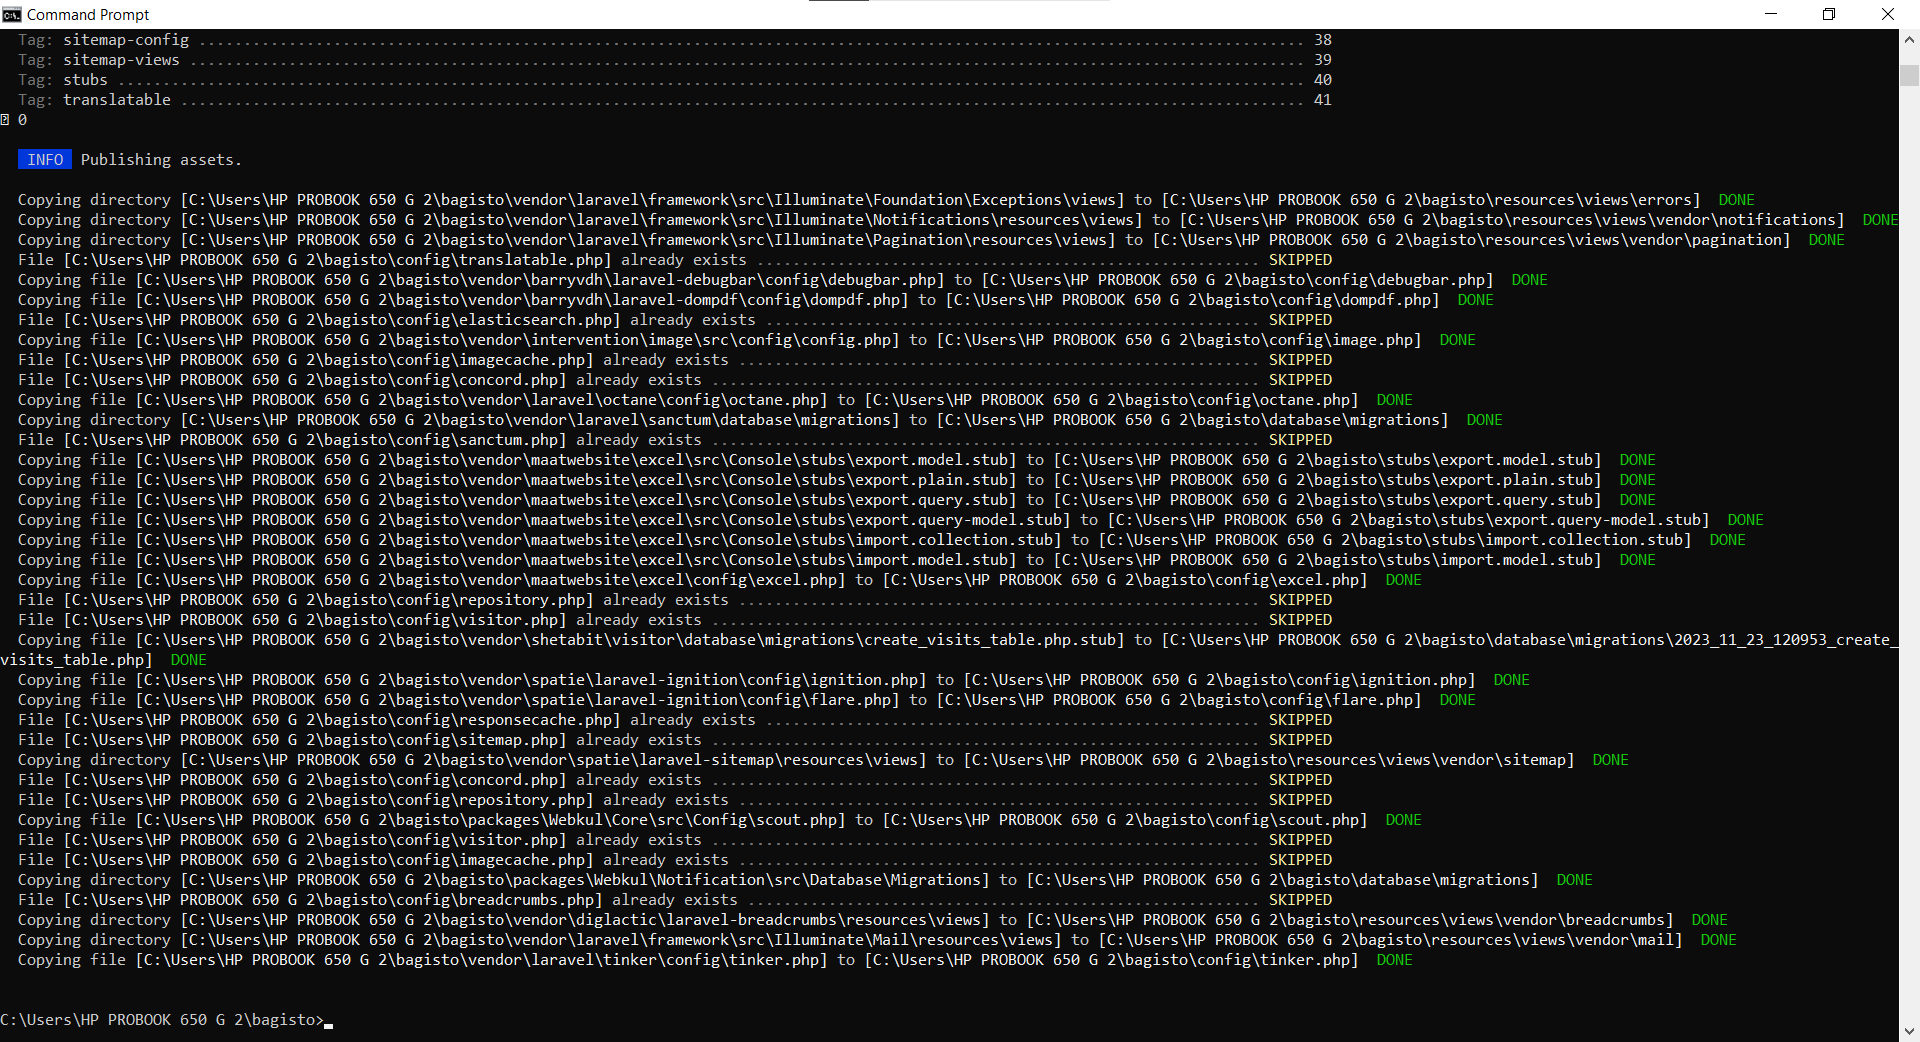
Copy your configuration, assets (CSS, JS, images, etc.), and all necessary files to the specified publish location by running this command.
php artisan vendor:publish
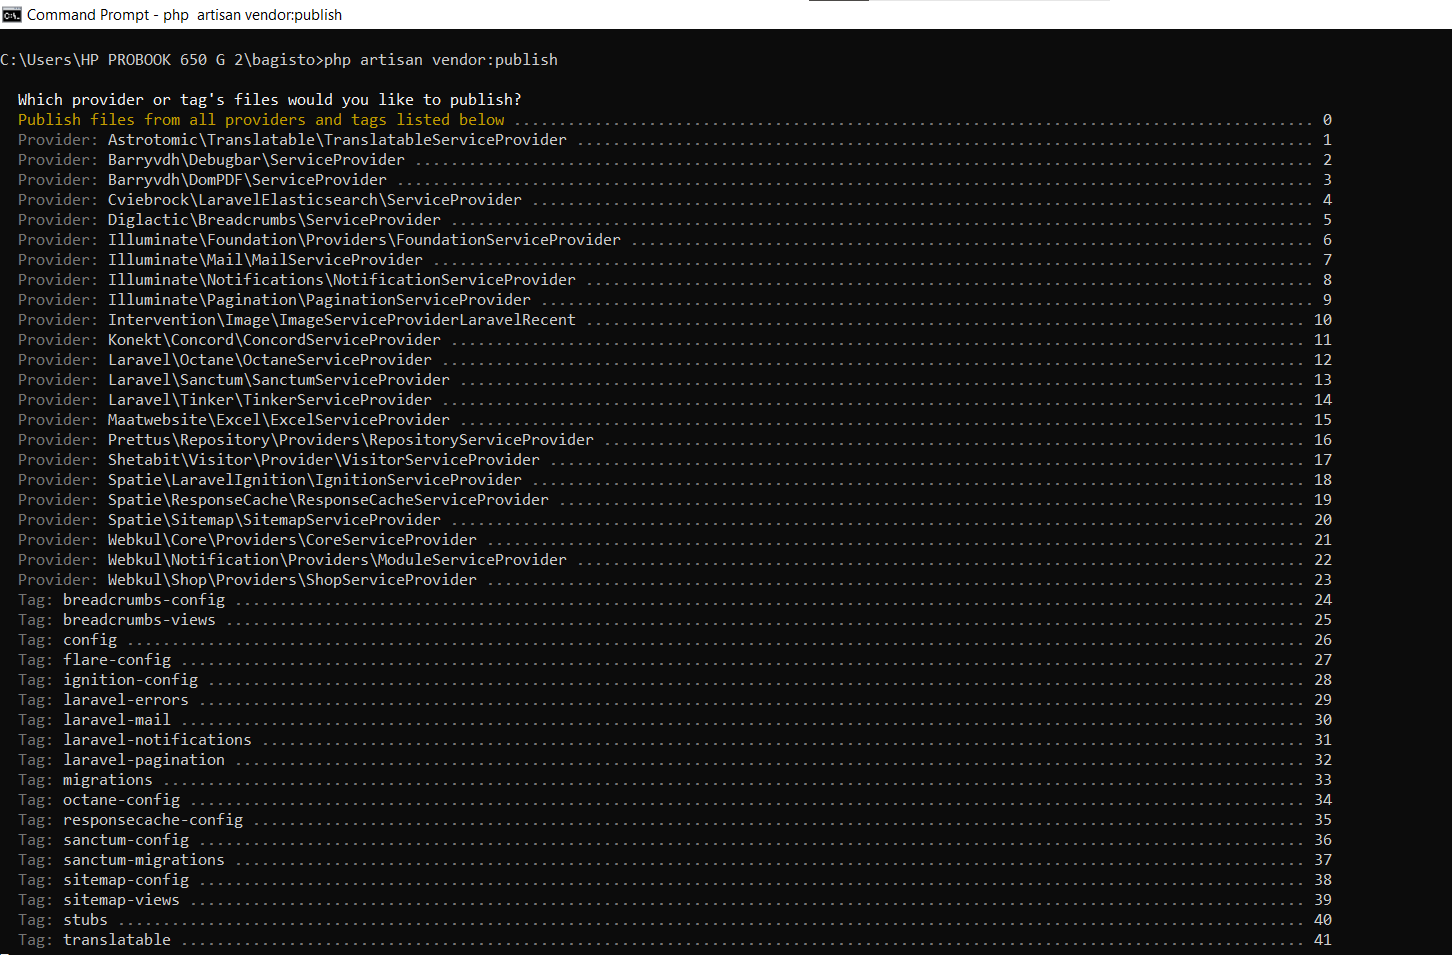
This will publish the Bagisto assets, public files, configurations, etc., into the filesystem.
When prompted, press 0 and enter to publish everything needed.
Now, you should create a symbolic link between the storage directory and the public so that the images are publicly accessible. Run this command to do that:
php artisan storage:link

This will create a public symlink to make files accessible.
Here you go! We are done with the installation process.
Access the Storefront
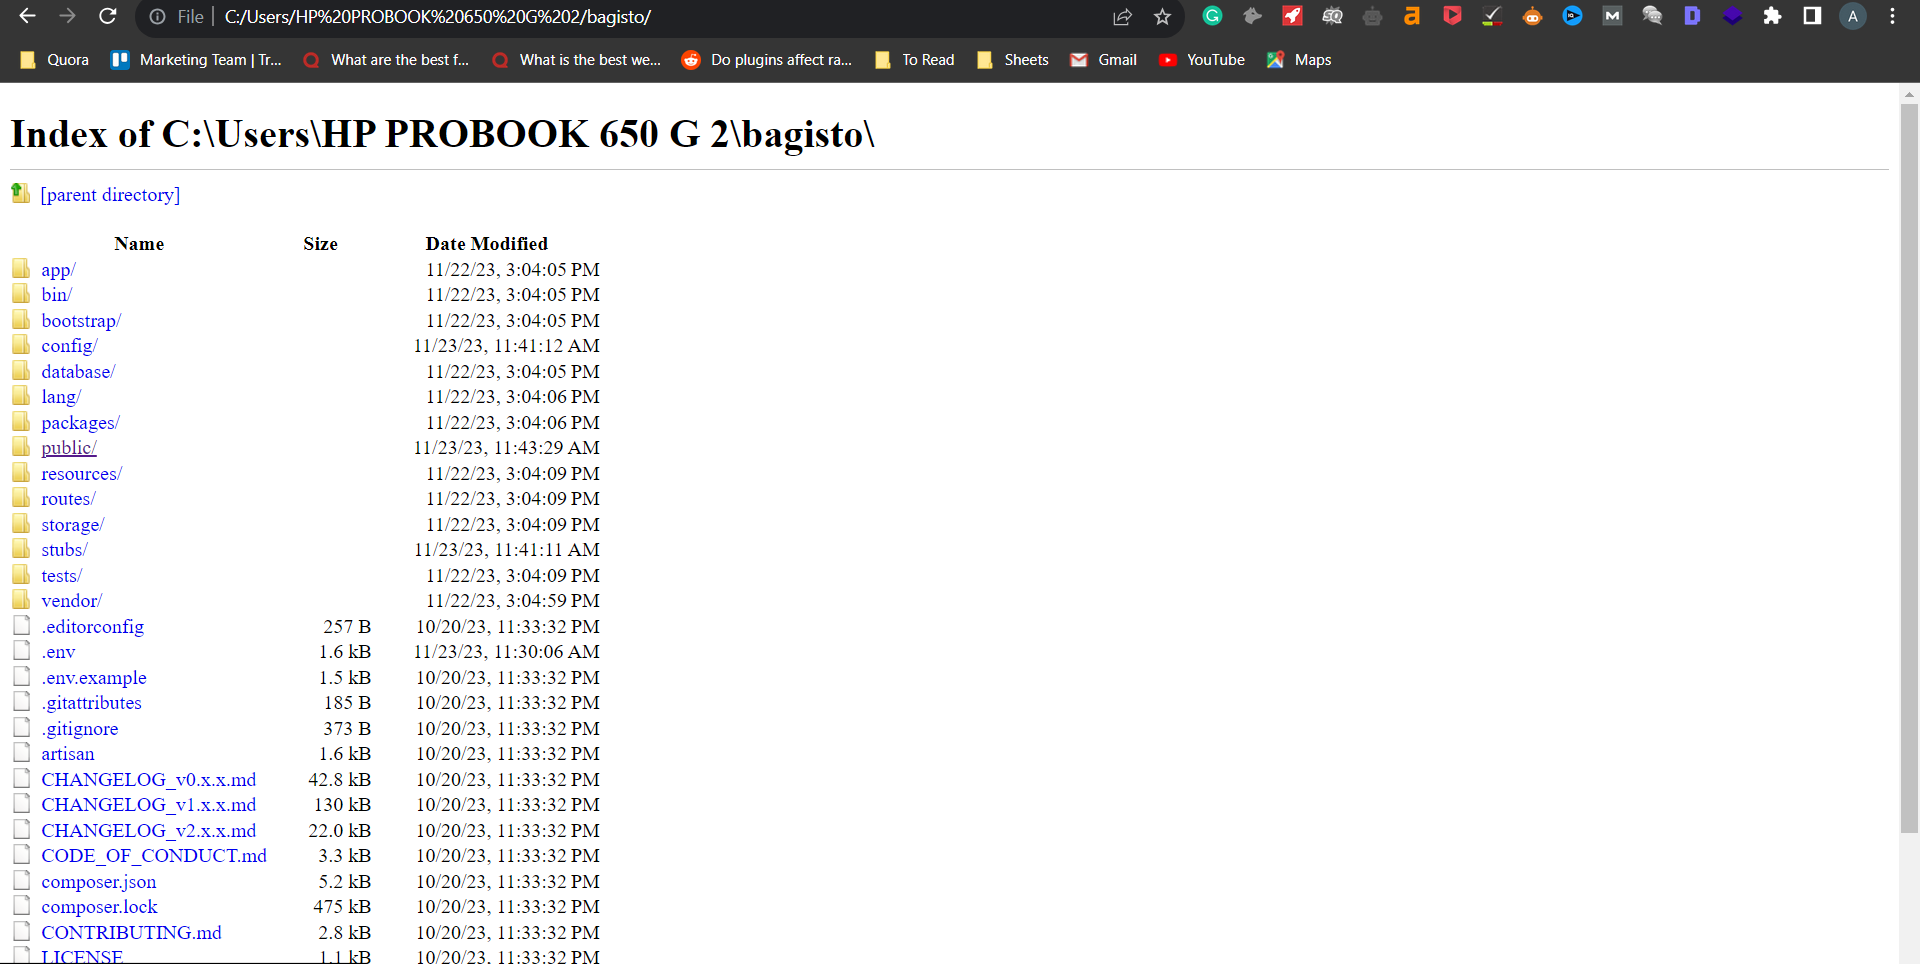
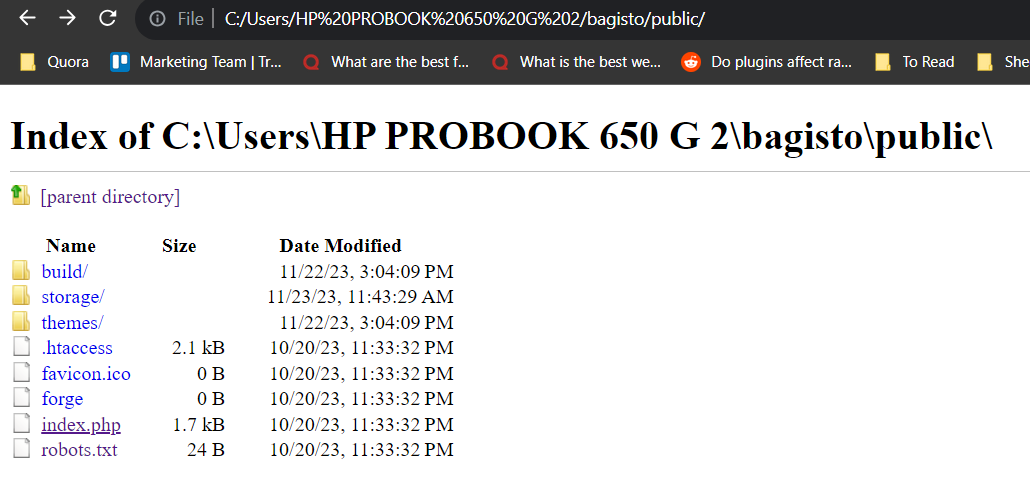
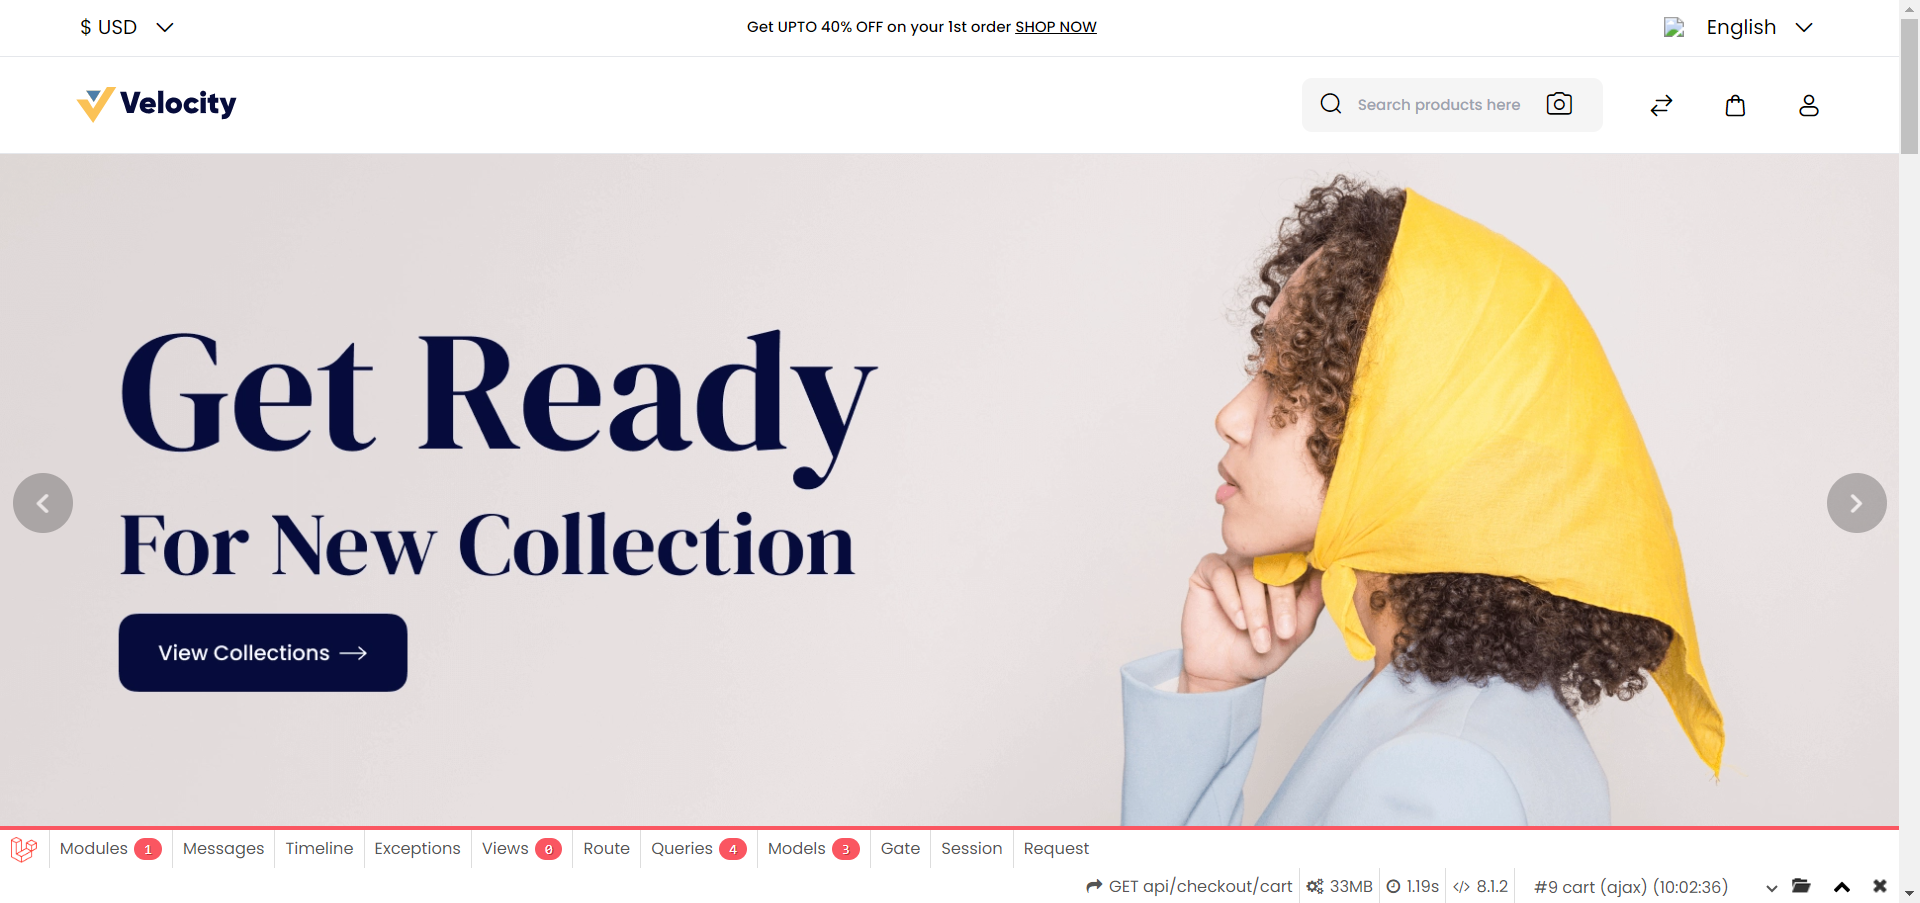
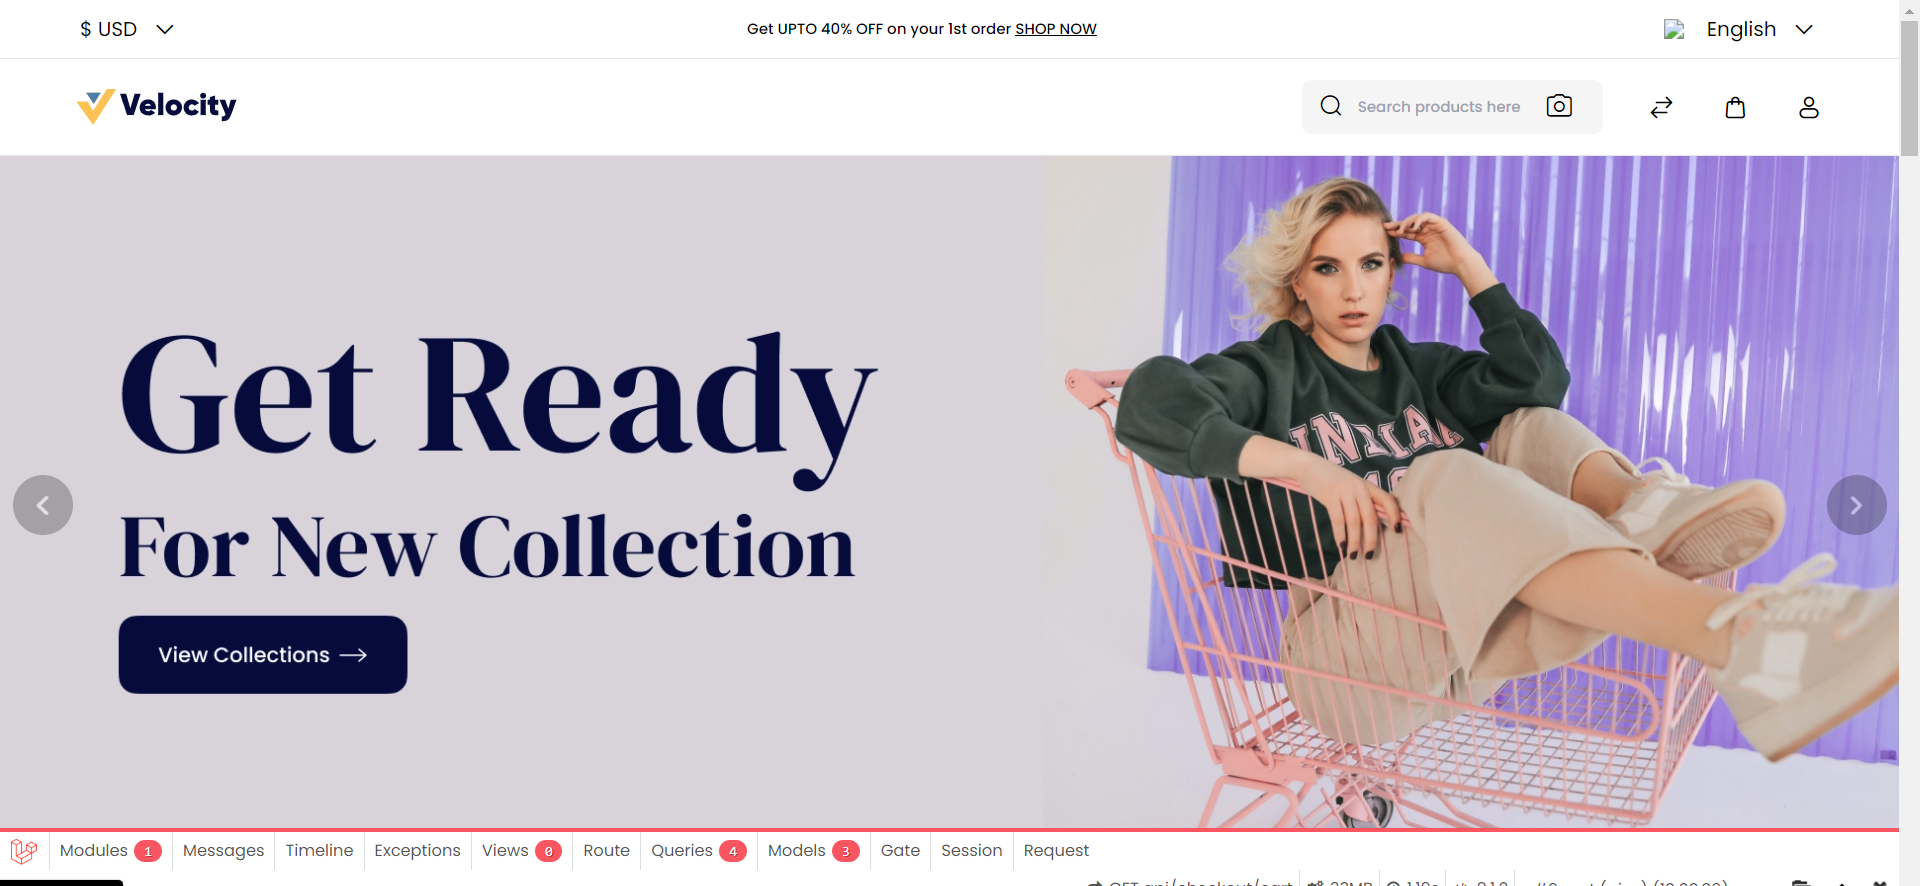
After finishing the backend install process via the previous terminal/CLI commands, Bagisto is now installed and configured. To access the front end of the ecommerce website, navigate to the Bagisto folder and open the public directory in your browser or double-click on the public/index.php file. This will open the front end that customers see. The public folder contains all the compiled assets and blade templates being served from the Bagisto application. You can do it only if you are doing it through xampp, but if not, you need to run the command of php artisan serve and can enter the server IP URL in the browser to access.
Opening it will show the default storefront.
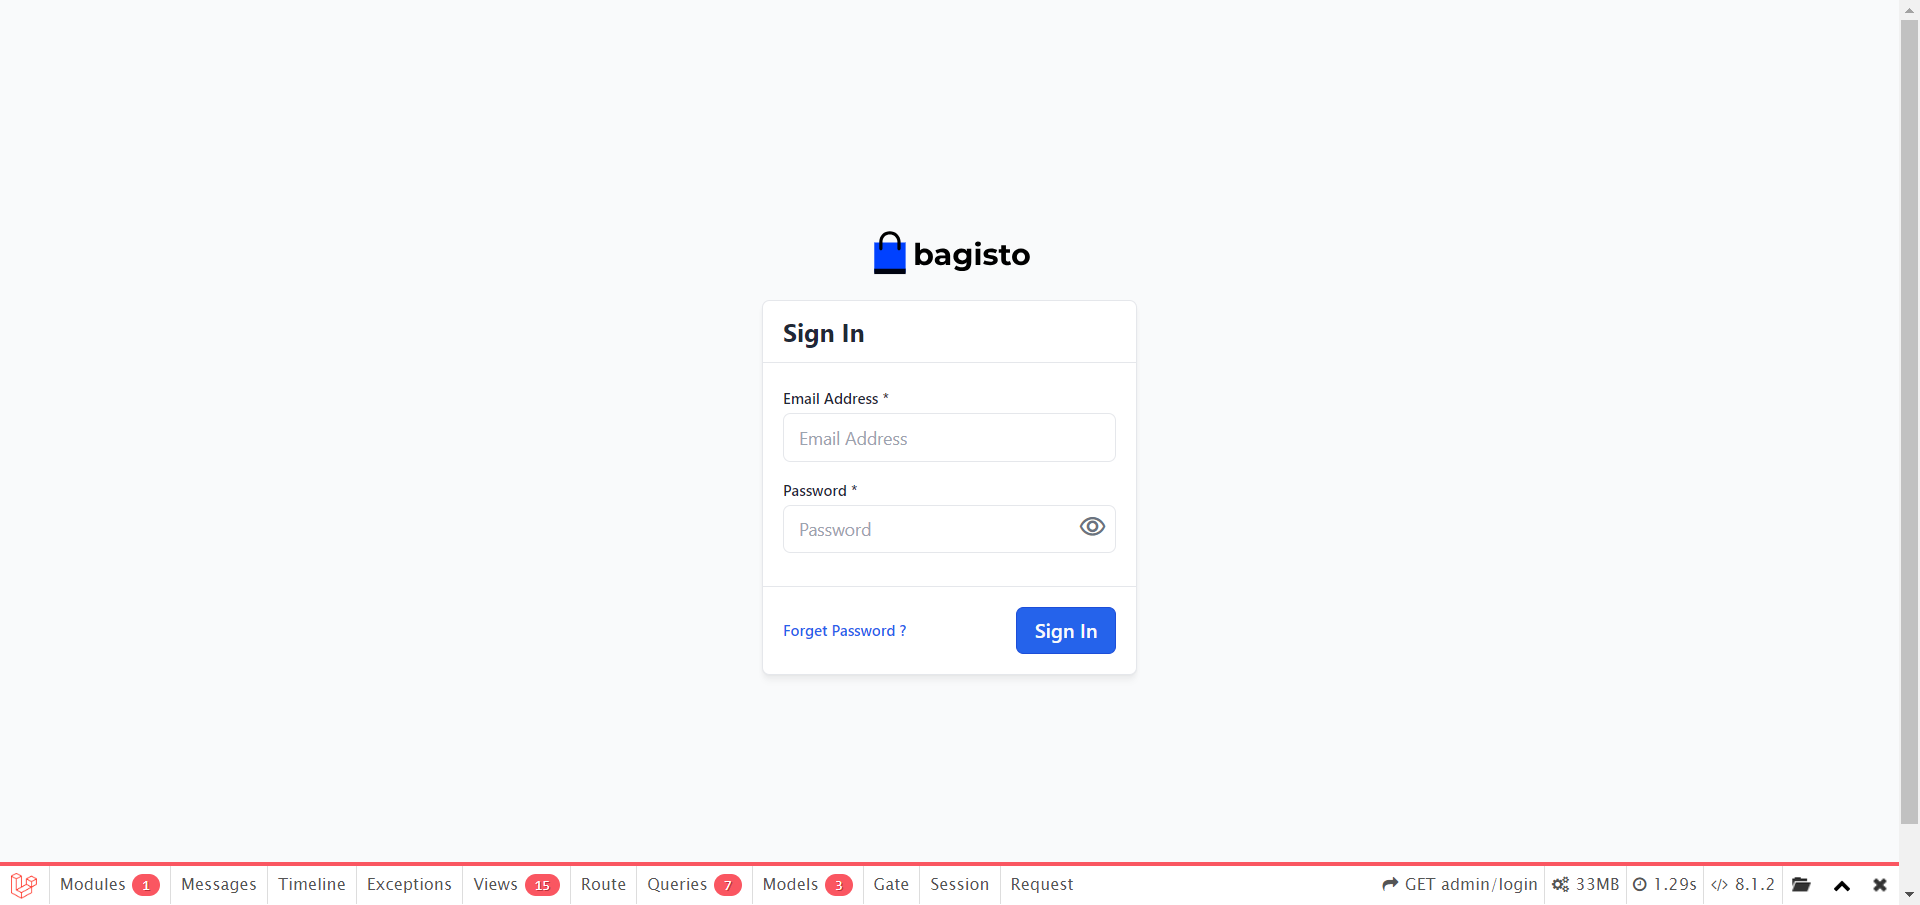
Access the Admin Panel
To access the admin area for your Bagisto store, you need to go to a specific URL route and enter the credentials: email and password.
Install Bagisto using GUI Installer
The latest version of Bagisto features a graphical installer to make setting up Bagisto easier. You can build an online shop with just a few clicks. Here are the steps:
- Download and extract the Bagisto zip/rar file from the official site.
- After extracting the Bagisto files, navigate to the public folder via the command line. This will automatically launch the setup wizard.
- Now, run this command to install all the required PHP dependencies.
composer install

The public folder in Bagisto contains all the front-end assets like JS, CSS, and images, as well as the index.php file that boots up the Bagisto app. So after using composer to prepare the Bagisto codebase, you then need to access the public sub-folder inside it directly by either double-clicking the public/index.php file to launch it or manually browsing to the /public folder in your browser via URL, or by entering the IP address of your server inside the browser search bar.
First, navigate to the root directory of your project, and then you need to run the command:
php artisan serve
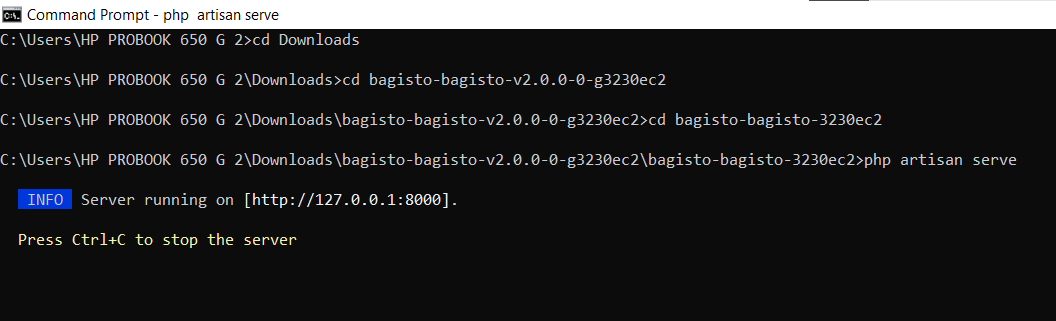
It will allow you to access the store admin dashboard and storefront. Now, you can simply copy the IP address URL into your browser. And if you are following the xampp method then you can open the index.php file inside public directory.
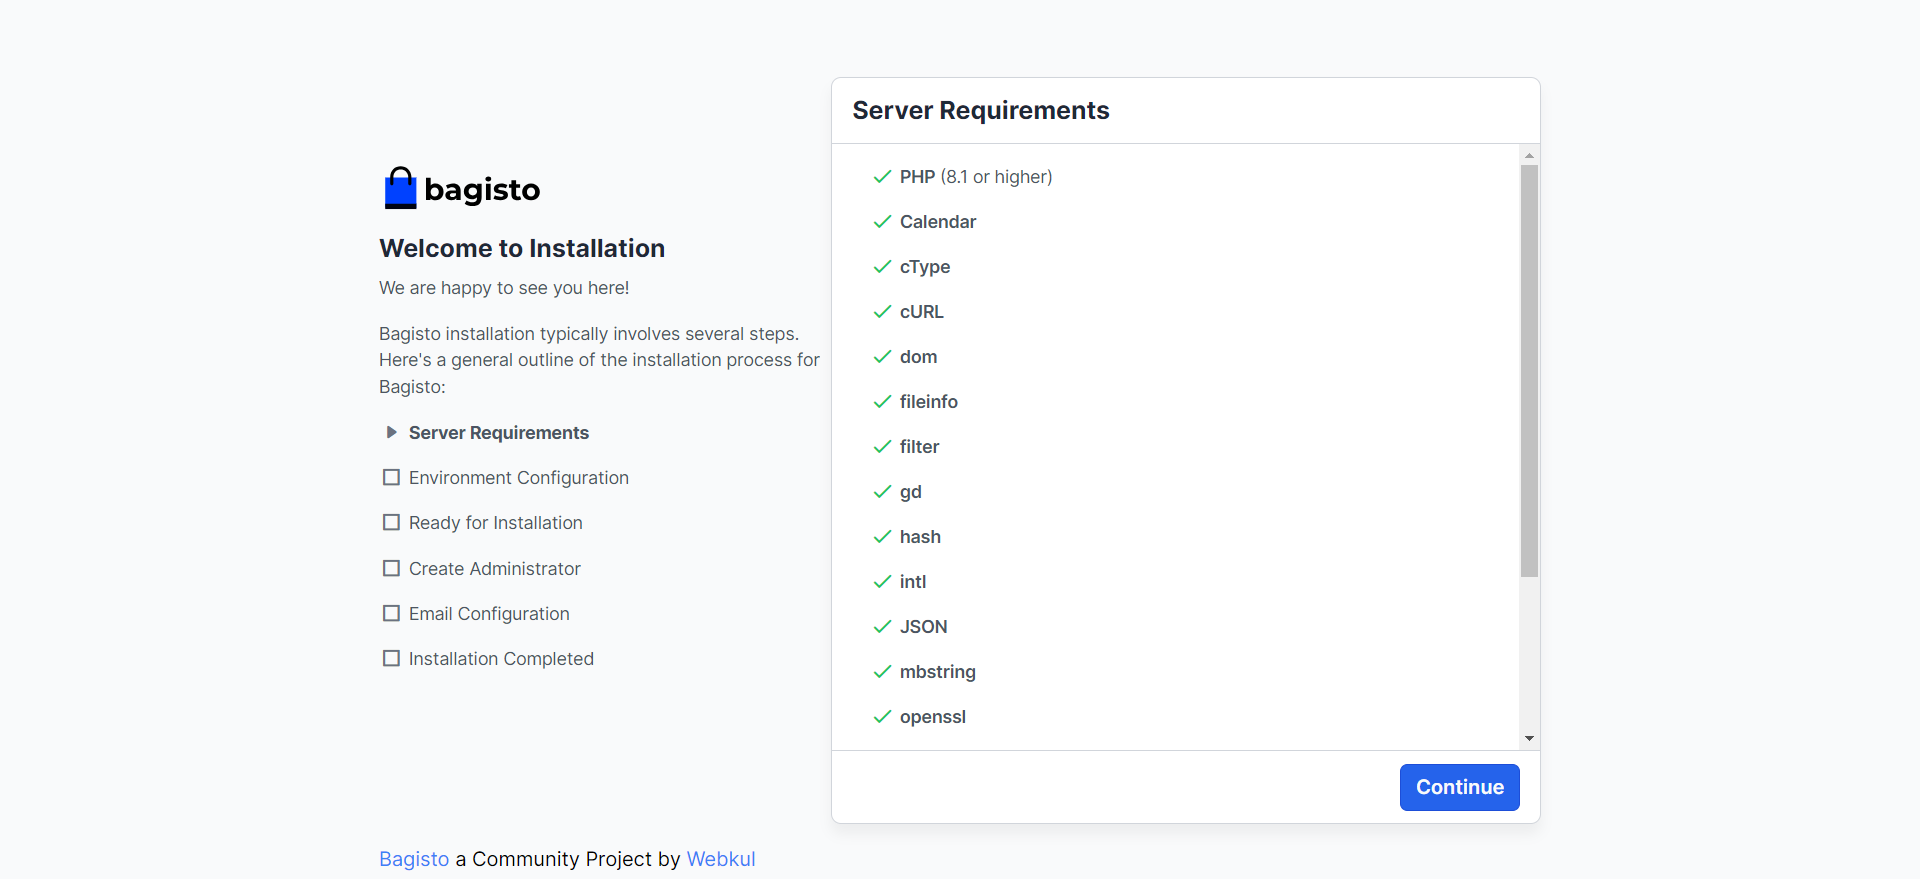
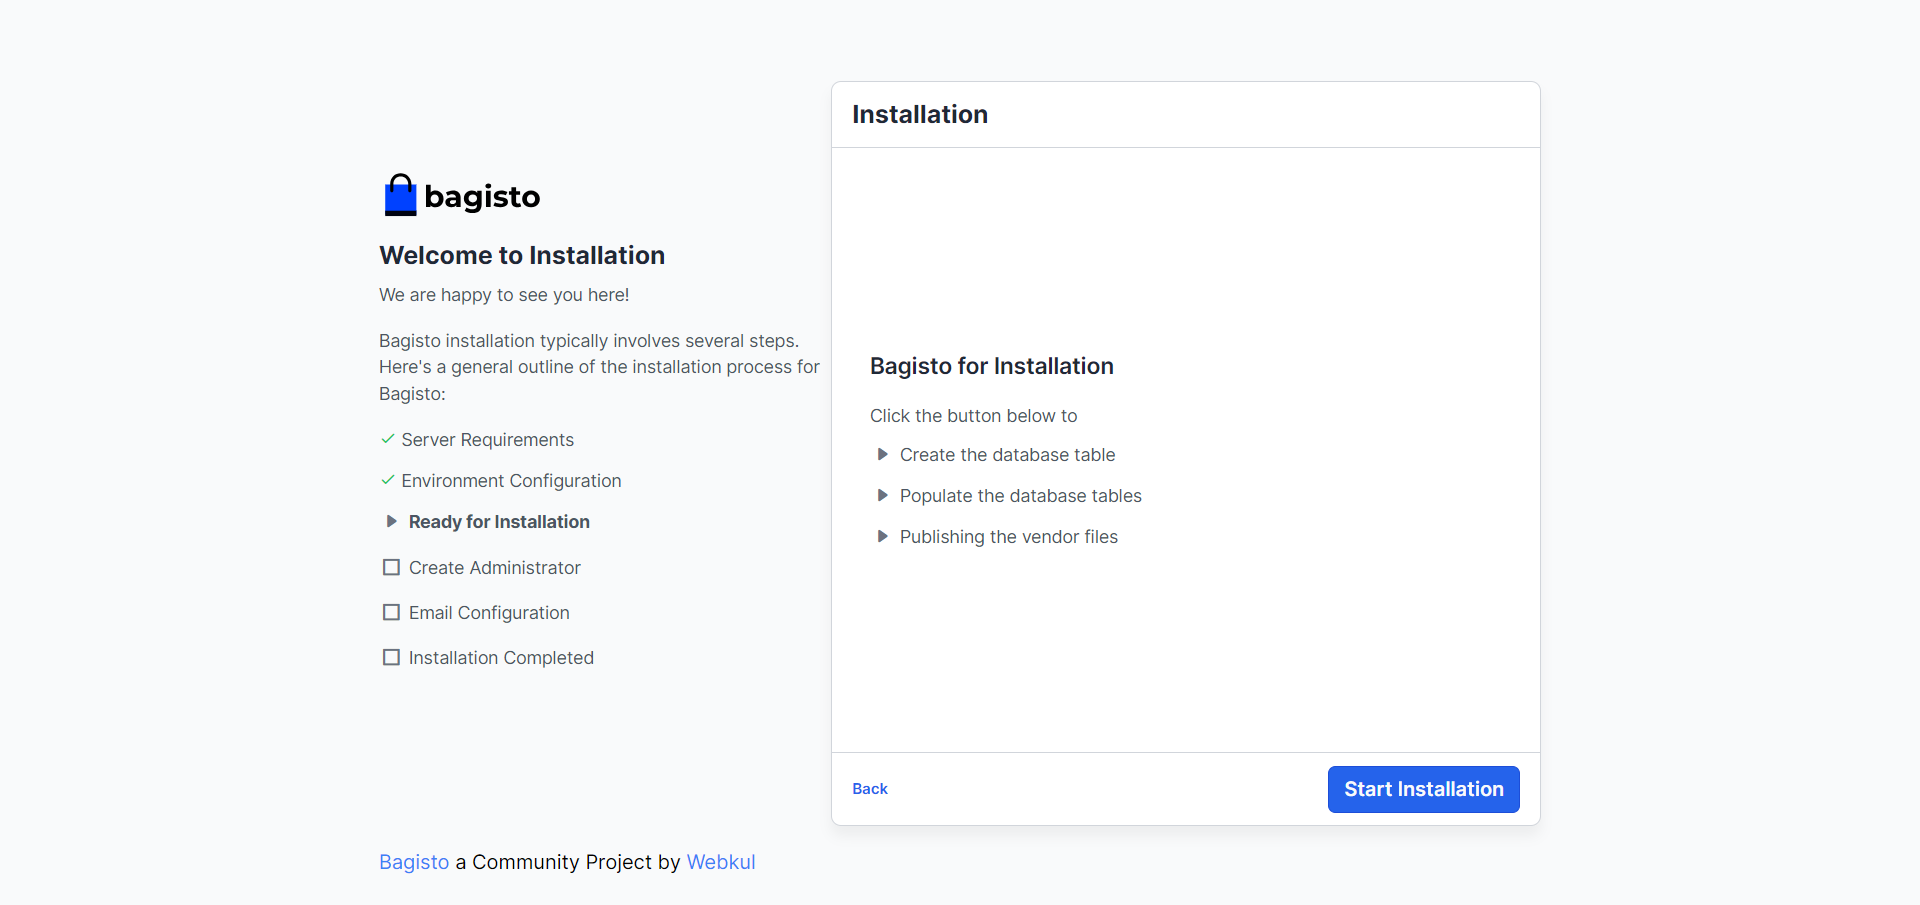
After accessing the project file, as mentioned in the previous step, the Bagisto GUI installer will launch. It first checks that your server configuration meets the minimum requirements to run Bagisto, like the PHP version, extensions, etc. If all prerequisite checks have passed and your server meets the minimum criteria, a “Continue” button will appear. You need to click the continue button to move to the next screen.
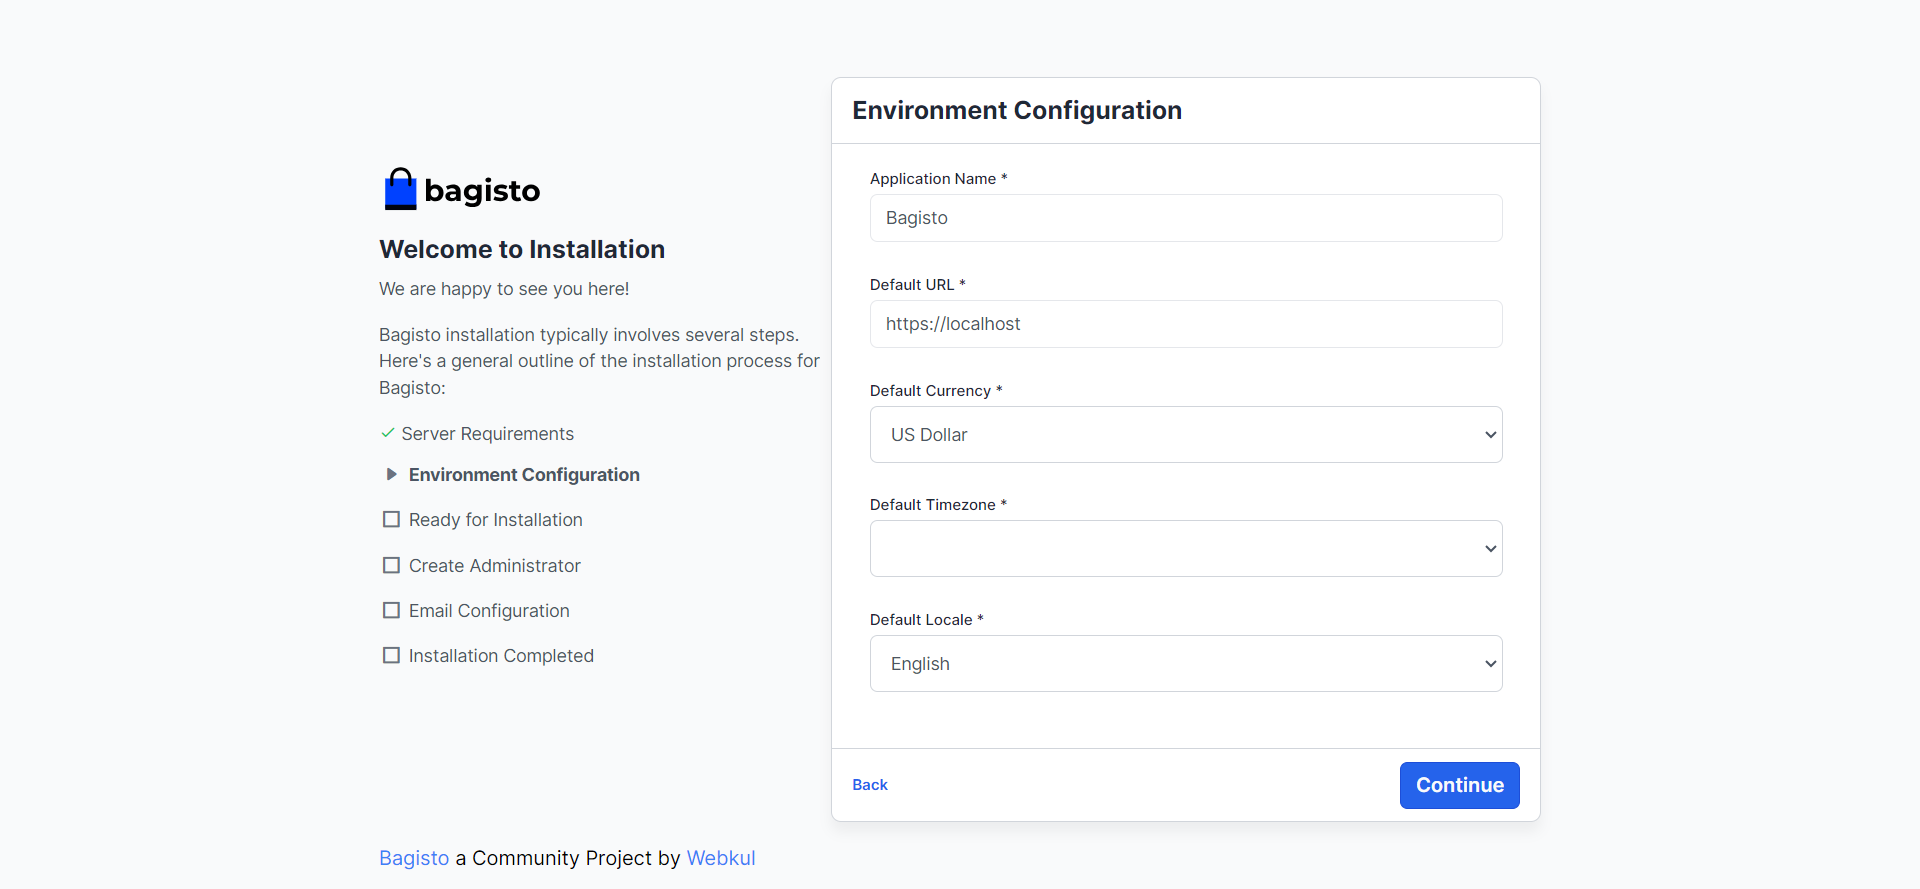
Fill in the environment variables in the Bagisto GUI installer:
Application Name: This is the name you want to give to your Bagisto application and ecommerce store. For example: “Bagito” or “My Shop”
Default URL: The base URL that your Bagisto store will be accessible at after installation. For example: “https://bagisto.com” or “https://myshop.com”
Default Currency: Pick which currency you mainly want to use for pricing and checkout in your store. For example: “USD” or “Euro.”
Default Timezone: Choose the primary timezone to use in Bagisto that matches most of your customers’ locations. For example: “America/New_York.”
Default Locale: Pick the default language/locale code like en (English) in which your store will show content.
After filling in those details related to core Bagisto configuration, click the Continue button to save your options and advance to the next screen to configure more Bagisto settings related to the database, mail, and admin account.
This installer screen sets up basic site settings for Bagisto to work for your particular store. The options are saved to the .env file.
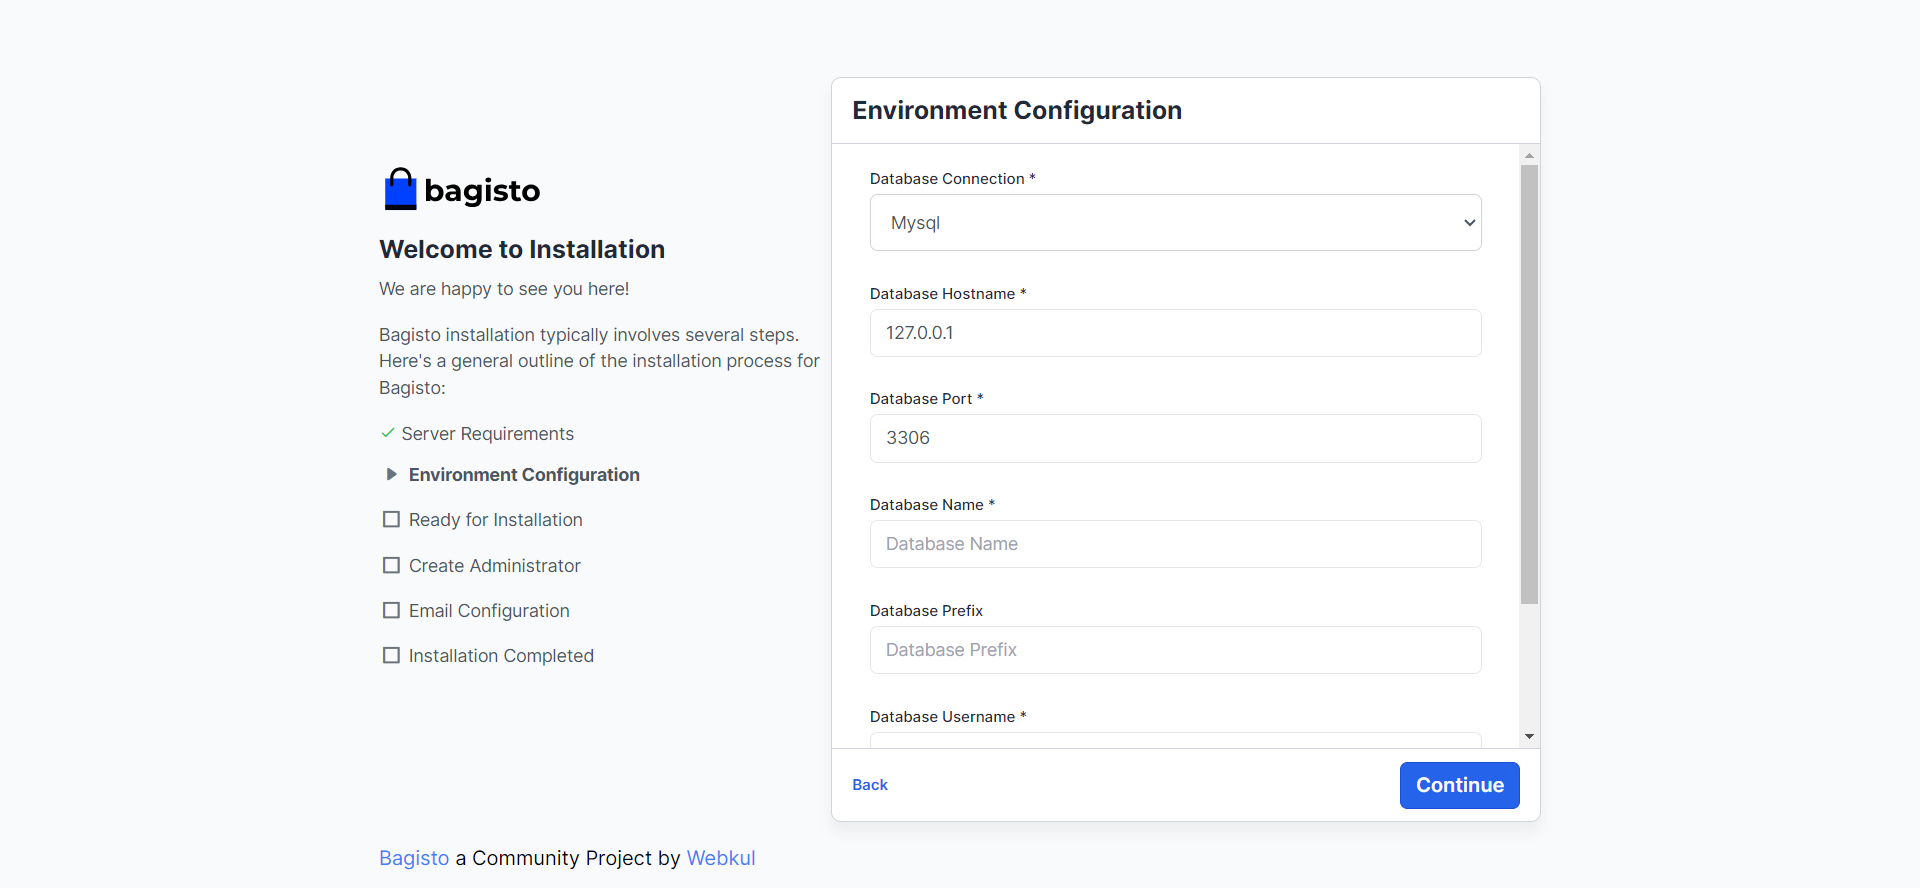
The database configuration section in the Bagisto GUI installer:
Database Connection: Select the database type you use to store Bagisto data, like MySQL, PostgreSQL, etc.
Database Hostname: The host URL or IP address the database server runs on.
Database Port: The network port for connecting to the database. The default is 3306 for MySQL.
Database Name: The exact name of the database you want Bagisto to use for its tables.
Database Prefix (optional): A prefix to add to the front of all Bagisto table names.
Username: The database user account’s username that Bagisto should use to connect.
Password: The password for the connected database user.
These credentials will allow Bagisto to connect your database and create all the necessary tables to store and retrieve data.
After filling in the details, click the Continue button to store the database connection configuration and proceed further.
After that, click the “Start Installation” button, and the installer will use that database configuration to connect to the specified database. It will create all the necessary tables that Bagisto requires inside that database.
This is known as running the database migrations. It will also publish the assets, third-party libraries, and files from the vendor folder into the appropriate public folders so they are accessible. This copies all the front-end assets, back-end admin files, images, and other Bagisto dependencies into the necessary locations to fully operationalize the system.
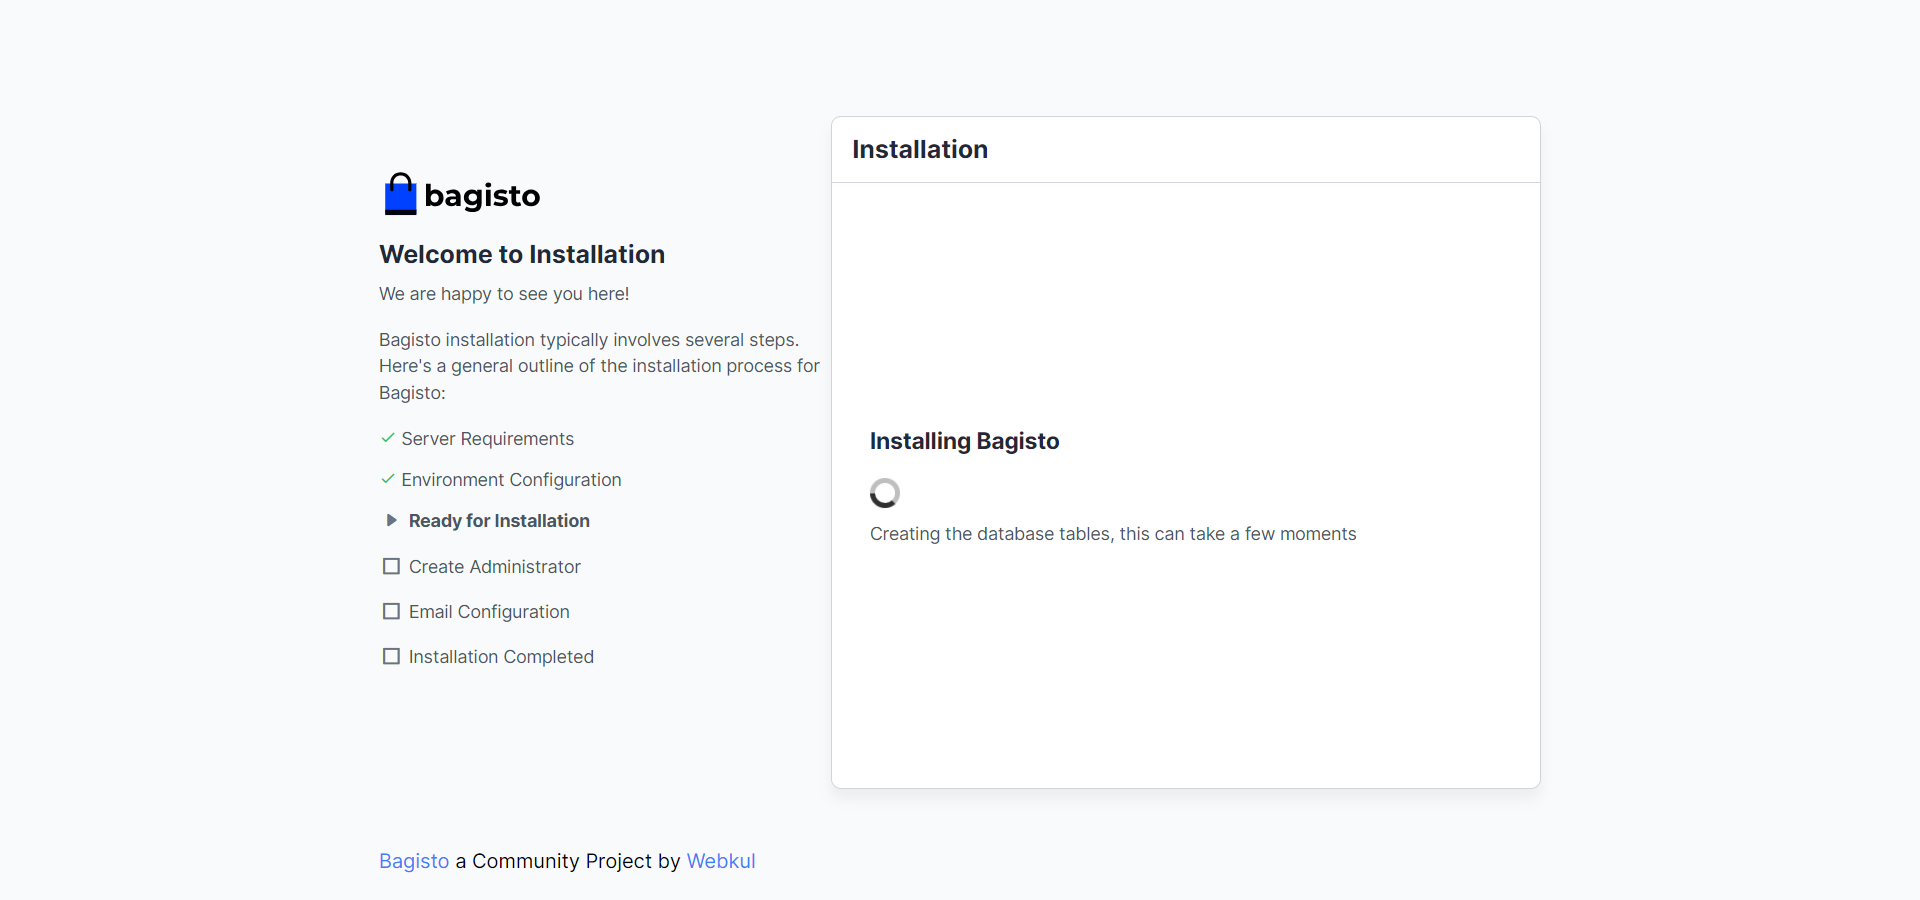
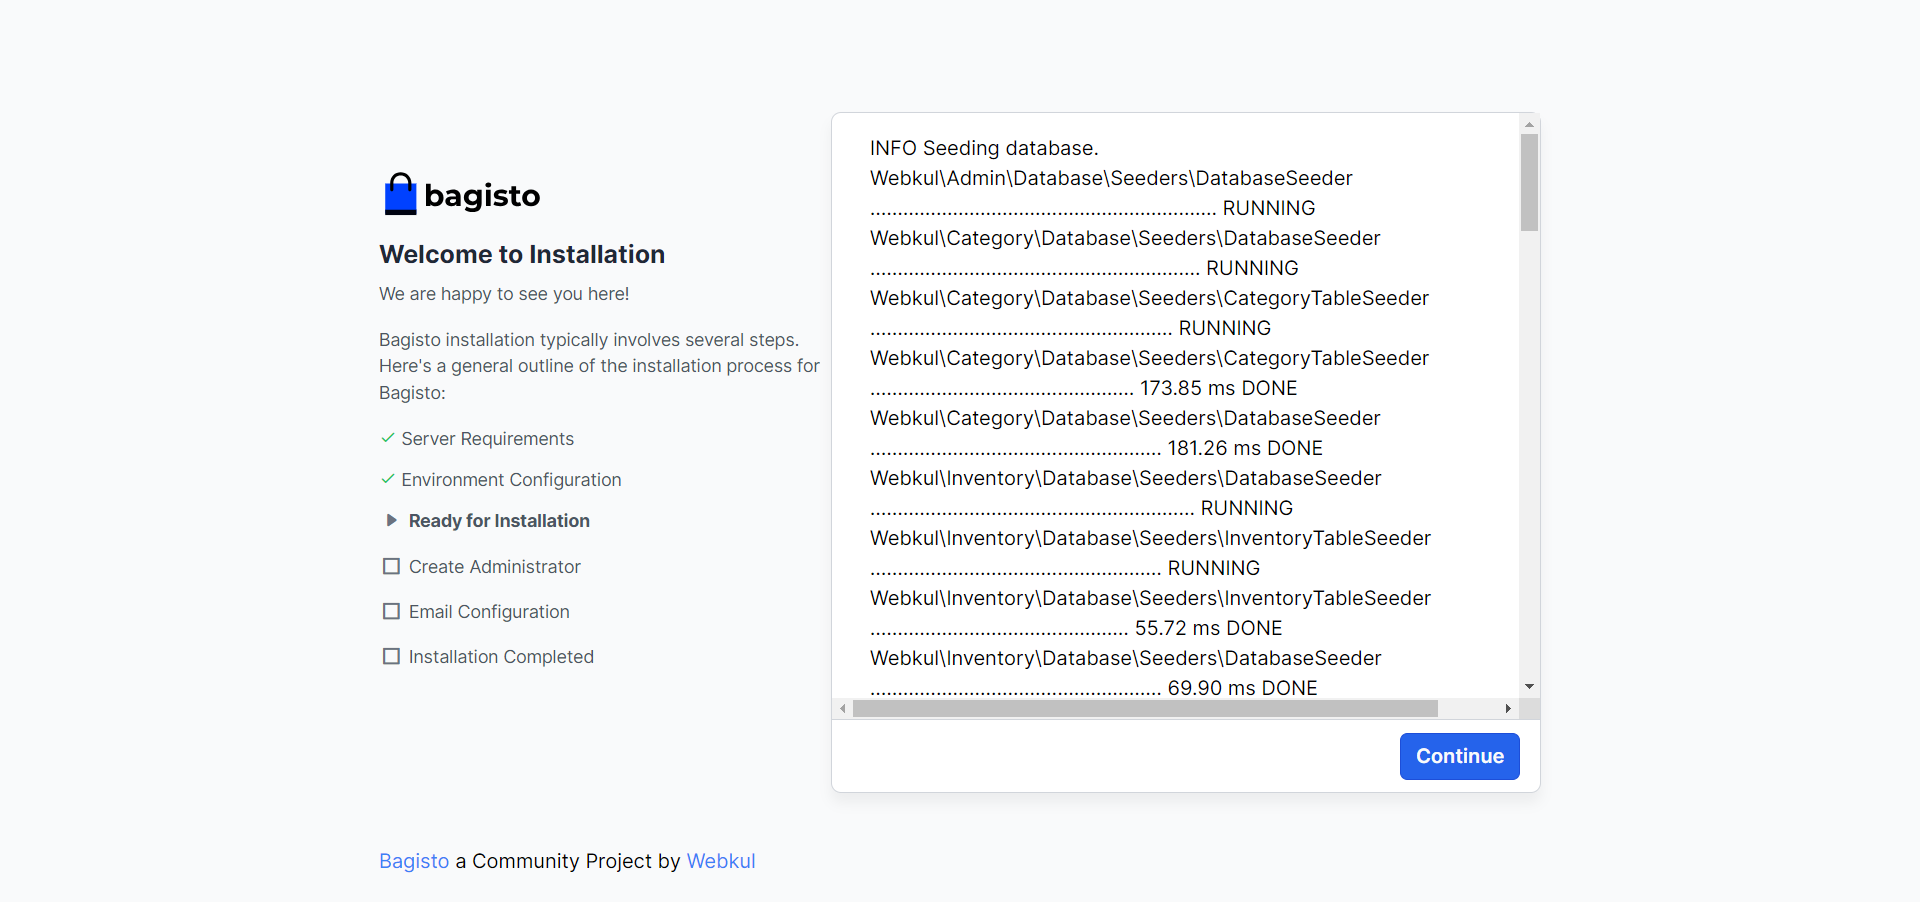
It will take a few moments to get done. While this is processing, it is creating the tables on your database.
The processing will show you the info-seeding database screen when it is complete. Click on the Continue button.
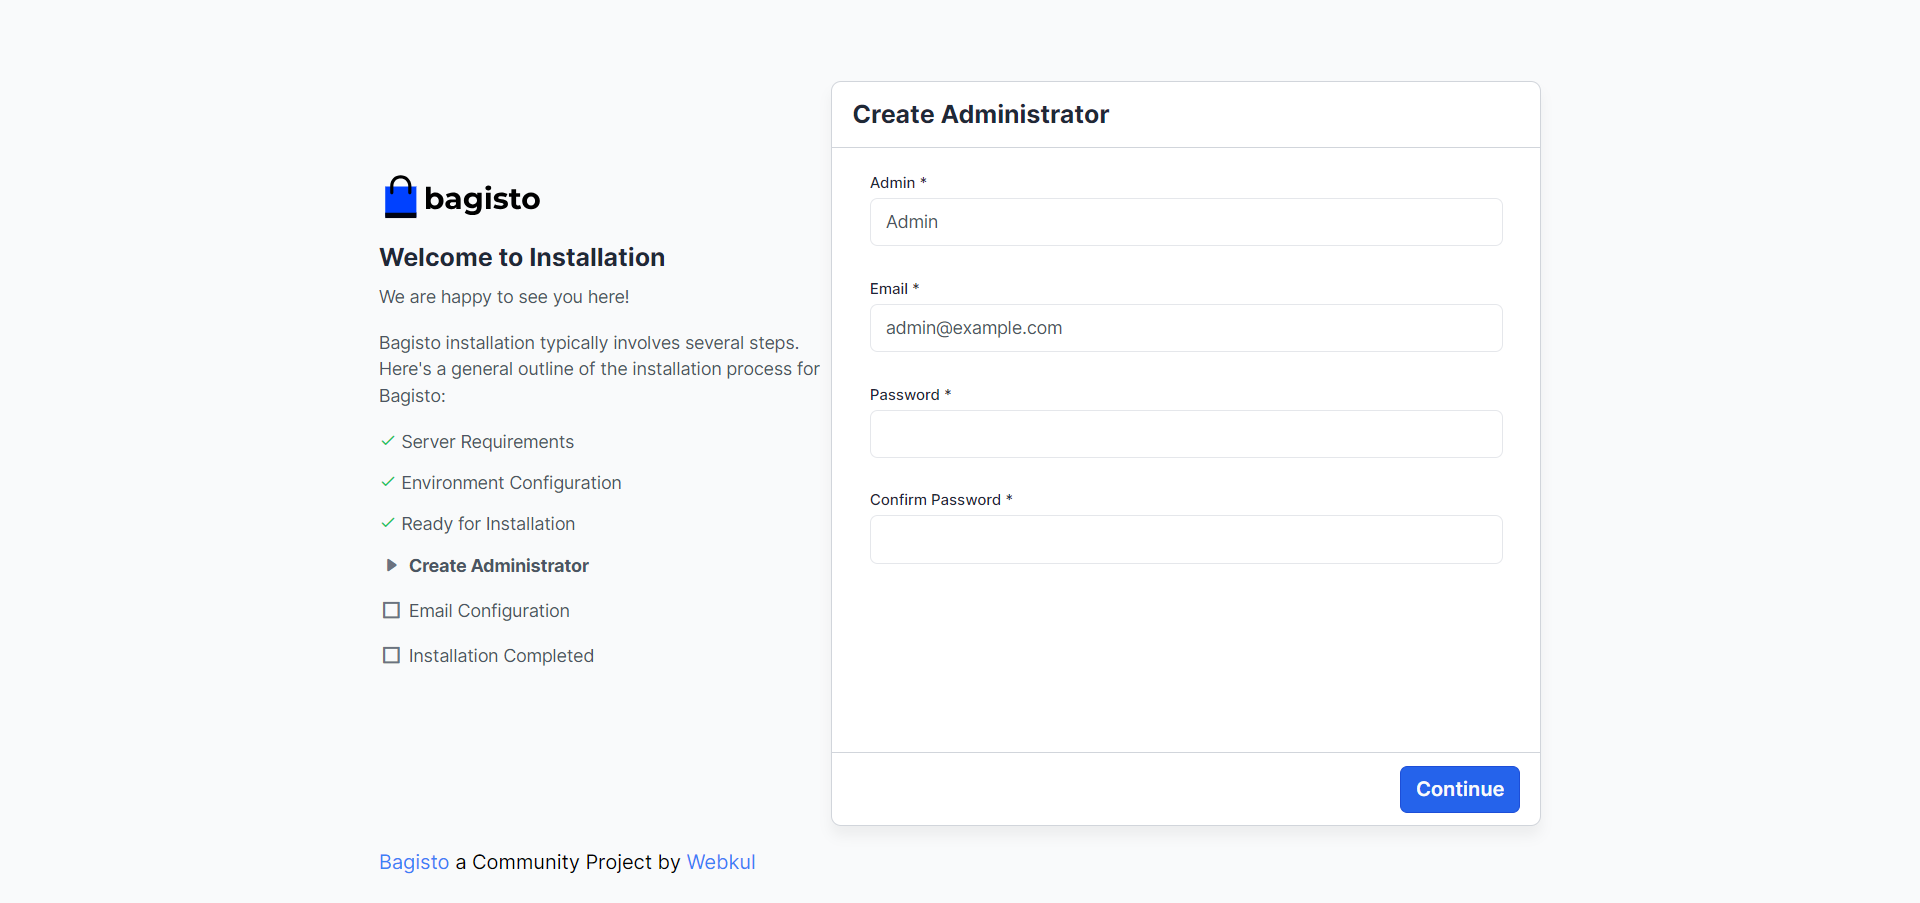
After that, you must set credentials for the store dashboard admin access. Enter the Admin name, email, and password, and click the Continue button.
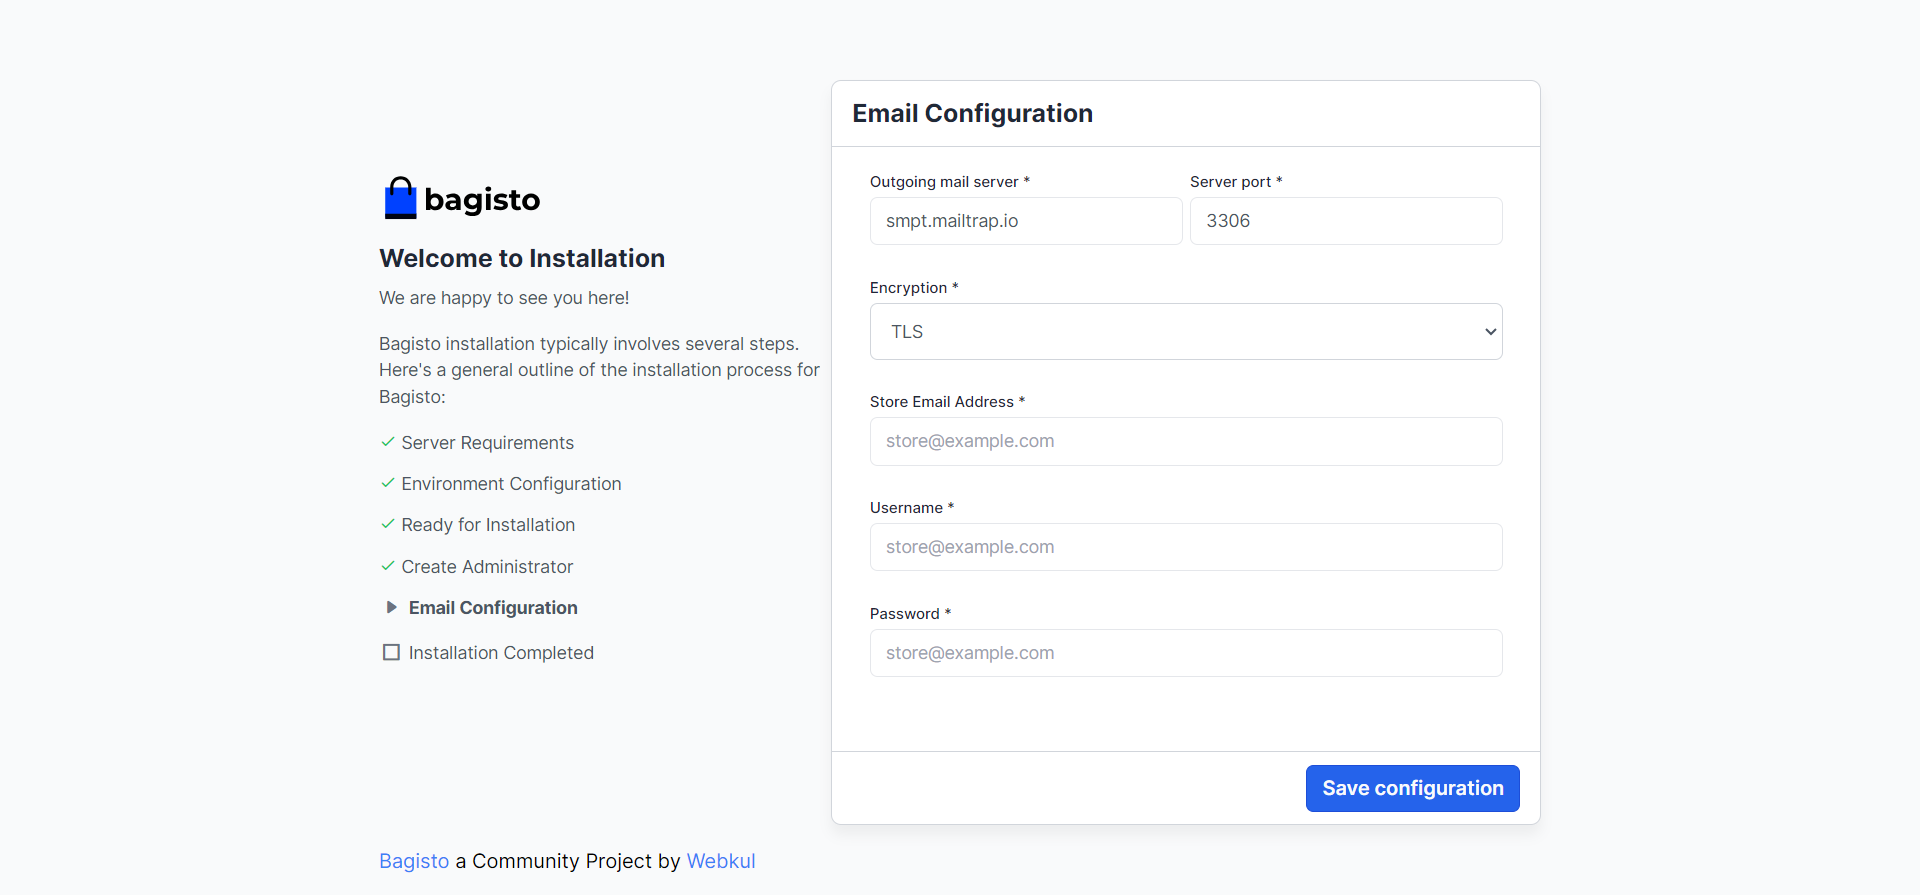
Set the email configurations for your store and save the configuration.
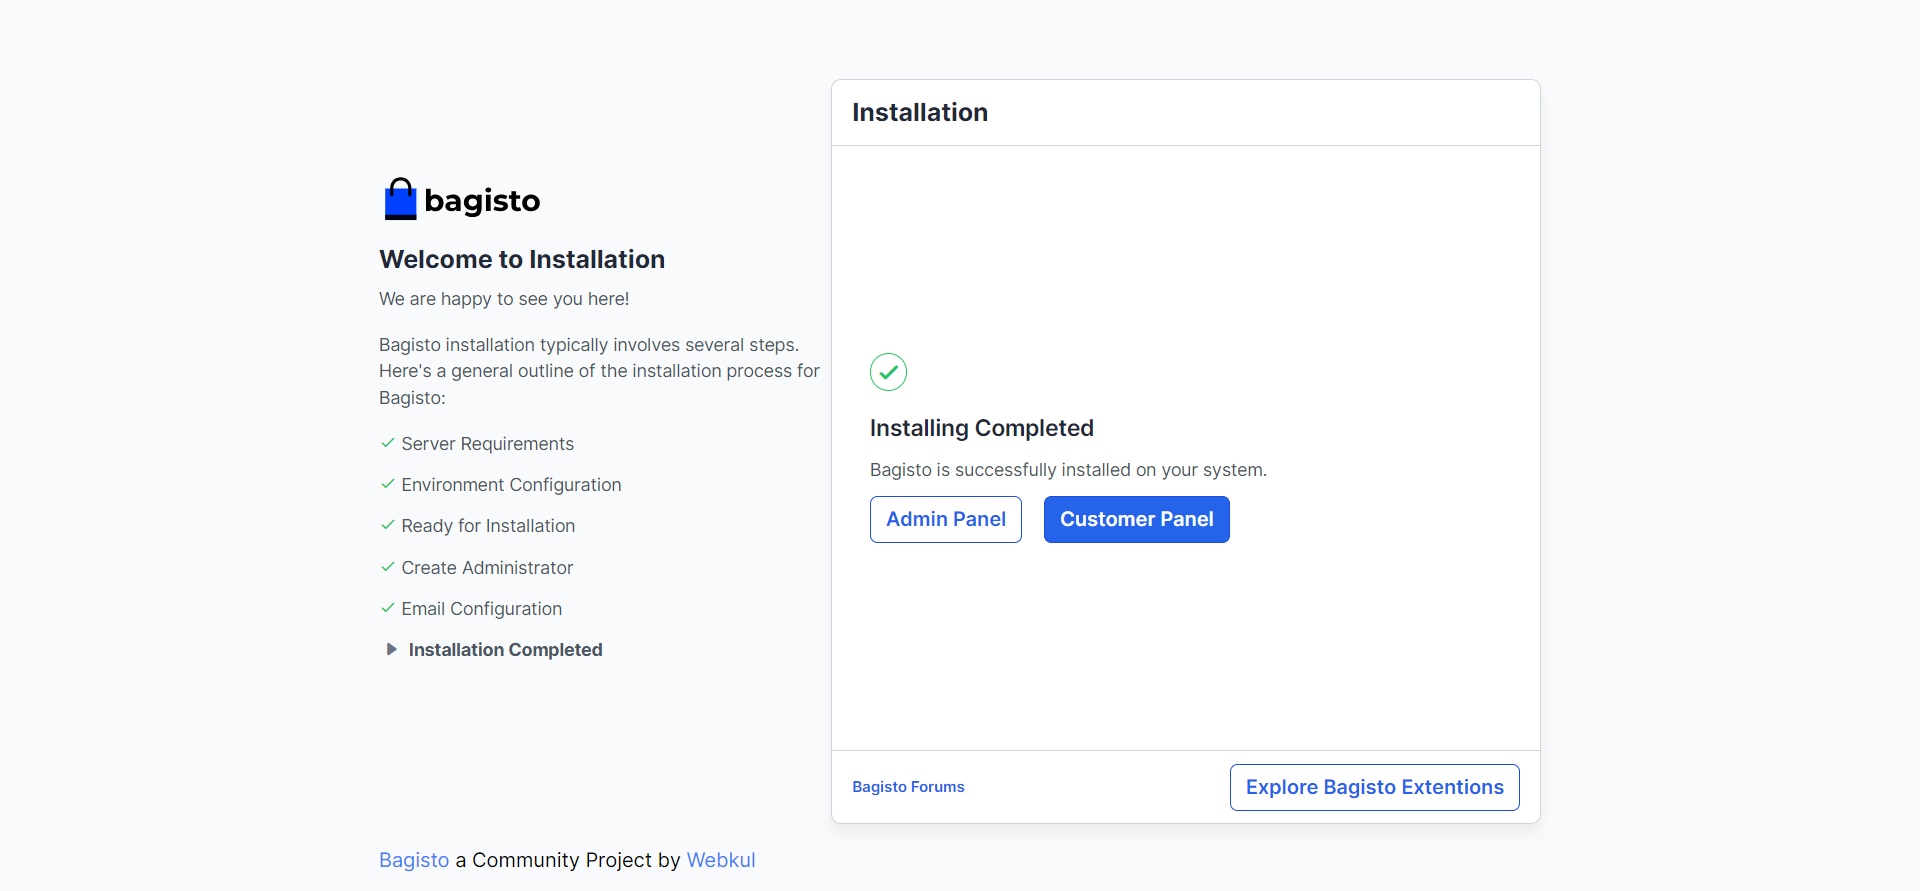
The installation process will be completed once you save the configuration. Now, your ecommerce website using laravel is ready. Click on the Admin panel to access the dashboard and the customer panel to access the front end. Click on the Explore Bagisto Extensions if you want to add any.
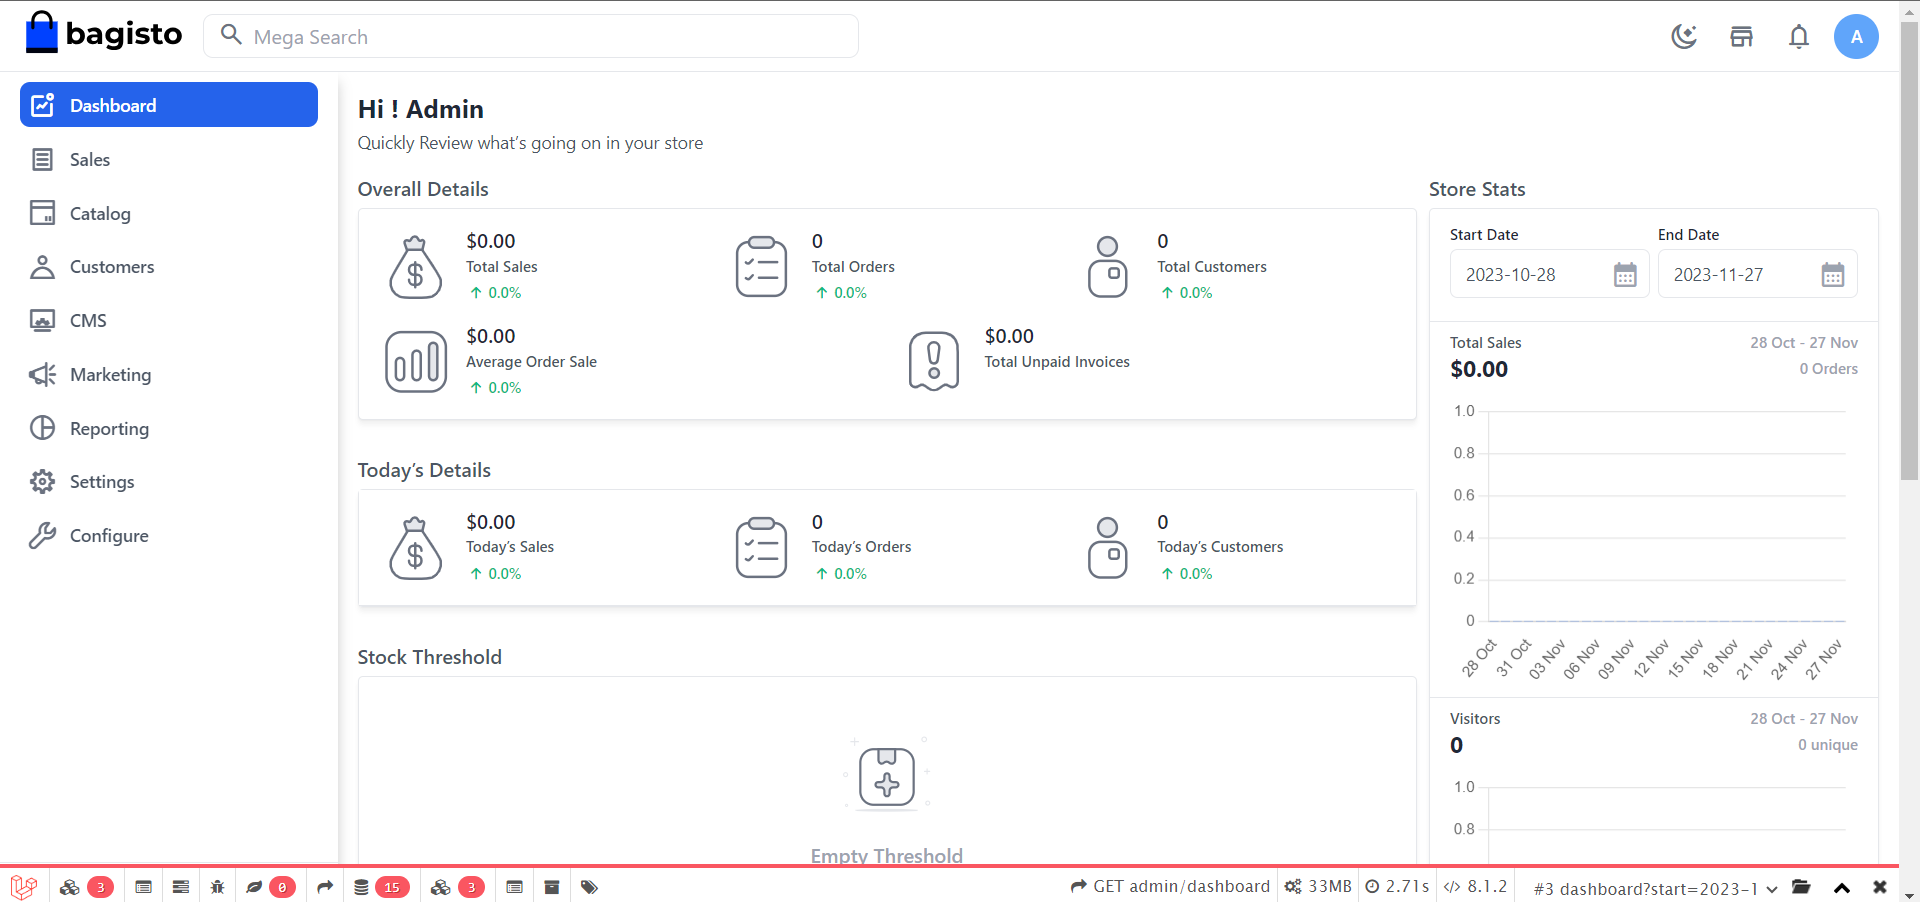
Enter the Admin credentials and click the Sign in button to access the dashboard.

Here you go! This is your Laravel ecommerce store’s admin dashboard.
Access the website front end by entering the URL in the browser.
Congratulations! We have successfully created an e-commerce website using Laravel. To host your Laravel ecommerce website, try to stay clear of shared hosting. The best medium to host a Laravel website is on a managed cloud platform like Devrims.
Conclusion
This guide was about building a feature-rich ecommerce website using Laravel and Bagisto. Bagisto handles the heavy backend lifting: complex mechanisms like inventory, shipments, promotions, and 100+ core features. Meanwhile, Laravel provides an elegant PHP framework to customize experiences and business logic.
We have built a working online shop by installing Bagisto in minutes with the composer or the graphical installer. We accessed beautiful storefronts and administrative dashboards out of the box. However, the true potential lies in fully tailoring these to the needs of your business. The sky is the limit for crafting unique interfaces, extensions, integrations, and progressive web capabilities. Need some SEO inspiration? Here’s our guide to Laravel SEO.
Bagisto’s enterprise-ready scalability ensures our Laravel-based shop can grow from a small operation to a large-scale marketplace. Automated cloud deployments and multi-tenant SaaS solutions make the journey smoother. Bagisto allows retailers to focus on crafting beautiful ecommerce experiences powered by Laravel’s next-gen capabilities by removing the headache of backend complexities.

Related Tutorials