WooCommerce is the leading ecommerce solution for WordPress, providing advanced functionality to build all types of online stores. It is outstanding at backend features, but its built-in design options can be limiting. This is where Elementor comes in: the most popular WordPress page builder allows pixel-perfect customization and drag-and-drop flexibility across all WooCommerce pages.
In this guide, we’ll explore how WooCommerce and Elementor work together to create beautiful, conversion-focused ecommerce sites. We’ll cover the basics of both platforms, how to integrate them, and how to leverage Elementor’s design capabilities for product pages, checkout, and more. Whether you want to take your current WooCommerce store to the next level or build a new shop from scratch, you can do it perfectly. Let’s dive in and see how this powerful combination can help build your dream online store.
What is Elementor?
Elementor is a revolutionary WordPress page builder plugin that allows you to build stunning websites with an intuitive drag-and-drop interface. It gives you complete design freedom over every element on your page, including text, images, buttons, videos, and more.
One of the key benefits of Elementor is its seamless integration with WooCommerce. It provides dedicated widgets and tools specifically for ecommerce that allow you to easily customize key WooCommerce pages like the shop, product pages, cart, and checkout. Elementor unlocks design capabilities for WooCommerce that were previously difficult or impossible to edit without code.
You can craft gorgeous product pages, an immersive shopping experience, and even marketing pages like “About Us” entirely through its user-friendly page builder. It features pre-made templates and sections to accelerate your ecommerce site build. Whether you’re a developer or just getting started, Elementor’s drag-and-drop editor makes it simple to realize your design vision.
So, if you’re looking to create a high-converting WooCommerce store with beautiful design, customization, and no code required, Elementor is the ultimate page builder plugin. Its seamless ecommerce integration provides endless possibilities for your online store’s aesthetics and user experience.
What is WooCommerce?
WooCommerce is the most popular ecommerce solution for WordPress. It provides everything you need to set up an online store and start selling immediately. You can create beautiful storefronts to showcase your products and drive sales with WooCommerce. It has flexible options for physical, digital, and variable products. You get complete backend management for inventory, orders, and customer accounts.
A key advantage of WooCommerce is that it integrates seamlessly into WordPress. You can activate it on any WordPress site with just a few clicks. It automatically creates essential pages like Shop, Cart, Checkout, and My Account. WooCommerce is also highly customizable and extendable. Thousands of plugins, themes, and extensions are available to add extra features that are not included. It scales with your business, too, handling large catalogs and high sales volumes.
Moreover, WooCommerce has a huge community behind it for support and development. Whatever ecommerce challenge you face, you can find a solution through the many tutorials and forums. WooCommerce is the top choice for anyone wanting to launch an ecommerce store within WordPress. With its intuitive setup, customization options, built-in management tools, and helpful community, it has everything you need to start selling online.
Why use Elementor and WooCommerce to build an ecommerce site?
WooCommerce provides the backend tools to run an ecommerce store, while Elementor empowers you to create stunning storefronts to drive sales. This makes them an unbeatable combination for building ecommerce sites on WordPress. With Elementor’s drag-and-drop page builder, you can quickly craft gorgeous designs for your entire online shop. It provides complete visual control over product pages, checkout, cart, and more – areas where WooCommerce lacks customization alone.
Elementor also has dedicated ecommerce widgets to highlight promotions, drive urgency with countdown timers, display customer reviews, and optimize conversion layouts. Its templates help you design pages in minutes versus hours. WooCommerce and Elementor eliminate online stores’ two most significant limitations: dull default design and the inability to customize sales-driving pages. You gain the CMS and inventory management of WooCommerce with the design freedom of Elementor.
Additionally, it includes seamless integration, access to themes/addons made for the two platforms, and time and cost savings over custom development.
Steps you should follow to build a WooCmmerce Website using Elementor
You should follow These primary steps to build a WooCommerce website using Elementor.
Get your Domain and Hosting
The first step to building a WooCommerce website is to get your hosting and register a domain name. As we know, WooCommerce is a WordPress plugin, so you will need a hosting provider that offers optimized WooCommerce hosting for your website. Hosting providers like Devrims offer optimized WooCommerce hosting where WooCommerce is pre-installed with WordPress, so you do not need to configure it manually.
Once you register a domain name and get reliable hosting, you need to connect it by adding the domain to the DNS section of the hosting server. You do not need to worry if you have registered a domain name, as Devrims provides a staging environment.
To build an online store with WooCommerce on Devrims, follow this WooCommerce Tutorial for a complete guide.
Install Elementor
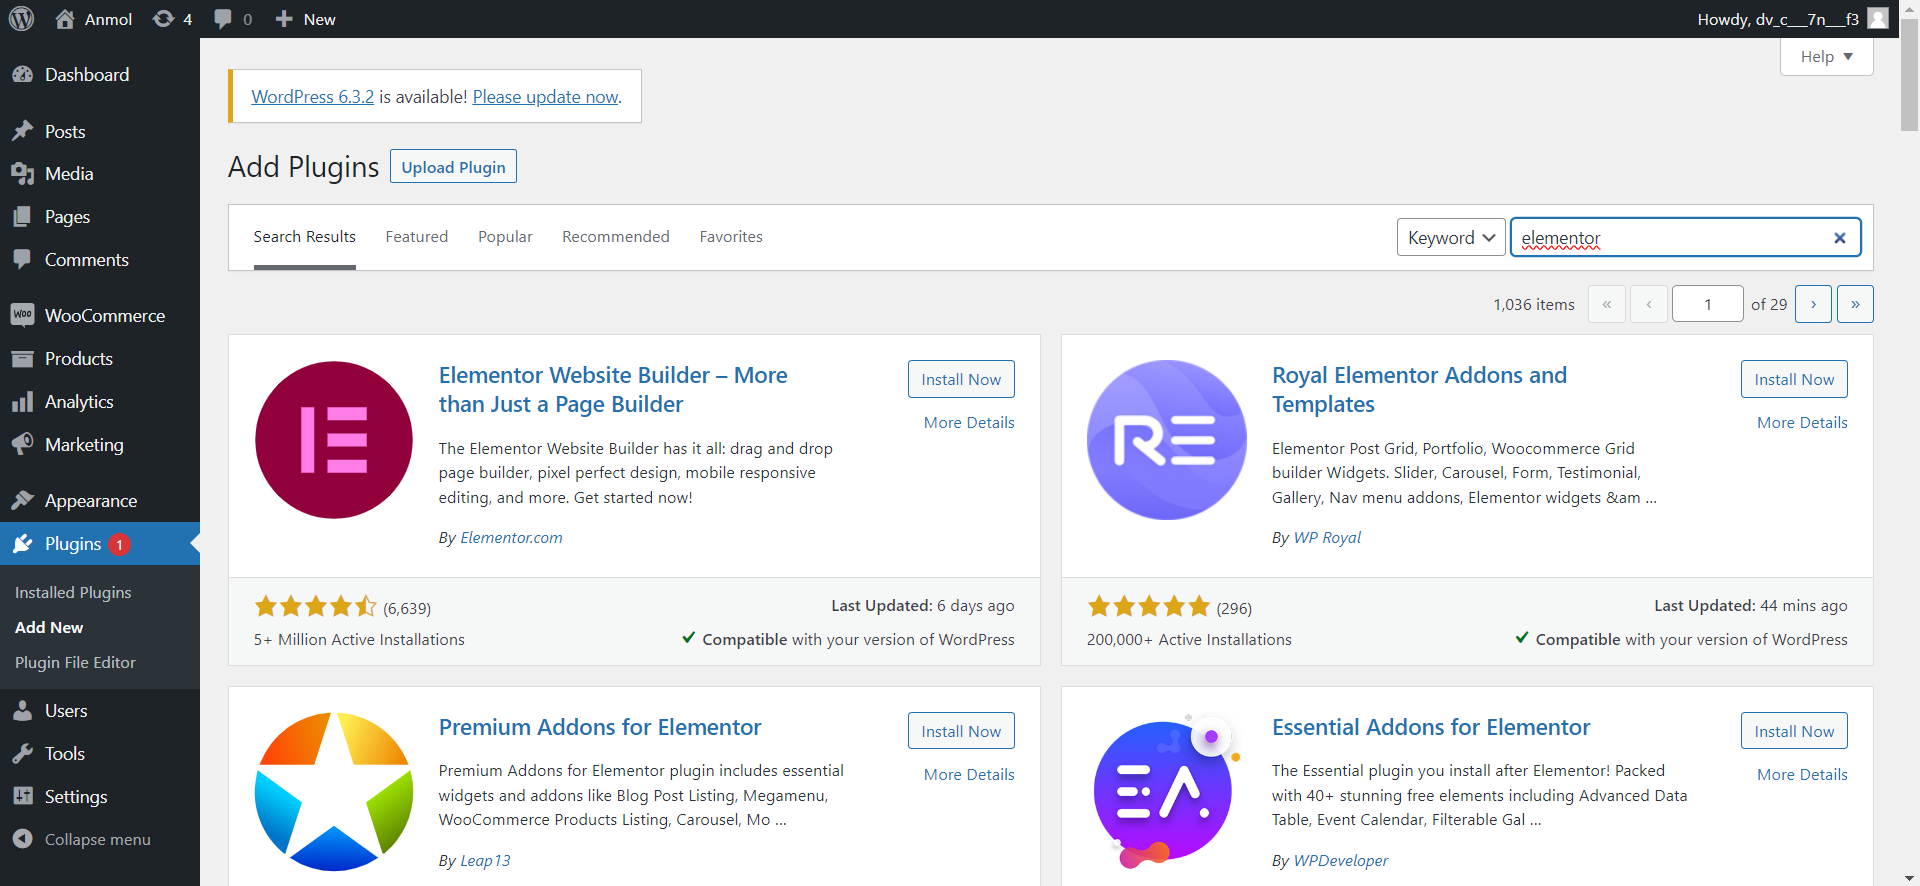
Once you have WordPress installed with WooCommerce integration, it’s time to add the Elementor page builder plugin to your site. Here are the steps to get Elementor set up:
- Login to your WordPress dashboard and navigate to Plugins>Add New section. Then, search for “Elementor Website Builder” and click the “Install Now” button.
- Activate the Elementor plugin once installation is complete. After that, you can use the Elementor across the site.
- Now, navigate to the Elementor section on the left sidebar of the WordPress admin dashboard.
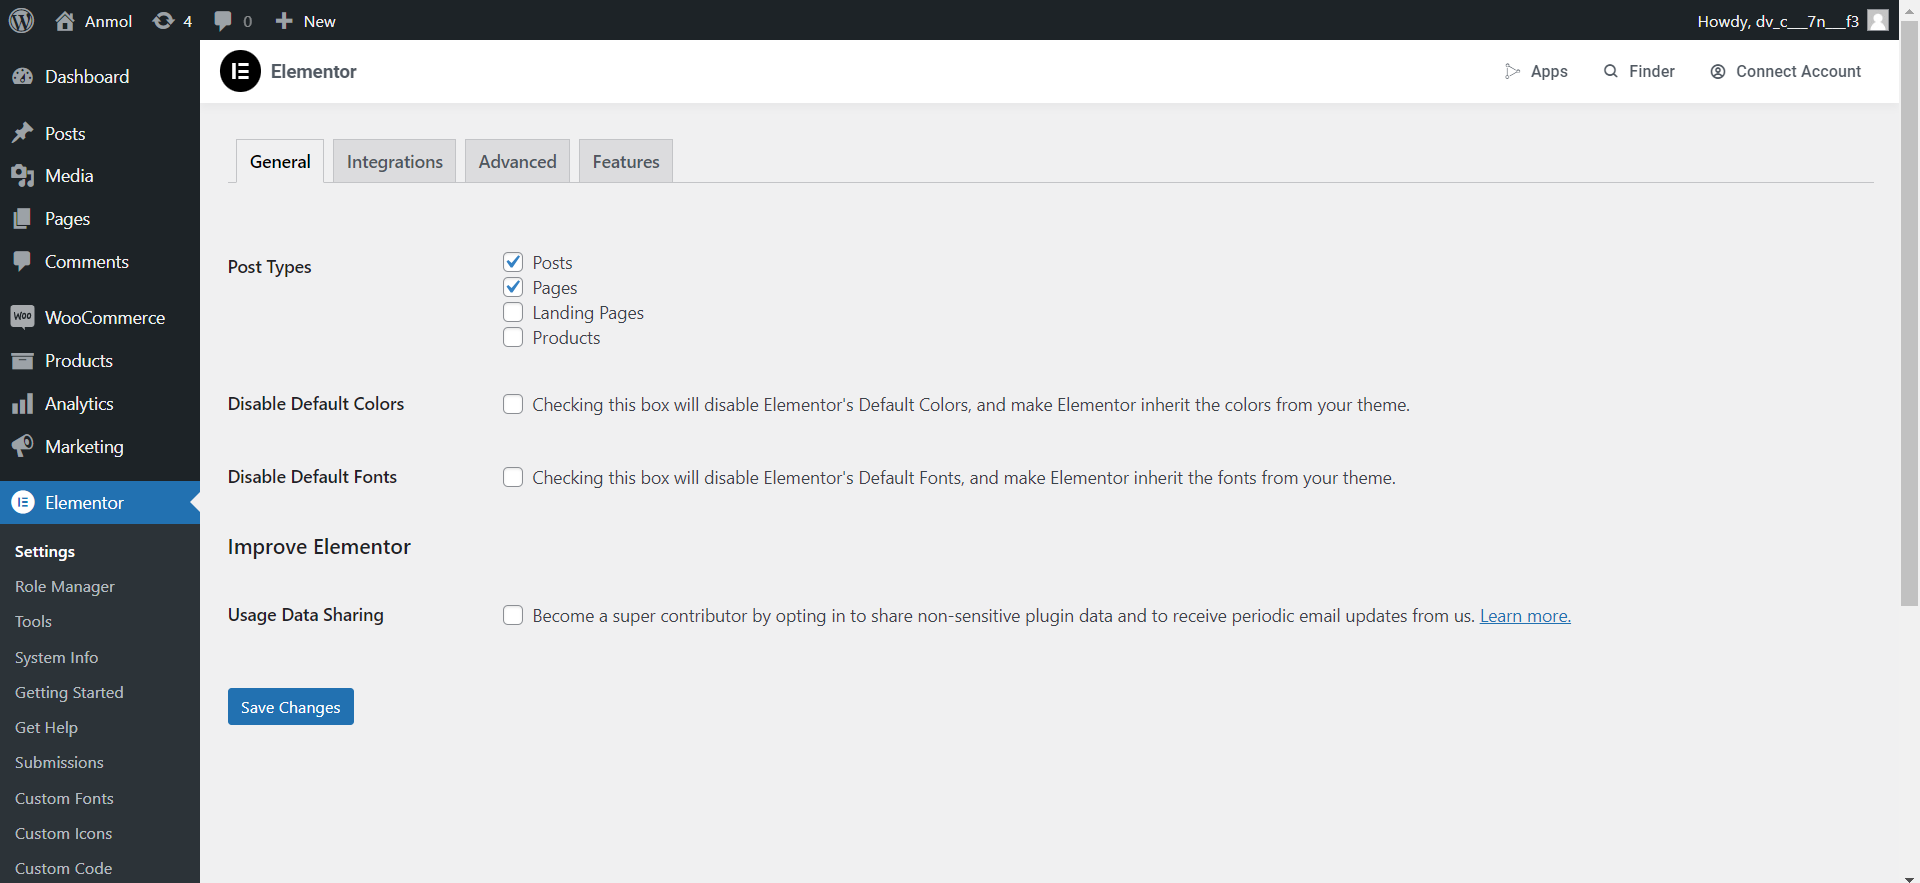
- The main settings page allows you to configure key options:
-
- Enable Elementor for specific posts, pages, products, etc.
- Choose whether to use Elementor or your theme’s default colors and fonts.
- Set user permissions to determine who can access Elementor.
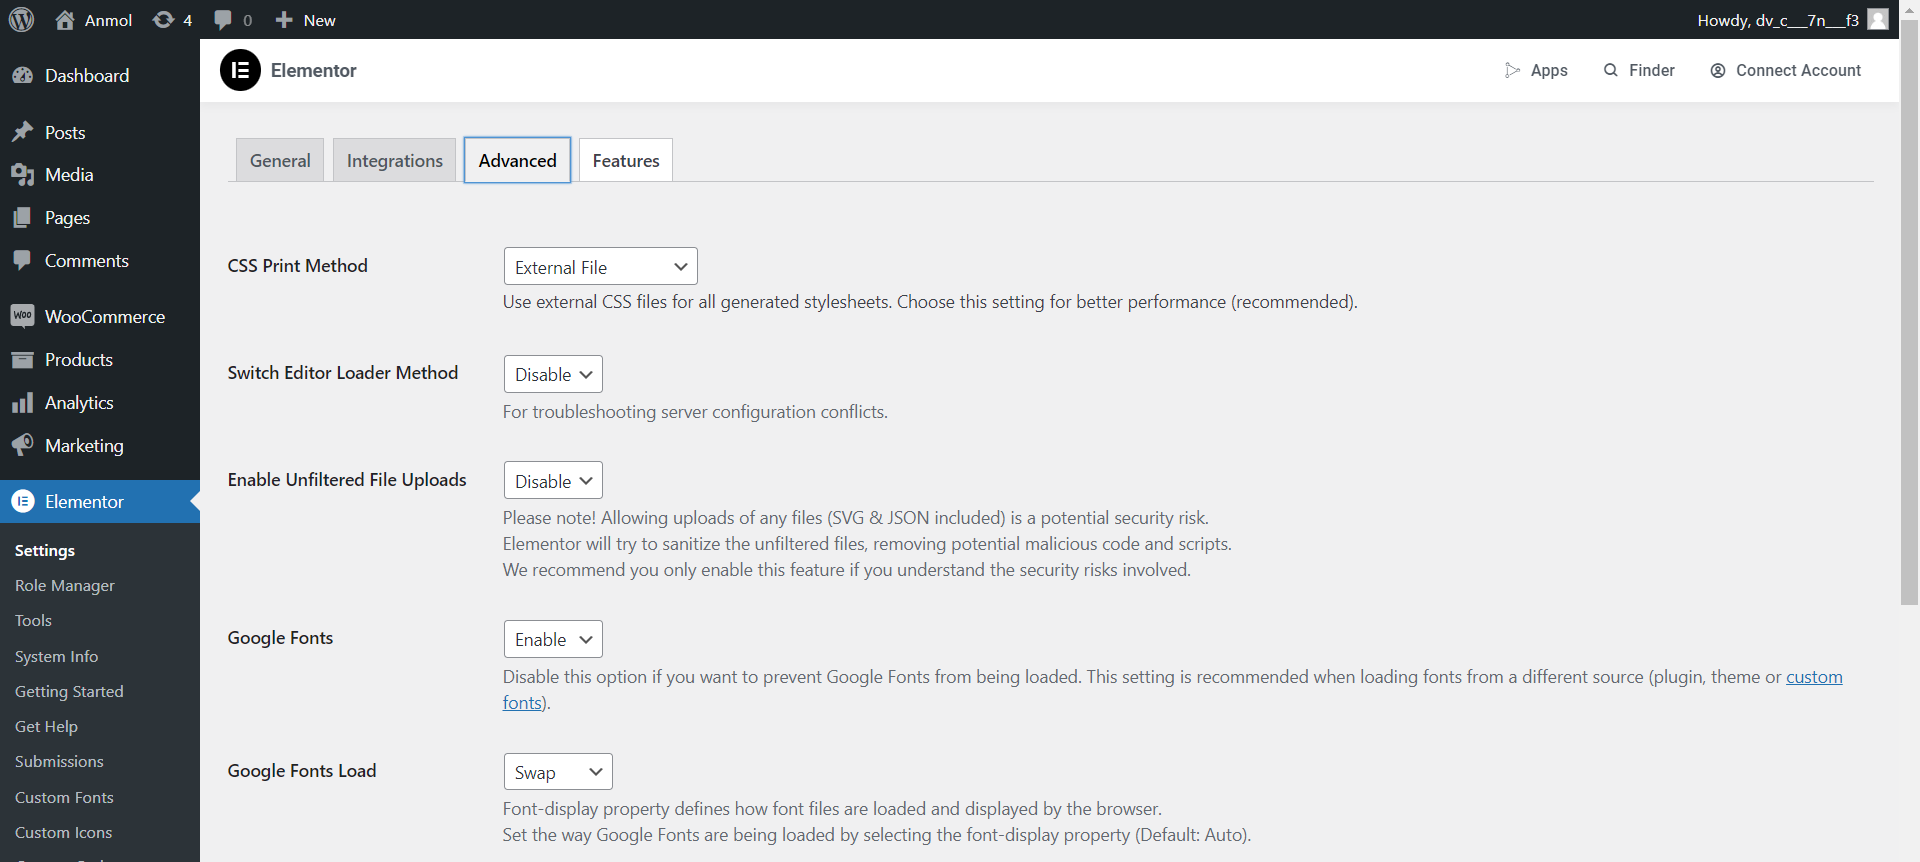
- Configure advanced settings like CSS print method, editor loader method, and other developer options inside the “Advanced” tab.
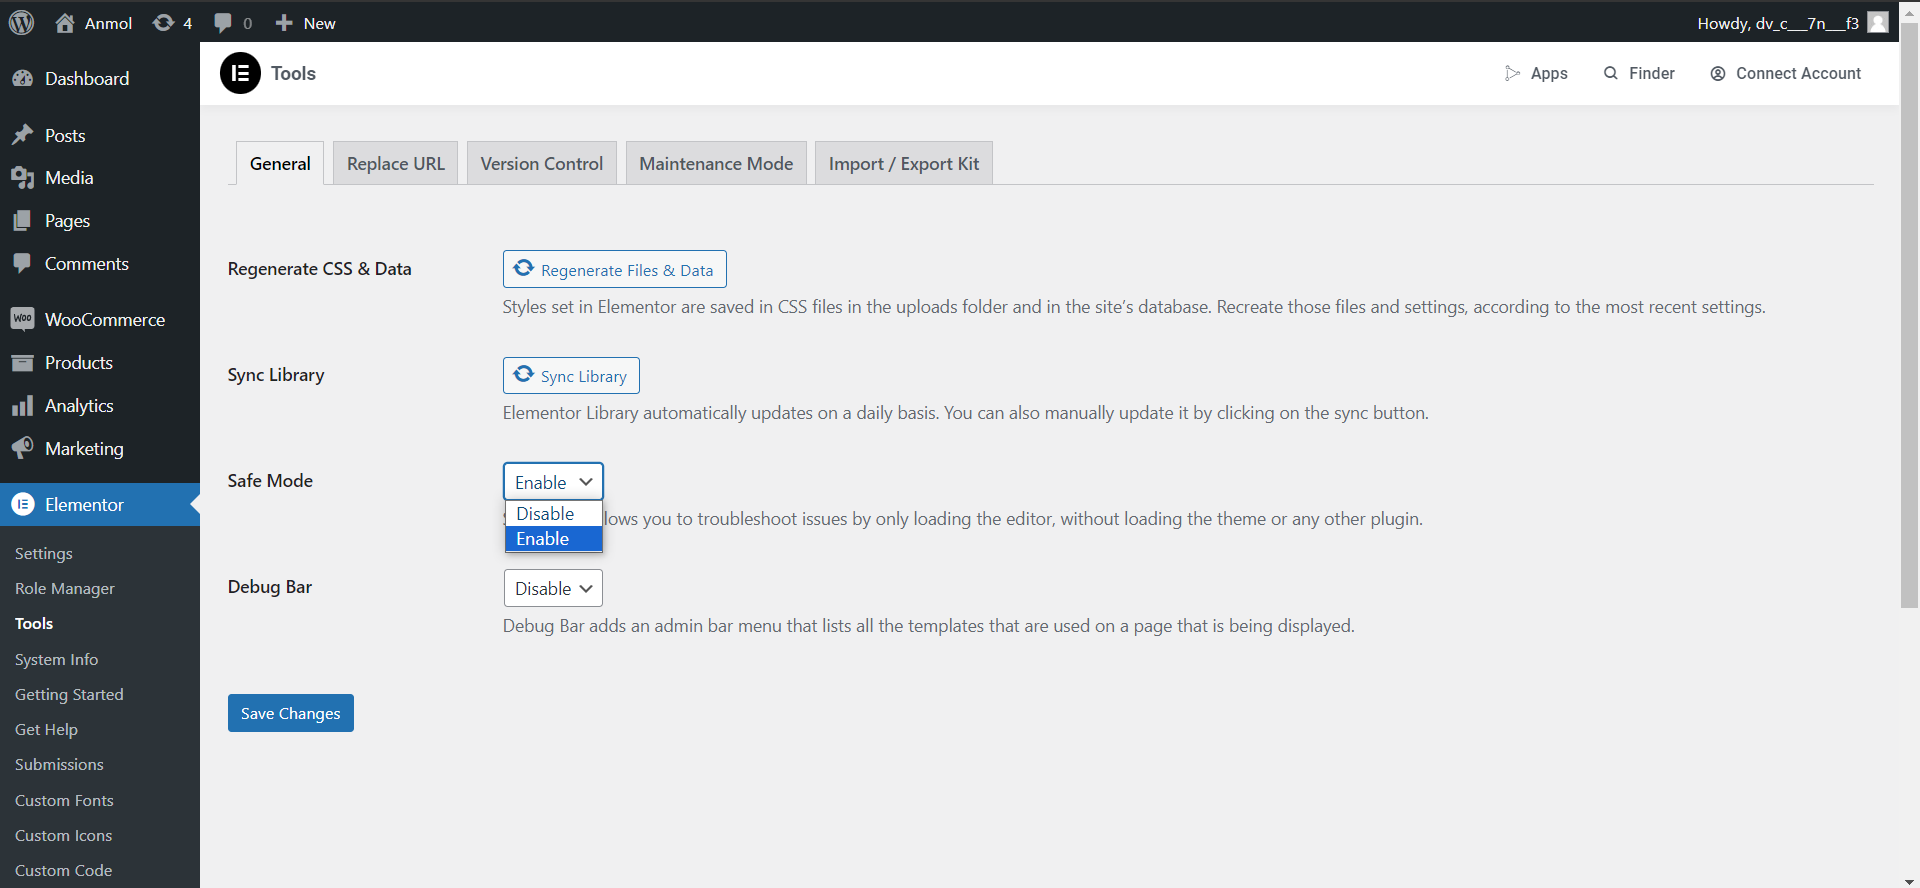
- Ensure to enable safe mode. Navigate to the Elementor>Tools section on the admin dashboard and select the enable option from the safe mode drop-down menu. Do not forget to save changes in the end.
Take some time and explore each section and customize Elementor to your preferences. Saving your settings enables a seamless site-building experience in Elementor tailored to your needs.
Design Shop Page and Show Product Collection using Elementor
The main shop page is one of the most important pages for any WooCommerce site. This is where customers will first see the products or product categories. You can design an eye-catching shop page using Elementor to highlight your products. Follow these steps:
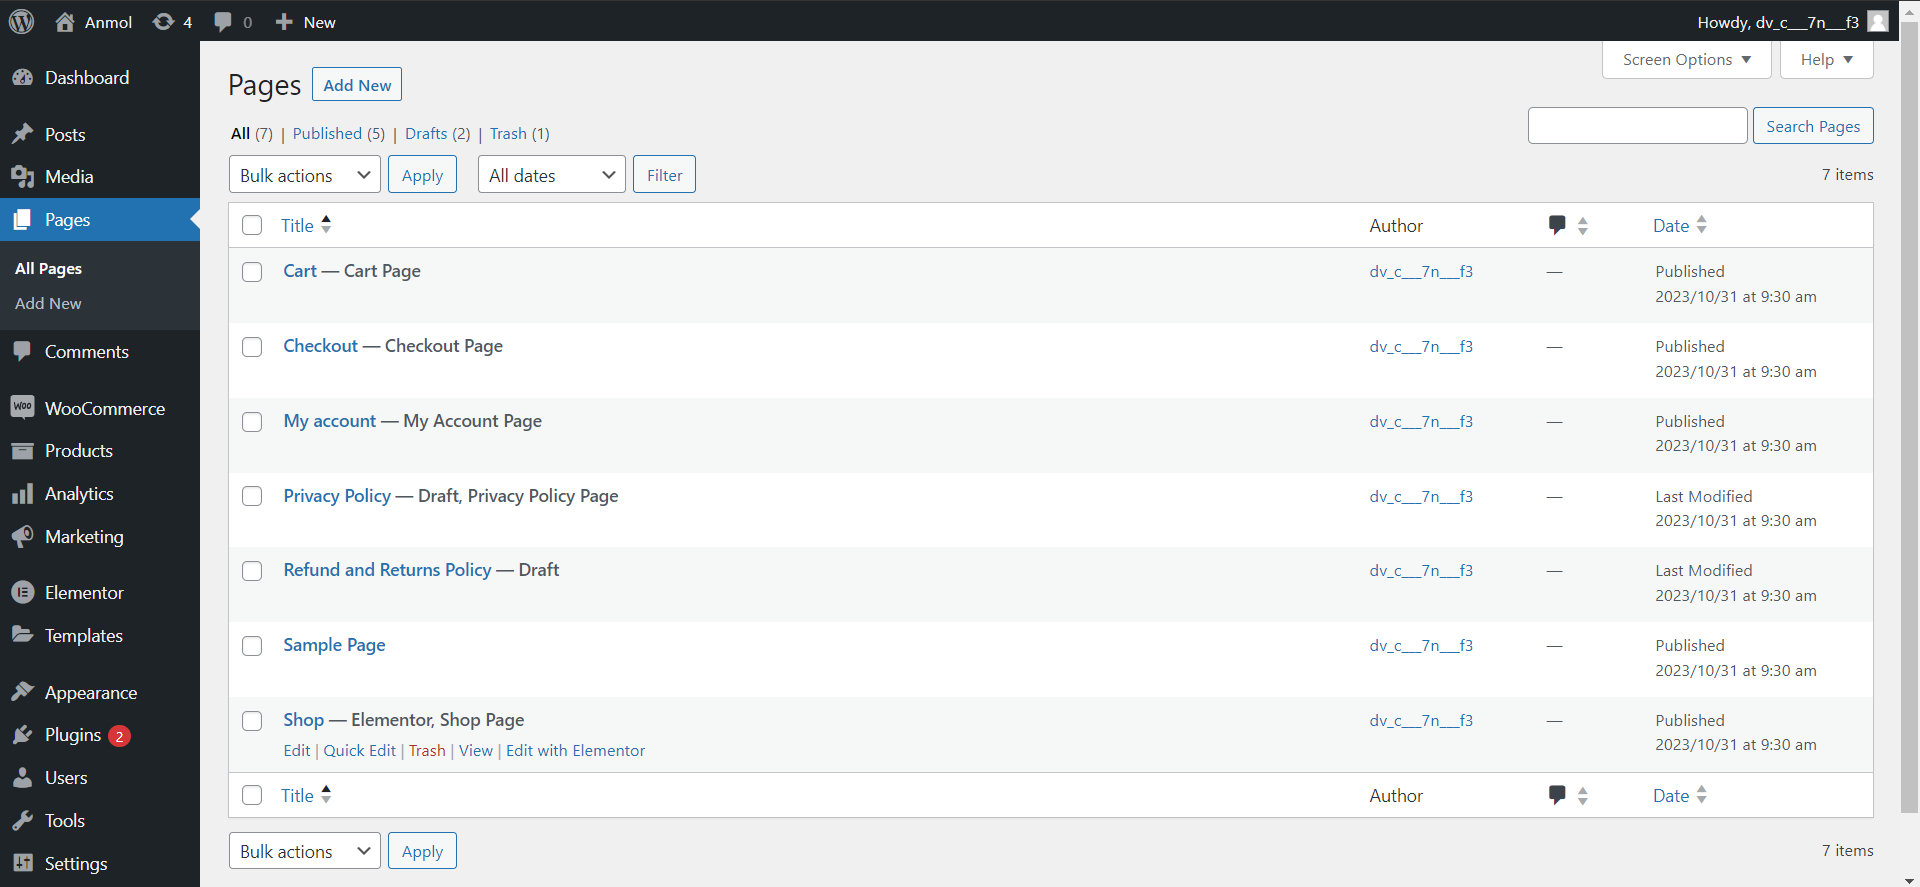
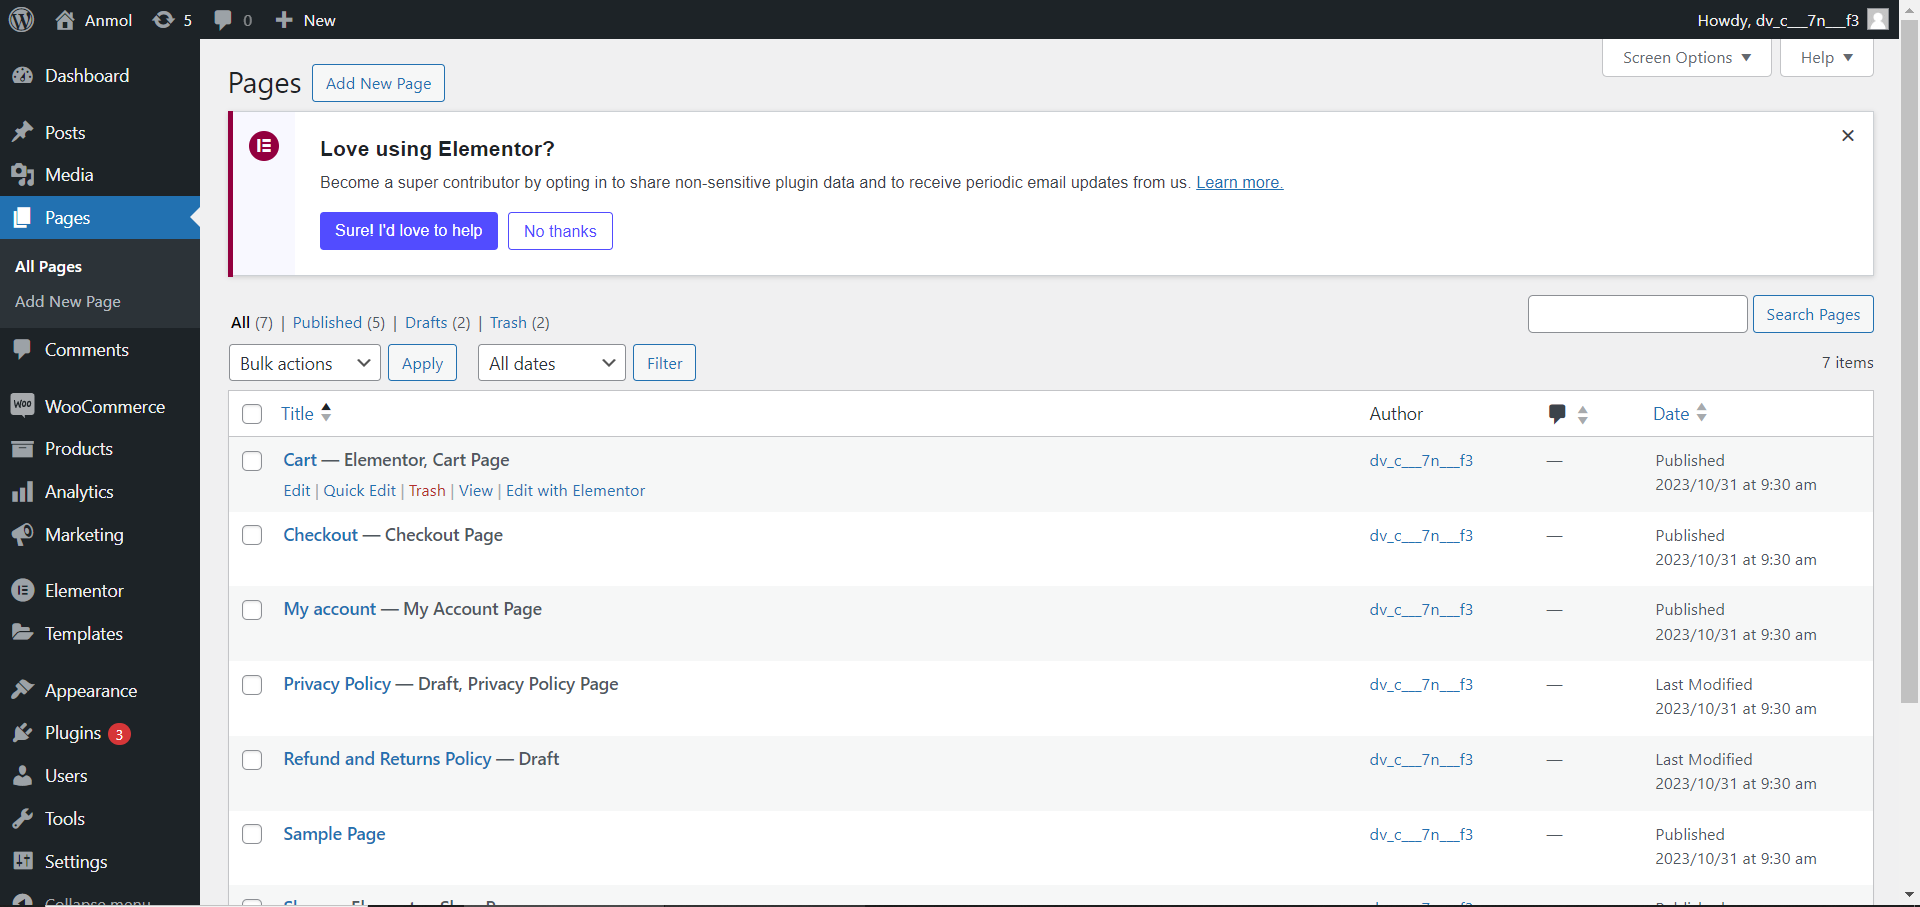
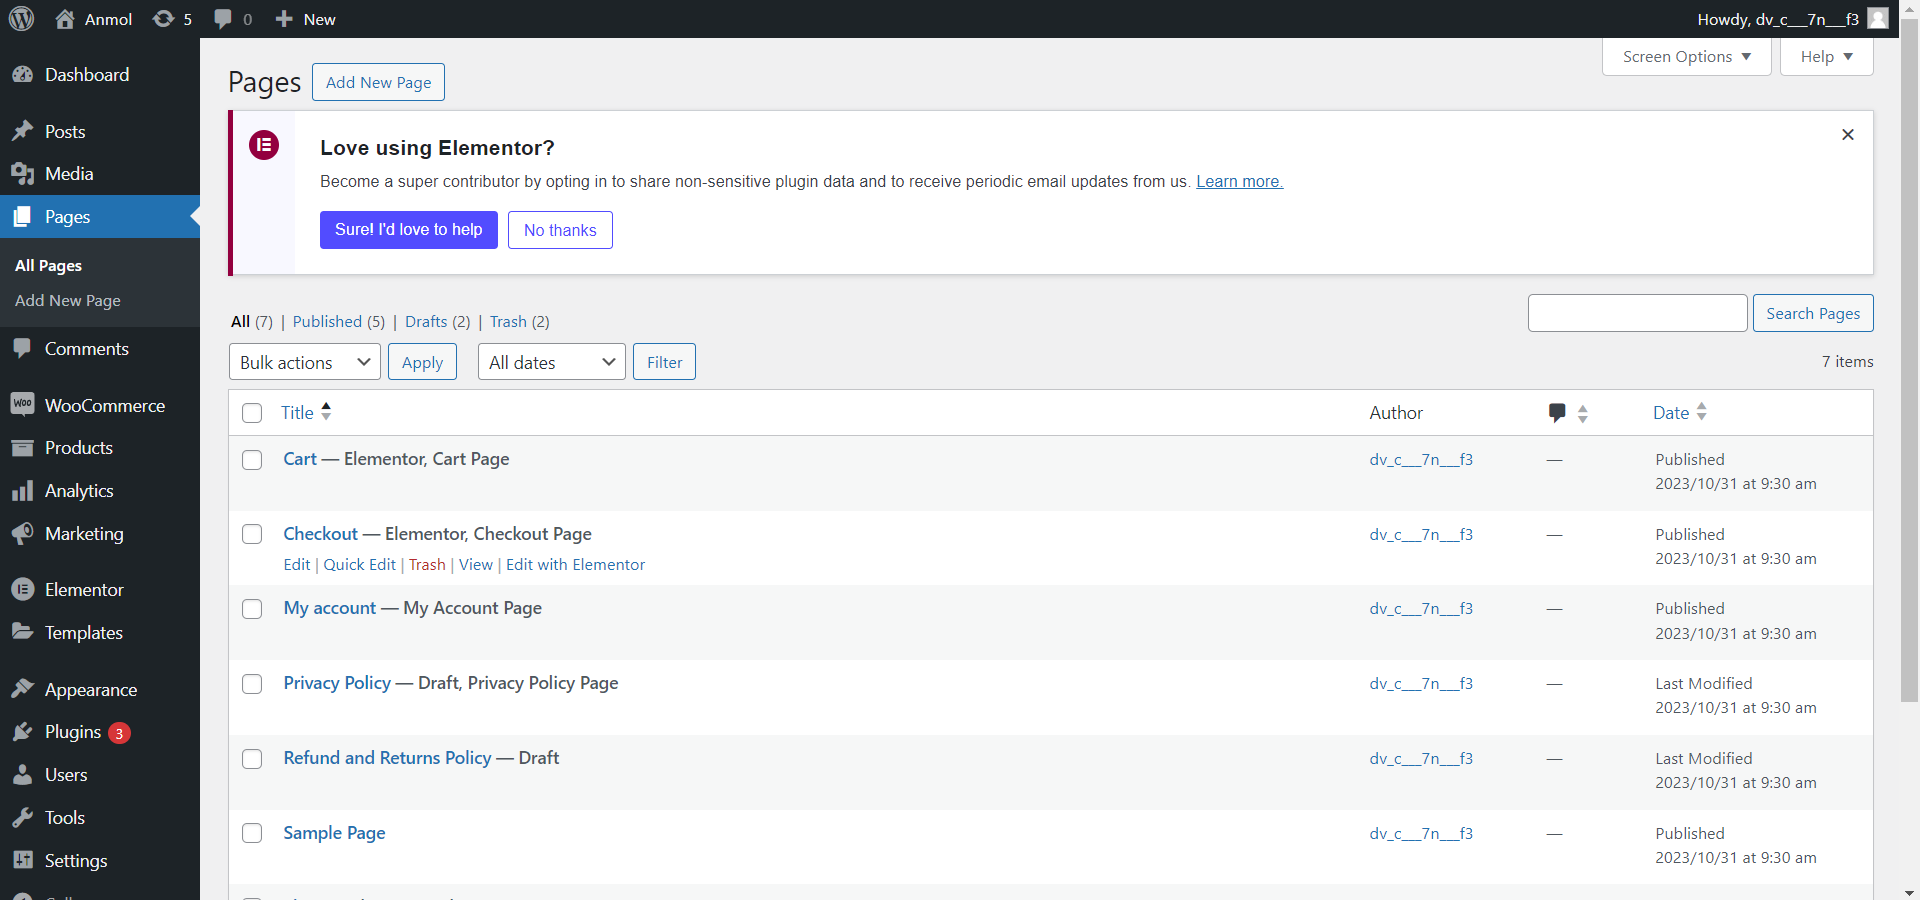
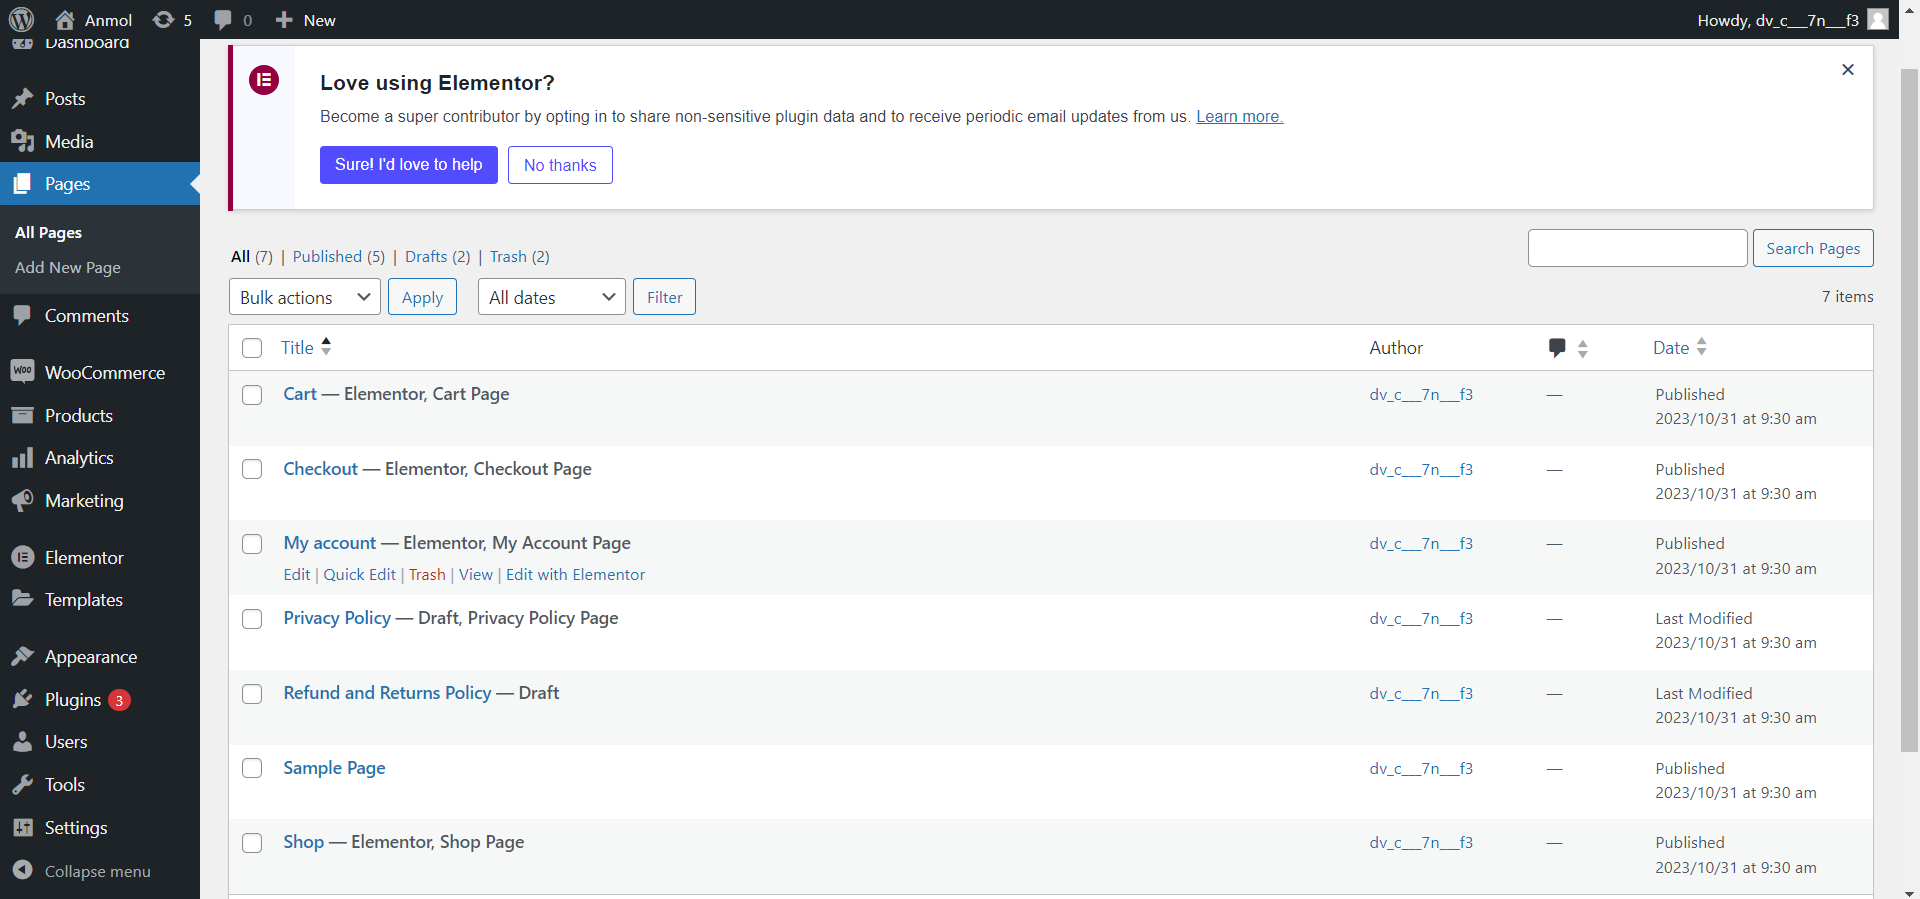
- Go to your WordPress admin dashboard and navigate to Pages>All Pages section, where you will find all the pages of your ecommerce store. Edit the Shop page with Elementor.
- We will use Elementor widgets to design the shop page. First, search for the “Archive” template to get started.
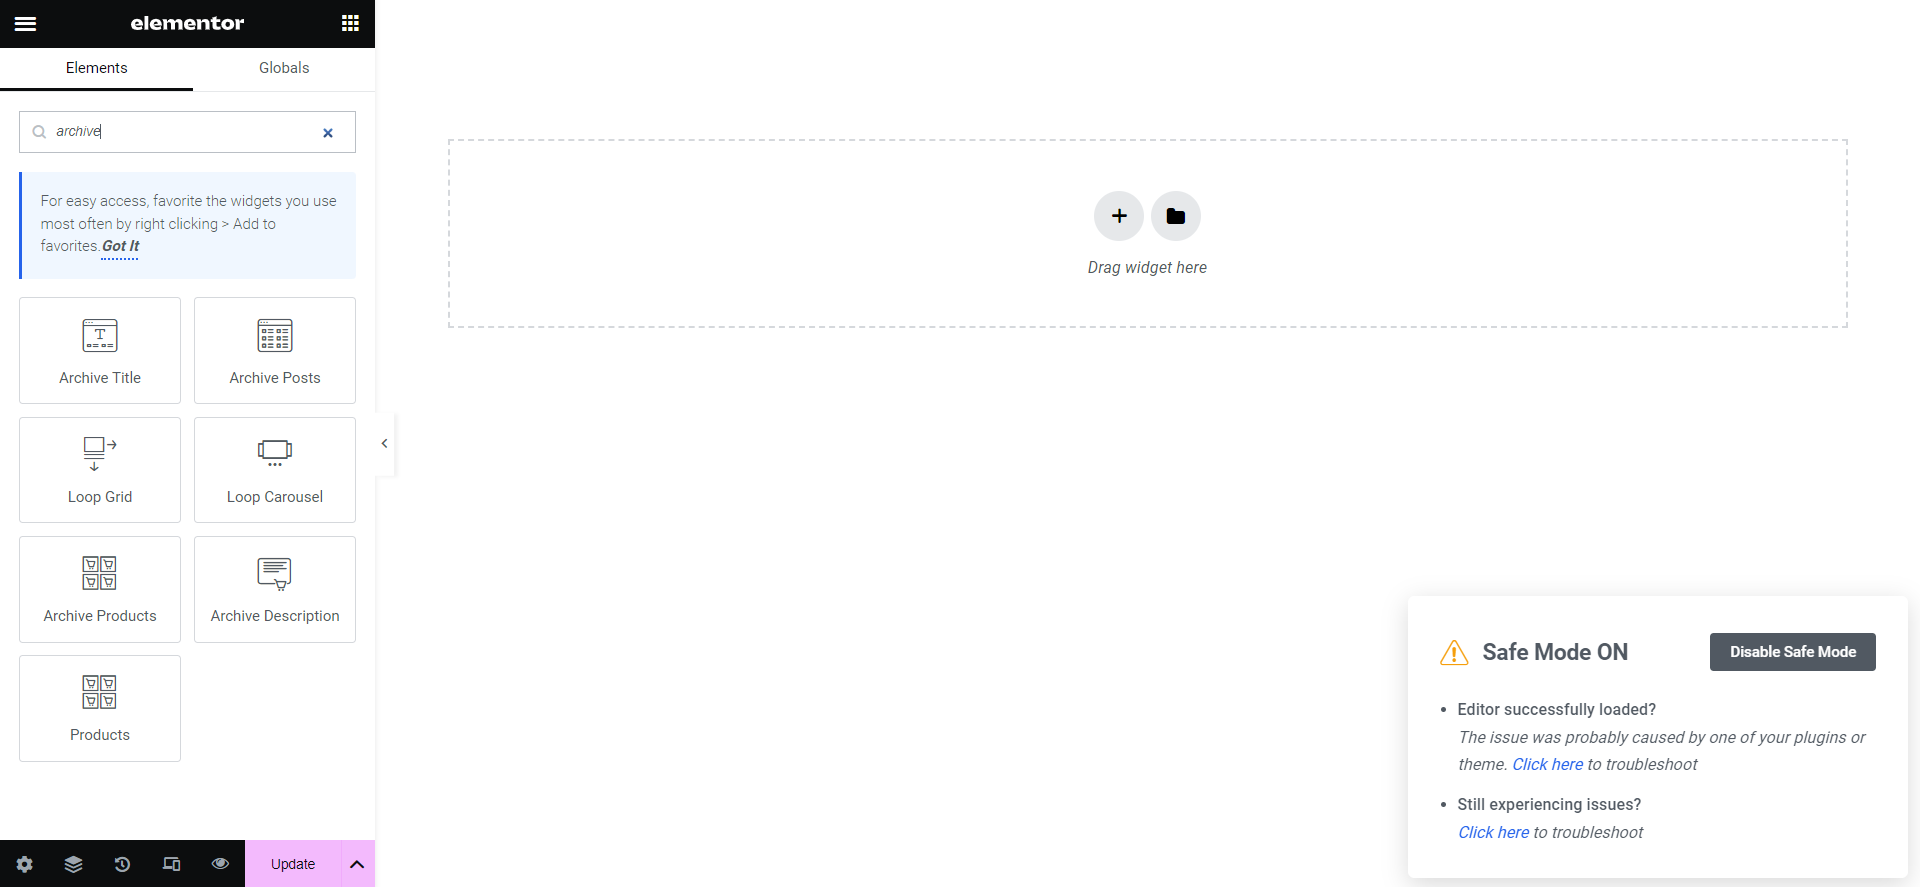
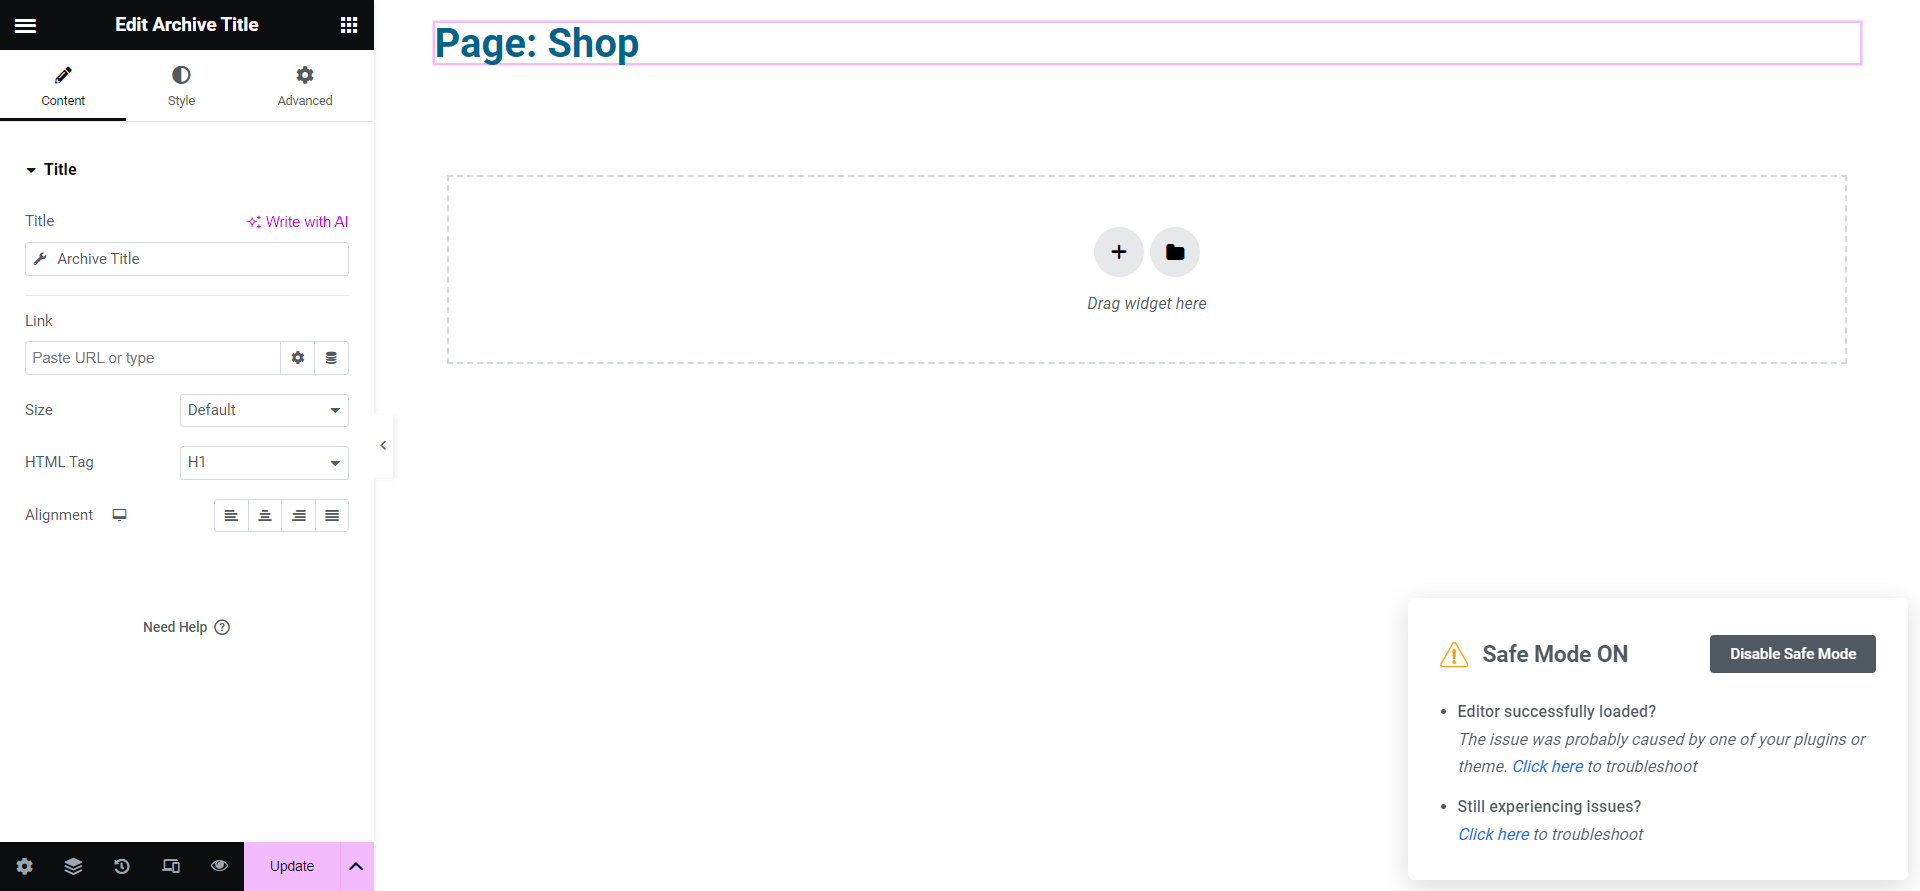
- Add a header or title section that will introduce your store and products.
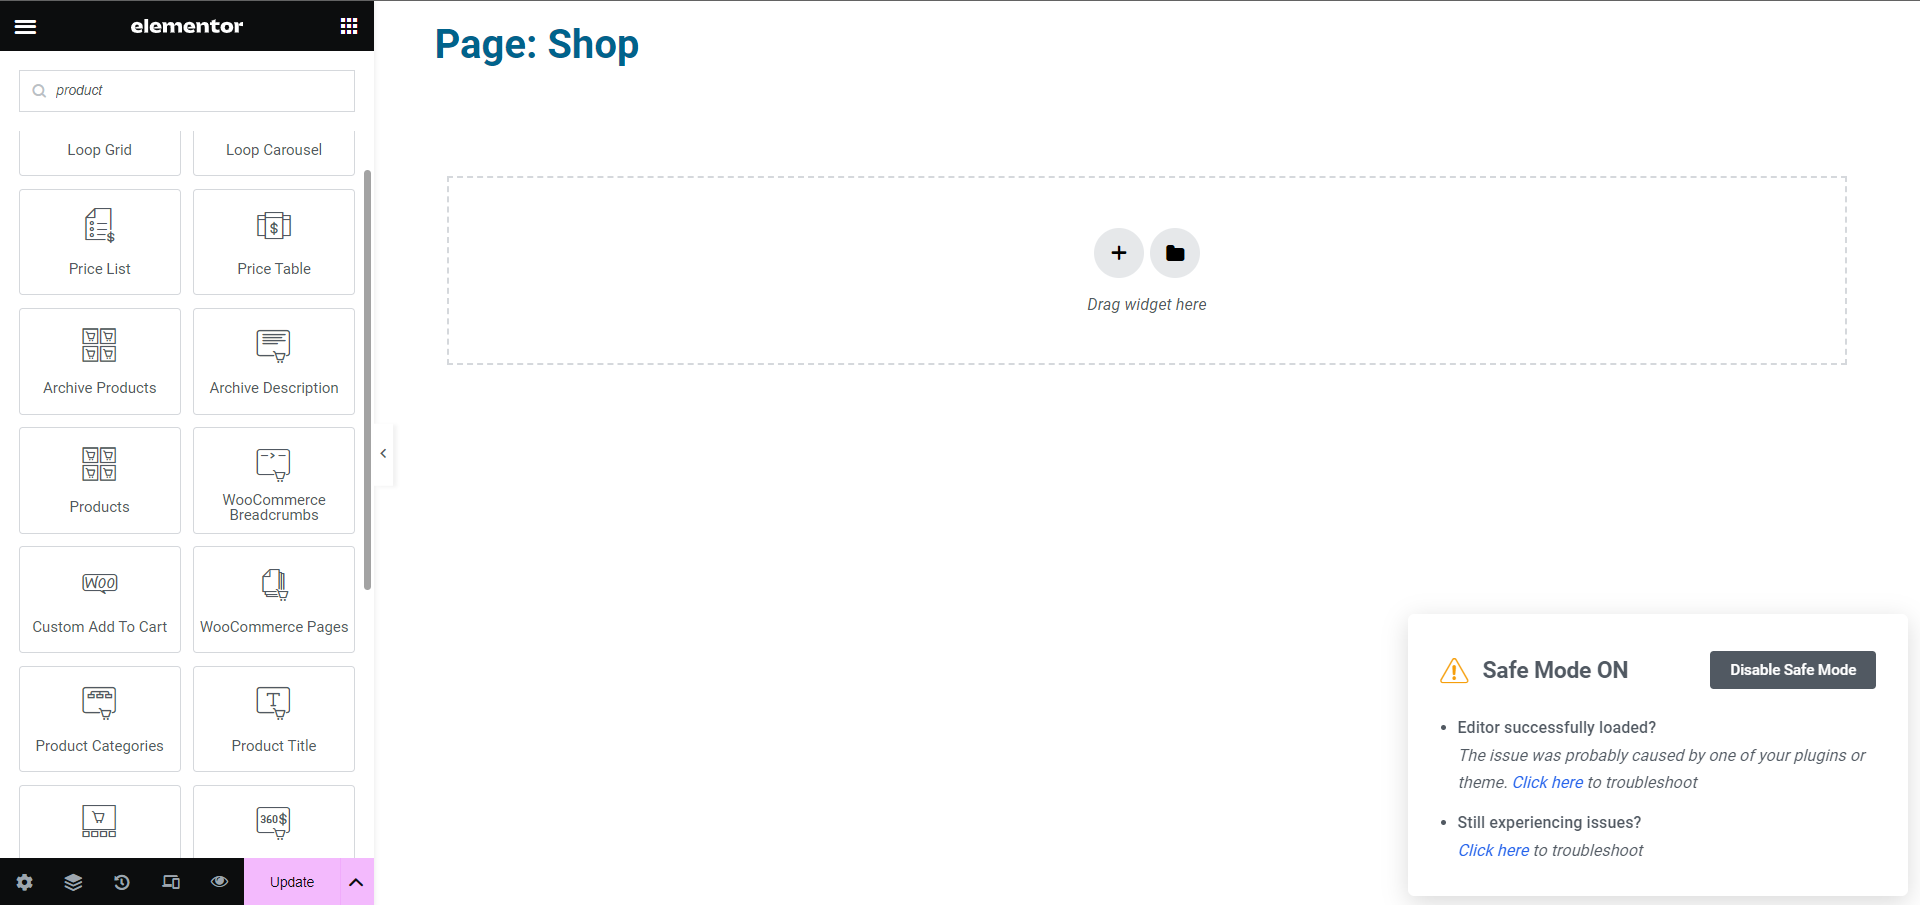
- Add a WooCommerce product collection element from the widget list. Choose to display products by category or tag.
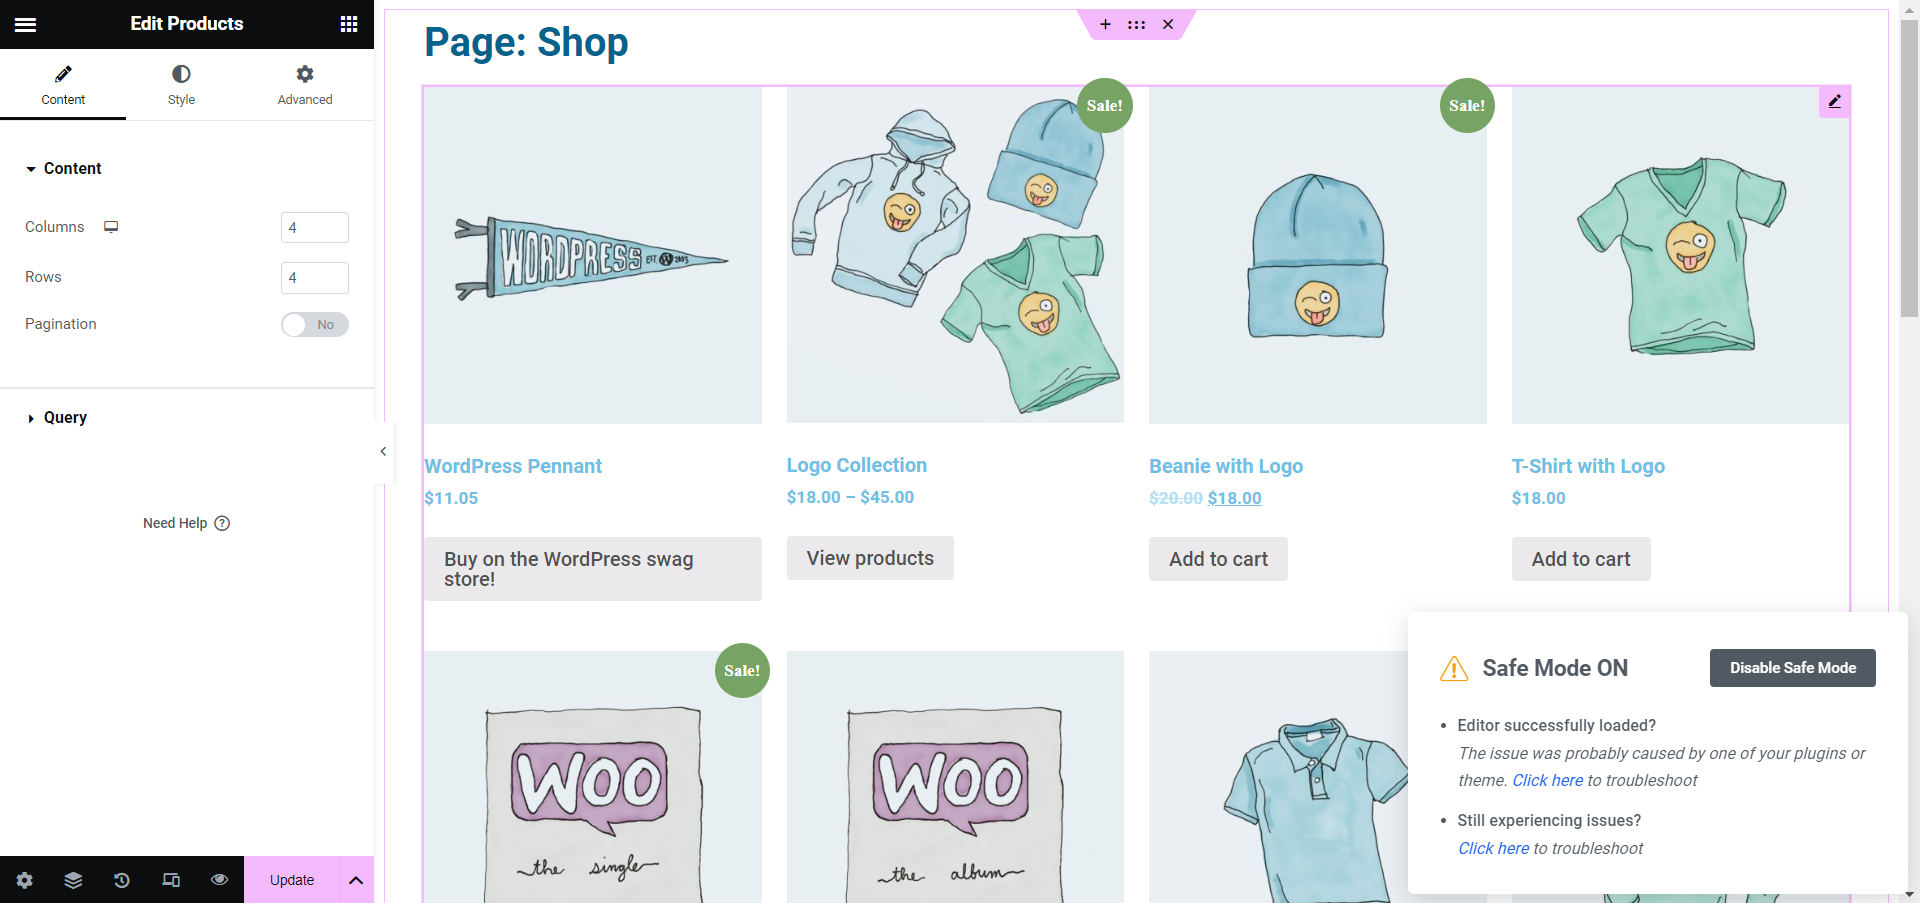
- Adjust the product collection settings. Set the number of columns, products per page, order, and more.
- Style the product display using Elementor’s design settings. Choose hover animations, typography, colors, etc.
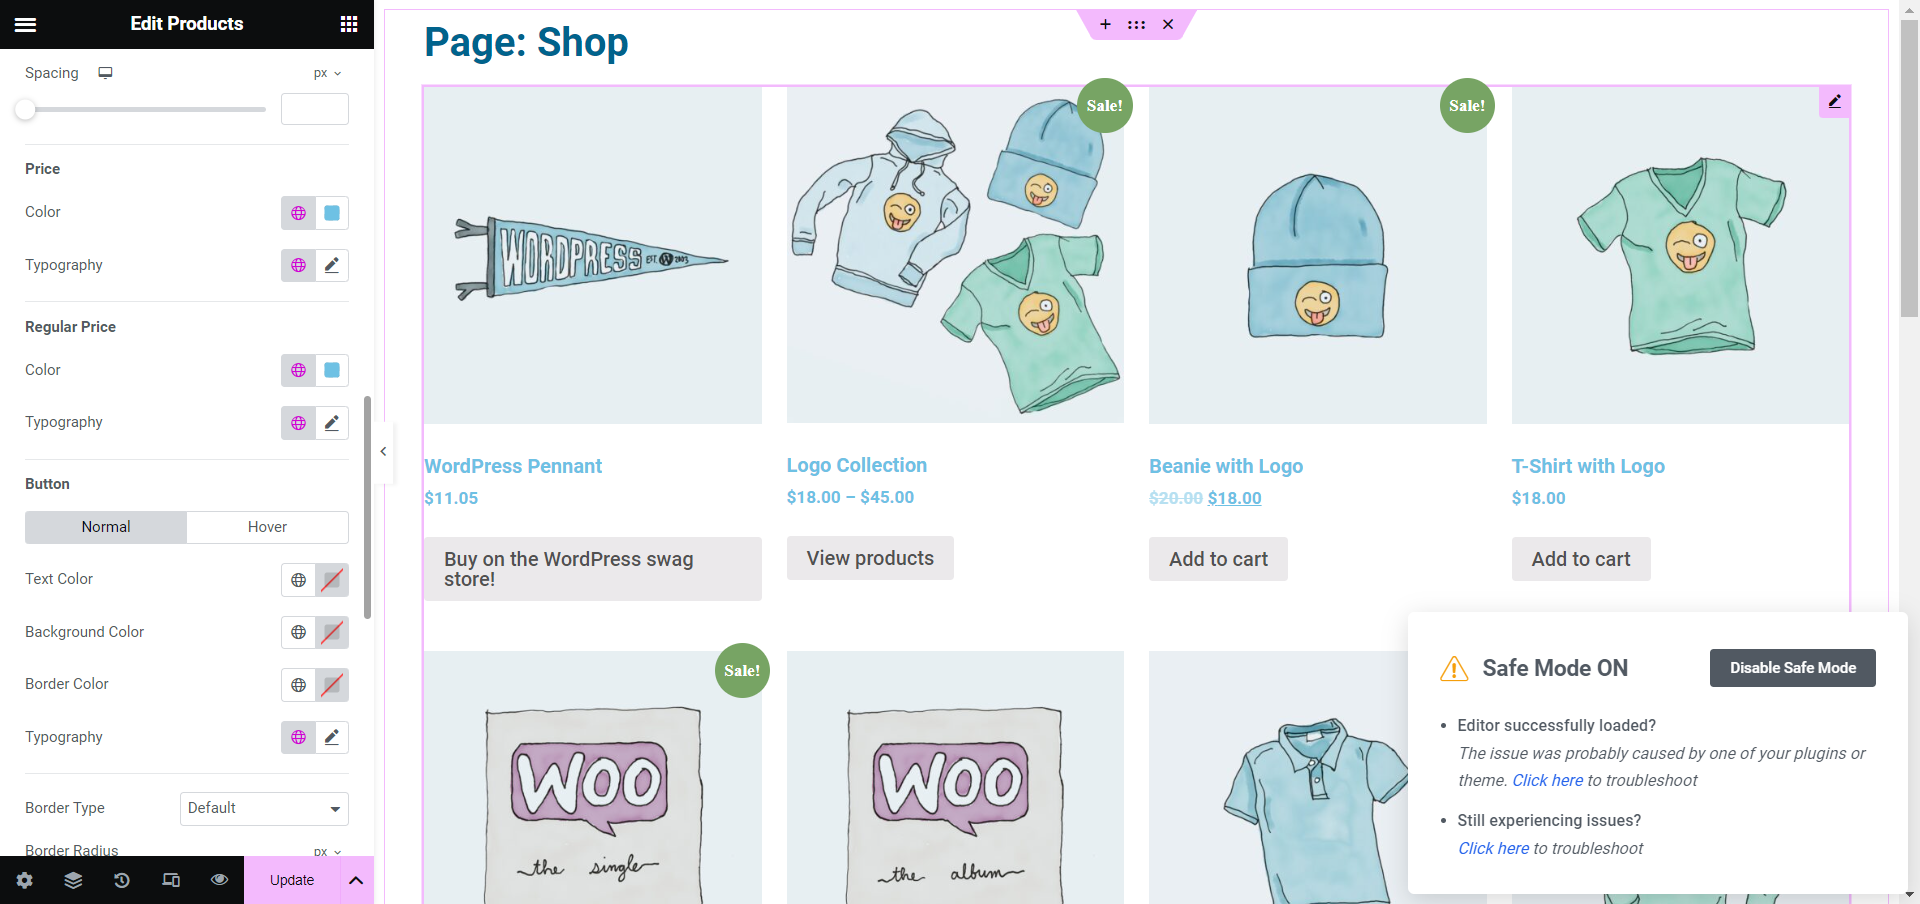
- Use Essential Addons’ Woo product collections element for additional display options like grids, sliders, and more.
- Refine individual product elements in the collection like titles, prices, ratings, add-to-cart buttons, etc.
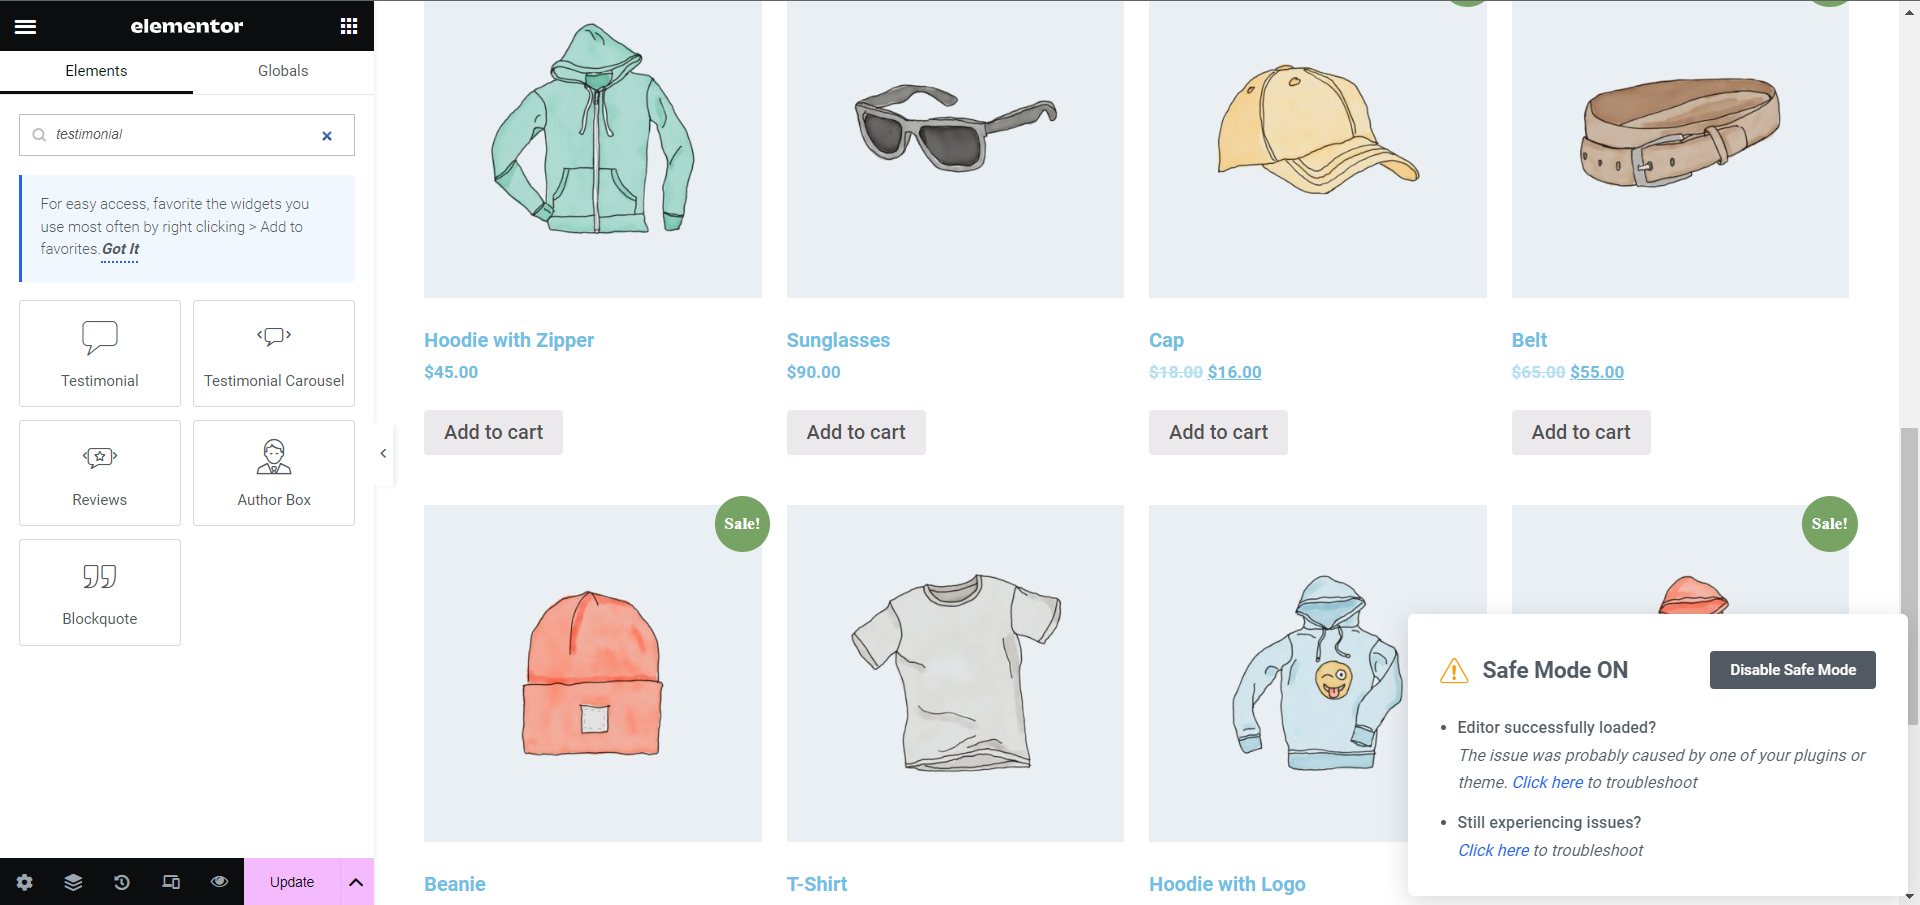
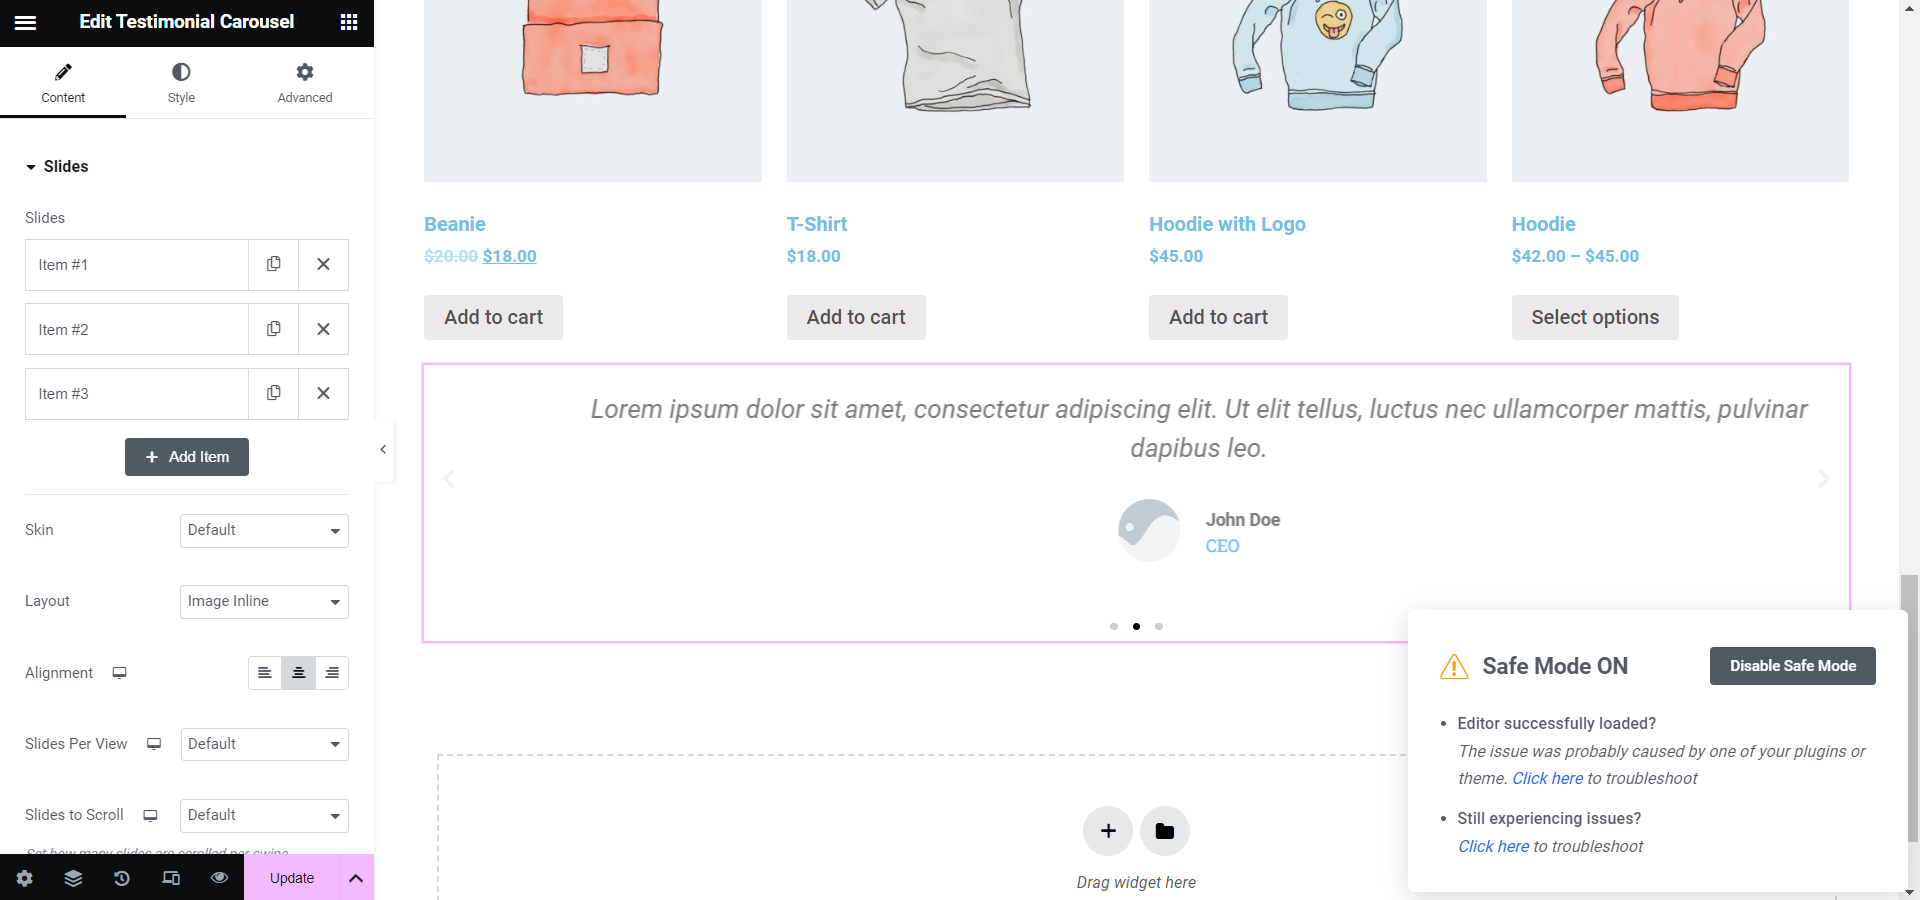
- Add sections for promotions testimonials, or to highlight top products. Use a range of Elementor’s non-Woo widgets.
- Tweak settings globally from the Elementor Theme Builder to create a unified shop page design.
With strategic use of Elementor and its add-ons, you can build a shop page that engages customers and excites them to browse your products. Experiment until you find an optimal layout.
Edit the Product Page and Show Products in a Grid Layout using Elementor
In the WooCommerce section of Elementor, create a new template for the Single Product page type. You can start with a pre-made template or build from scratch.
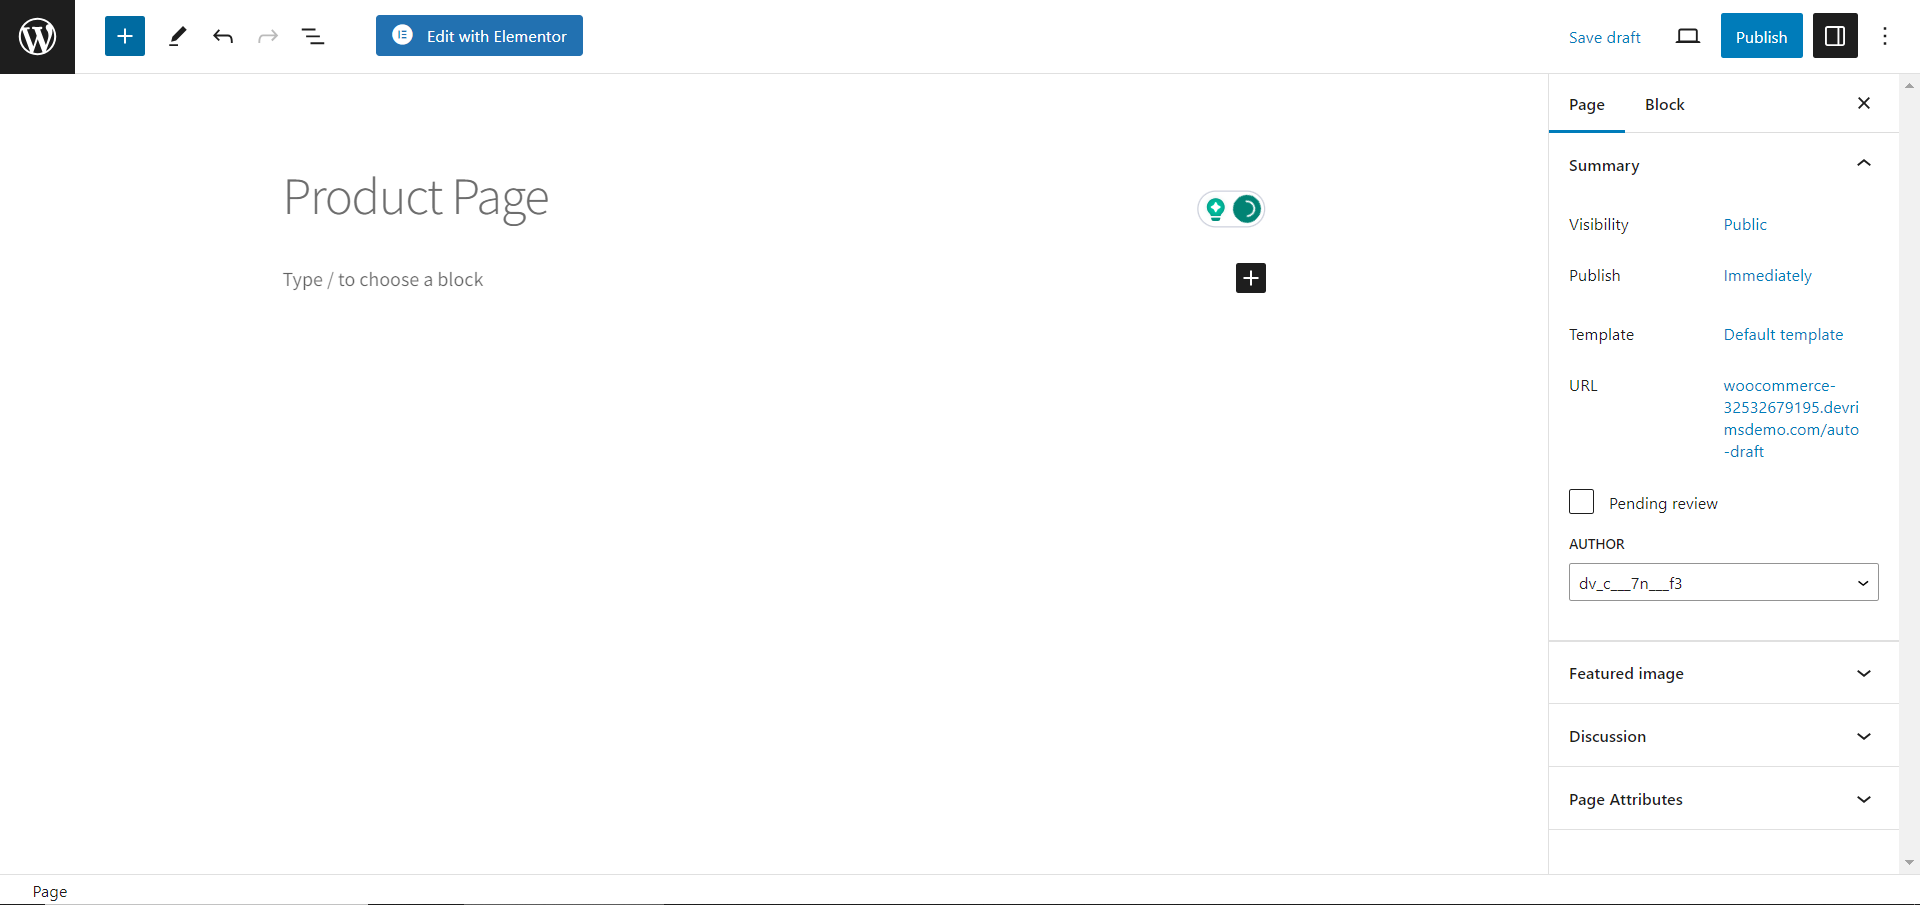
- Navigate to the Pages section and click the “Add New Page” button.
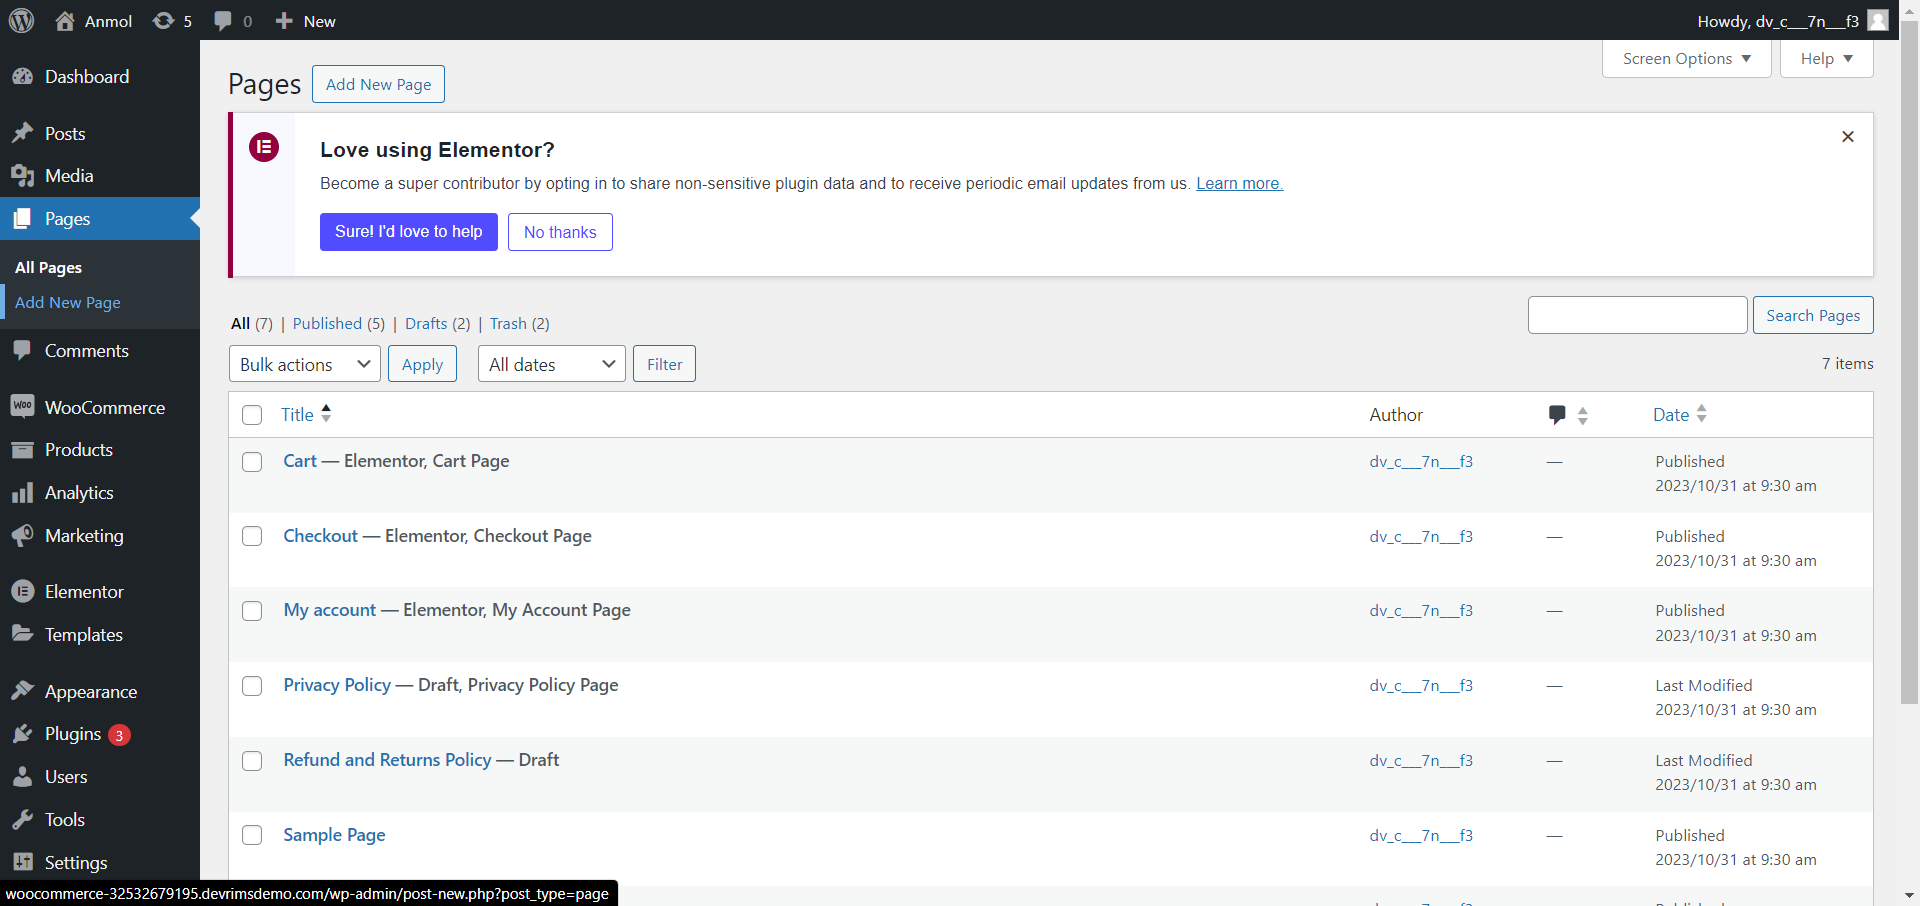
- Enter a title for the page.
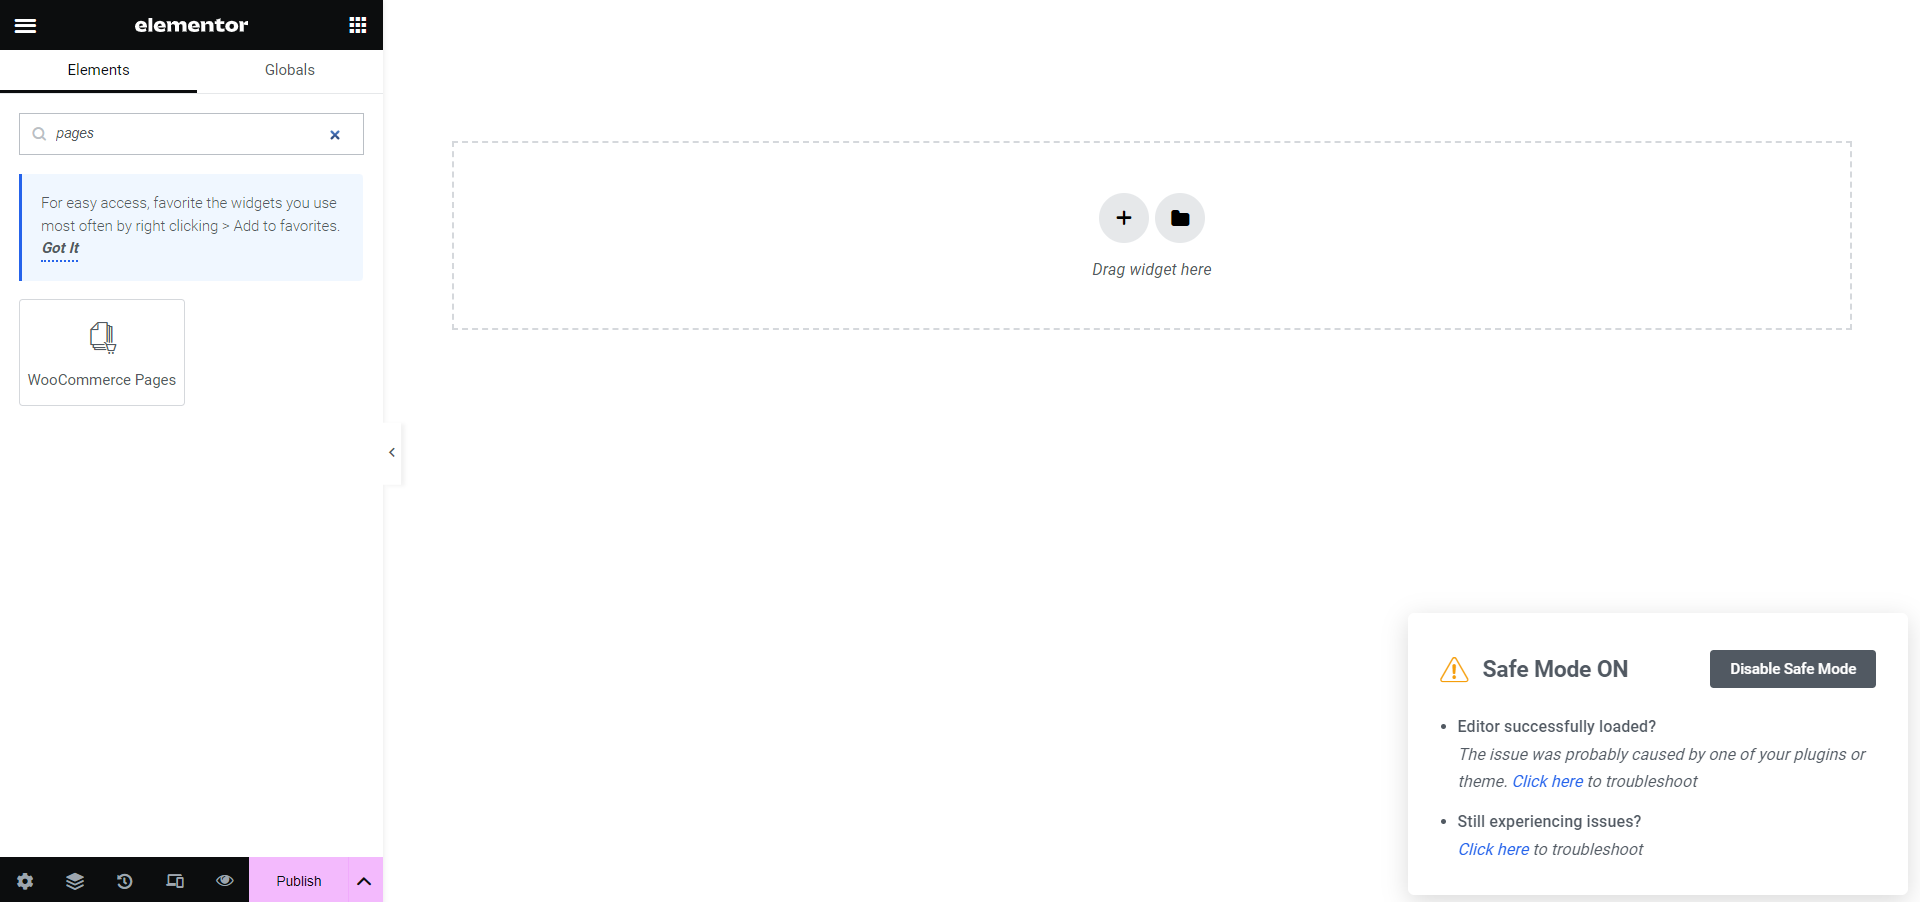
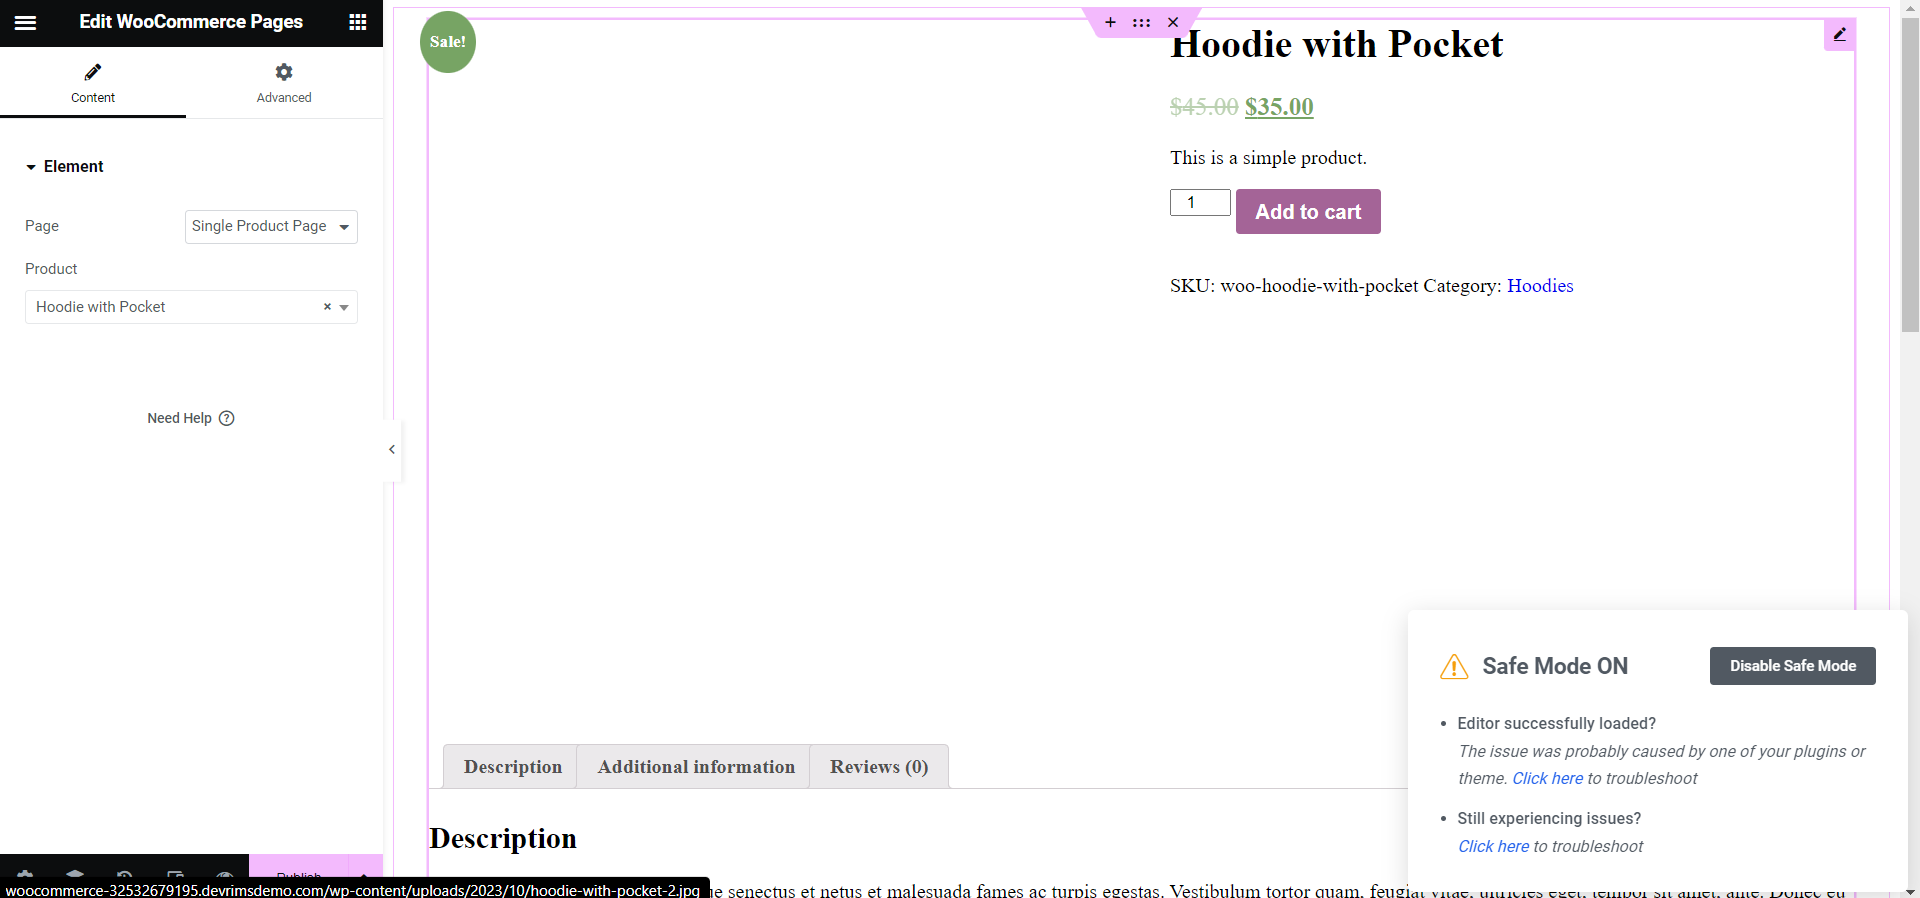
- Now, search for the WooCommerce Pages widget in the search bar.
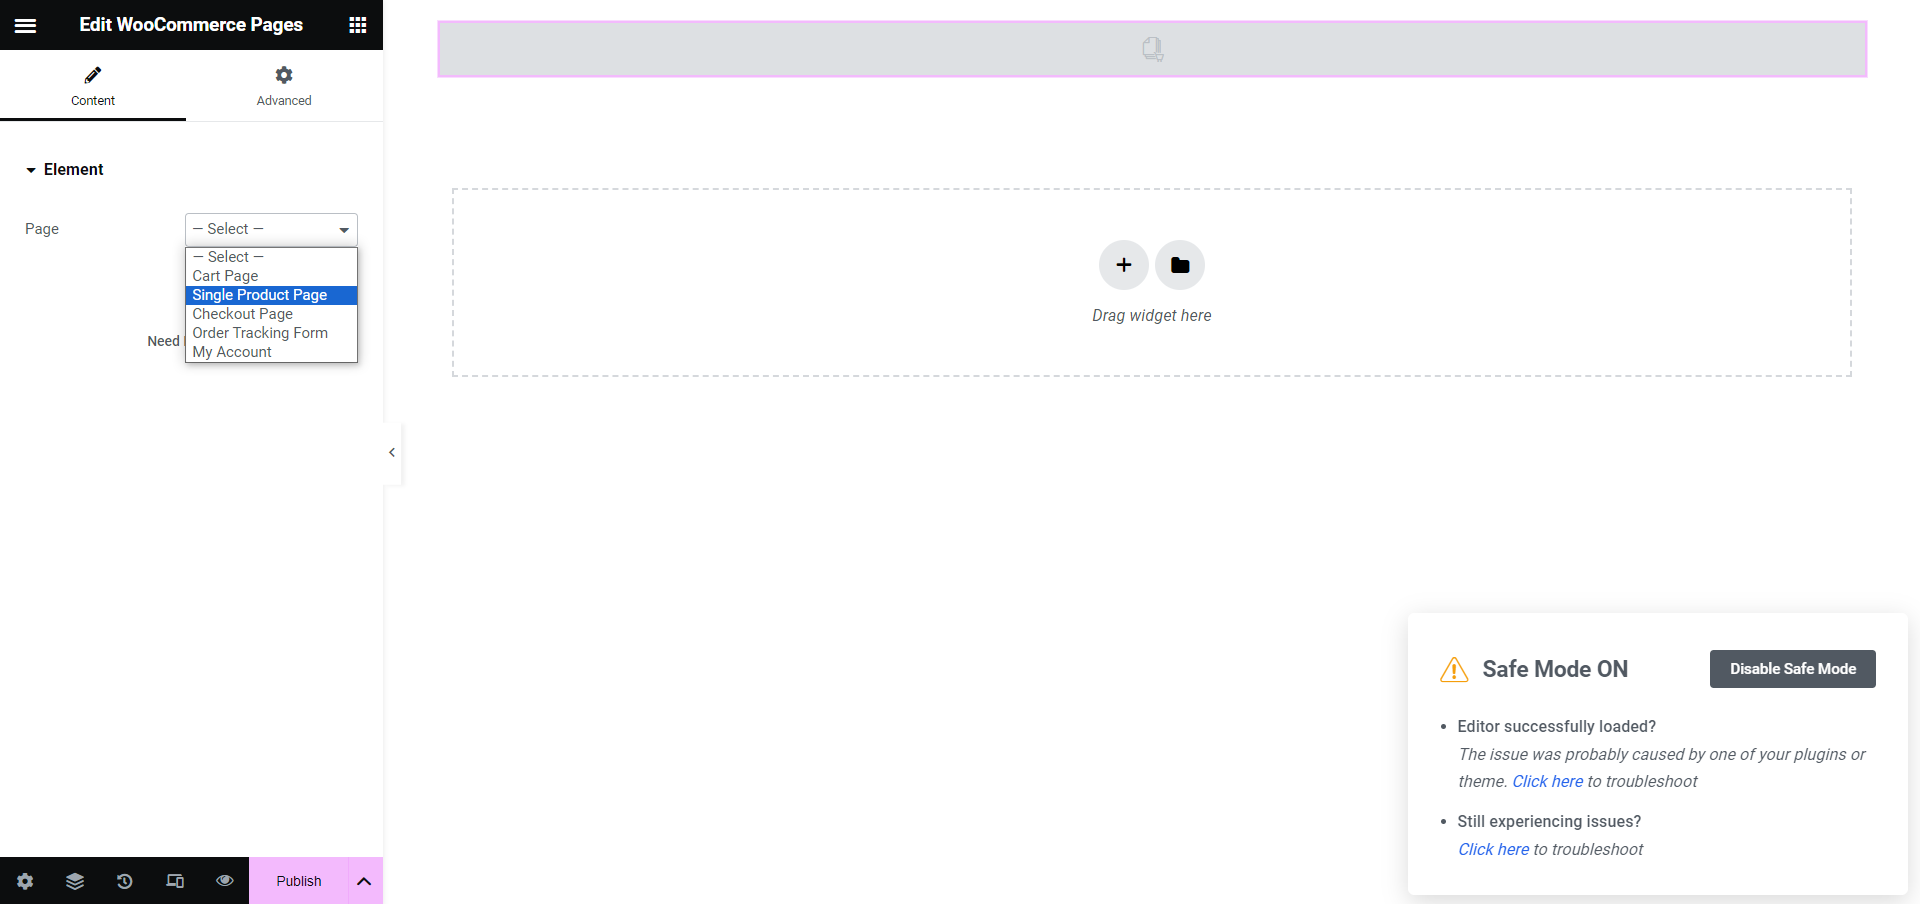
- Select the “Single Product Page” option from the drop-down menu.
- Search for the product you want to customize the page for.
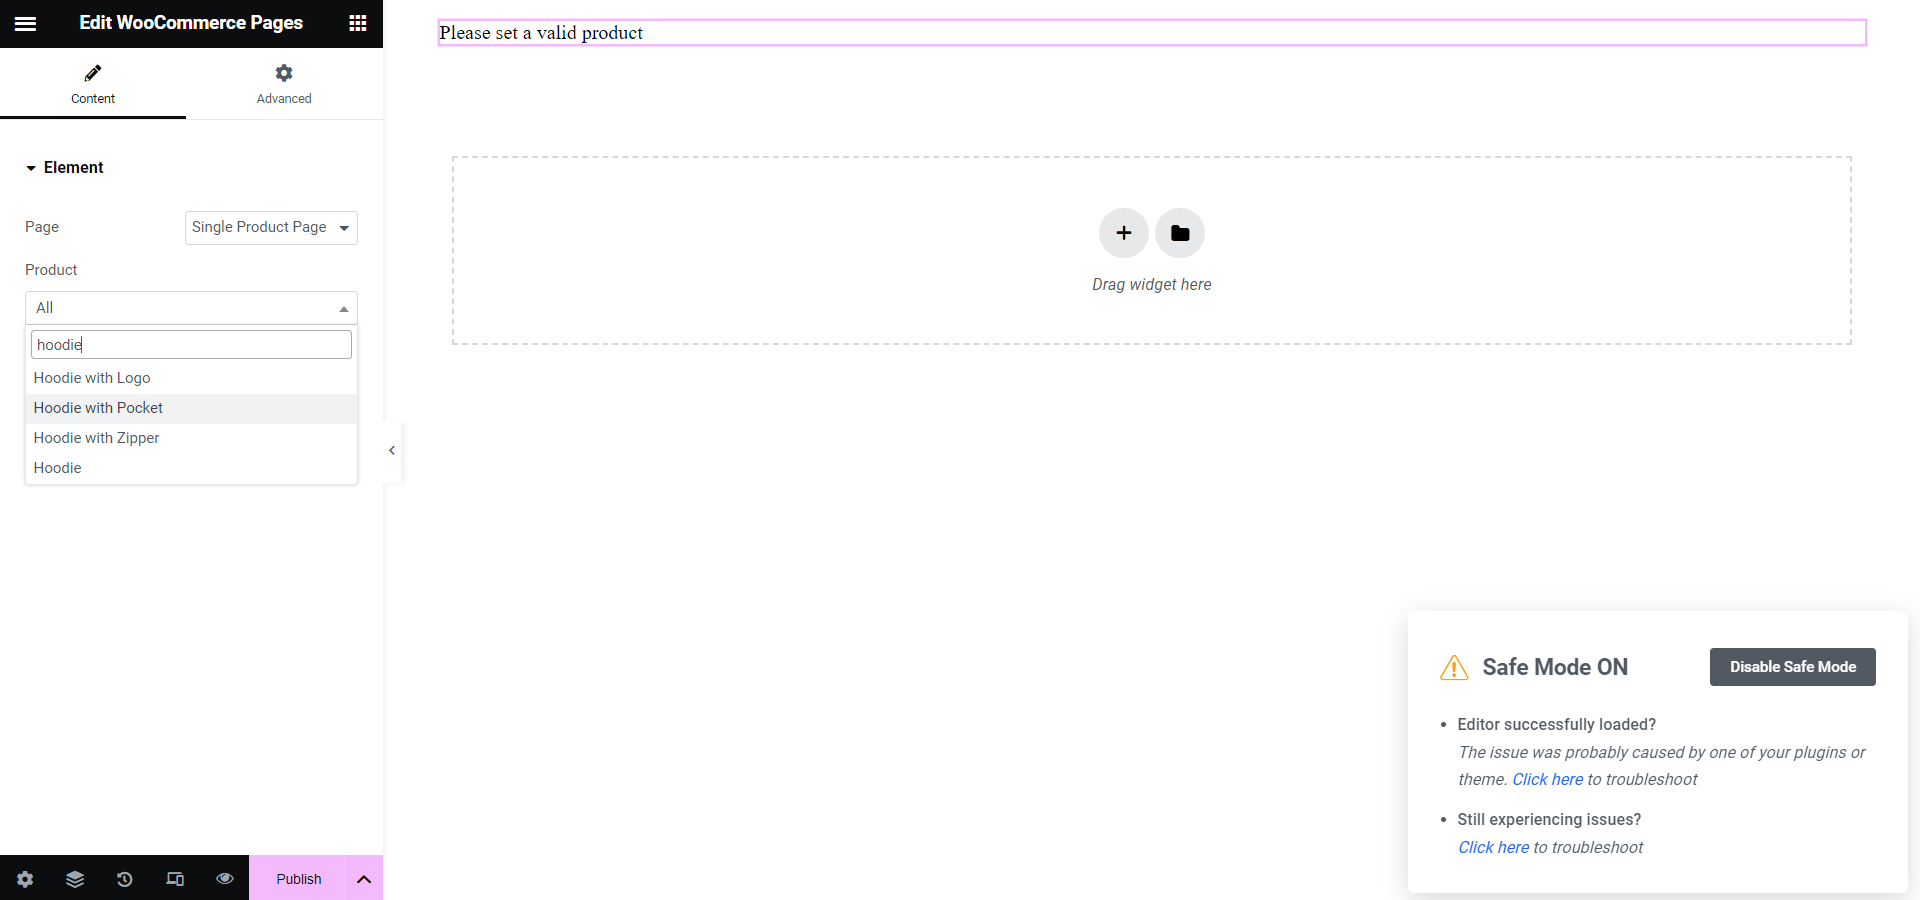
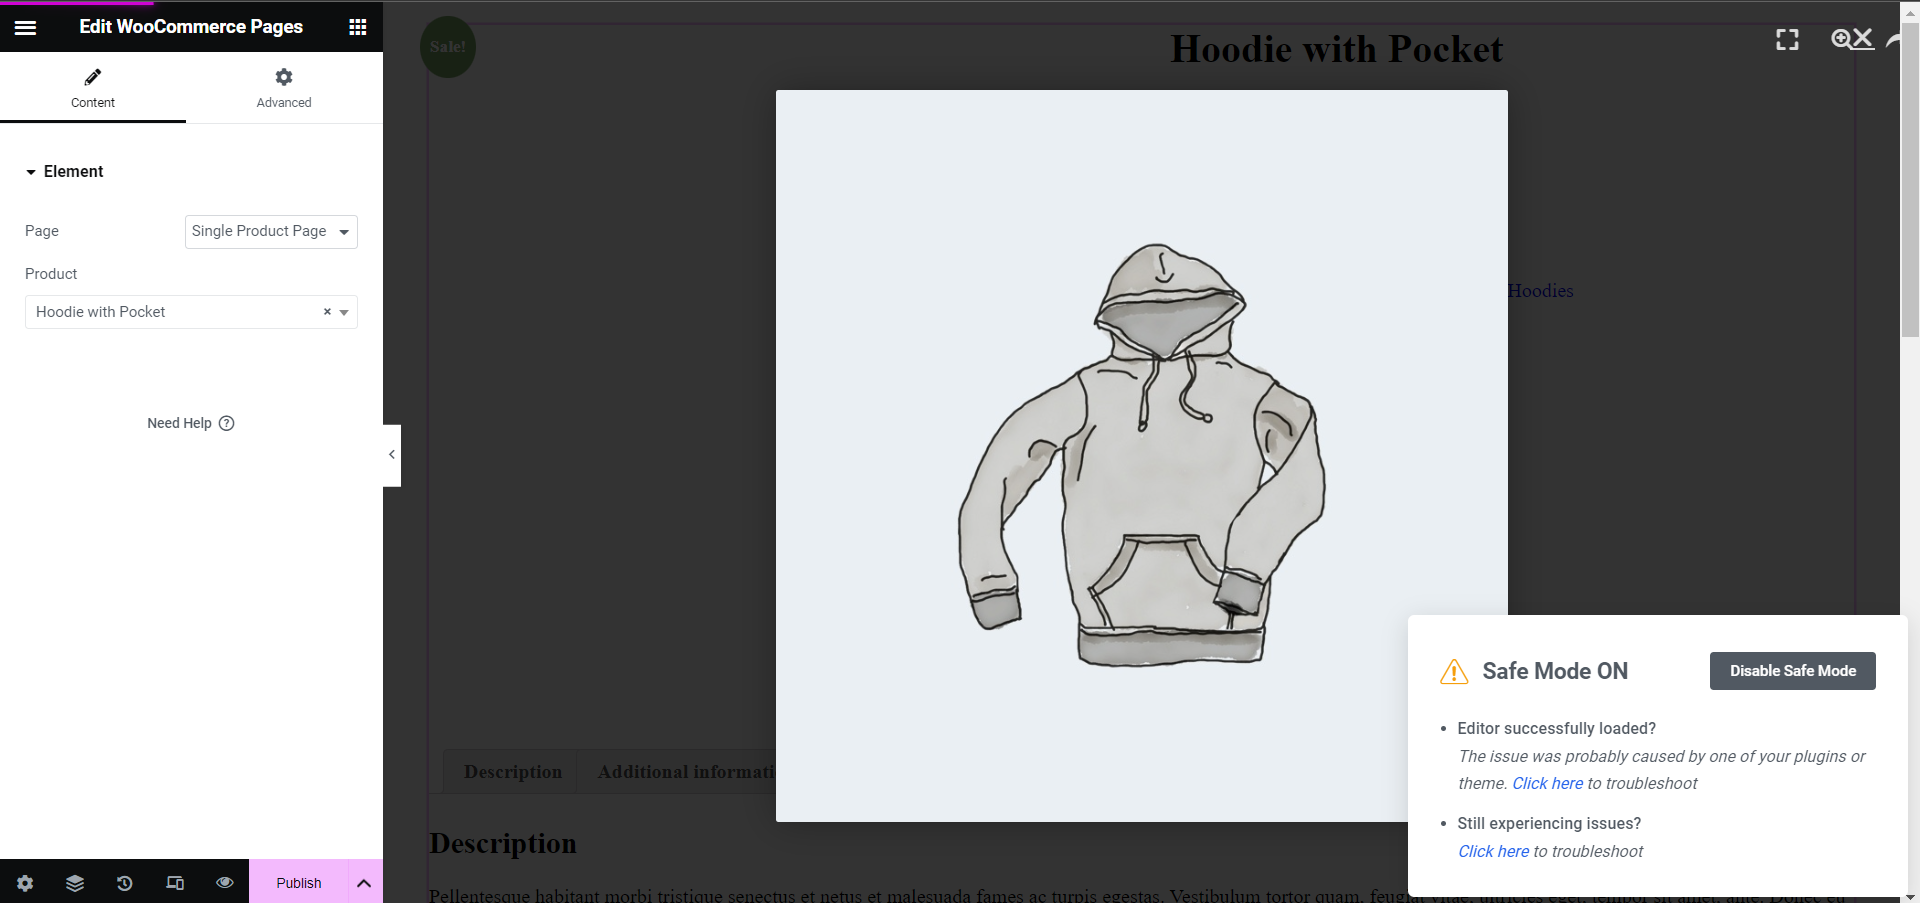
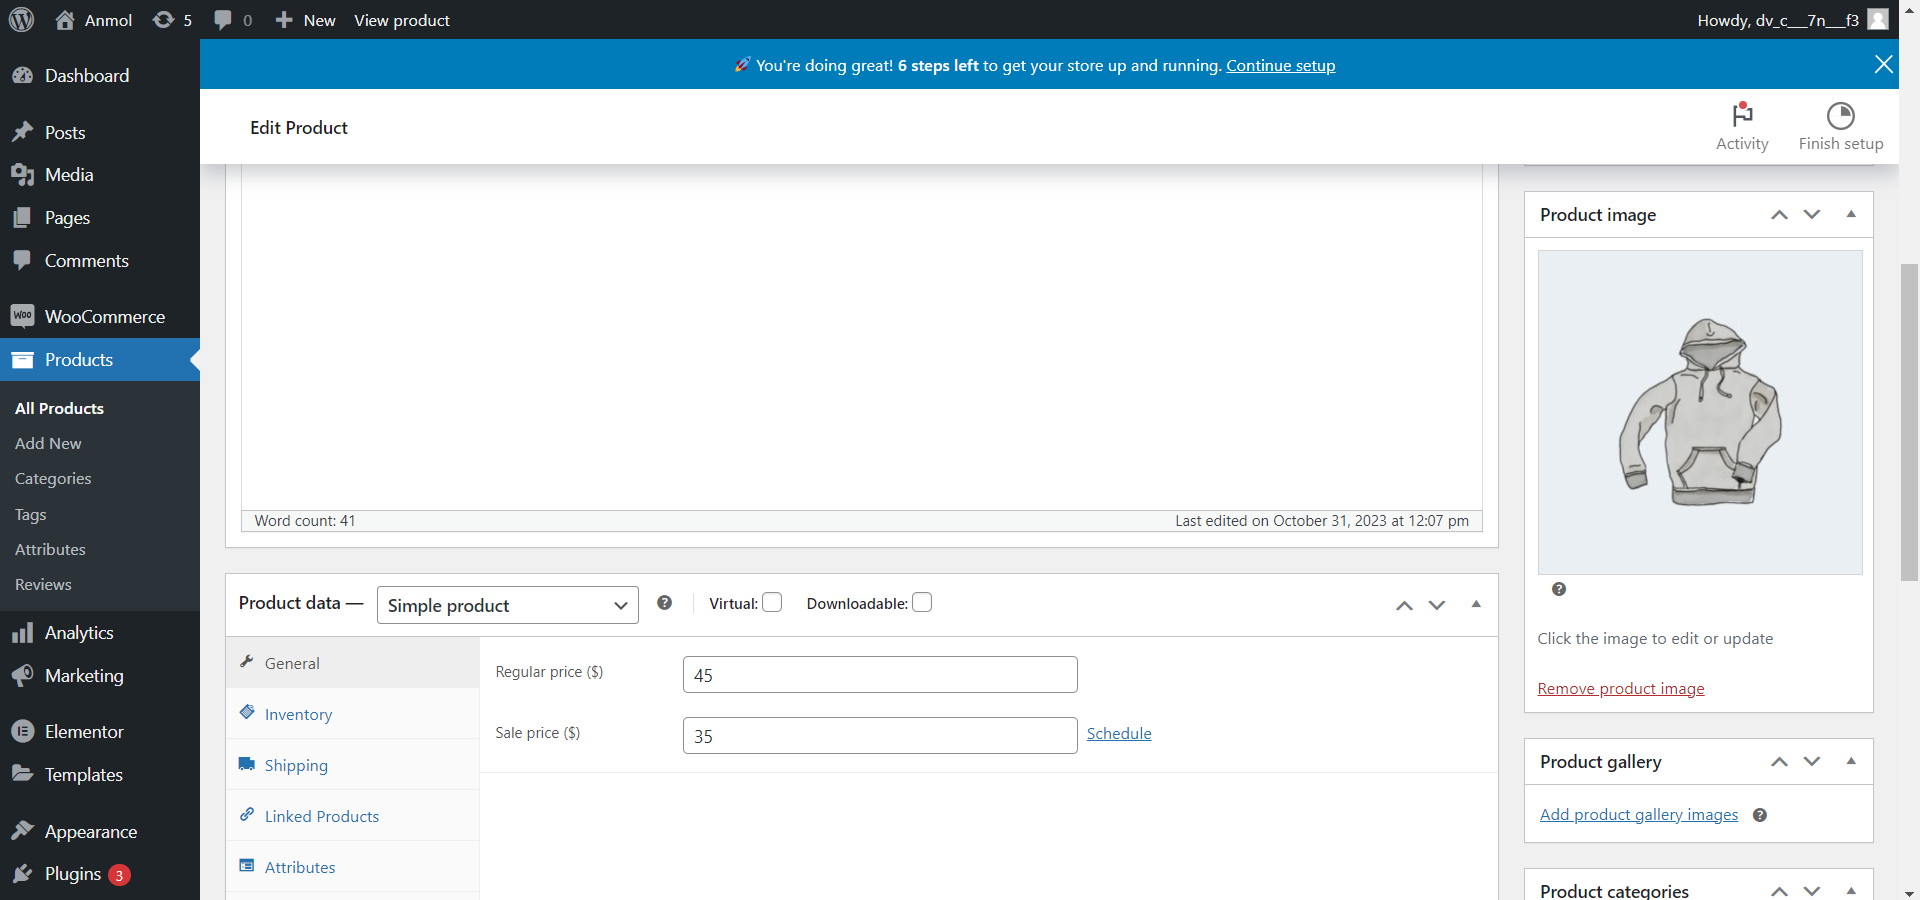
- Here, you can customize the product page as you want.
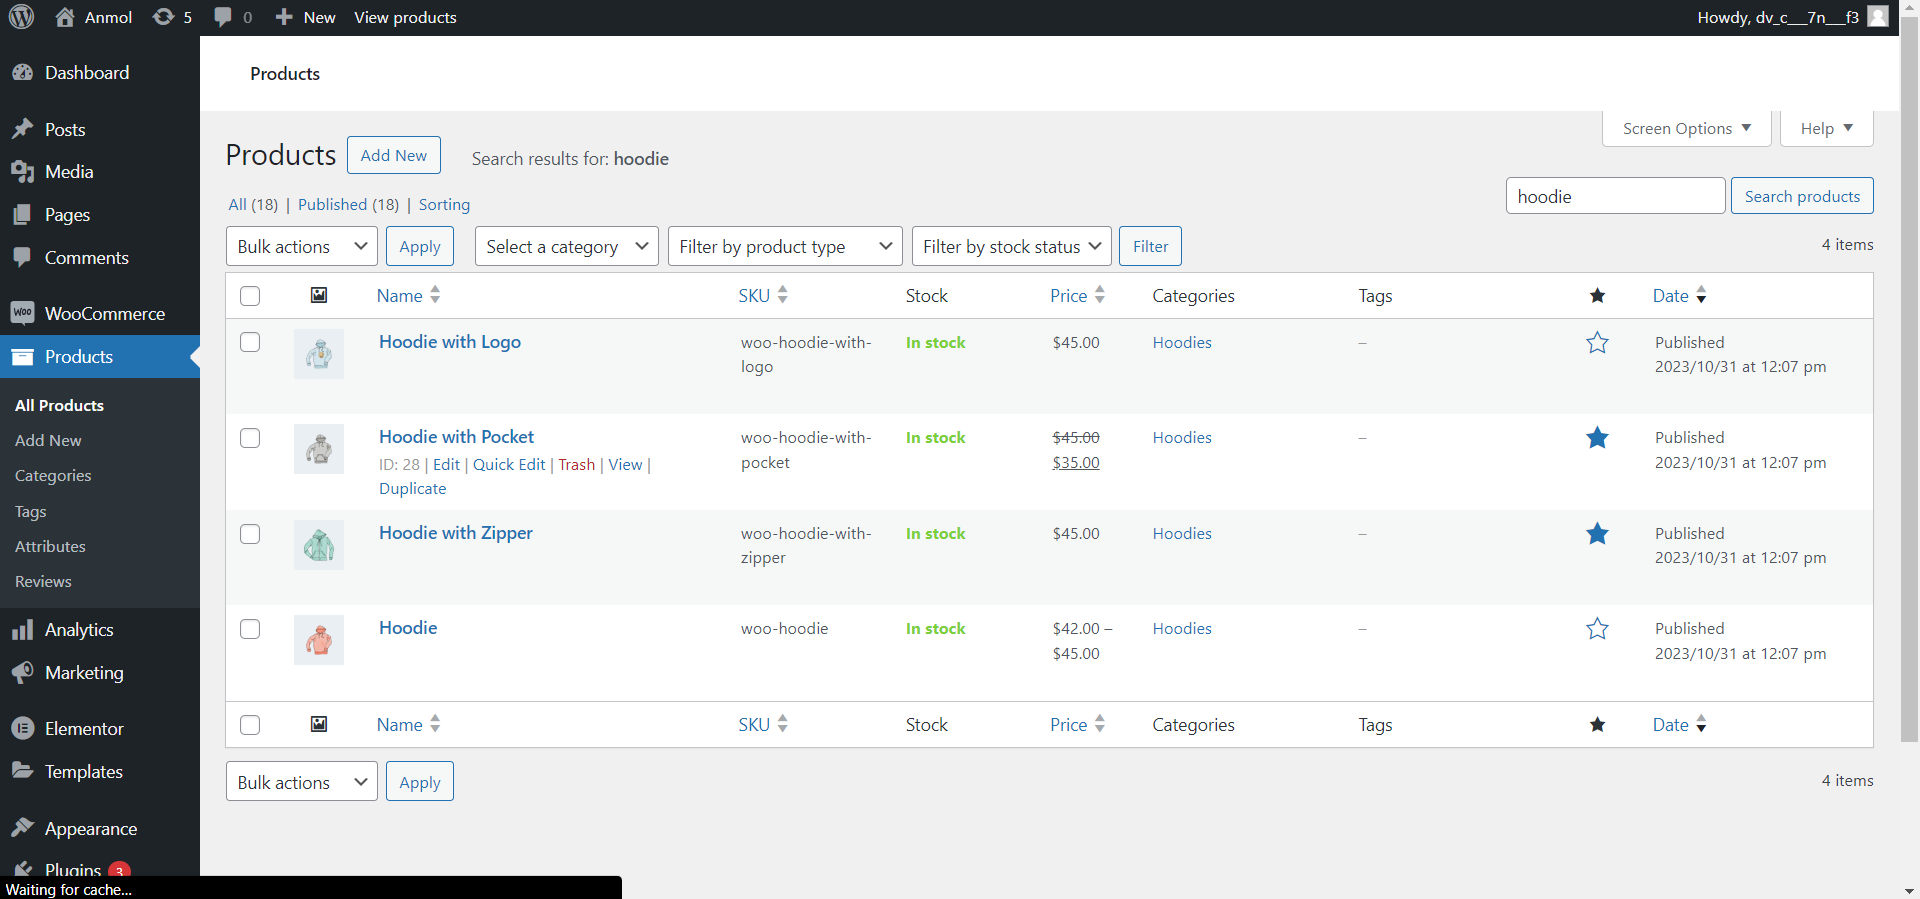
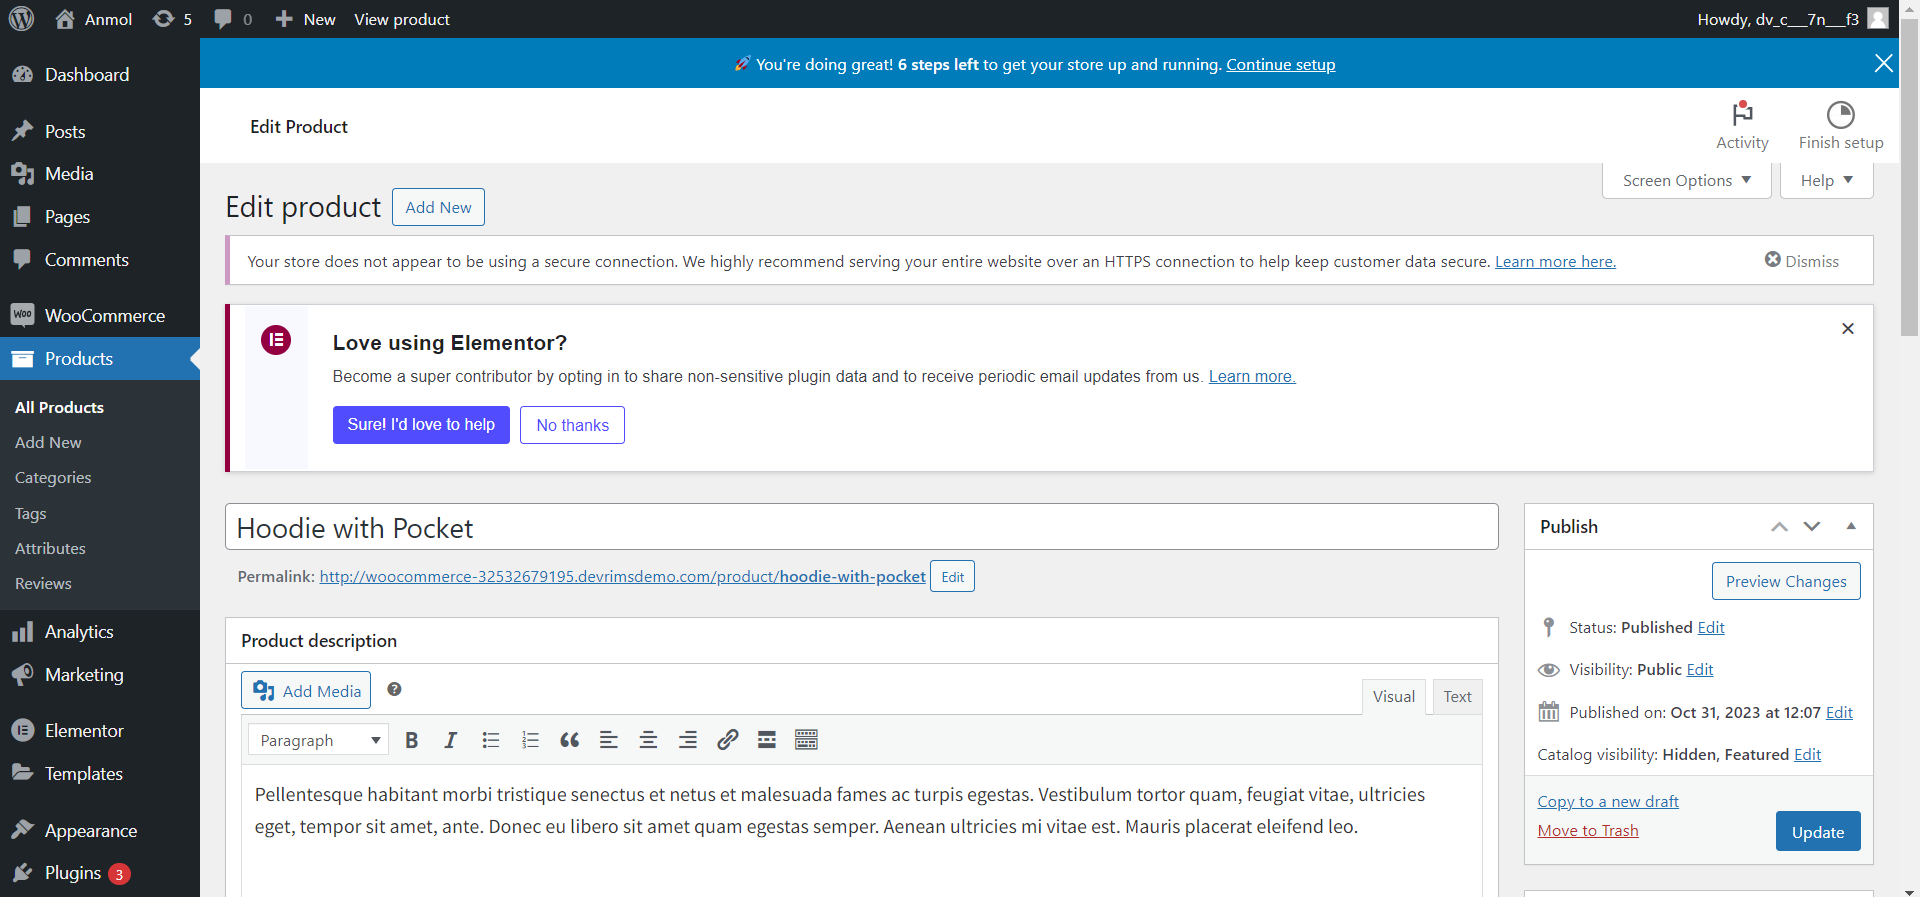
- Or, you can go to the products section, search for the product you want to customize, and click on the edit option.
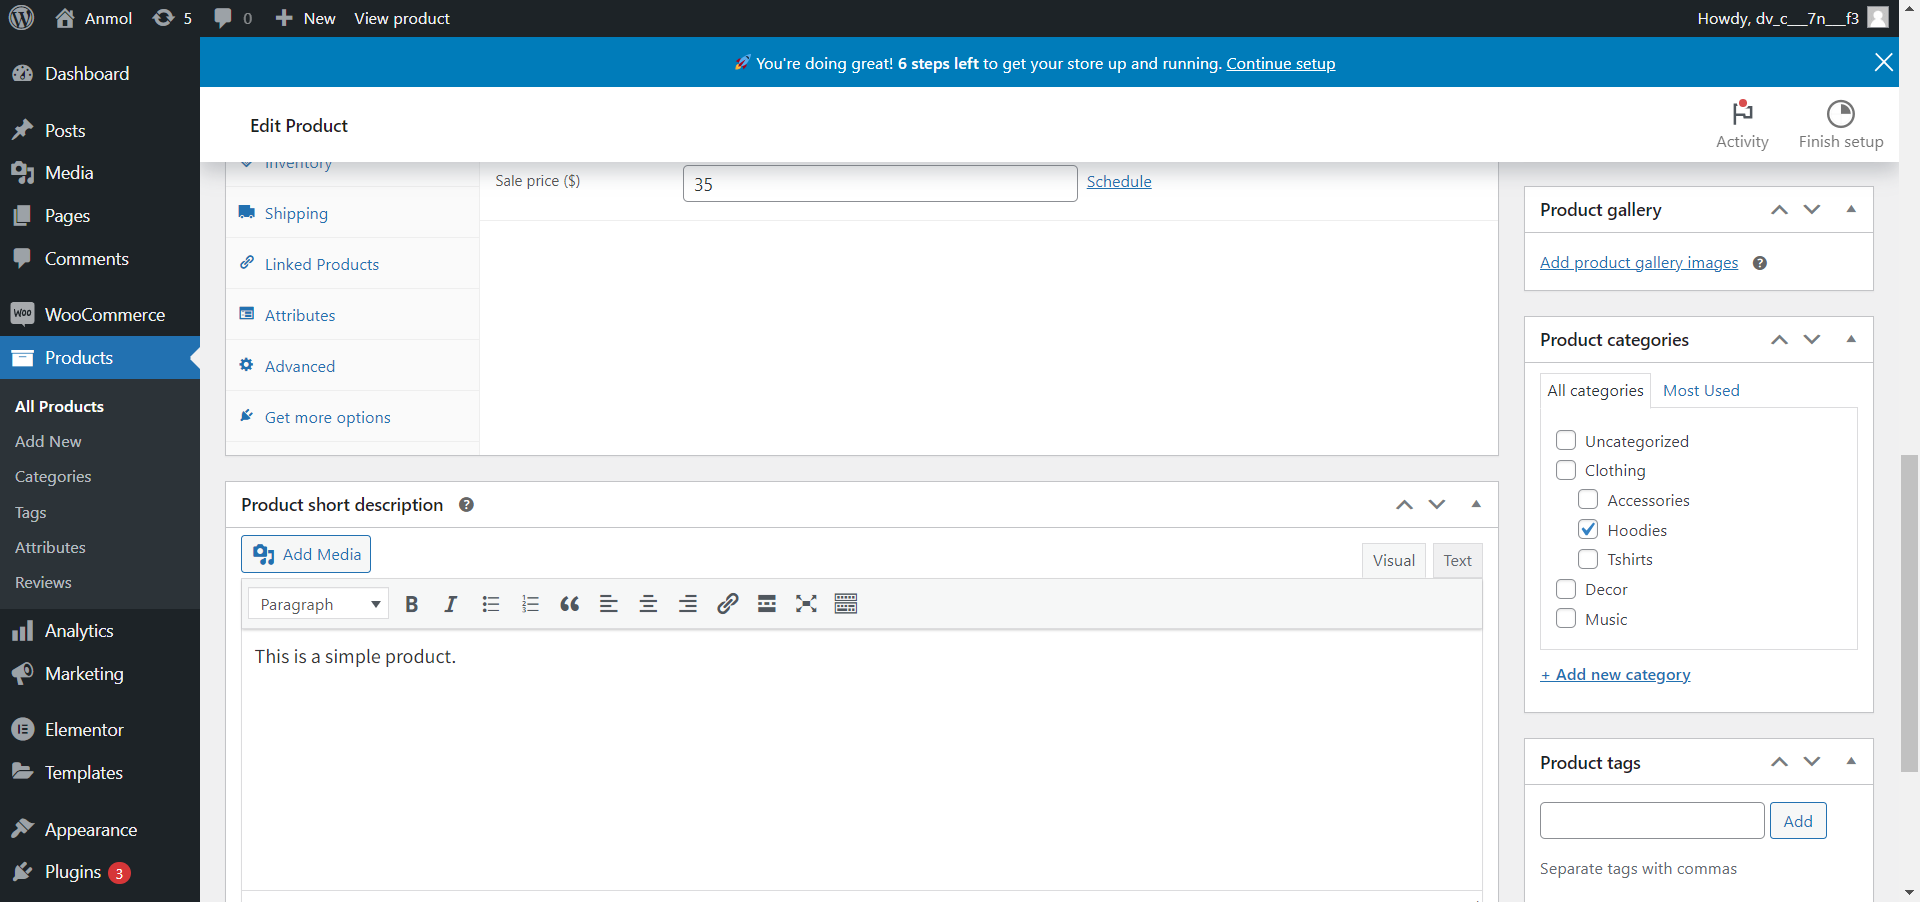
- Add essential widgets like Product Title, Image, Rating, Price, Description, and Meta, and Add to Cart in a two-column layout. Customize typography, spacing, etc.
Customize the Cart and Checkout Page using Elementor
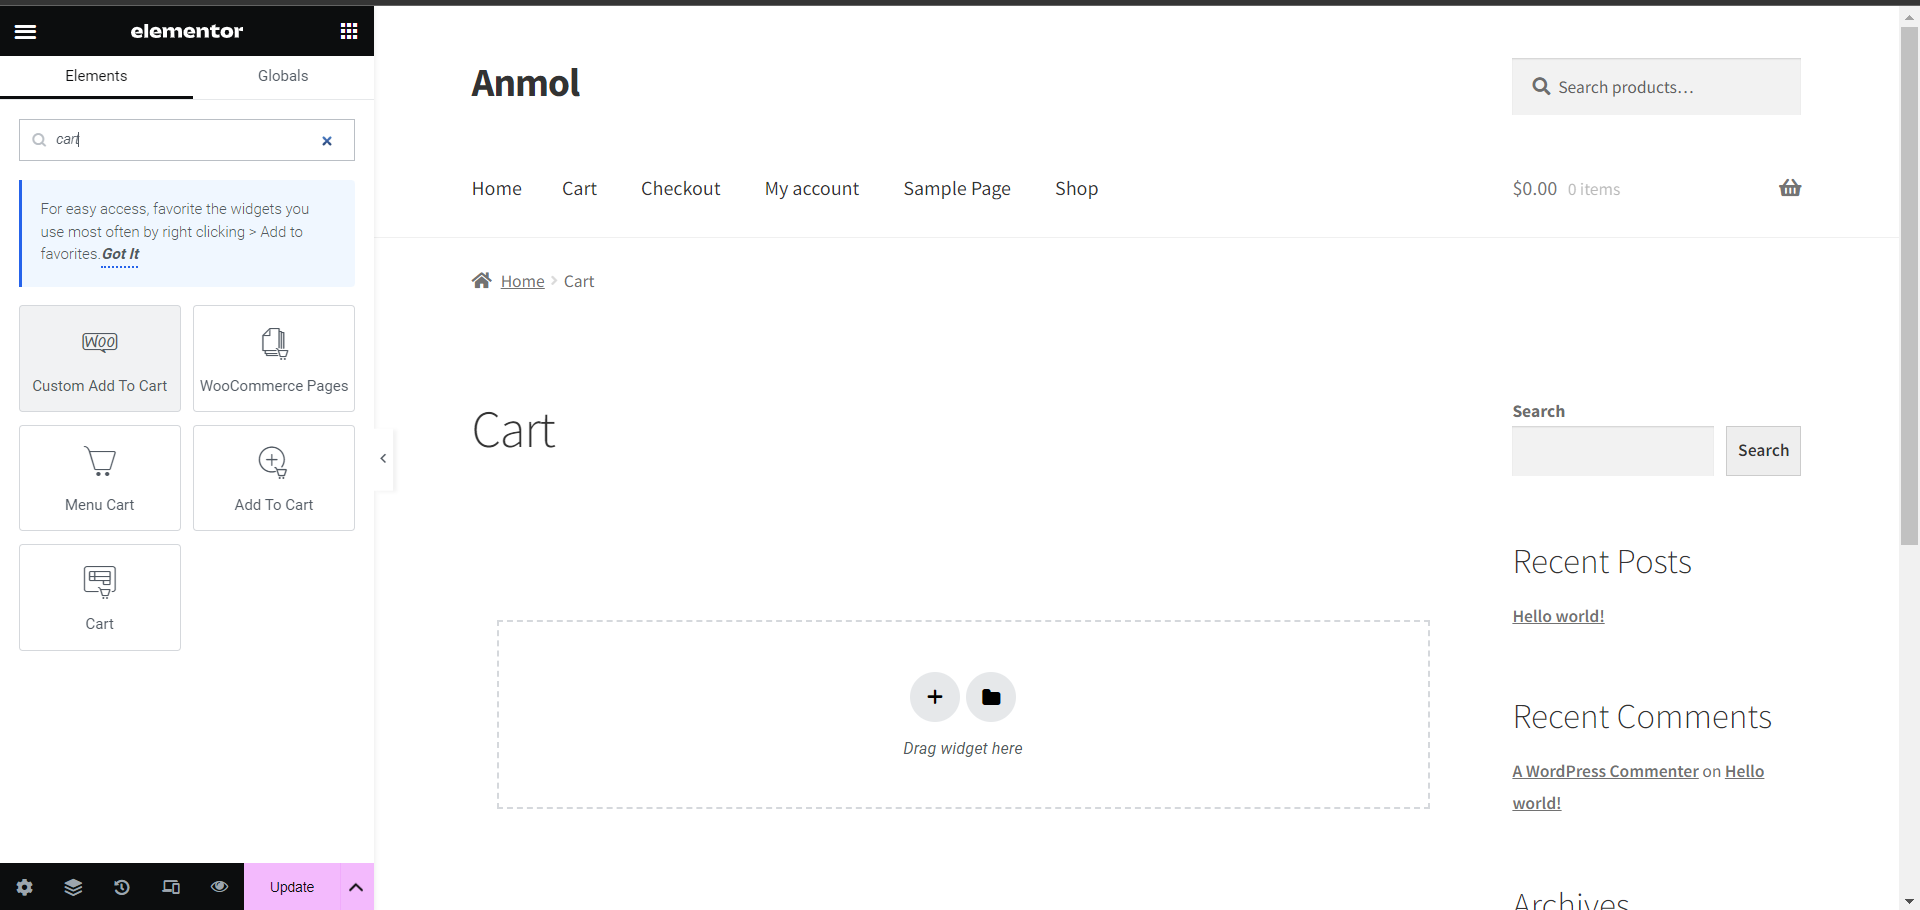
One of the best parts of using Elementor for WooCommerce is the ability to customize cart and checkout pages. Here are the steps to design your WooCommerce cart page with Elementor:
- Edit your existing cart page in the pages section on the WordPress dashboard. Enable the Elementor editor by clicking “Edit with Elementor“.
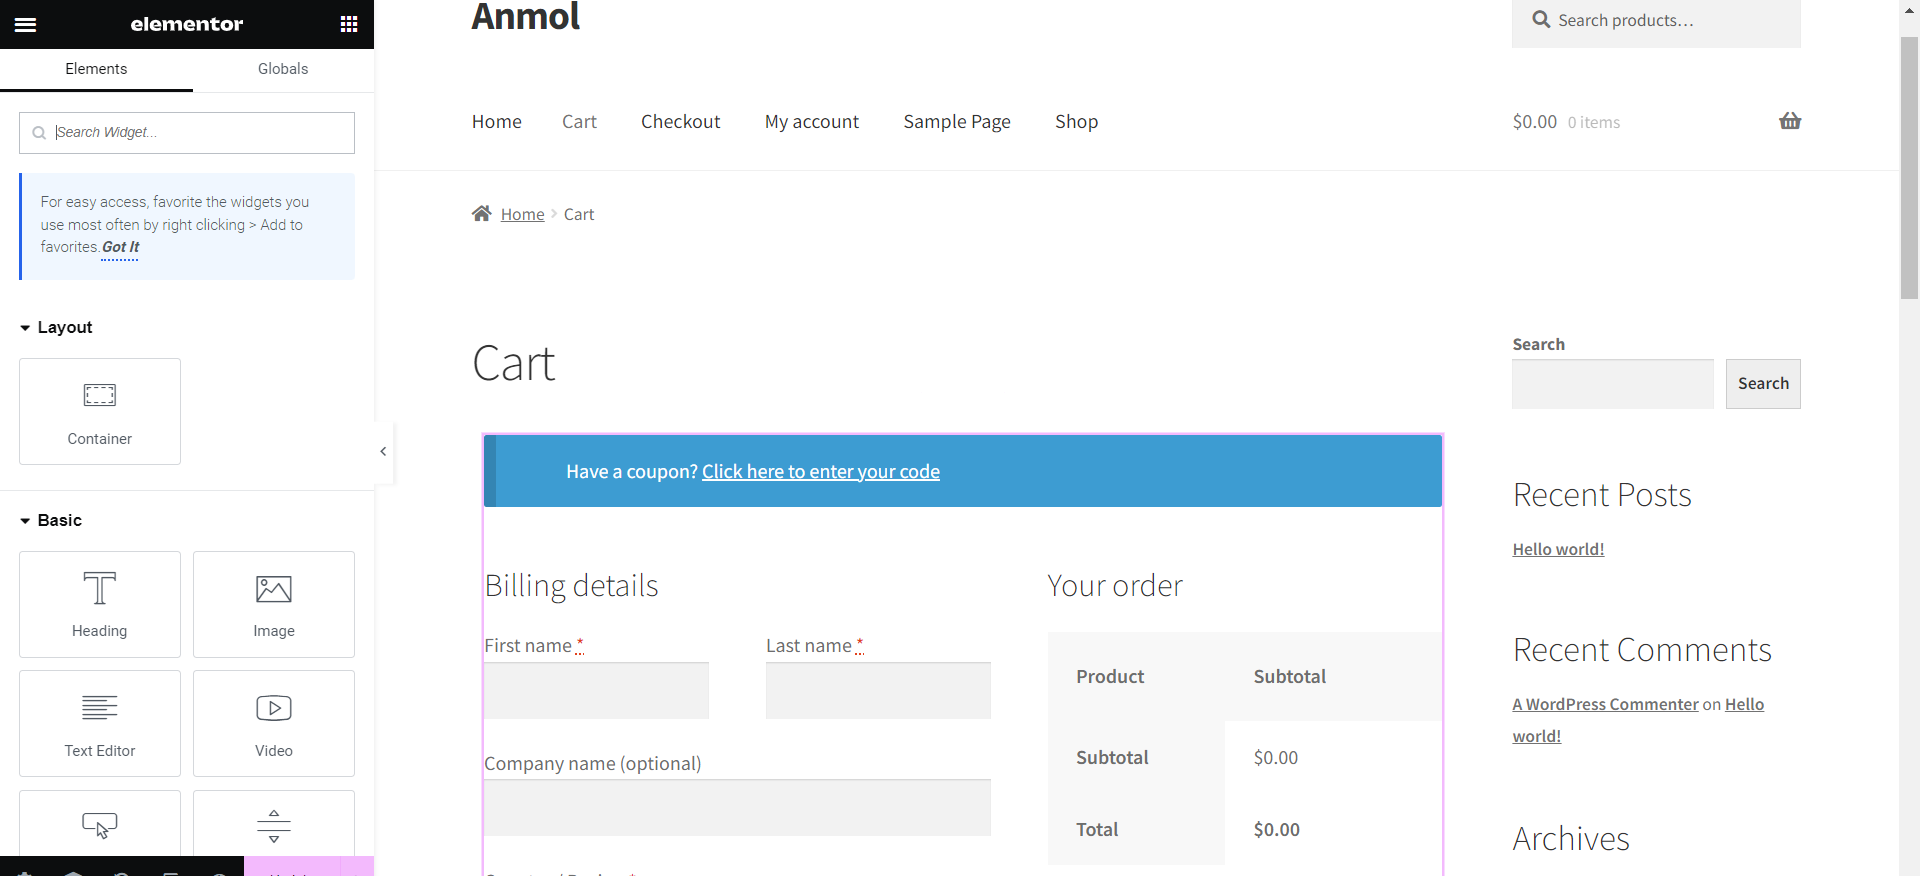
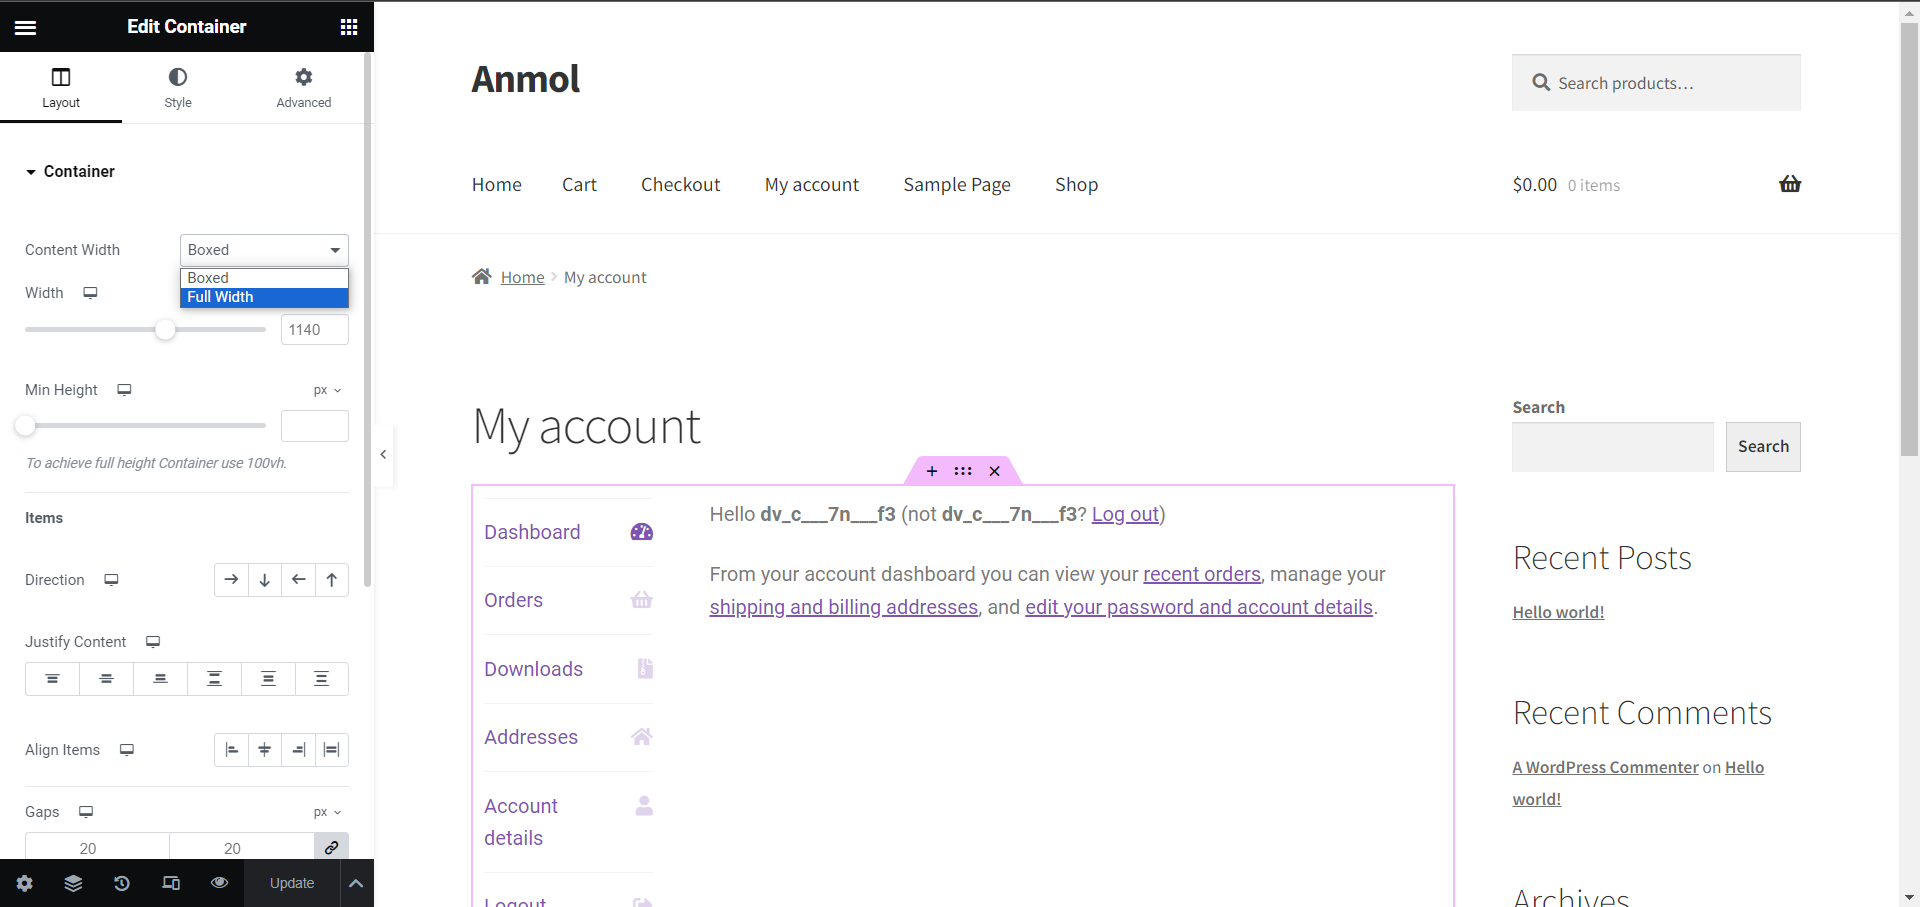
- Set the page layout to full width and remove the default cart section. This clears the slate for customization.
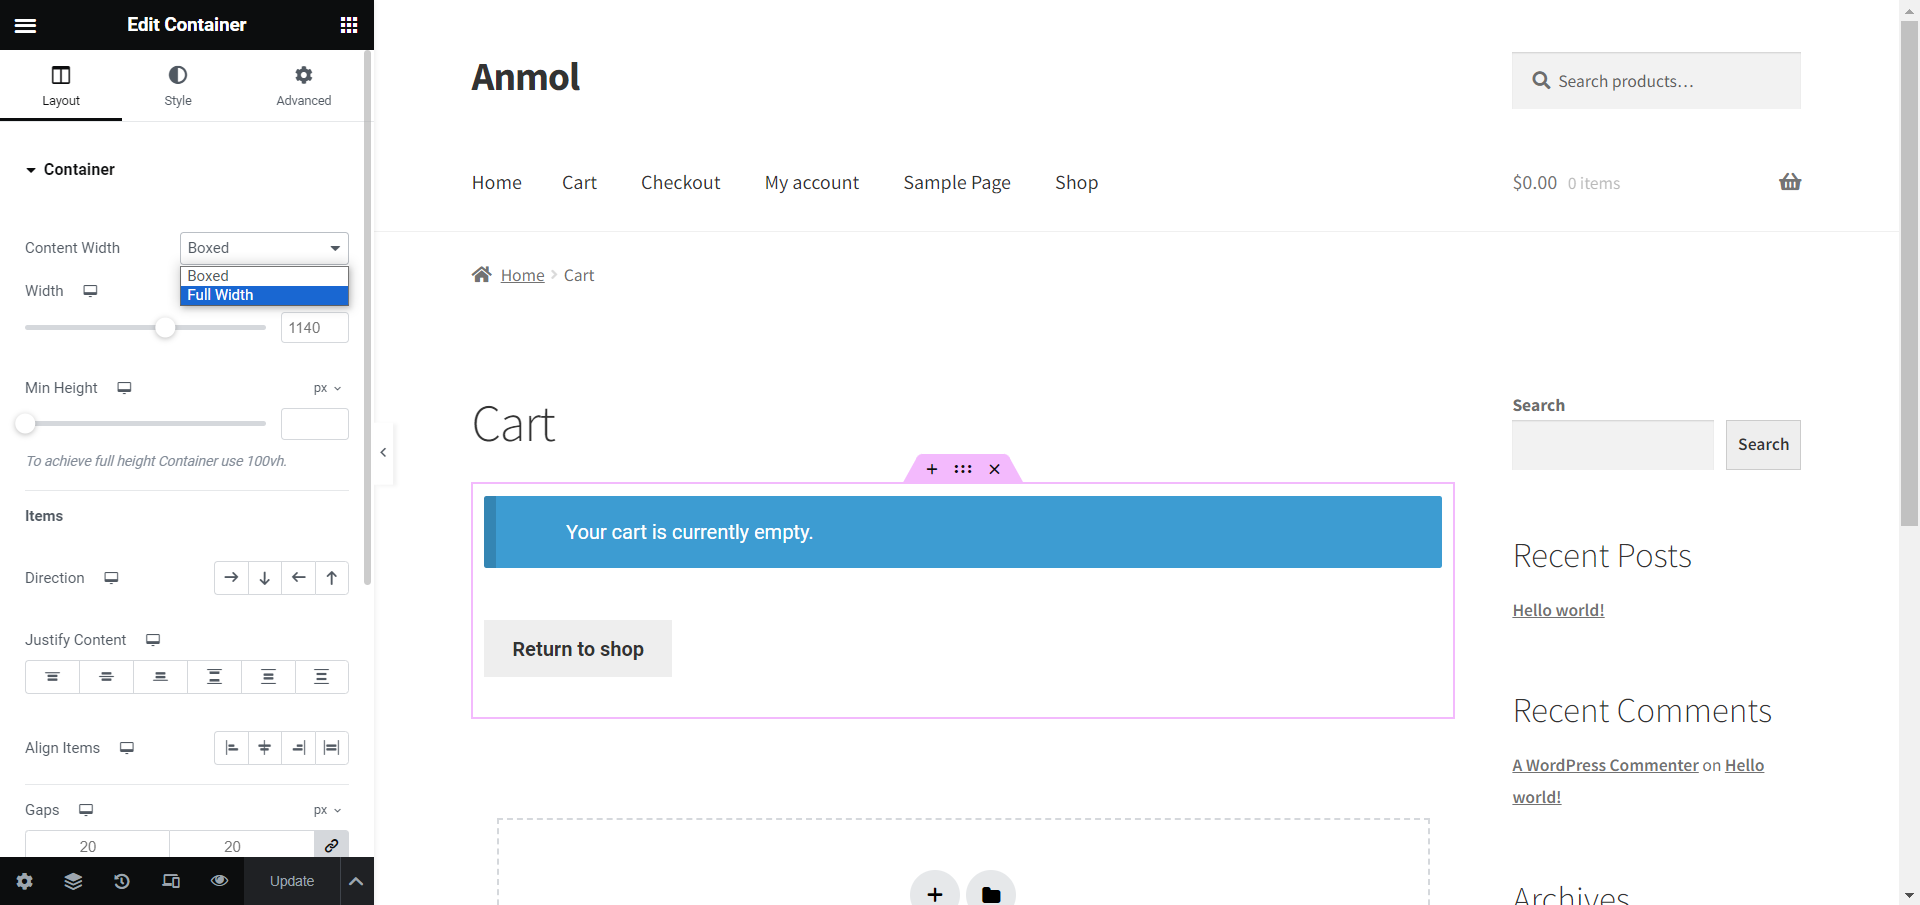
- Add a new Cart widget from Elementor’s list of WooCommerce widgets. If empty, add items to your cart and reload.
- Configure settings like enabling coupons and cross-sells under the Content tab. Disable anything unwanted.
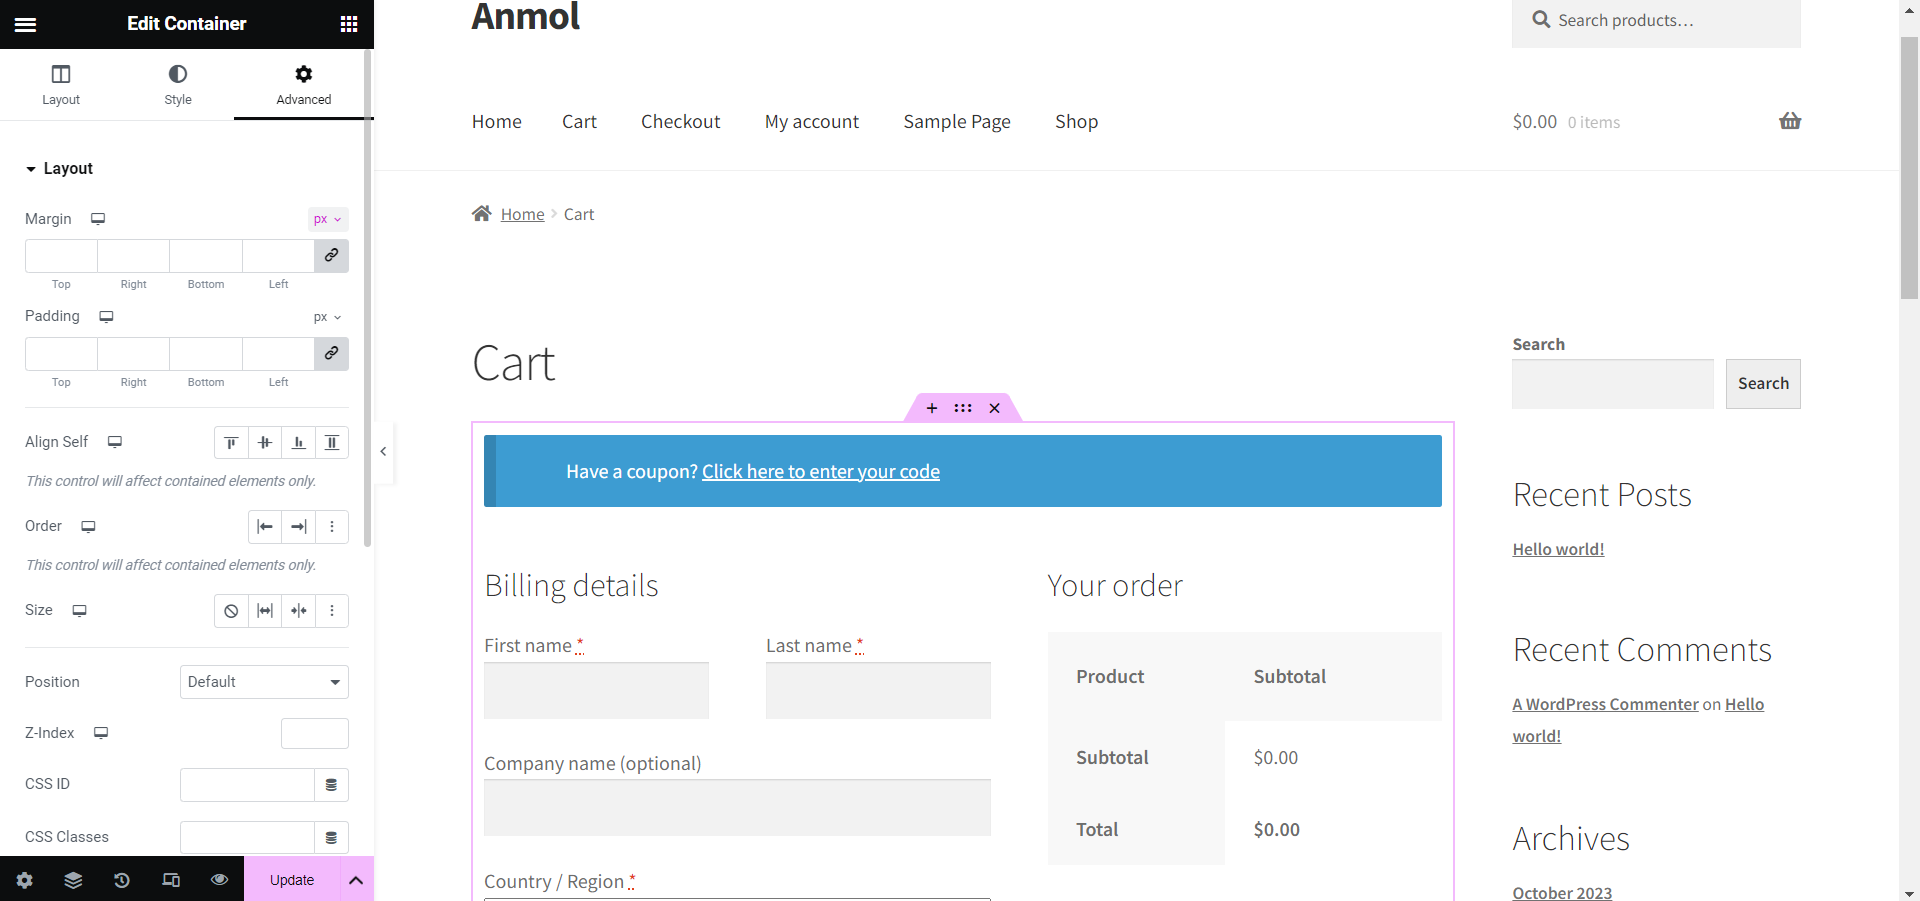
- Style individual cart sections and elements under the Style tab. Customize borders, typography, colors, etc.

- Use Elementor’s spacing, border, and design settings to format the cart visually. Tailor it to your brand.
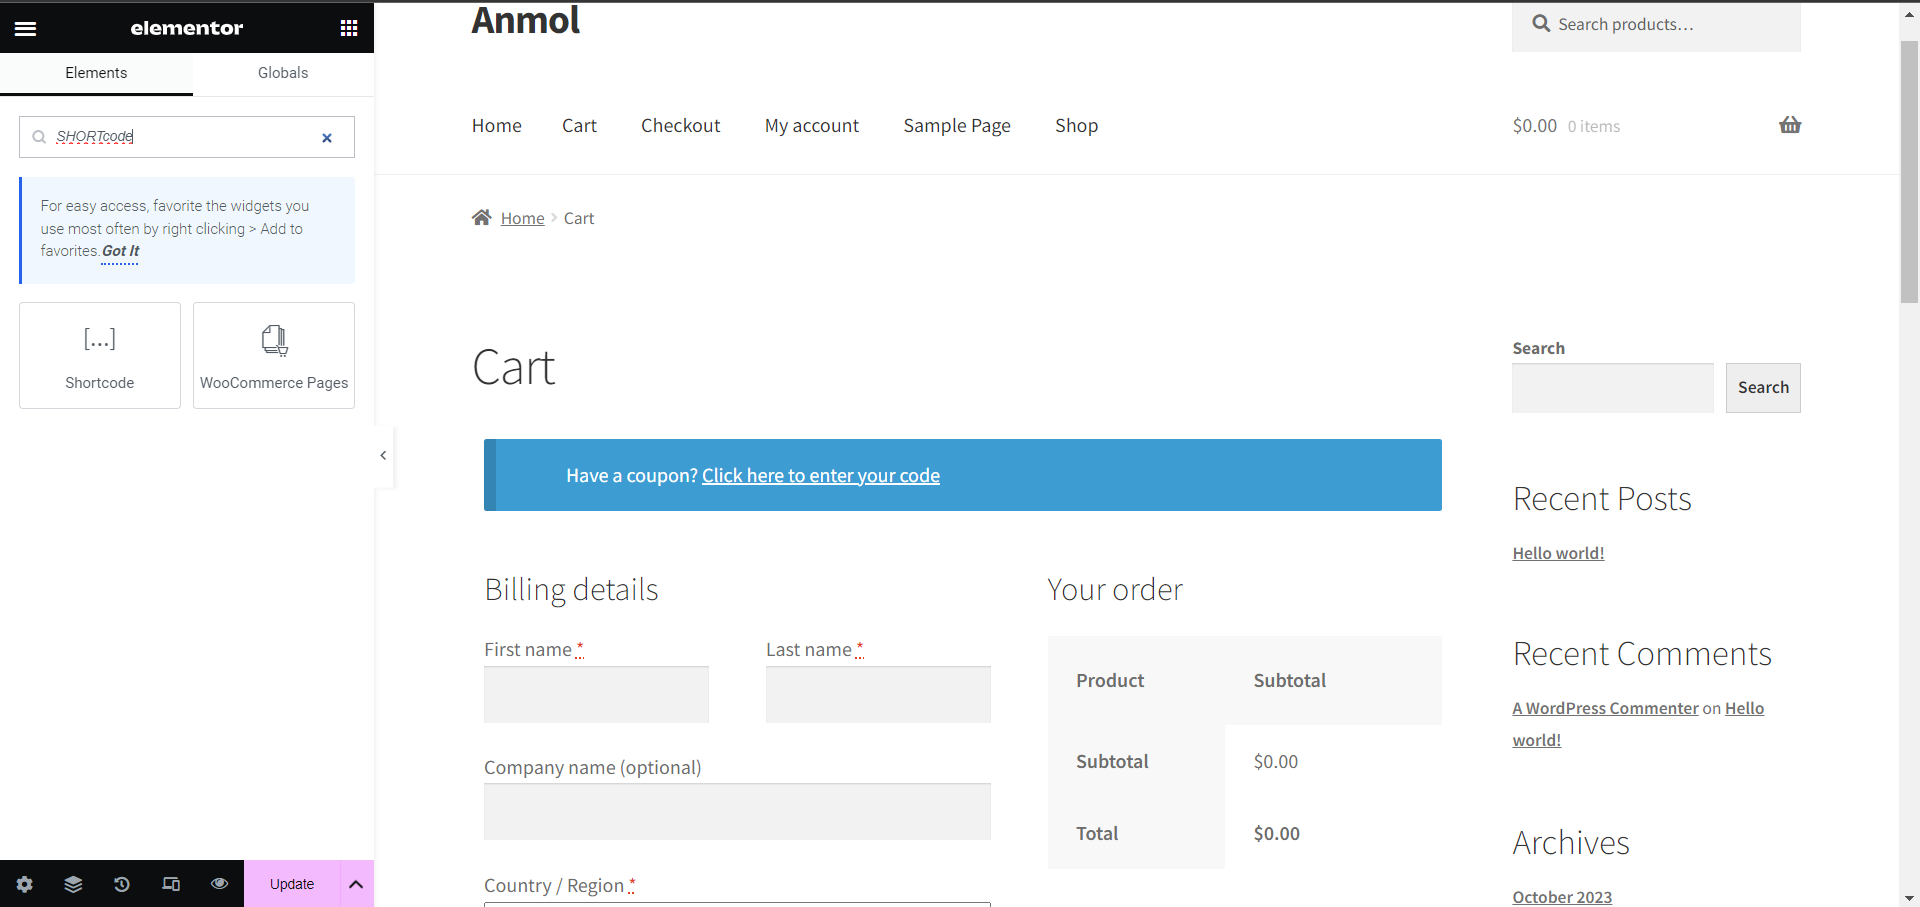
- Optionally, add hand-coded elements like shortcodes for upsells or discounts.
- Preview changes and continue tweaking the cart layout and appearance until satisfied.
Publish the redesigned cart page when complete.
With Elementor’s customization capabilities, you can create cart pages that drive conversions rather than distract or confuse customers. The improved layout and design pay dividends.
Edit the existing checkout page in your WordPress dashboard, enable the Elementor editor, and customize it as we did the cart page.
Customize your WooCommerce Checkout page more in deep by following our guide on “How to set WooCommerce Checkout”
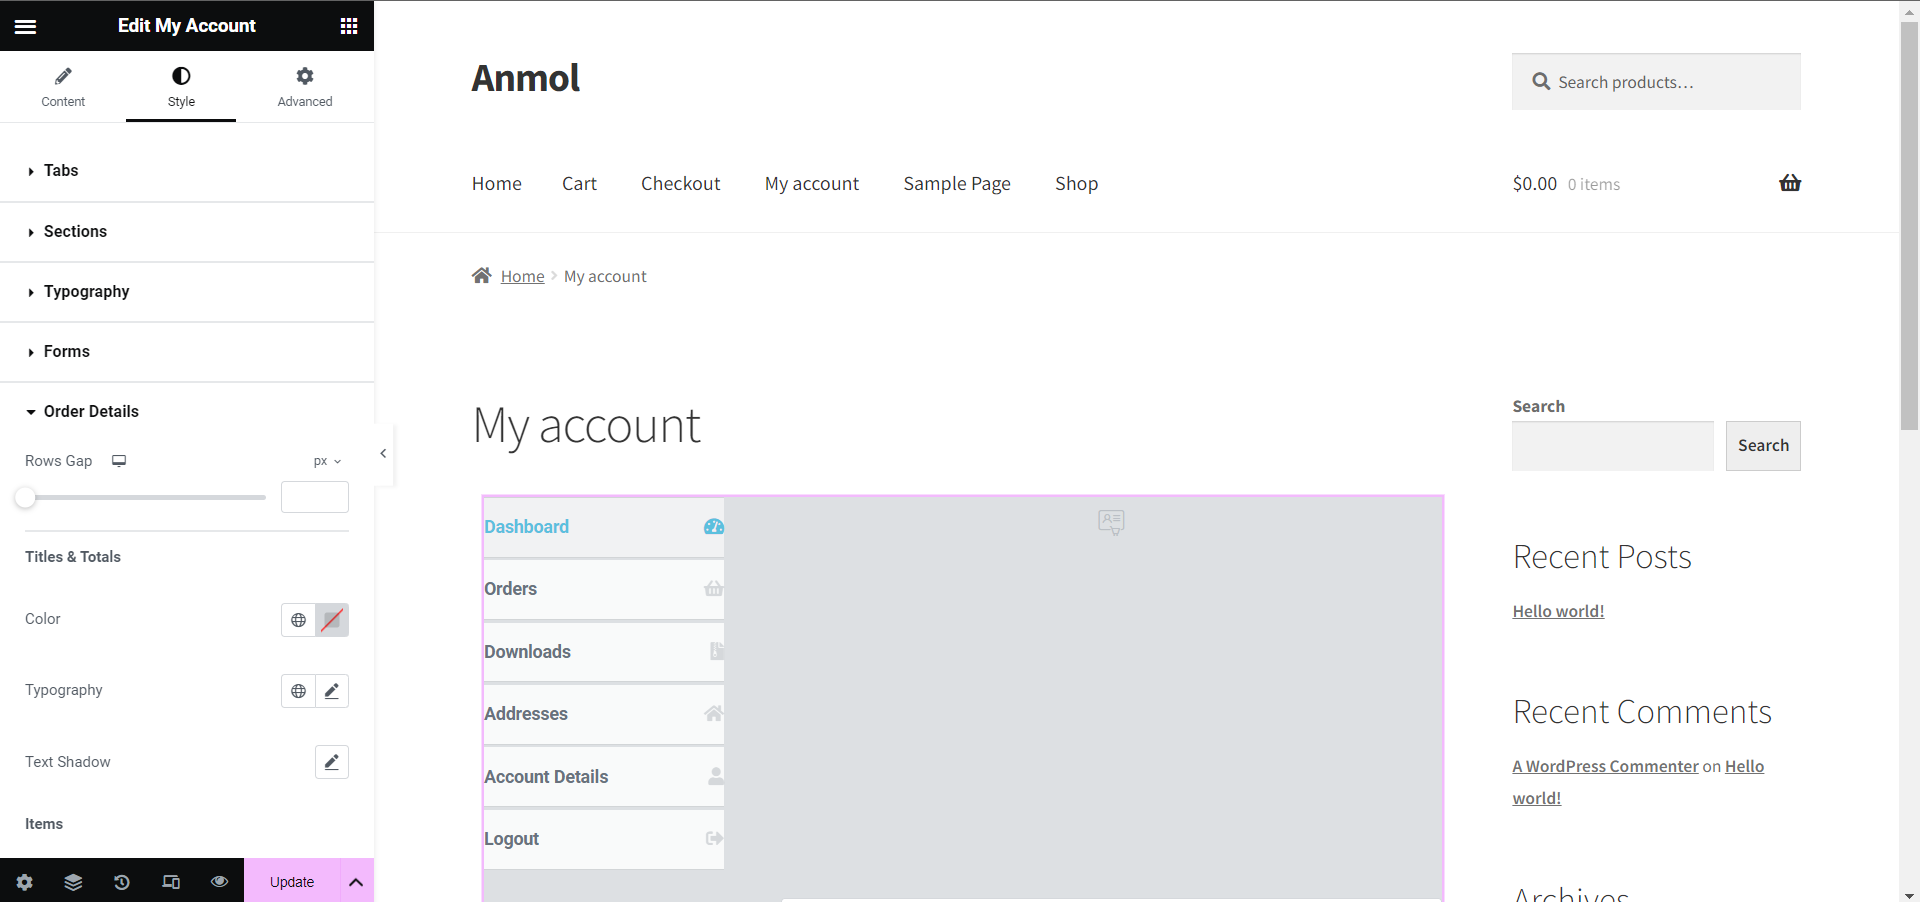
Customize Account Page
The My Account page is a vital yet often overlooked customer experience. With Elementor, you can customize your WooCommerce account page to be more user-friendly. Here are the steps:
- Edit your WordPress dashboard’s existing My Account page and launch the Elementor editor.
- Set the layout to full width and remove the default account widget to start fresh.
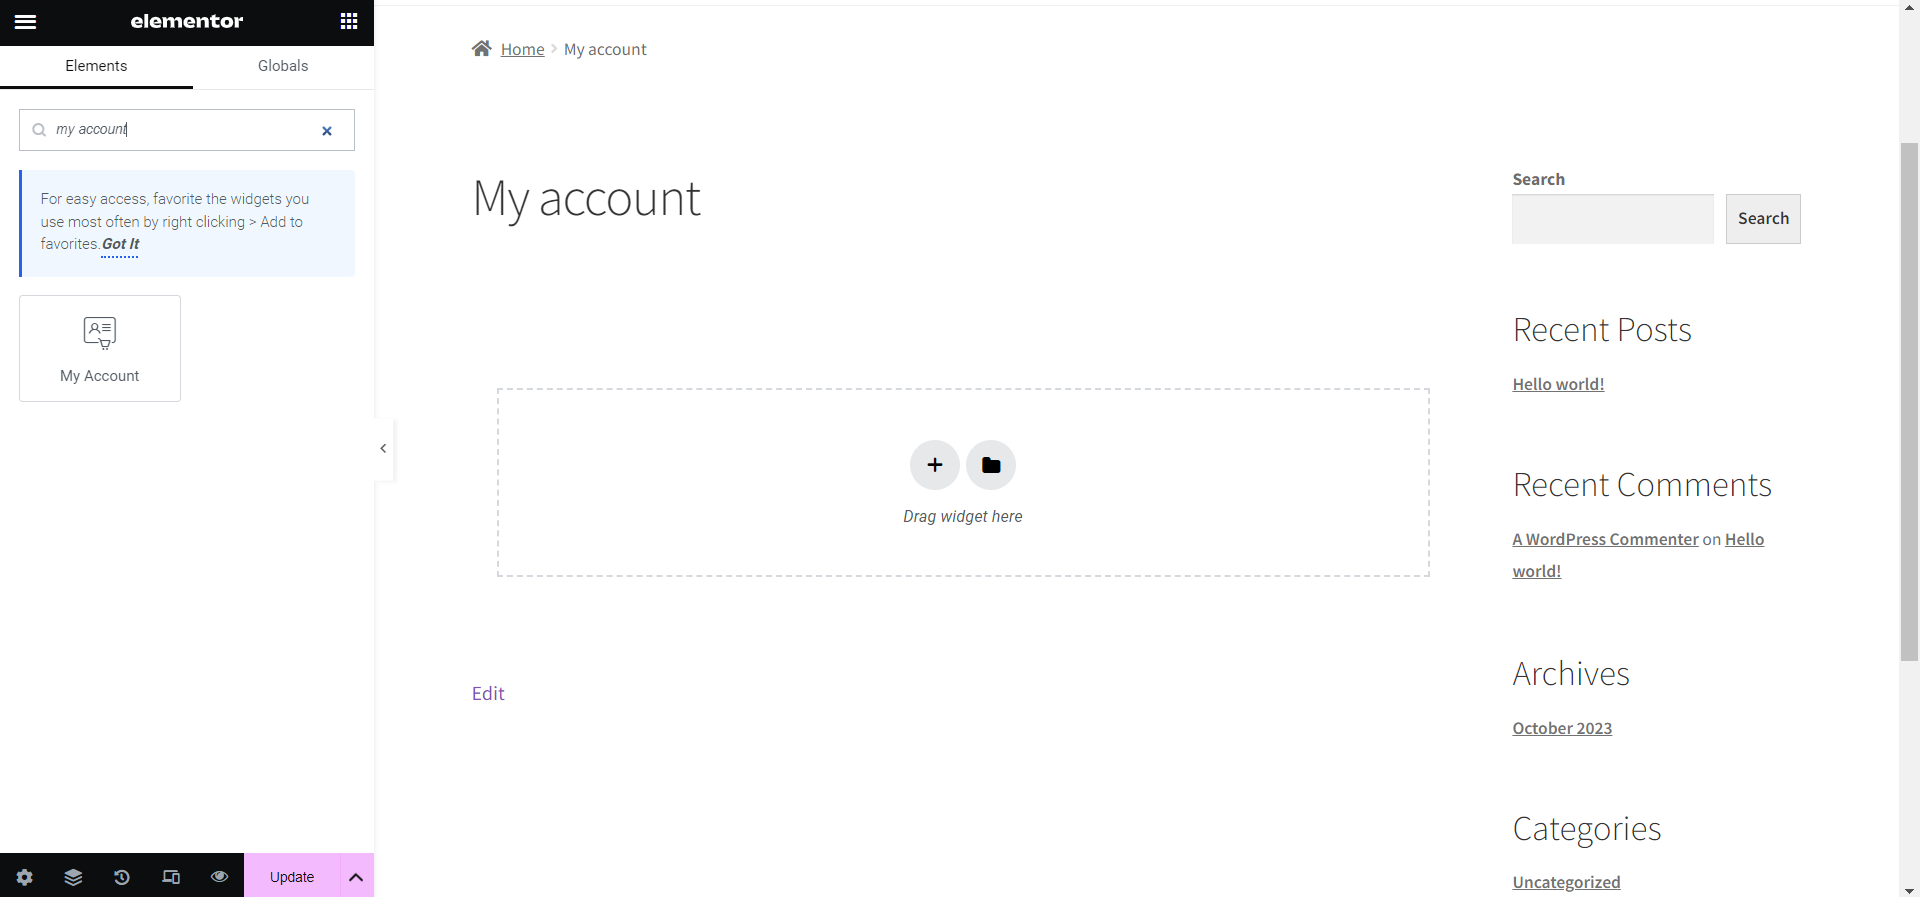
- Add the My Account widget from a similar Elementor addon to the page.
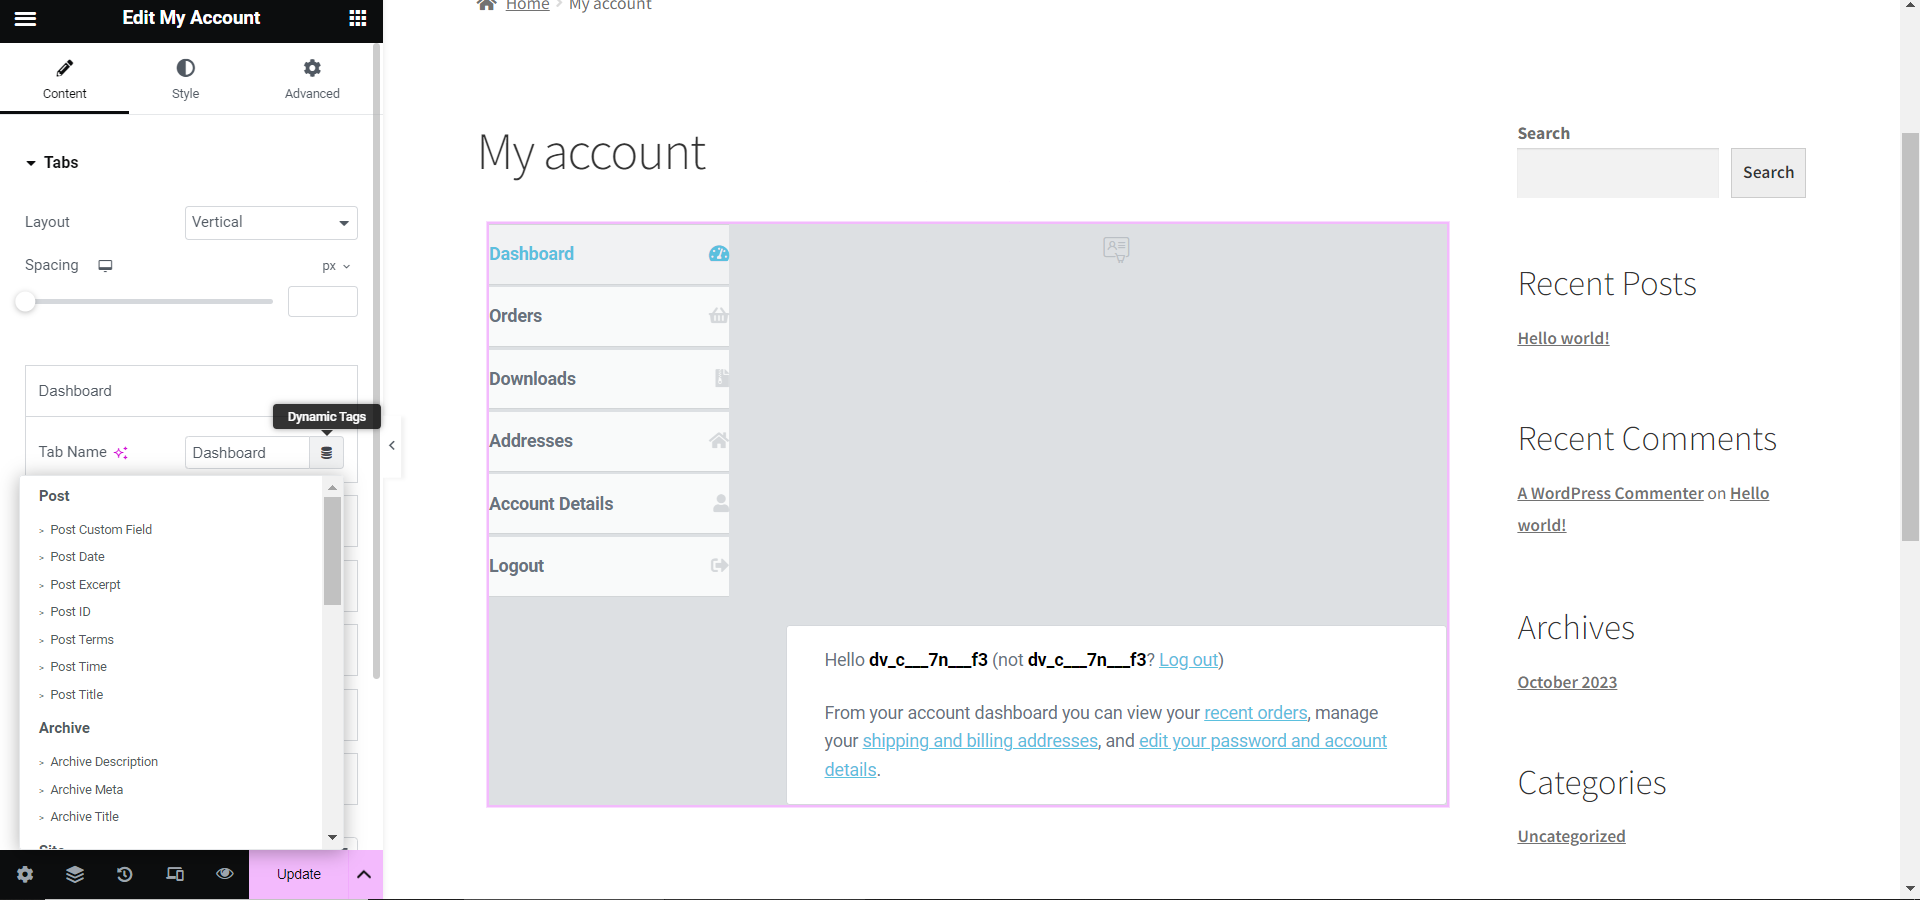
- Configure settings like enabling/disabling tabs and endpoints from the Content tab. Remove unnecessary tabs.

- Use the Style settings to customize elements like tabs, tables, forms, buttons, notices, etc.
- Adjust colors, typography, borders, spacing, and other styling to match your brand.
- Organize and refine the layout and structure using columns, padding, and negative margins.

- Add custom sections for things like support info, account upgrades, or special offers using regular Elementor widgets.
- Preview changes on a live account page and tweak as needed before publishing.
You can boost customer satisfaction and retention with a well-designed account dashboard. Elementor gives you the tools to transform the My Account experience.
Conclusion
Building an online store can be a smooth process. You have all the tools you need to create beautiful, conversion-optimized ecommerce sites on WordPress with the powerful combination of WooCommerce and Elementor. Throughout this guide, we covered how to set up and configure WooCommerce, install and customize Elementor, design product pages, enhance cart and checkout, and much more using this seamless integration.
Elementor unlocks the ability to craft tailored online shopping experiences that reflect your brand and engage customers with drag-and-drop simplicity and unlimited customization functionalities. WooCommerce provides the backend functionality to operate a store smoothly and efficiently. The entire journey from store setup to launch can be measured in hours rather than weeks. And you don’t need any coding skills. This potent combination places stunning ecommerce design within reach of any business.
We hope you feel empowered to build your successful online store with WordPress, WooCommerce, and Elementor. The possibilities are endless. Thank you for reading – now unleash your ecommerce potential!


Related Tutorials