There is no doubt about it that ecommerce is growing fast day by day. In today’s digital world, ecommerce has become a significant part of people’s daily routine. There are many solutions out there for creating your ecommerce store, and one of the best solutions is WooCommerce.
WooCommerce is the most popular way to set up an online store, and it is a WordPress plugin with over 5 million active installations. According to tech aggregator BuiltWith, around 24% of top 1 million online stores are built with WooCommerce. This single point tells you how WooCommerce has lowered the barrier of entry for aspiring ecommerce business owners. Once deployed, a WooCommerce is pretty painless to run. However, getting started can be puzzling if you are not tech-savvy. Beginners usually struggle to set tax rules, integrate payment gateways, import products, etc.
Worry not!
This WooCommerce tutorial will help you set up your online store on WordPress step-by-step. Whether launching a small online store or a large ecommerce business, this WooCommerce tutorial will teach you everything you need to know about setting up a WooCommerce shop. You will be able to create a primary, professional WooCommerce store and start selling online with the help of this guide.
So, let’s get started with this tutorial about WooCommerce.
What is WooCommerce?
WooCommerce is a free ecommerce plugin for WordPress, and it has gained popularity in the growing online market. It has made it easy for everyone to sell products and services online for all sizes of businesses, from small stores to large businesses. While WooCommerce is an open-source software, you will still need a domain and web hosting to set up an online store.
Is WooCommerce better than other eCommerce platforms?
It always depends on your store’s requirements as all the e-commerce platforms are the best in their own way. Every platform has its pros and cons and is beneficial for particular stores. WooCommerce has pros and cons, making it the best or worst for your online store.
Pros:
- Open-source
- Easy-to-use
- Build unlimited stores
- Access to WooCommerce features + WordPress features
- Free designs and templates
- High customization
- Flexible
- Extensions to extend the functionality
- No restrictions
- Large Community
Cons:
- Technical skills are required but can be handled if you are using managed cloud hosting
Note: If you want to see a WooCommerce comparison with any particular platform, for example, to see a comparison with Shopify, you can visit: WooCommerce vs Shopify.
Basic Requirements for Building a WooCommerce Store
These are the seven basic requirements for building a WooCommerce store:
- WordPress site: WooCommerce is a WordPress plugin, so you must first set up a WordPress site.
- Domain name: Whether you are running a simple website or an online business, you will need a unique domain name for it. You can buy a domain name from any trusted site.
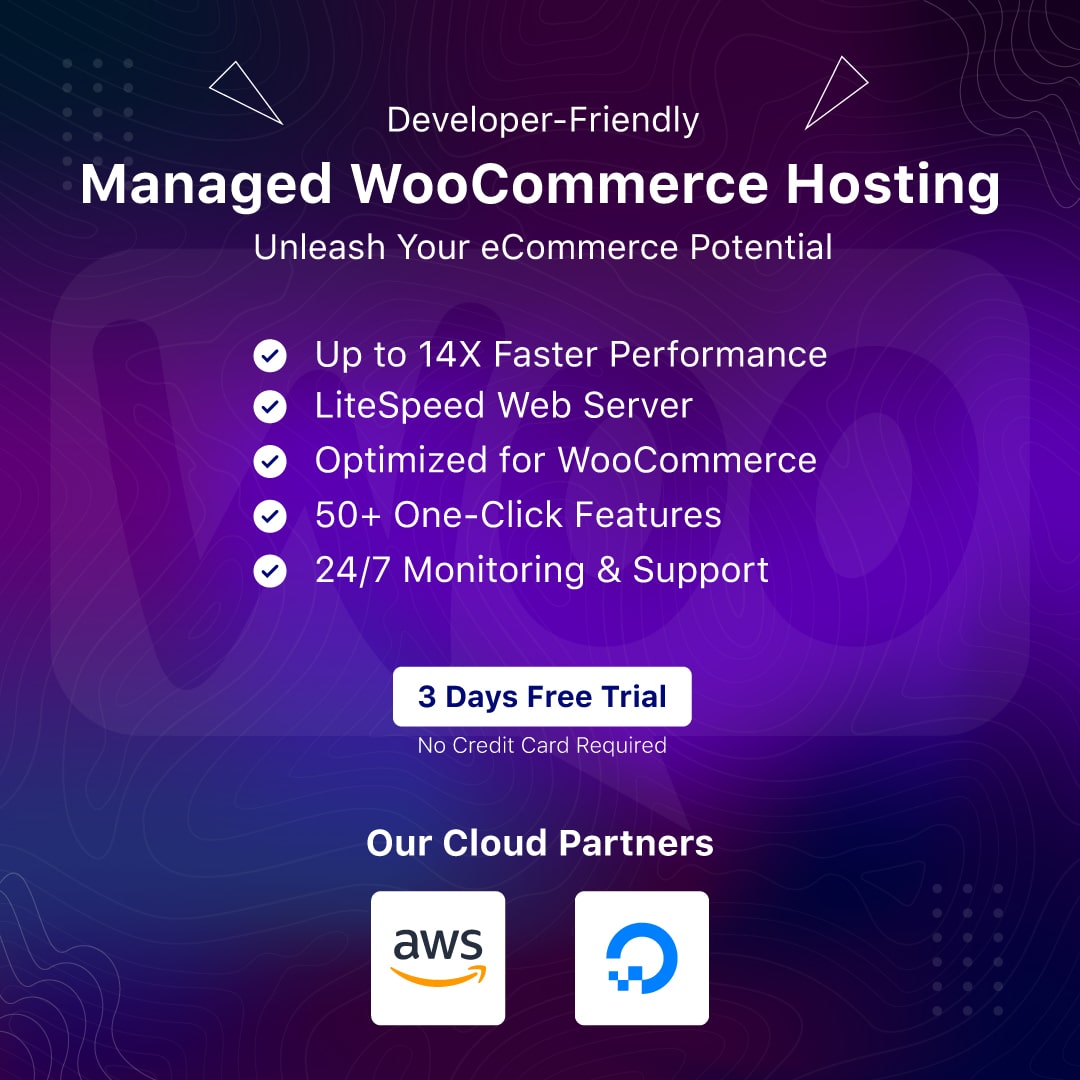
- Web Hosting: You will need web hosting to make your domain or store live online. We recommend you go with Managed WooCommerce Hosting as you will get readily available WooCommerce store with an optimized hosting stack. For some, Managed WordPress Hosting will be the perfect solution. If you are wondering about type of hosting, then LiteSpeed WordPress Hosting is a great option.
- SSL Certificate: An SSL Certificate is one of the most important requirements for an ecommerce store. It allows the use of HTTPS and makes your website secure. Unlike other hosting providers, Devrims includes Free Let’s Encrypt SSL certificates in all hosting plans.
- WooCommerce Plugin: You will need to install and activate the WooCommerce plugin to access ecommerce functionalities.
- WooCommerce Theme: Choose a WooCommerce theme that is optimized for online stores and helps you build a responsive and user-friendly store.
- Payment Gateway: Many payment gateways are integrated with WooCommerce to receive payment online. Choose the options that are feasible for you.
Getting started with WooCommerce
There are two ways to set up your online store with WooCommerce. Follow the steps of any method you find easy to get started with WooCommerce and set up your online store.
Method 01: Setup your WooCommerce App
Unlike many hosting providers, Devrims lets you deploy a WordPress app with WooCommerce integration by default. Buy a recommended hosting and get the login credentials of your WooCommerce app.
Let’s install WooCommerce App on the Devrims server.
- Go to the user.devrims.com and signup/login to your account.
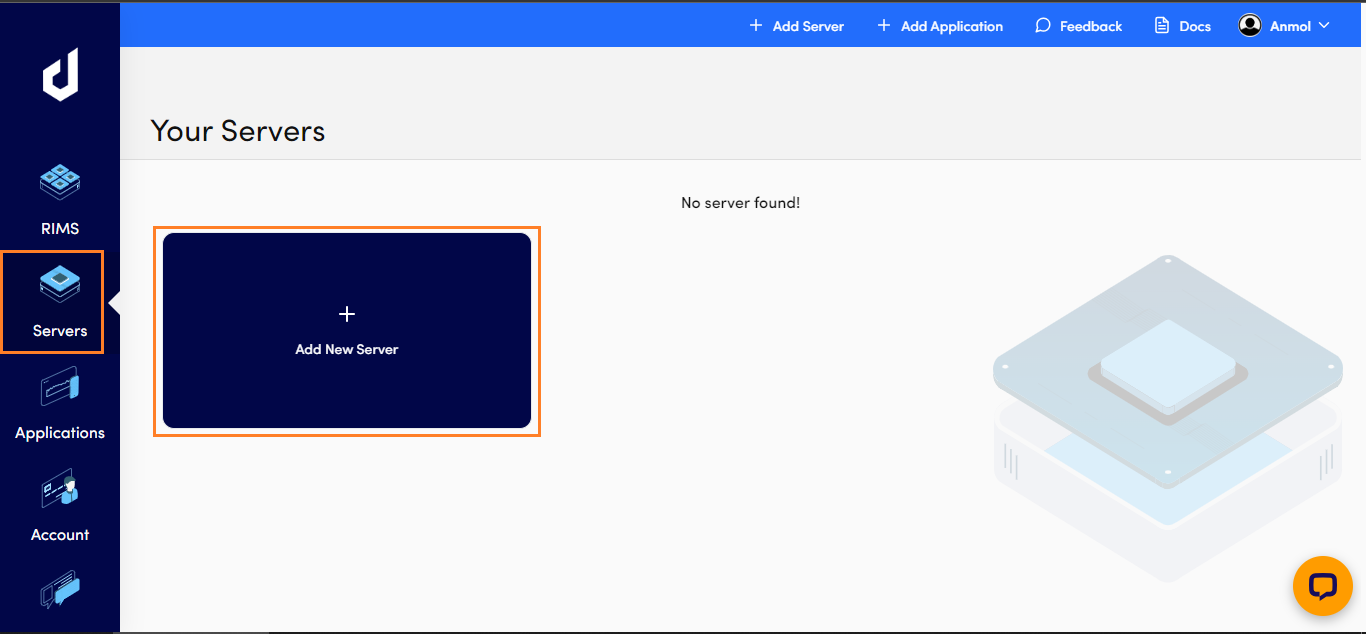
- On the left navigational bar, go to the server section.
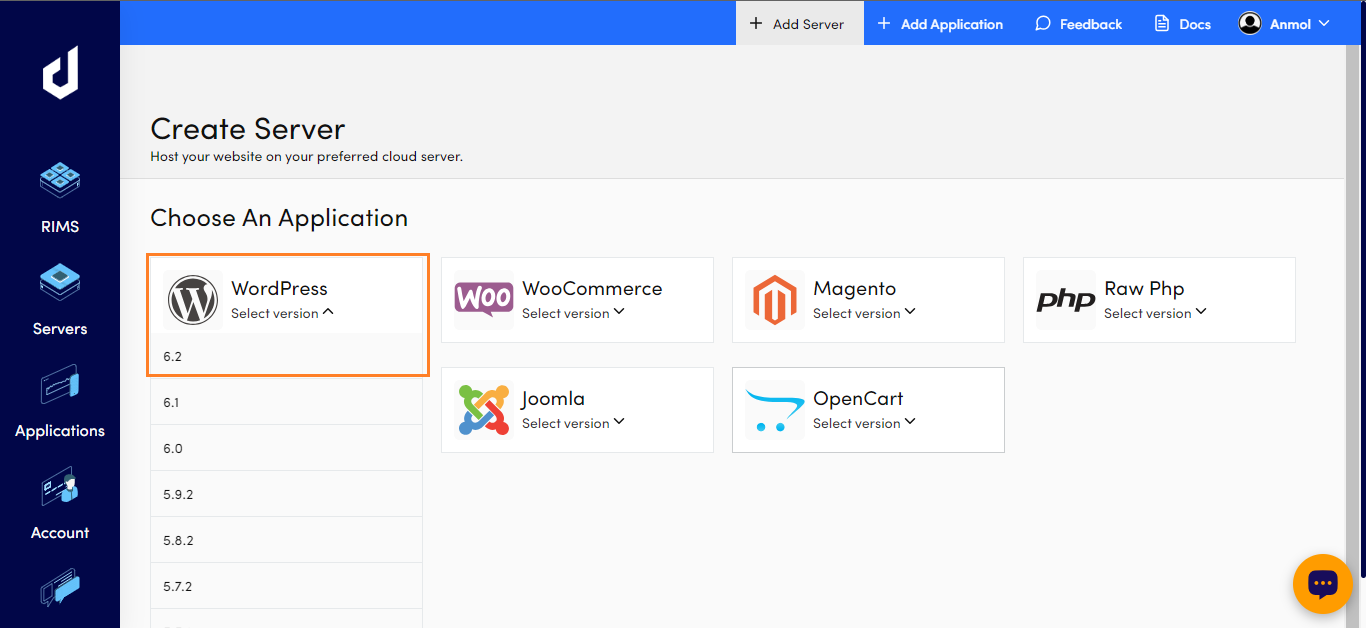
- Choose the WooCommerce app with the latest version.

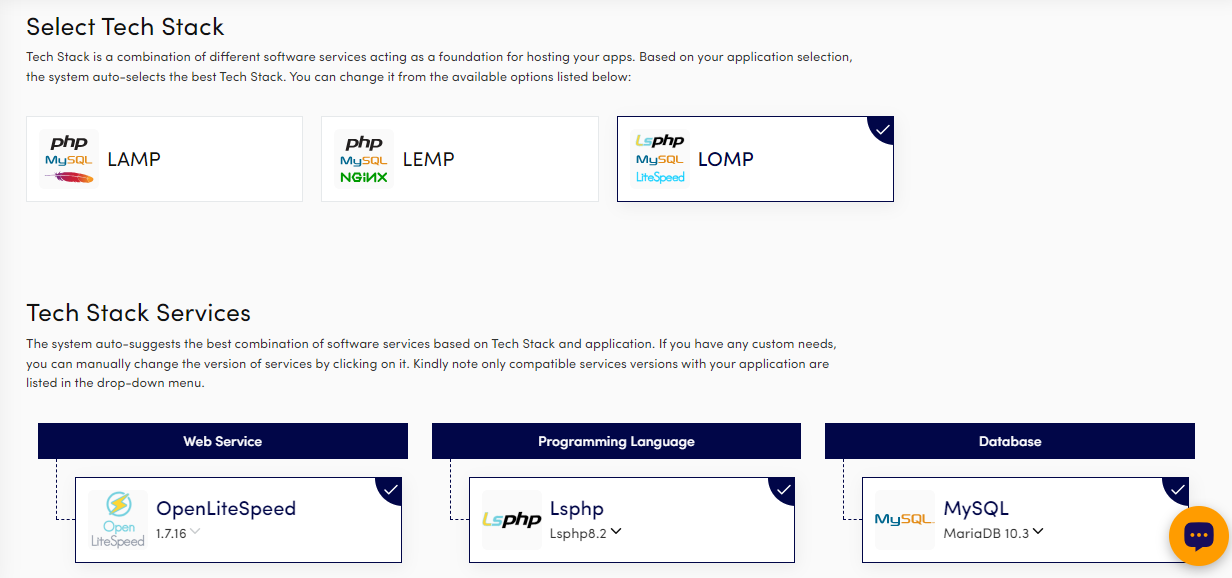
- When you click on a tech stack, it will show you its services. Select a tech stack of your choice. The system auto-selects the best tech stack.
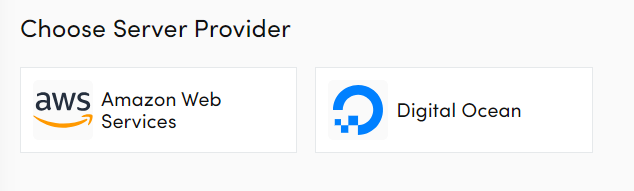
- Choose a server provider.
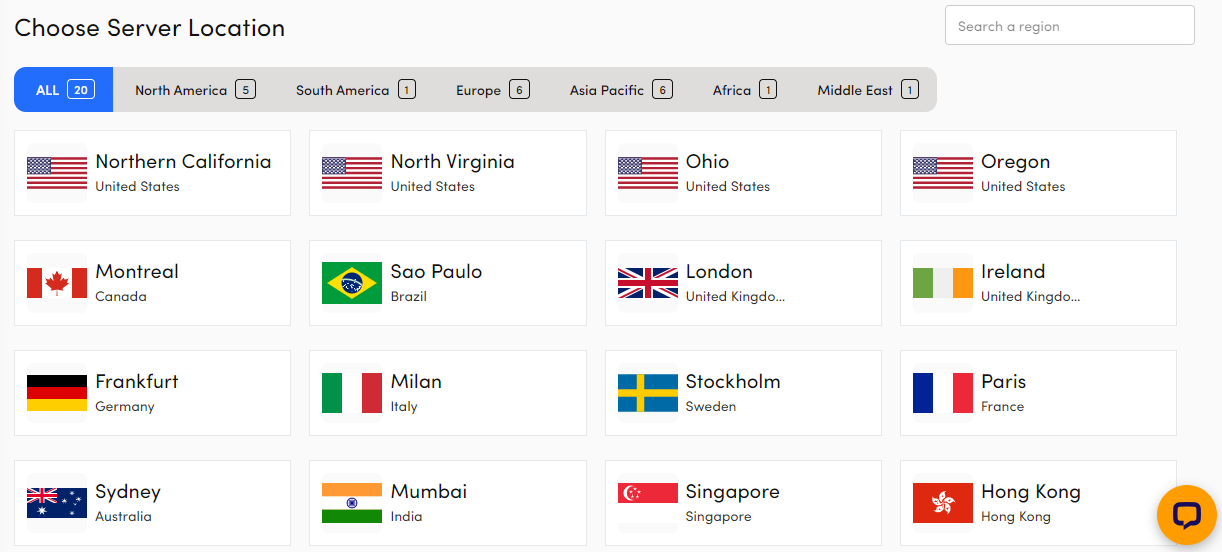
- Choose a server location near your store or a better fit for you.
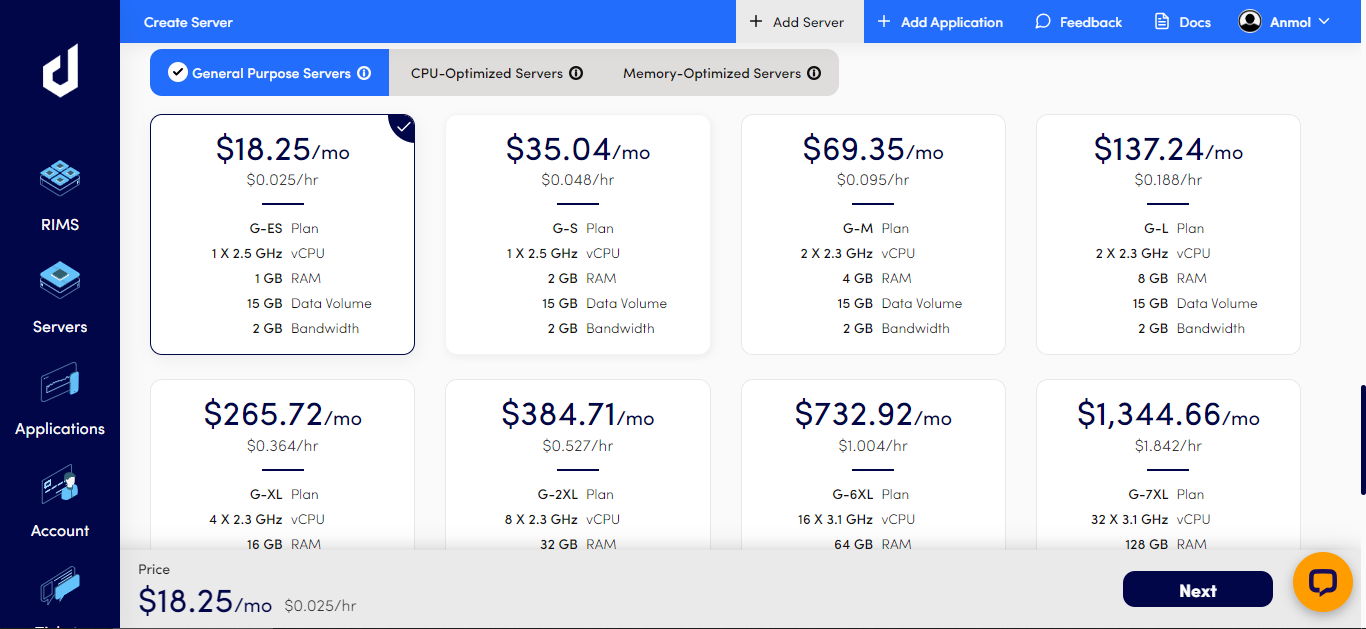
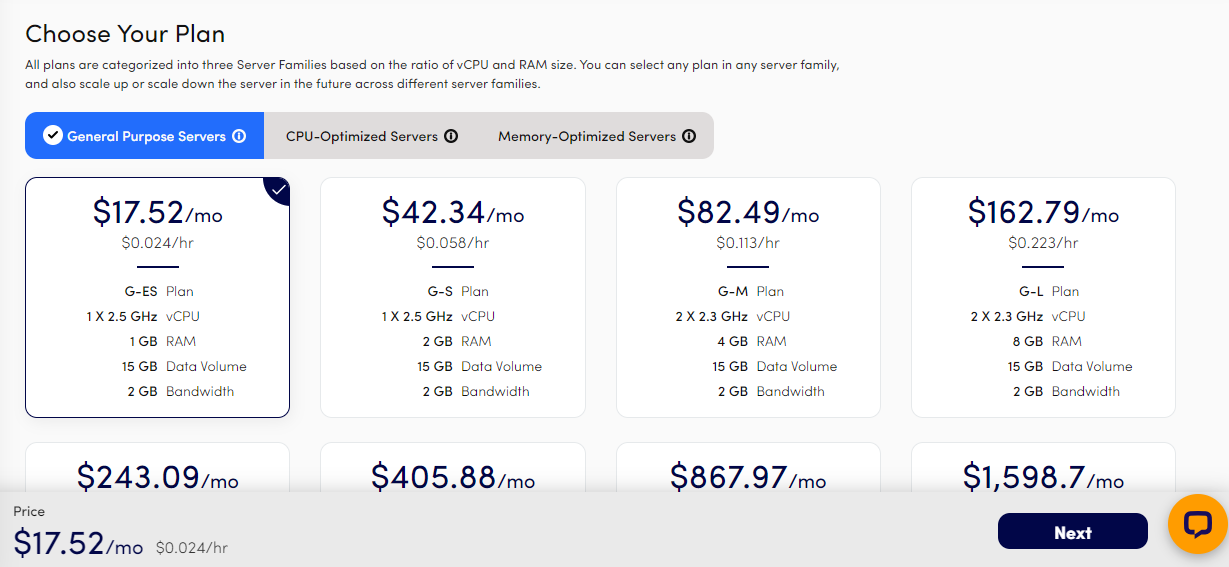
- Choose a plan based on your requirements and click on the “Next” button.
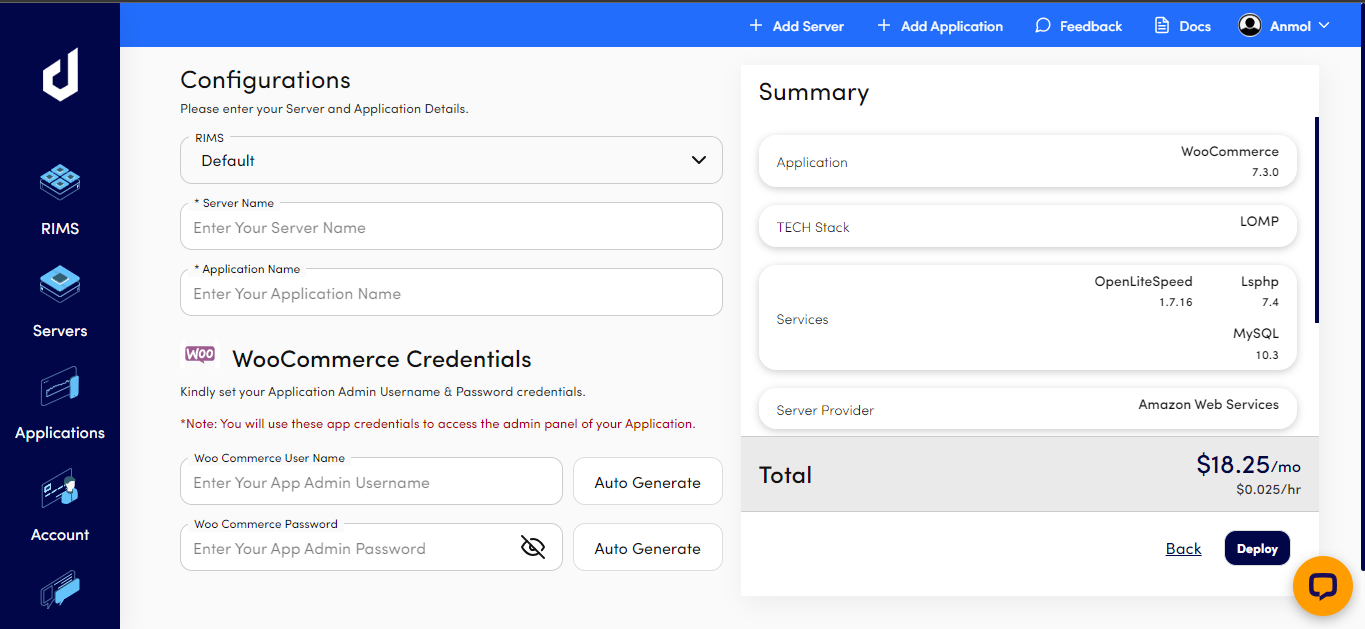
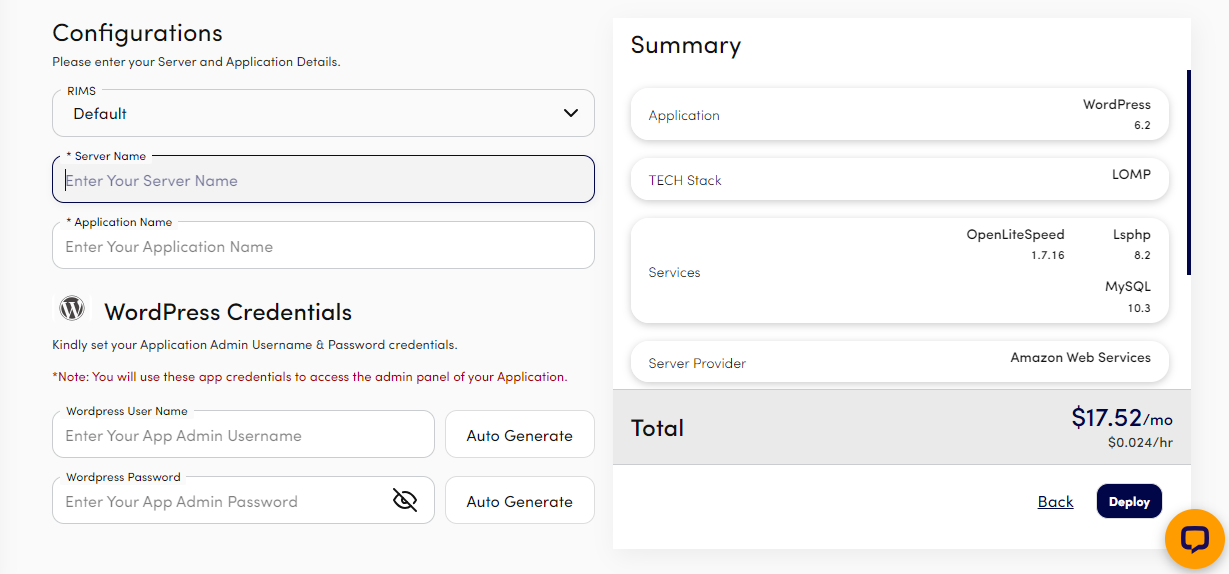
- Set the configurations, enter the server, application name, and login credentials for your WooCommerce app to access the dashboard. Once you add the information, click the “Deploy” button to start the server creation process.
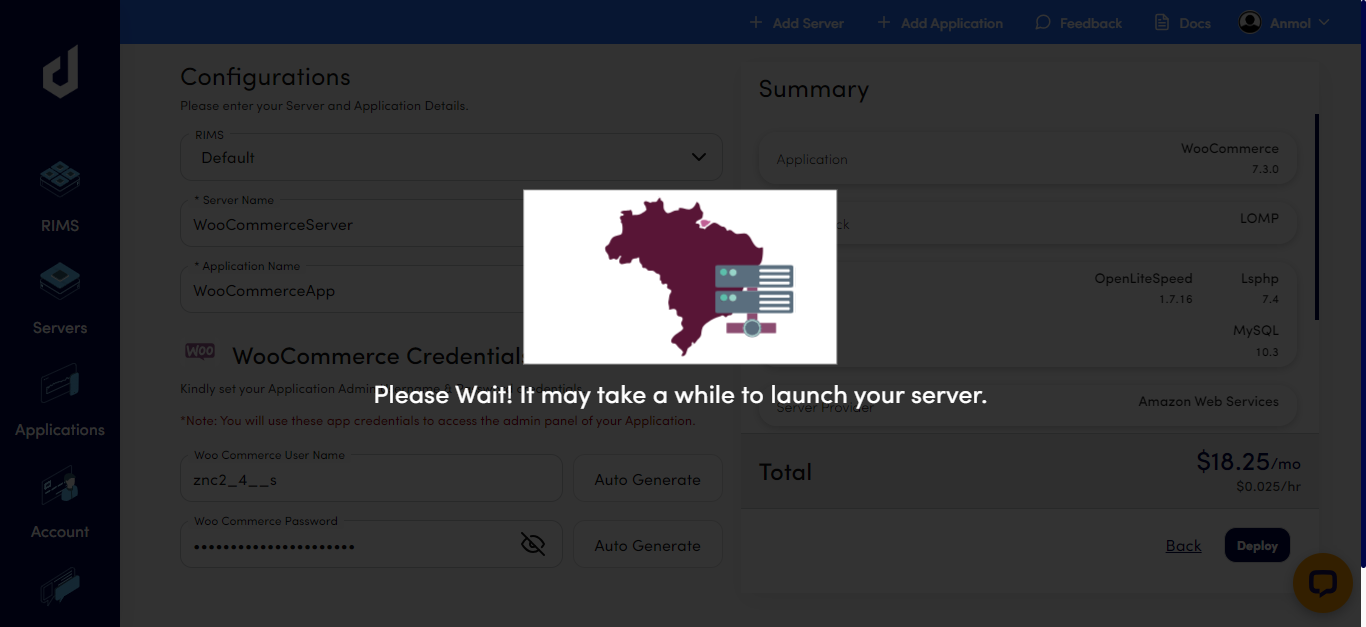
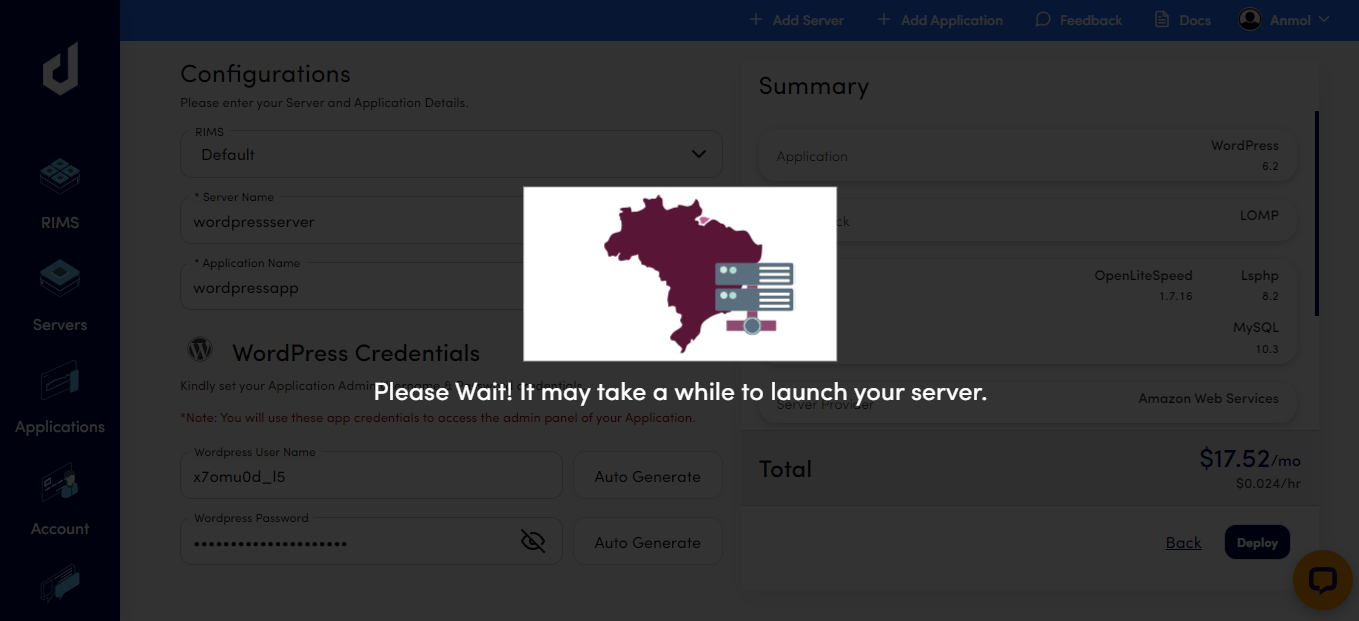
- It will take some time to get your server ready to run.
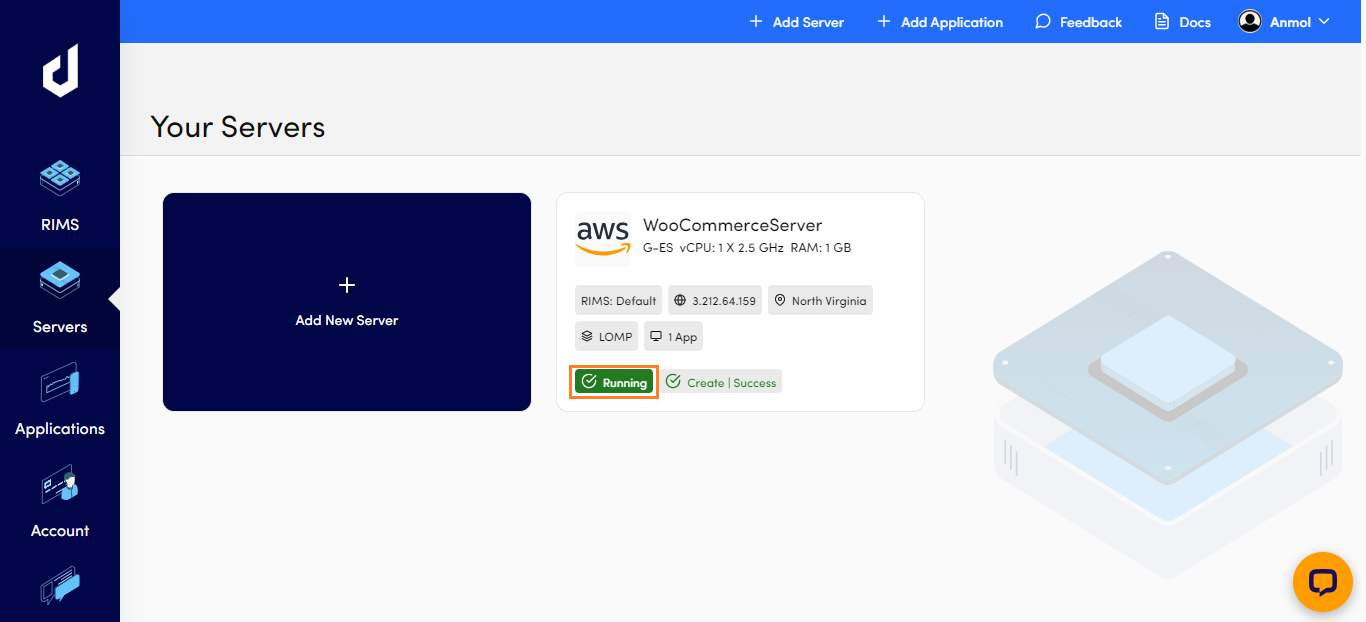
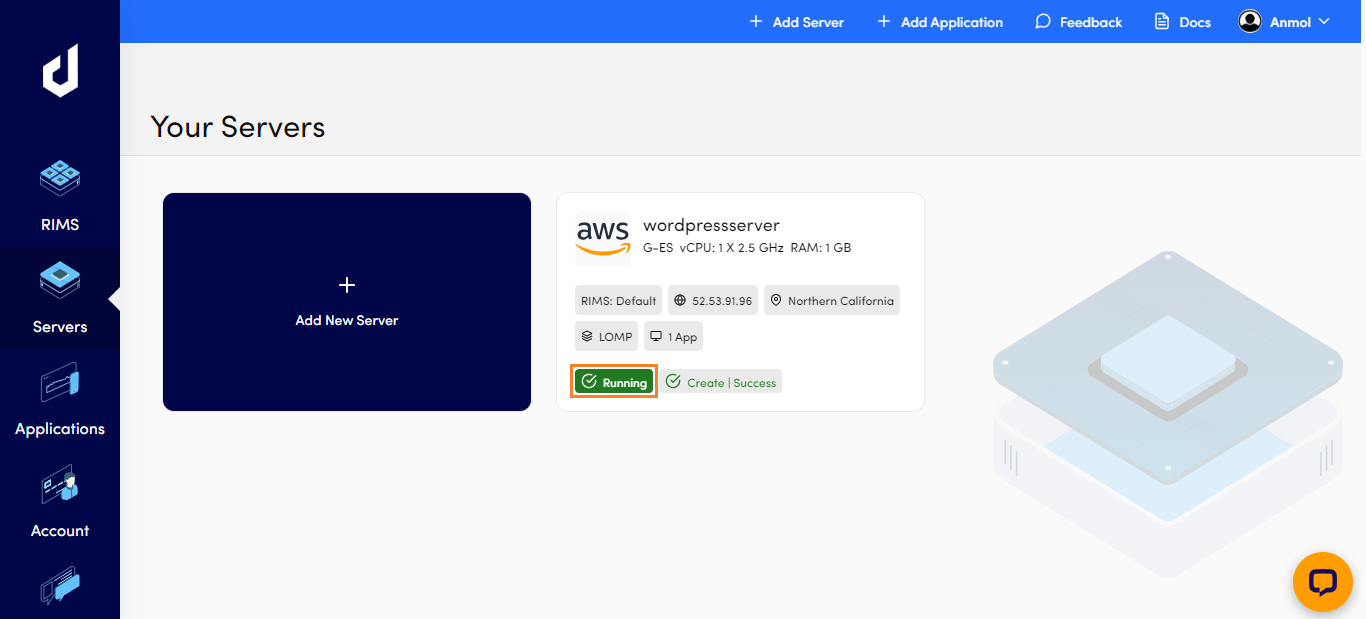
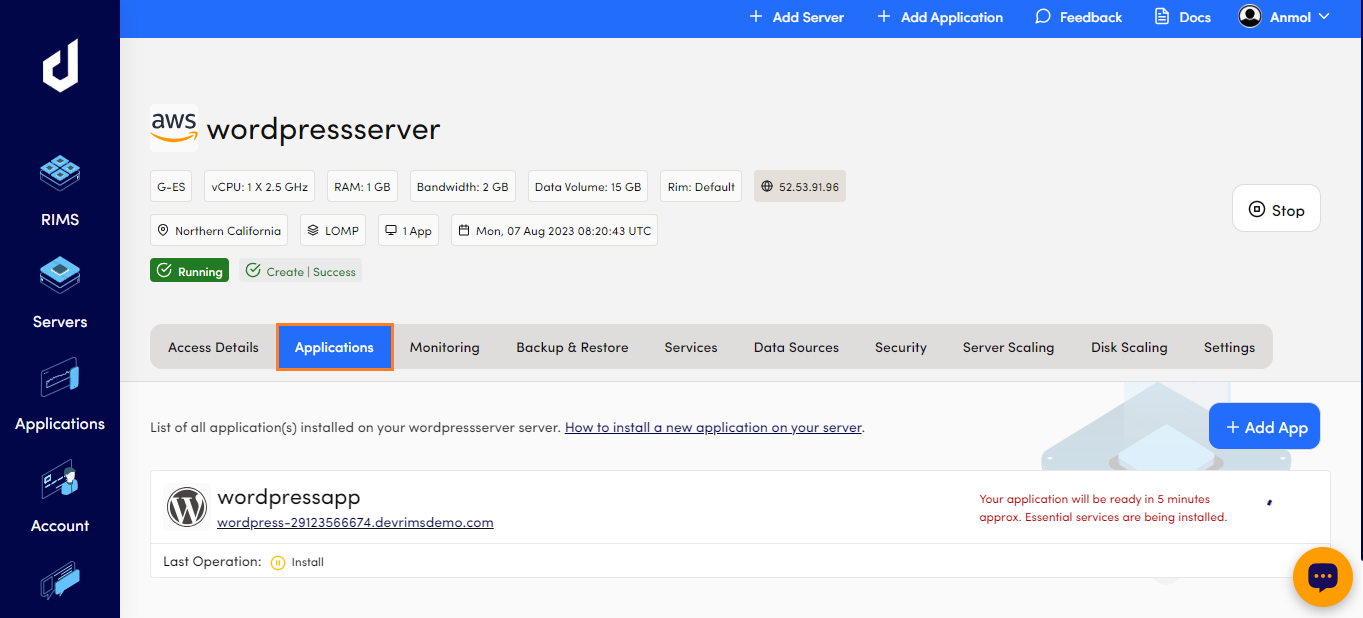
- Once it shows the status running, it means your server is ready. Click on the server card.
- Go to the Application tab. It will show you the status of your application. Installing your application after your server gets ready will take about five minutes.

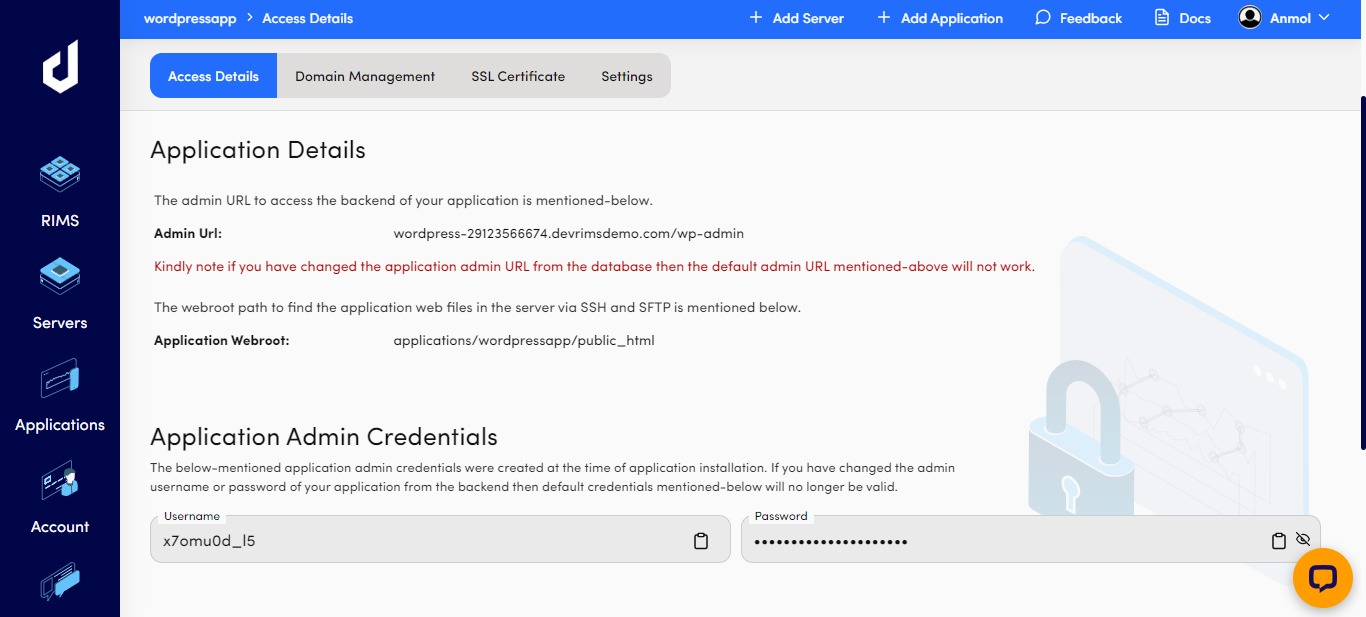
- Once the application is ready, click on it to get the Admin URL and credential access to the WooCommerce Admin dashboard.

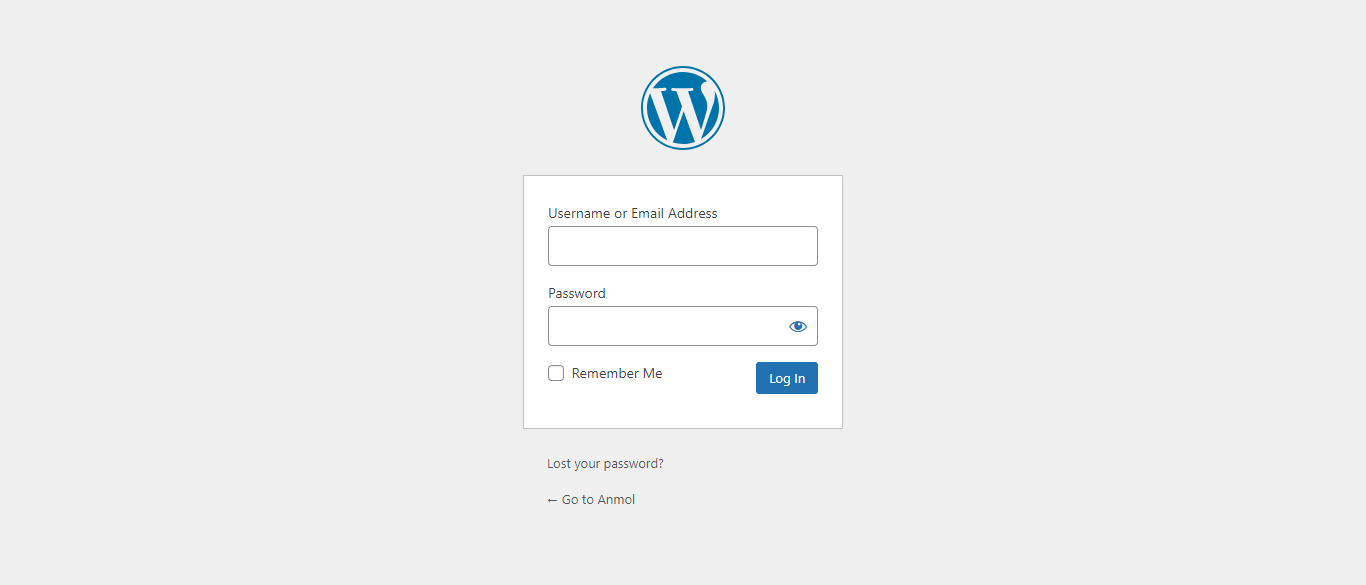
- Click the “Admin URL” to access the WordPress Admin login page.
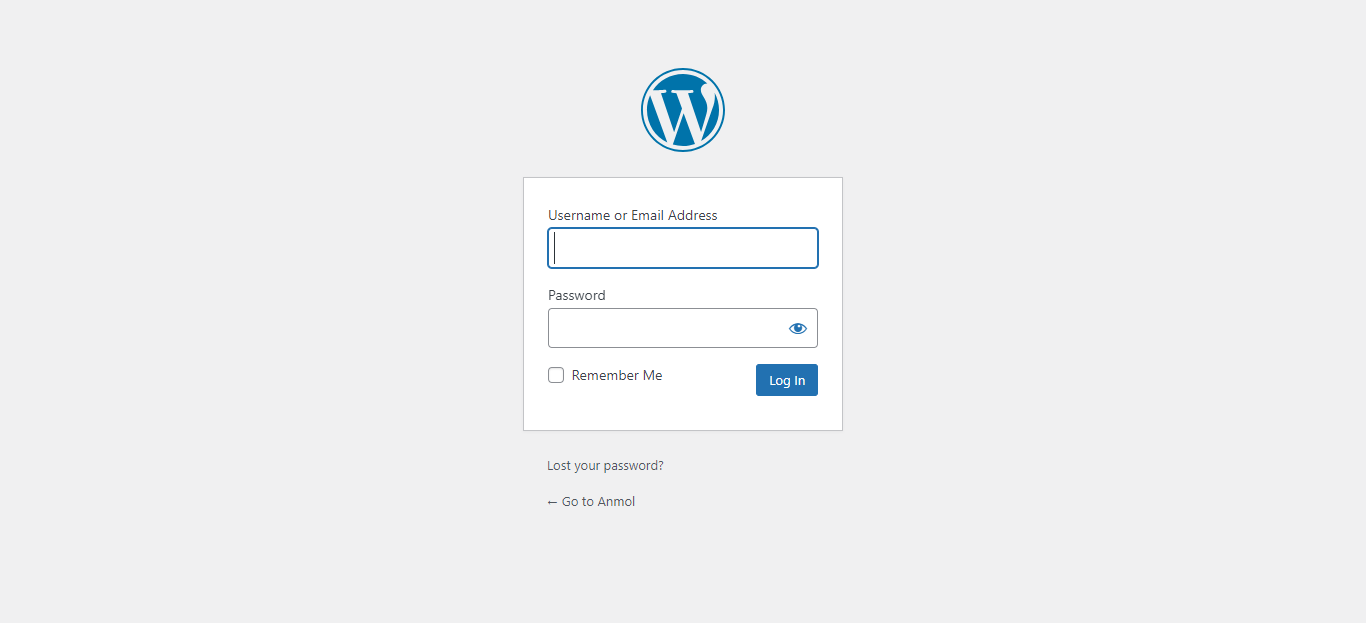
- Enter the username and password on the same page and click the “Log In” button.
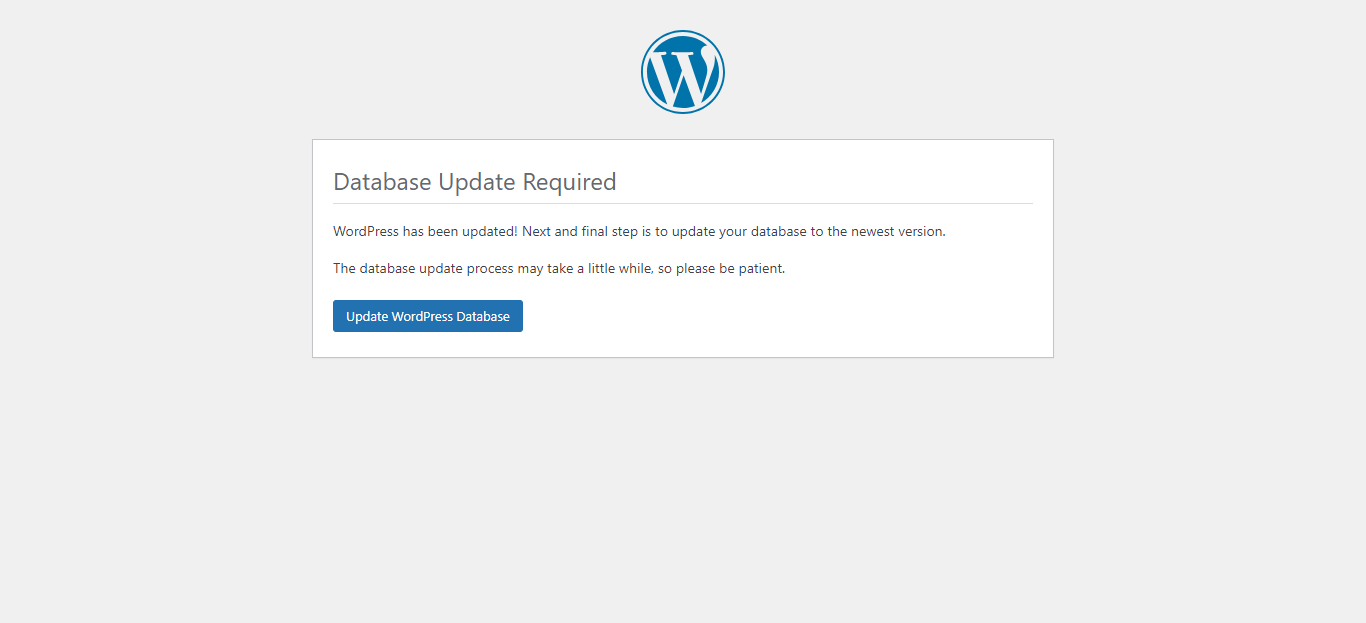
- Update the WordPress database if required.
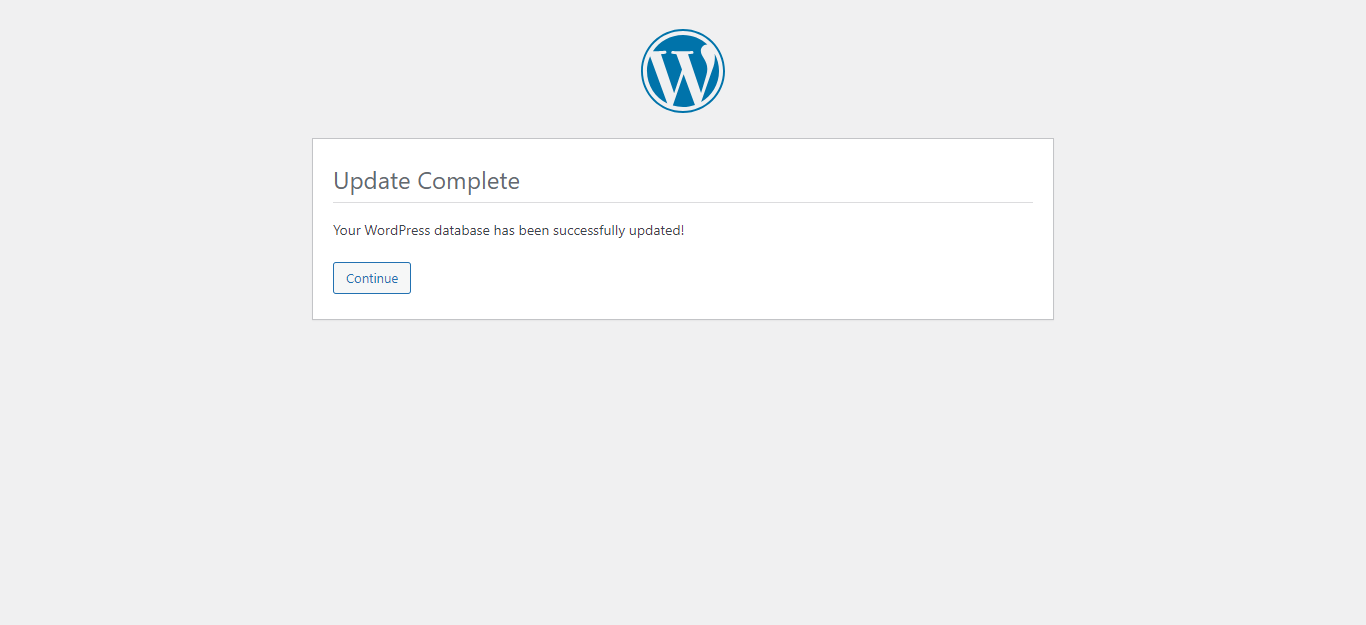
- After successfully updated databases, click on continue to go to dashboard.
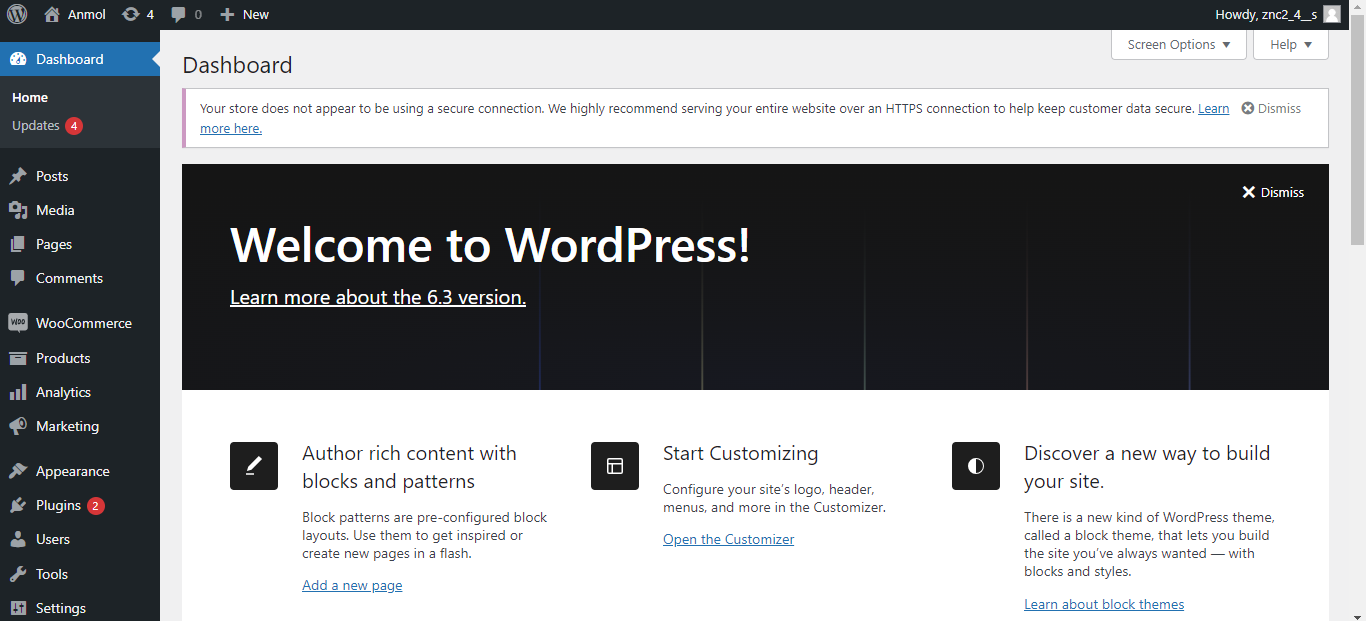
- Hence, you have set up your WooCommerce application successfully.
Method 02: Setup your WordPress App
Many hosting providers provide you with a WordPress app by default. Buy a recommended hosting and get the login credentials of your WordPress app.
Let’s install WordPress App on the Devrims server.
- Go to the user.devrims.com and signup/login to your account.
- On the left navigational bar, go to the server section.
- Choose the WordPress app with the latest version.
- When you click on a tech stack, it will show you its services. Select a tech stack of your choice. The system auto-selects the best tech stack.
- Choose a server provider.
- Choose a server location near your store or a better fit for you.
- Choose a plan based on your requirements and click on the “Next” button.
- Set the configurations, enter the server, application name, and login credentials for your WordPress app to access the dashboard. Once you add the information, click the “Deploy” button to start the server creation process.
- It will take some time to get your server ready to run.
- Once it shows the status running, it means your server is ready. Click on the server card.
- Go to the Application tab. It will show you the status of your application. Installing your application after your server gets ready will take about five minutes.
- Once the application is ready, click on it to get the Admin URL and credential access to the WordPress Admin dashboard.
- Click the “Admin URL” to access the WordPress Admin login page.
- Enter the username and password on the same page and click the “Log In” button.
- Hence, you have set up your WordPress application successfully.
Note: If you have bought WooCommerce Hosting, you will get the WooCommerce plugin installed by default. So, you don’t need to perform the second step if this is the case.
Install WooCommerce Plugin
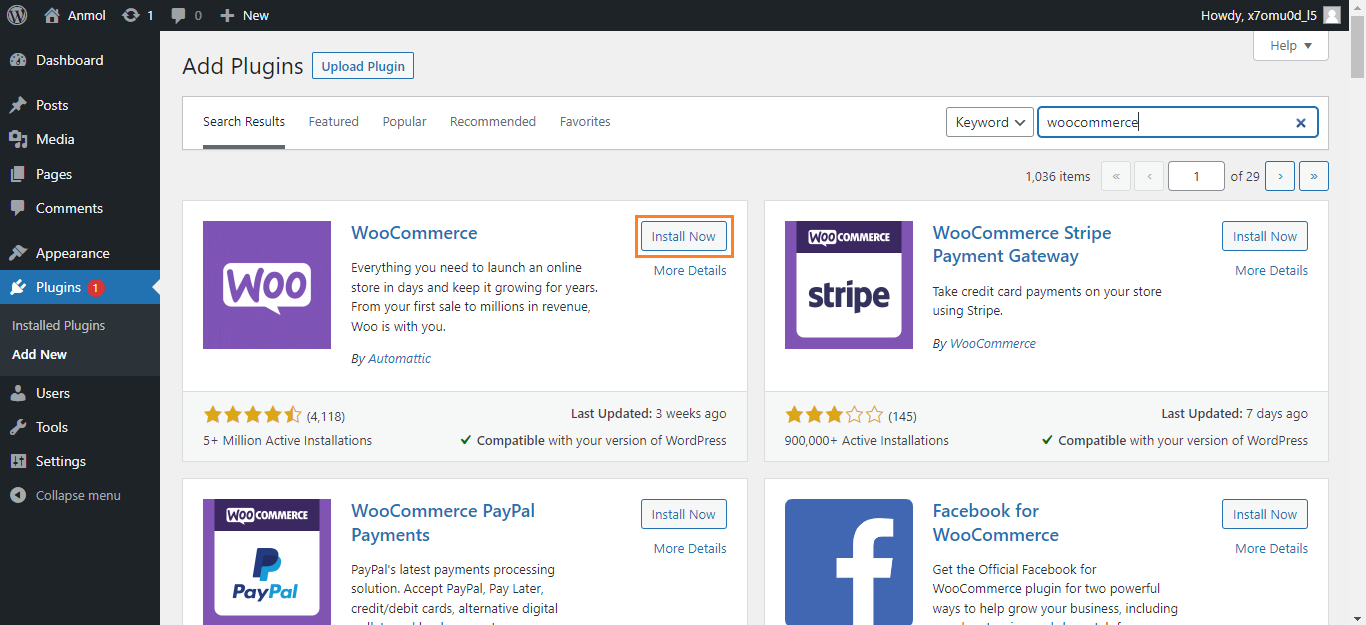
- Access the WordPress dashboard, go to the Plugins section on the left navigational bar, and click the “Add New” button.
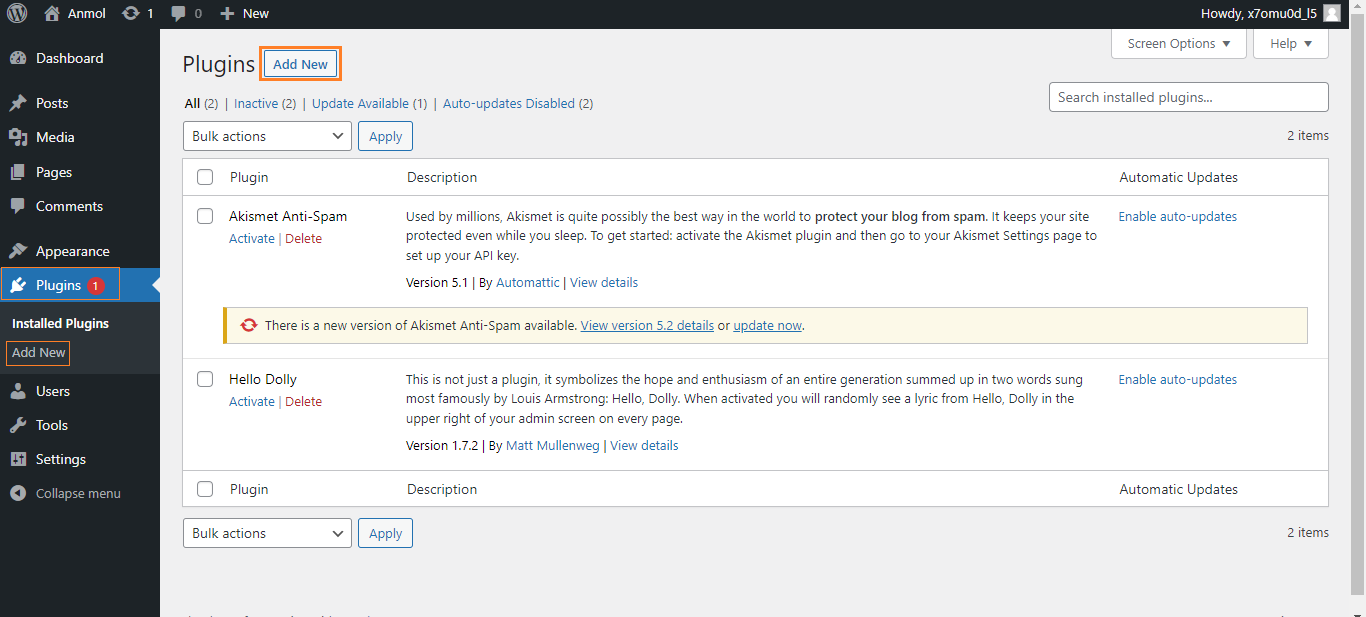
- Search for the WooCommerce plugin by entering the name in the search bar. Click on the “Install Now” button.
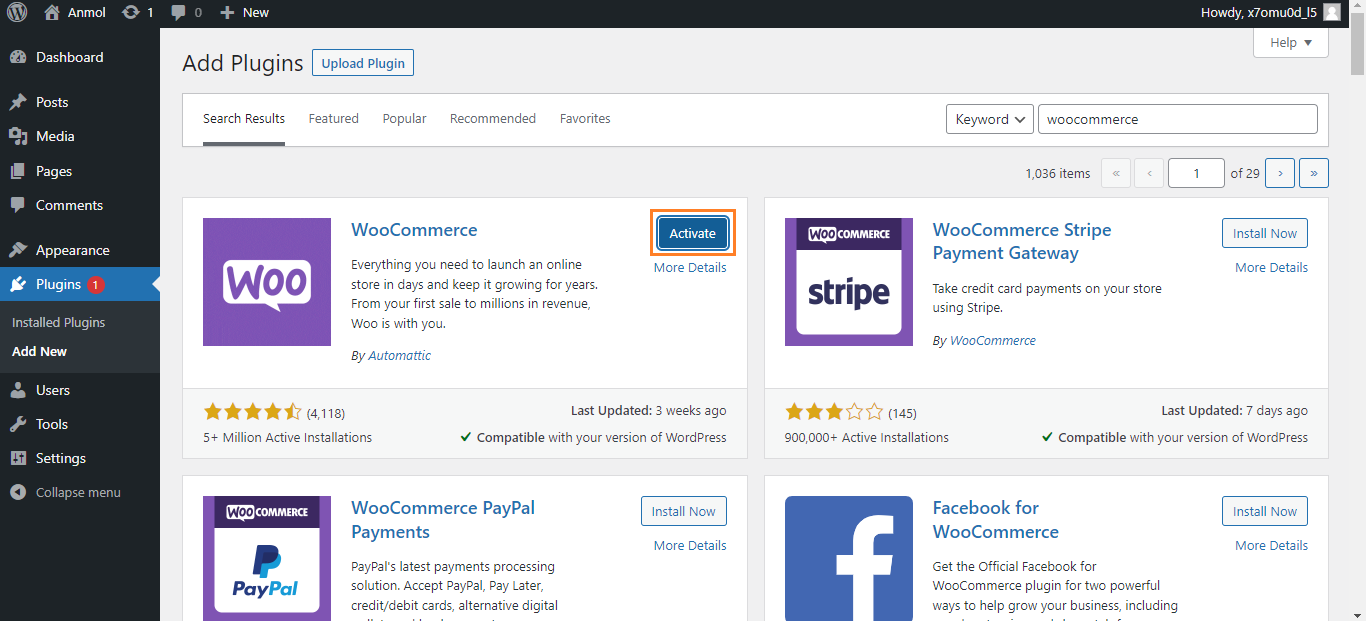
- Once it is installed, click on the “Activate” button.
- After the plugin is activated, you will see new sections of WooCommerce, products, payments, analytics, and marketing on the left navigational bar.
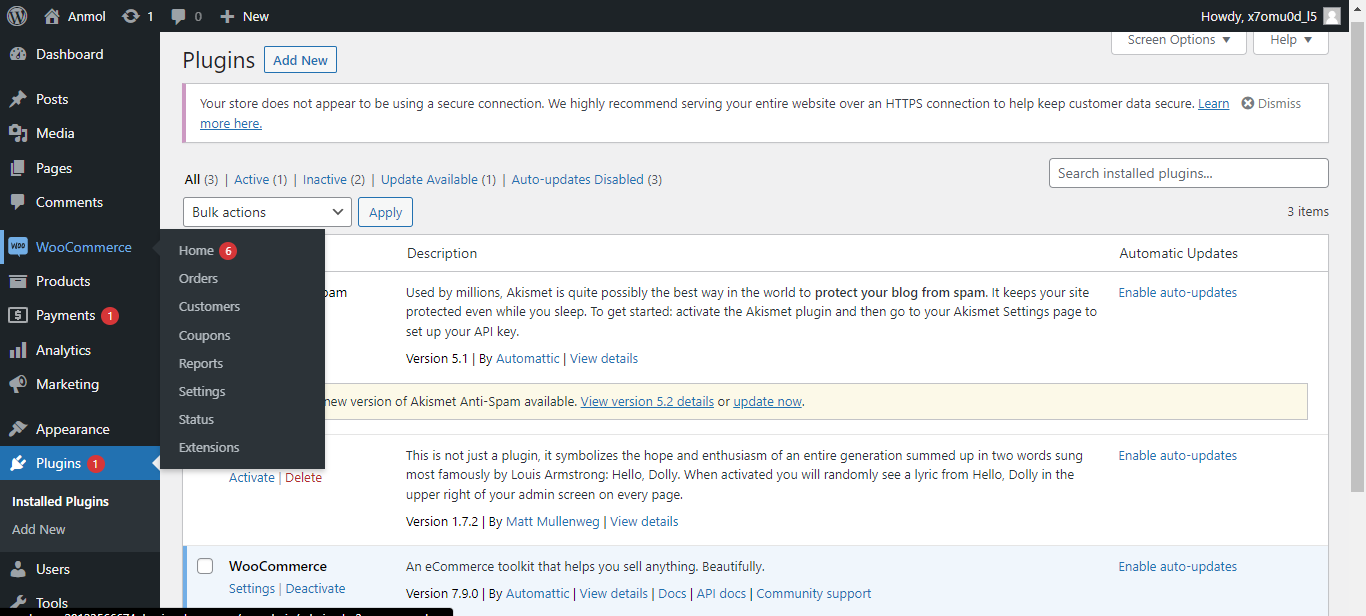
- You can set up your WooCommerce store by editing or configuring these settings.
Setup your WooCommerce store
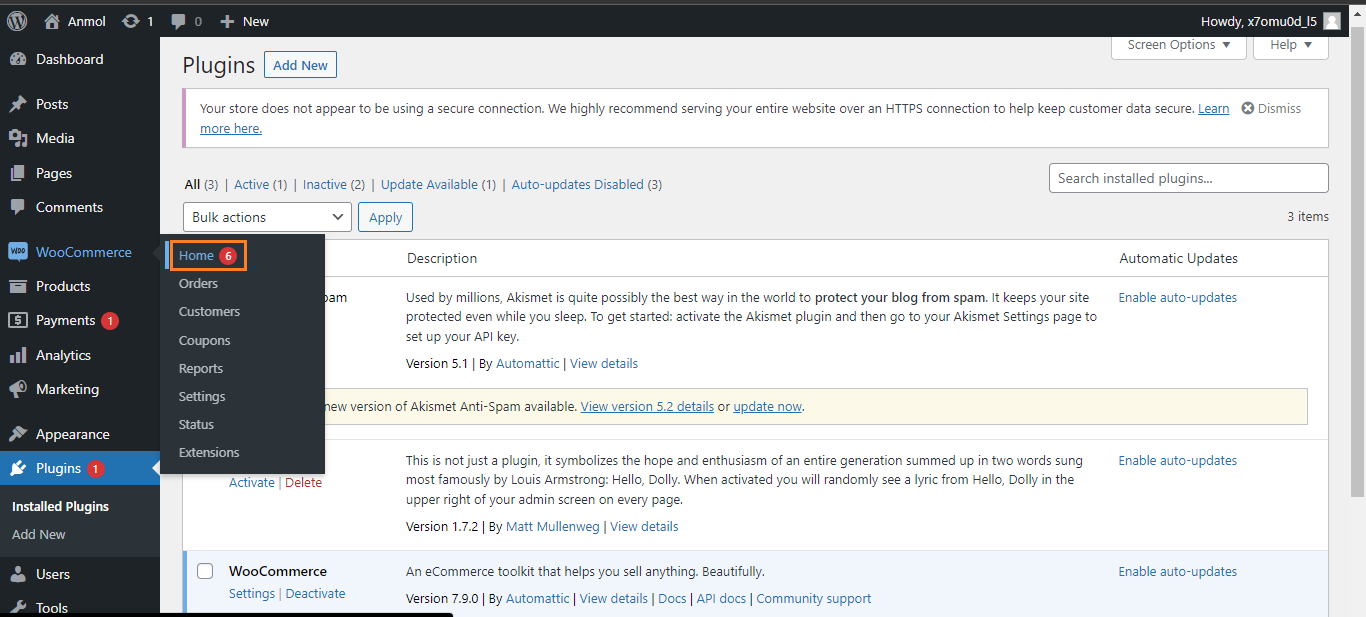
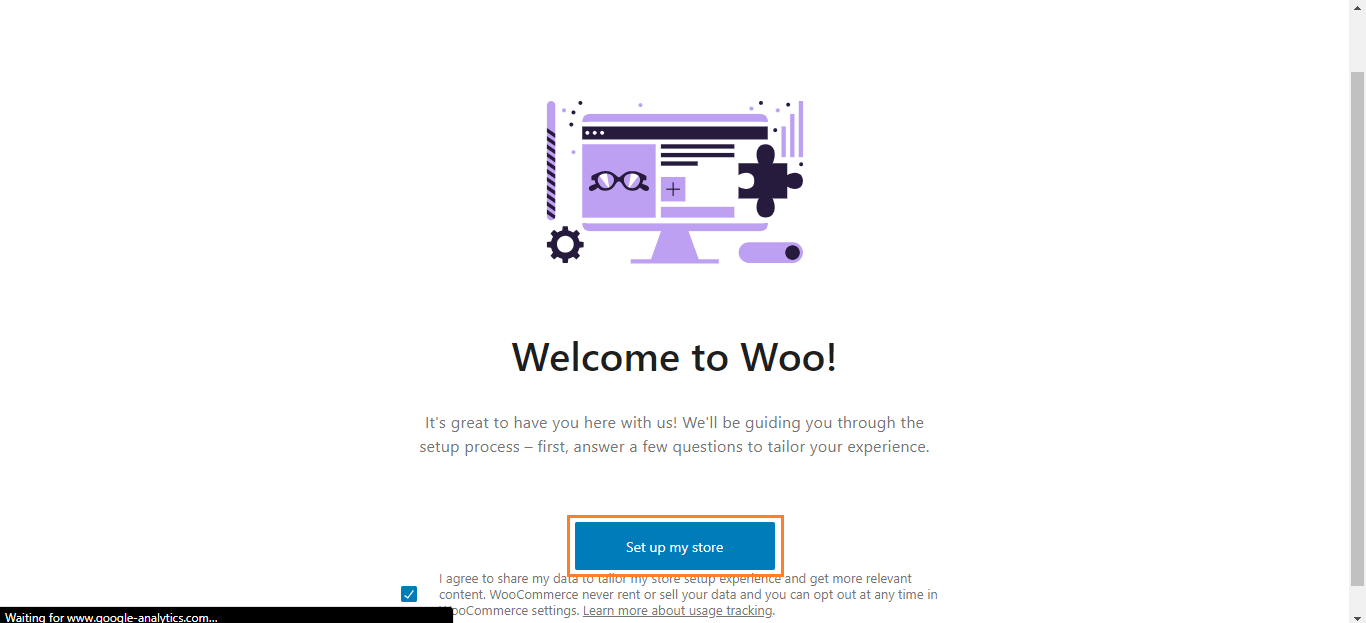
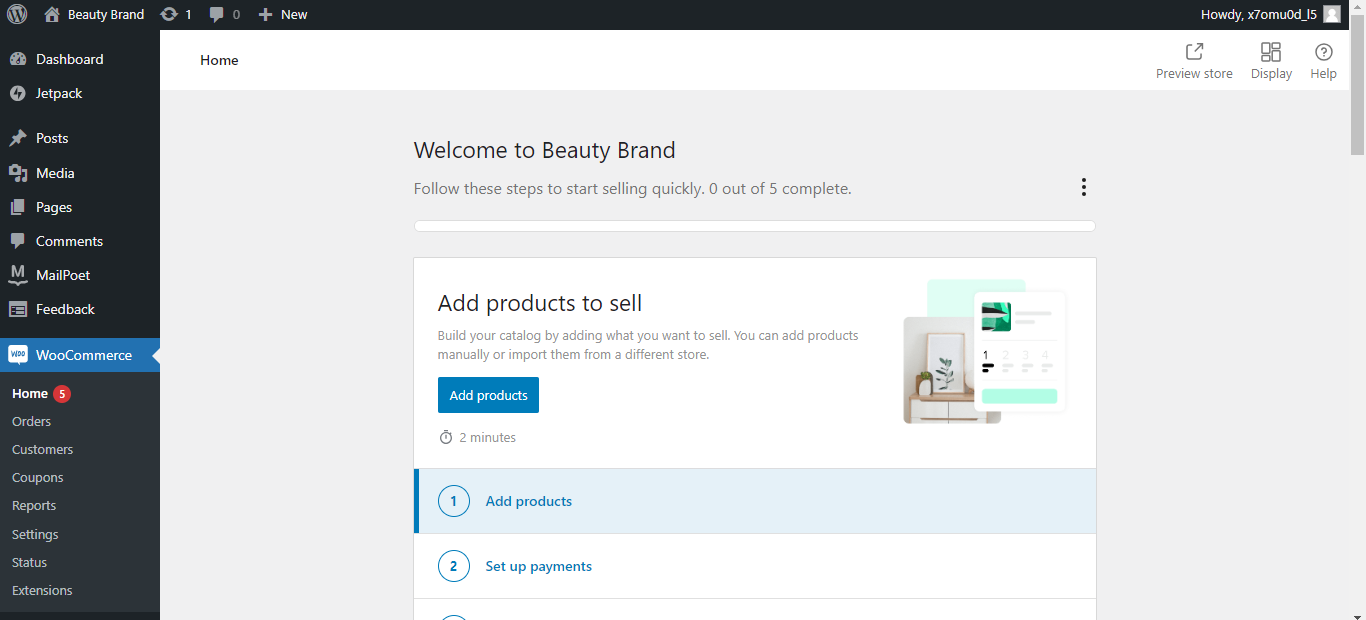
- To set up your WooCommerce store, go to the Home option of the WooCommerce section.
- Now, click on the “Set up my store” button.
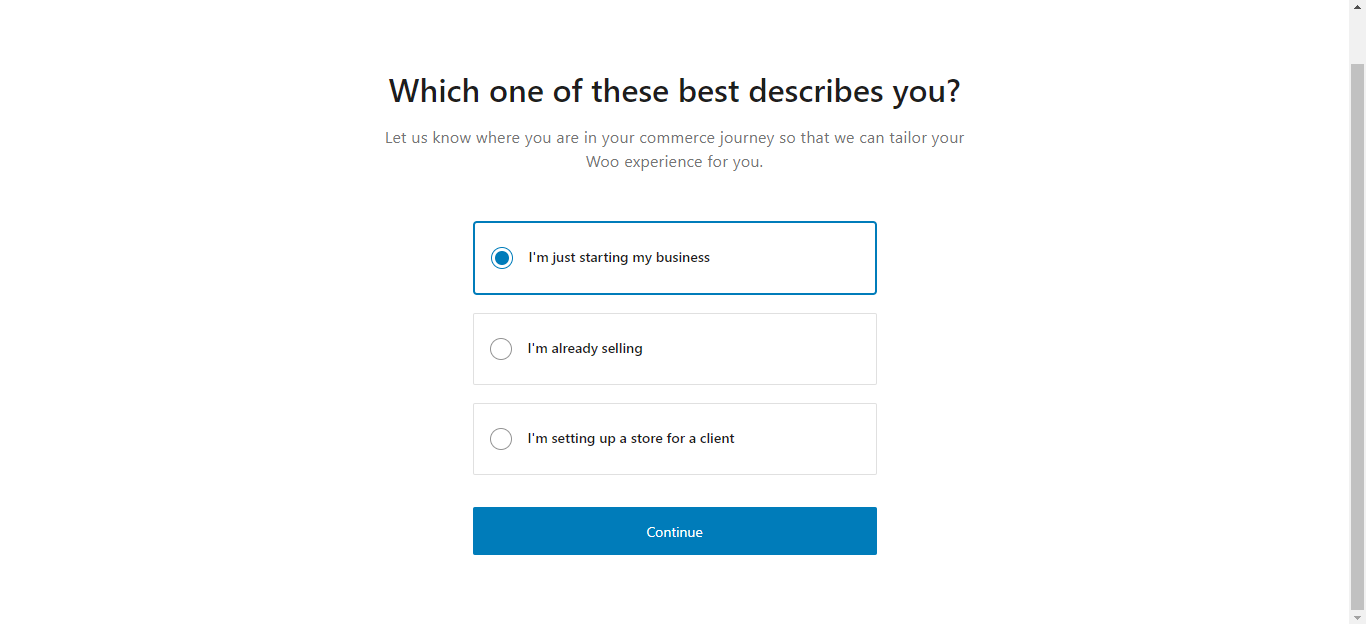
- Select an option for what you create in this store and click the “Continue” button.
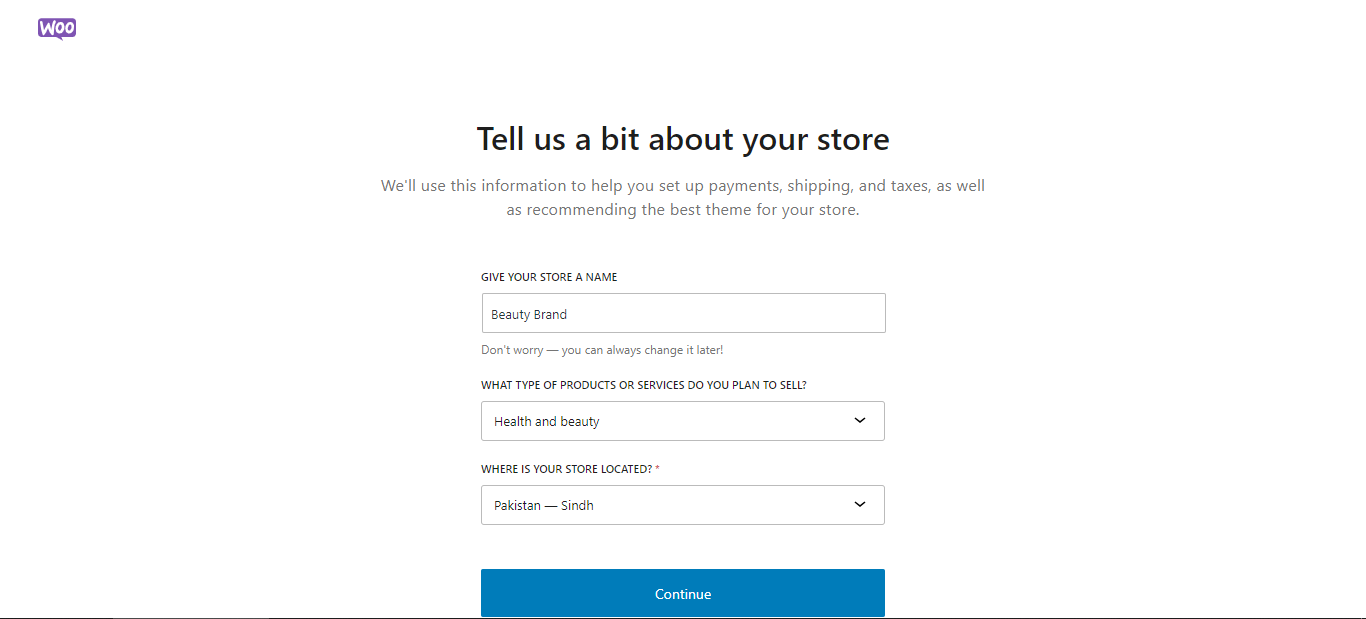
- Enter your store details, including store name, type of products or services you will provide, and store location. Once done with entering the details, click on the “Continue” button.
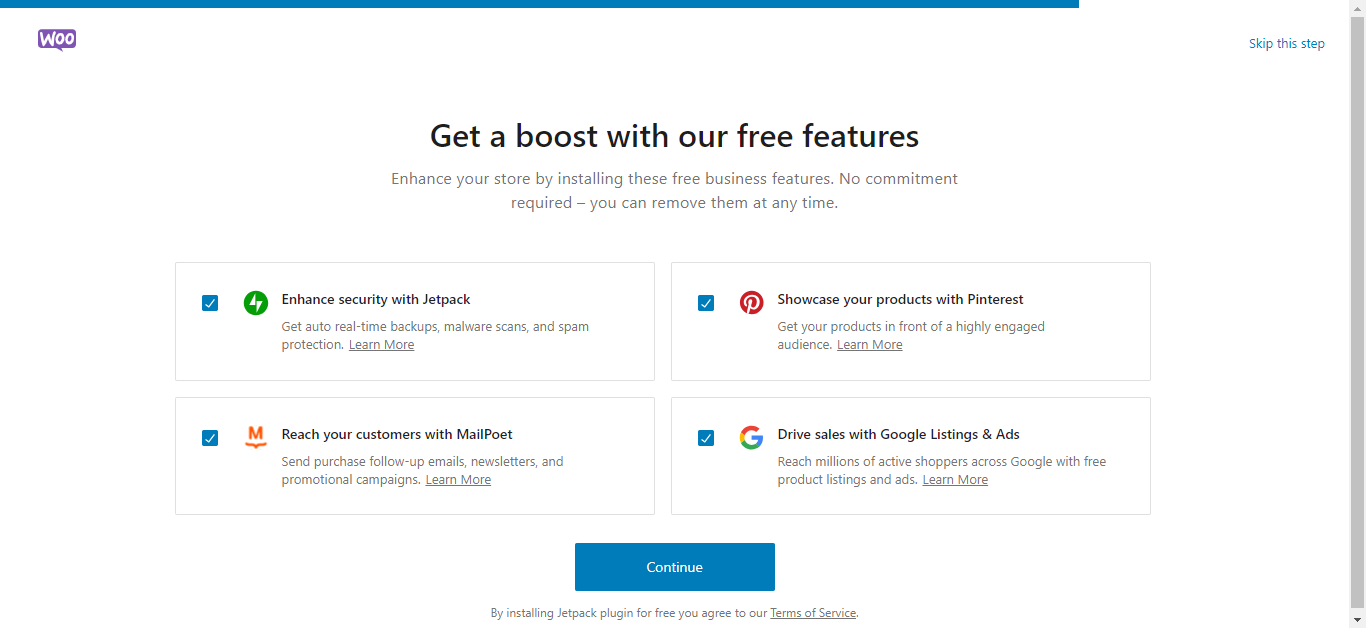
- Install the free business features if you need them, or if not, you can click on “Skip this step“.
- Setting up features and other things in the store will take a little time.
- You have set up your WooCommerce store successfully. Now, start adding products to it and sell them through your store. Also, you can preview your store now.
Adding and Managing new products
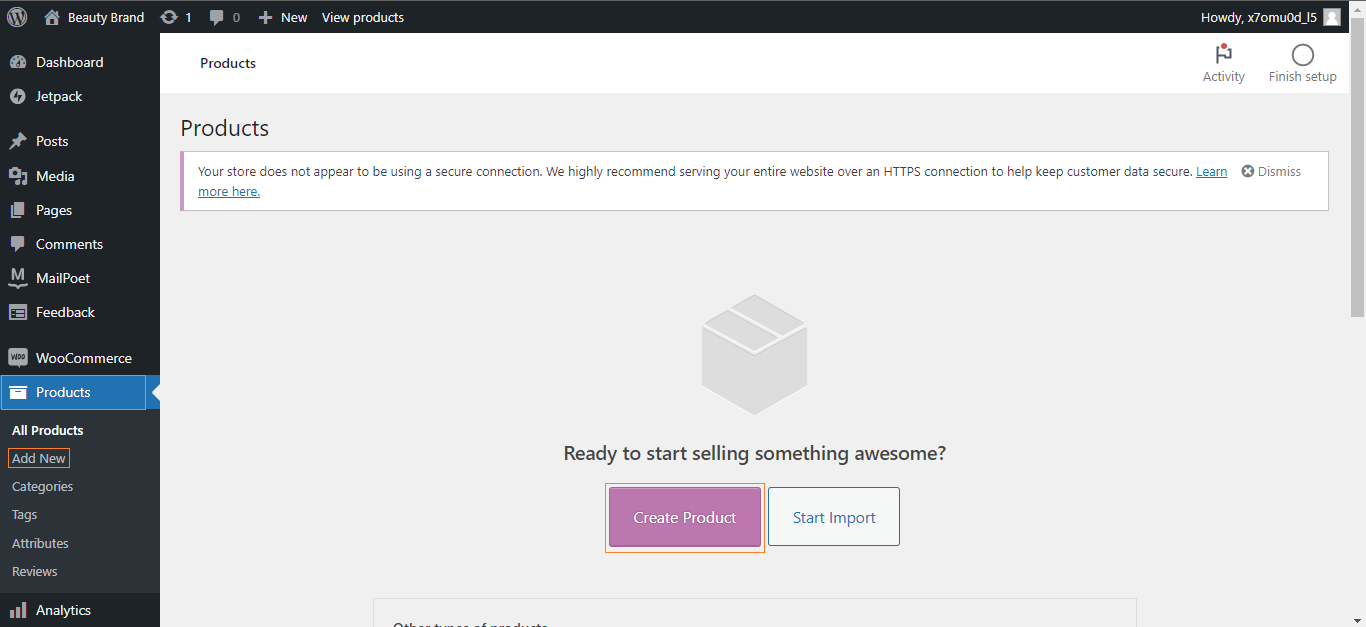
- To add new products to your store, click the “Add Products” button in the above image. Or go to the products section on the left navigational bar. Now, click on the create product button or Add New option in the Products section. Also, you can import a product if you have and want to.
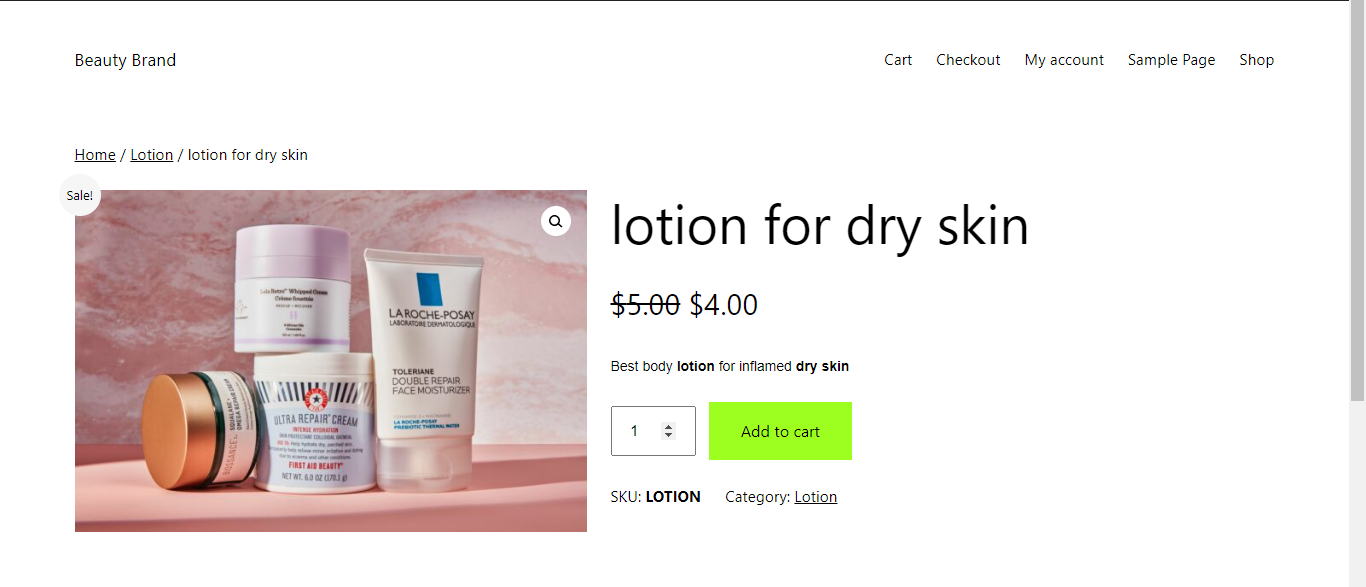
- Enter the product details, including name, description, category, price, images, and all the required information. Once you are done entering the details, click on the “Add” button to add your product to your store, or you can preview the product before making it live to see if it is done correctly or not.

- Once you are done adding the product, go to your store and check if it has been added successfully or not.
- Go to the all products section to see your added product list.
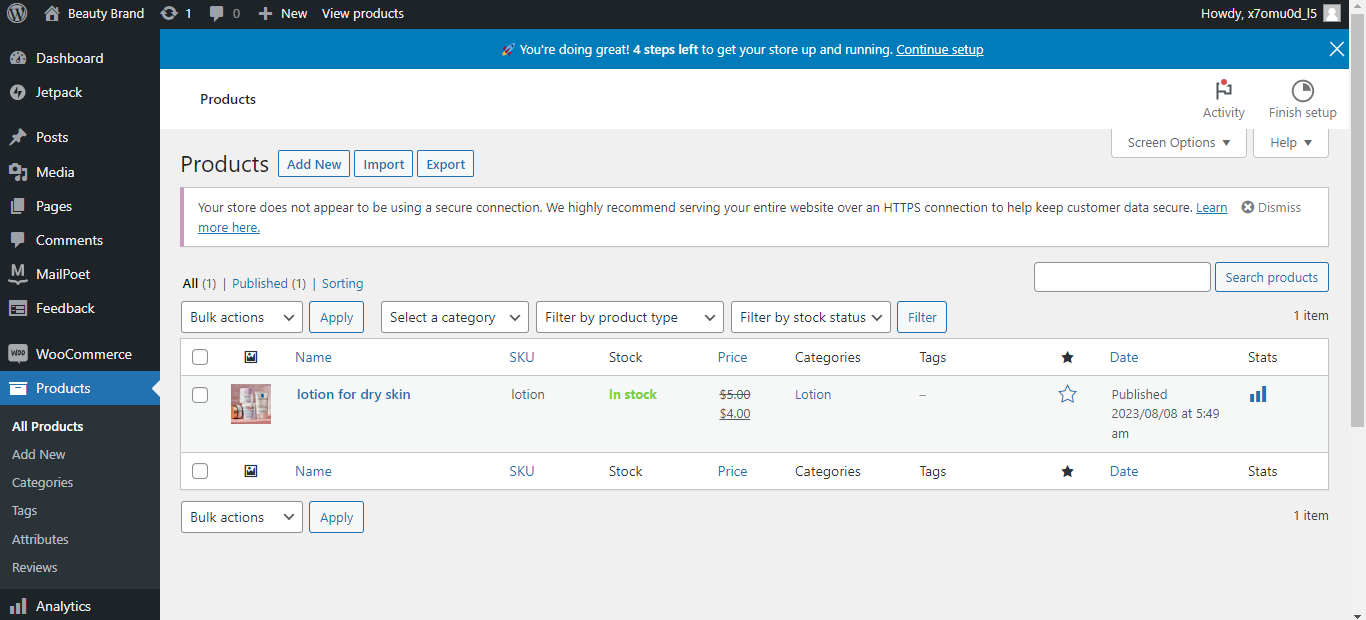
You can add and manage products in the products section and track your product’s reviews and other factors.
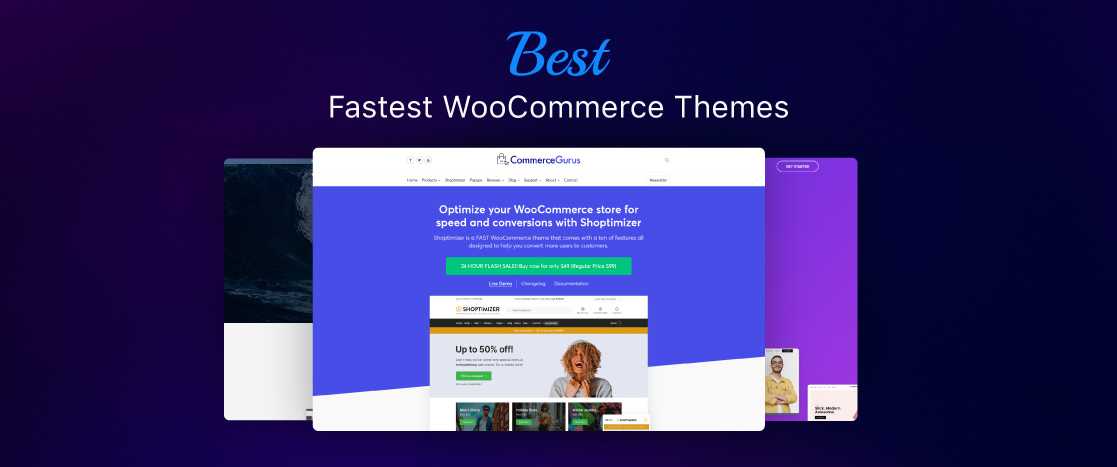
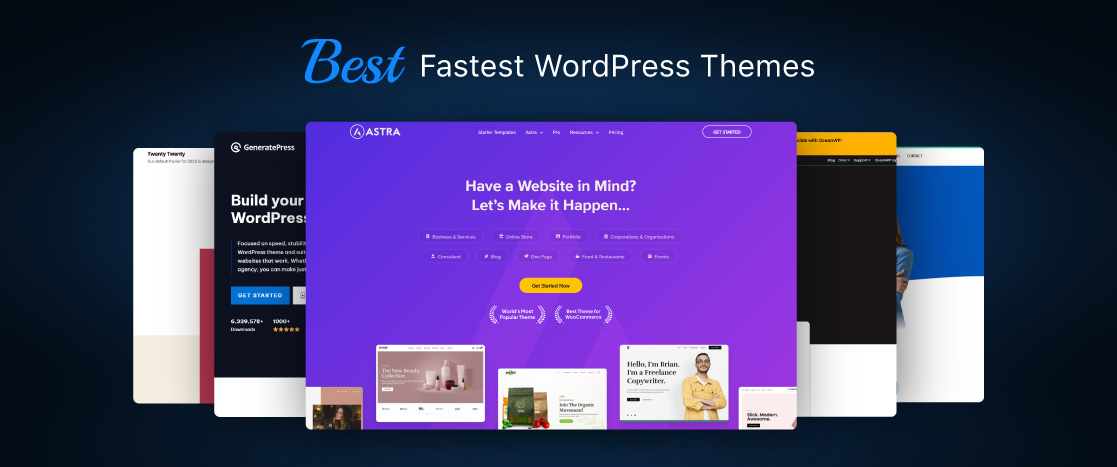
Choose themes and templates
If you want a structured site without manual customization, install a WooCommerce theme for WordPress. There are many free and paid WooCommerce themes available for WordPress. If you want to add any theme or template to your website, go to the WordPress dashboard and navigate to the themes option in the Appearance section. Then search and add a new theme, or if you have already downloaded one, you can upload it. Install and activate the selected theme, making your store more attractive and user-friendly.
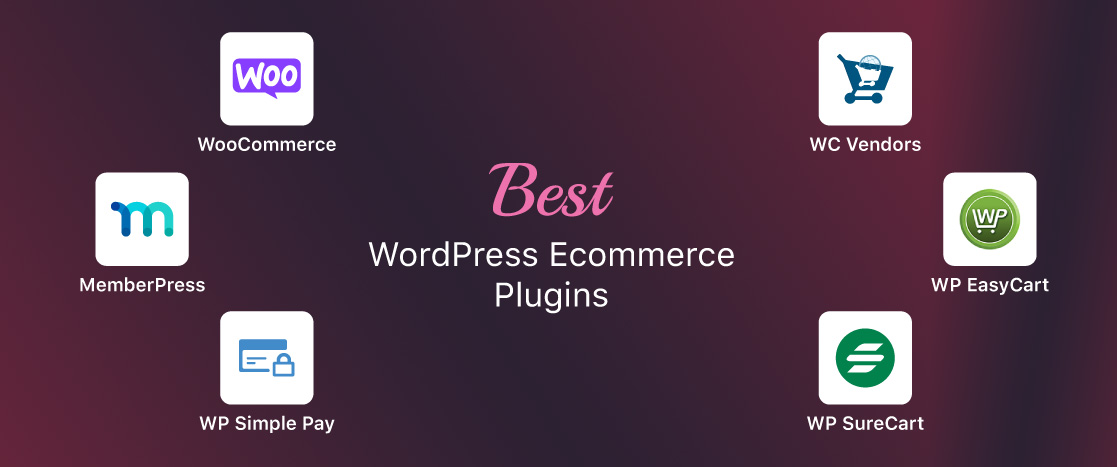
Install plugins and extensions
As I mentioned above, when we use WooCommerce for an online store or as an e-commerce platform, we get access to the functionalities of WooCommerce + WordPress as it is an e-commerce plugin of WordPress. So, you can install any WordPress plugin required for your store and install extensions that WooCommerce provides for adding more functionalities to your online store.
If you want to install a WordPress plugin, go to the plugins section and search for it. Follow the process that is mentioned above for installing WooCommerce plugin.
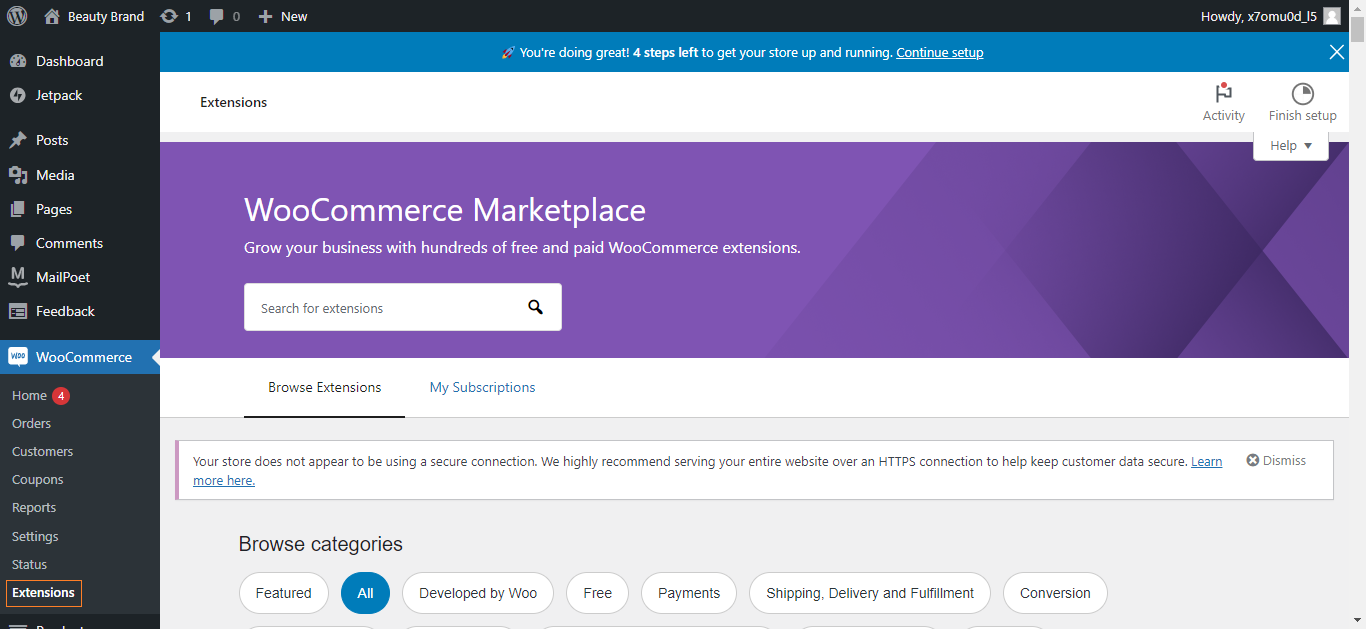
If you want to install a WooCommerce extension, navigate to the extensions option of the WooCommerce section on the left navigational bar. You will see a huge library of extensions; you can search for any extension you want and add it to the store.
Adding Payment Gateway
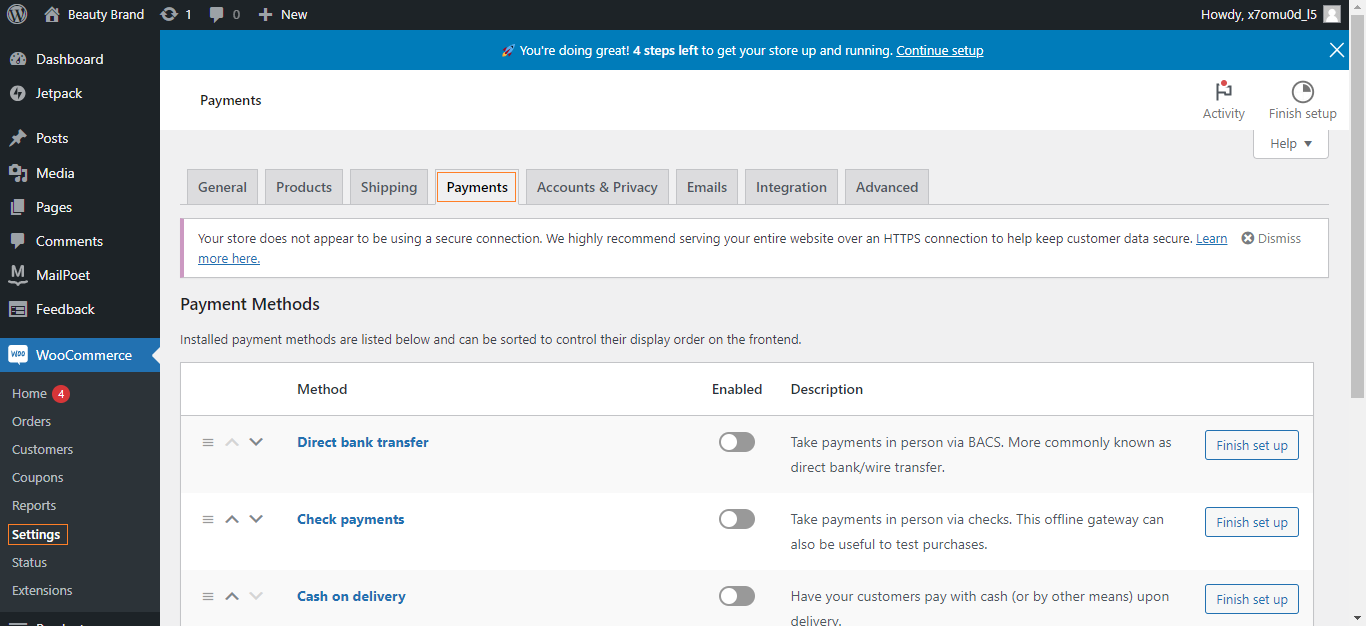
- To add a payment gateway to your store, go to the settings option of the WooCommerce section on the left navigational bar and navigate to the payments tab. You will see three default options: Direct Bank Transfer, Check payments, and Cash on Delivery. Enable the option that you want to add to your store.
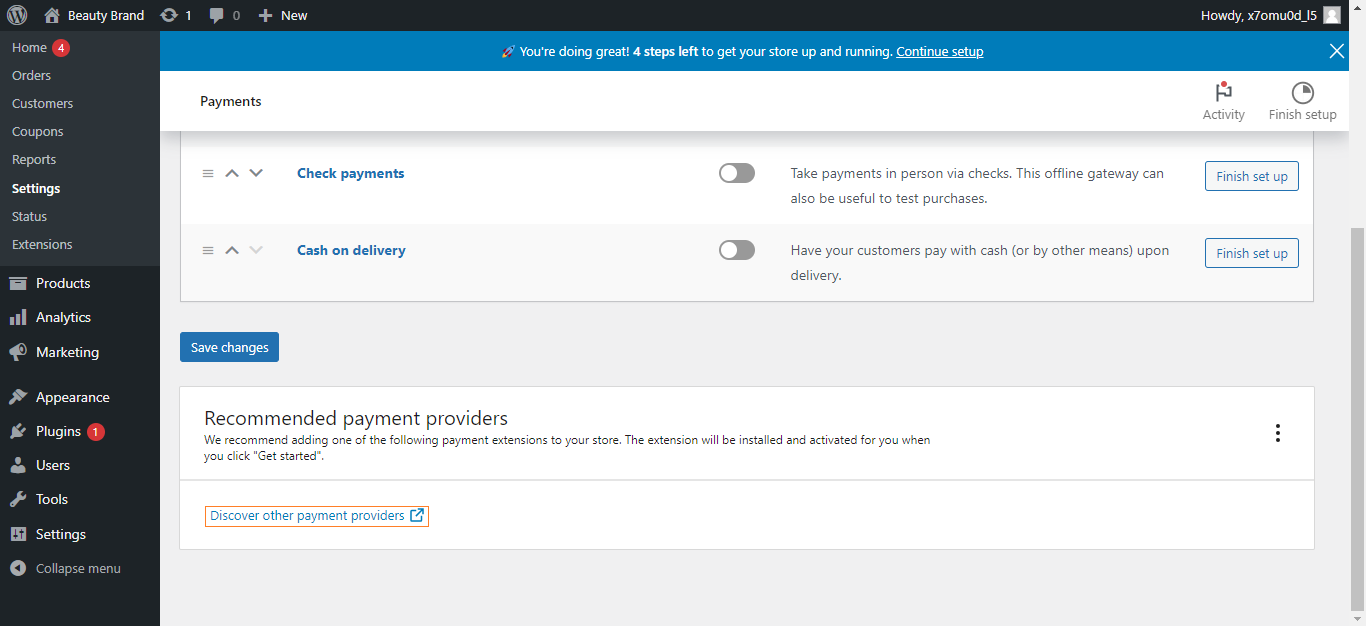
- If you want to add any other method for payment gateway, scroll down the screen, and you will see recommended payment providers. Click on the provided link: Discover other payment providers.
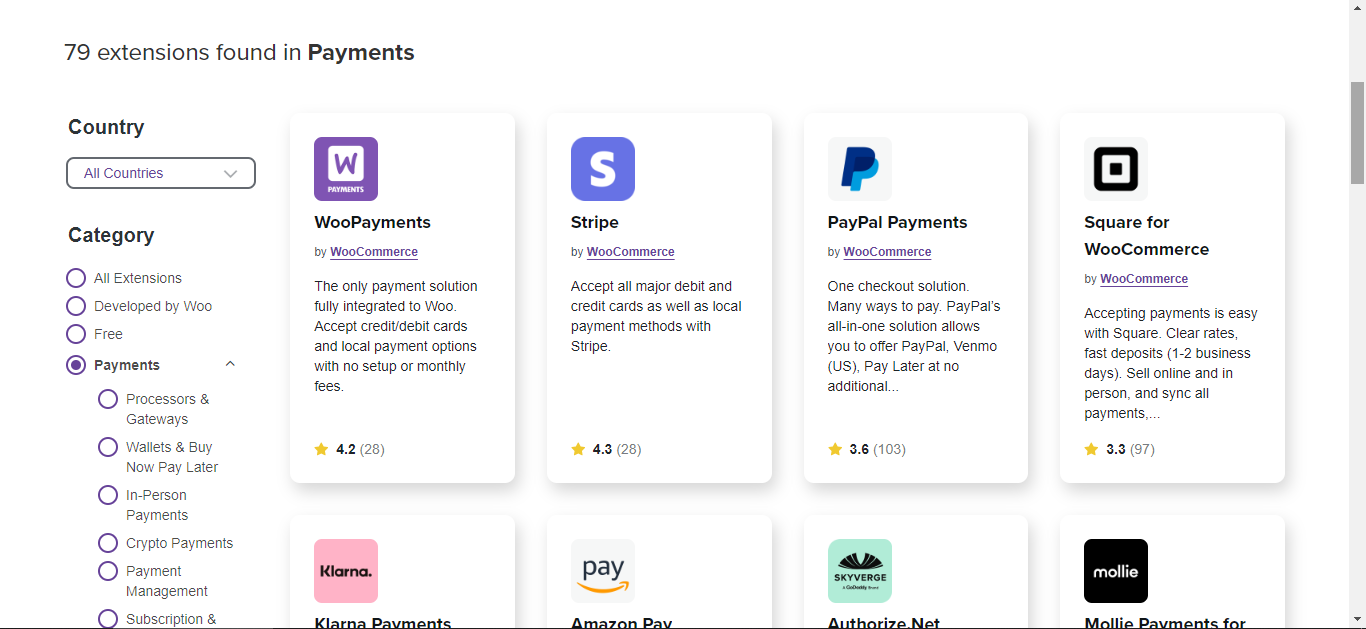
- It will open a new page of the WooCommerce Extensions store of payments category.
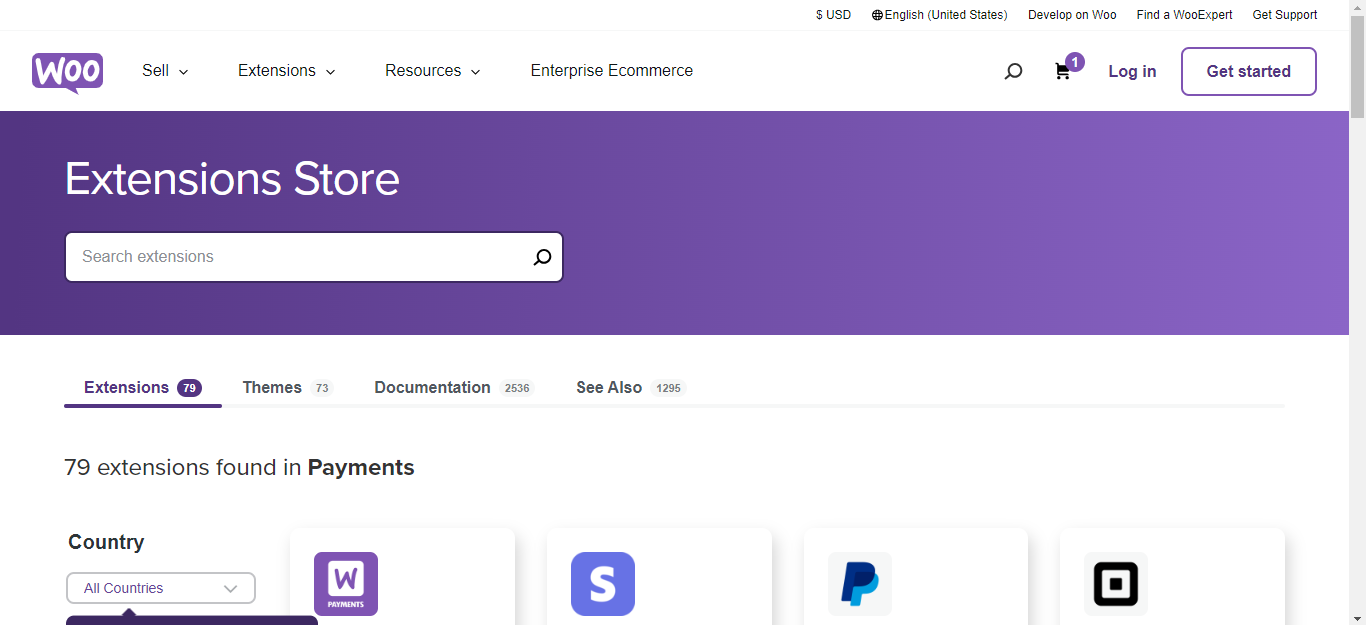
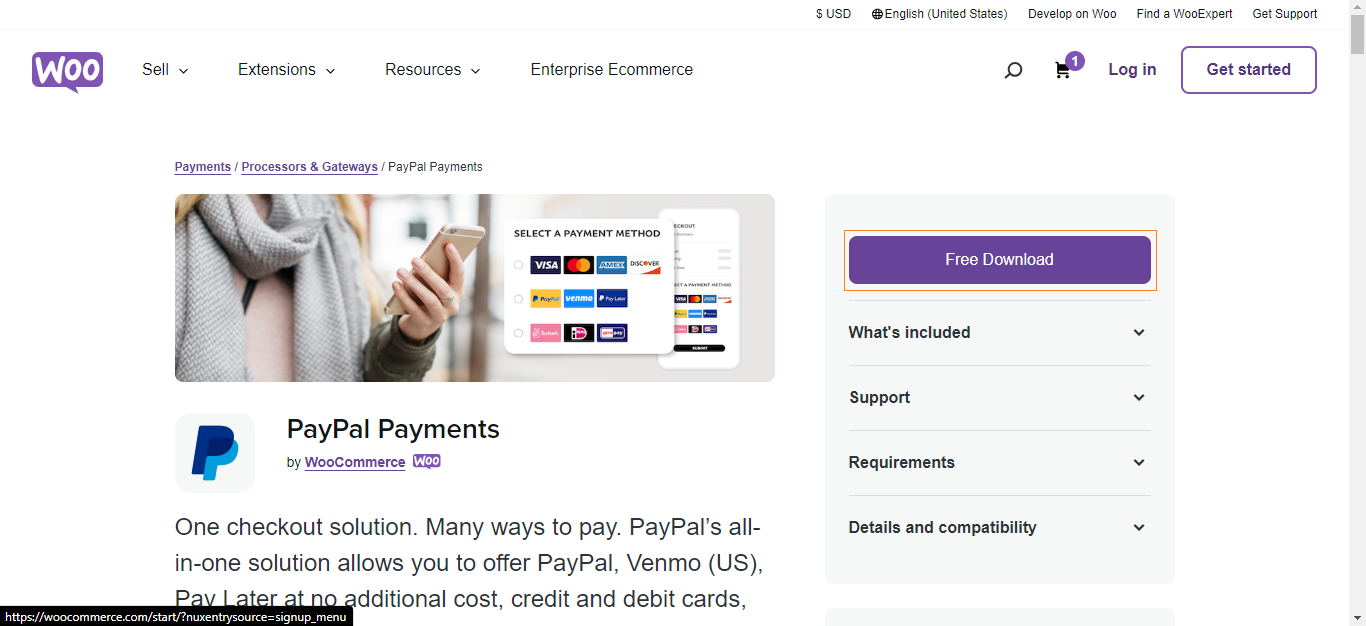
- Select the payment gateway extensions you want to add to your store.
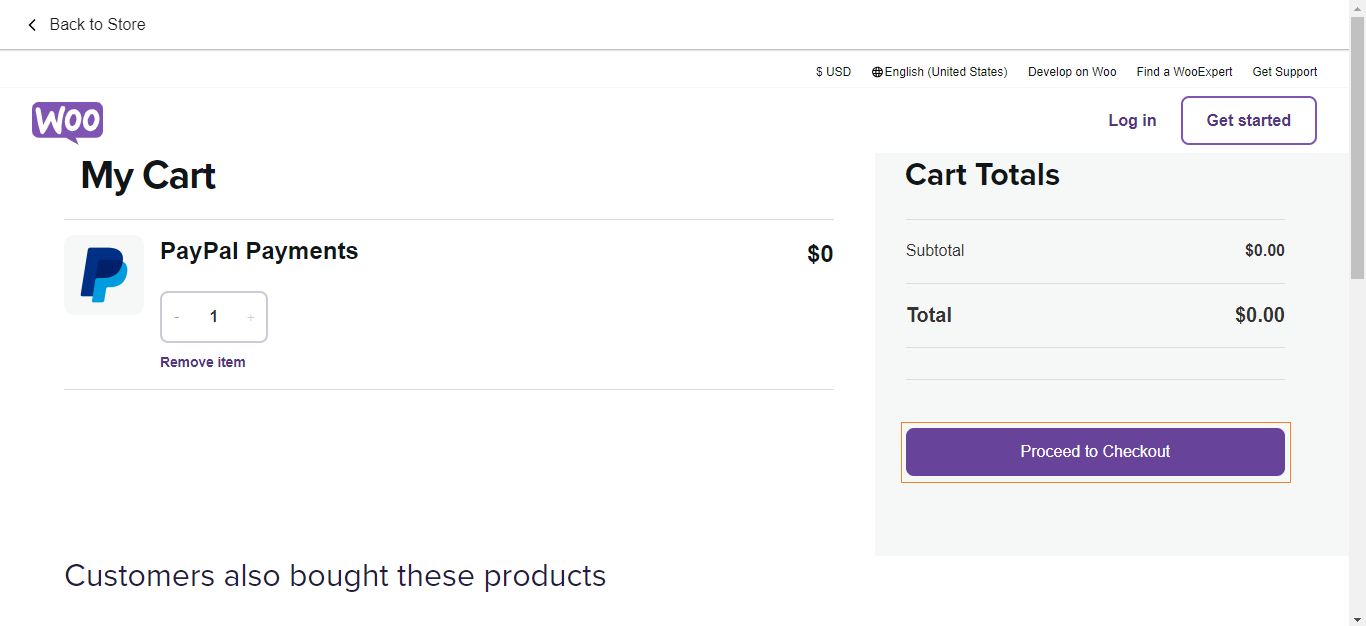
- Click on the “Free Download” button.
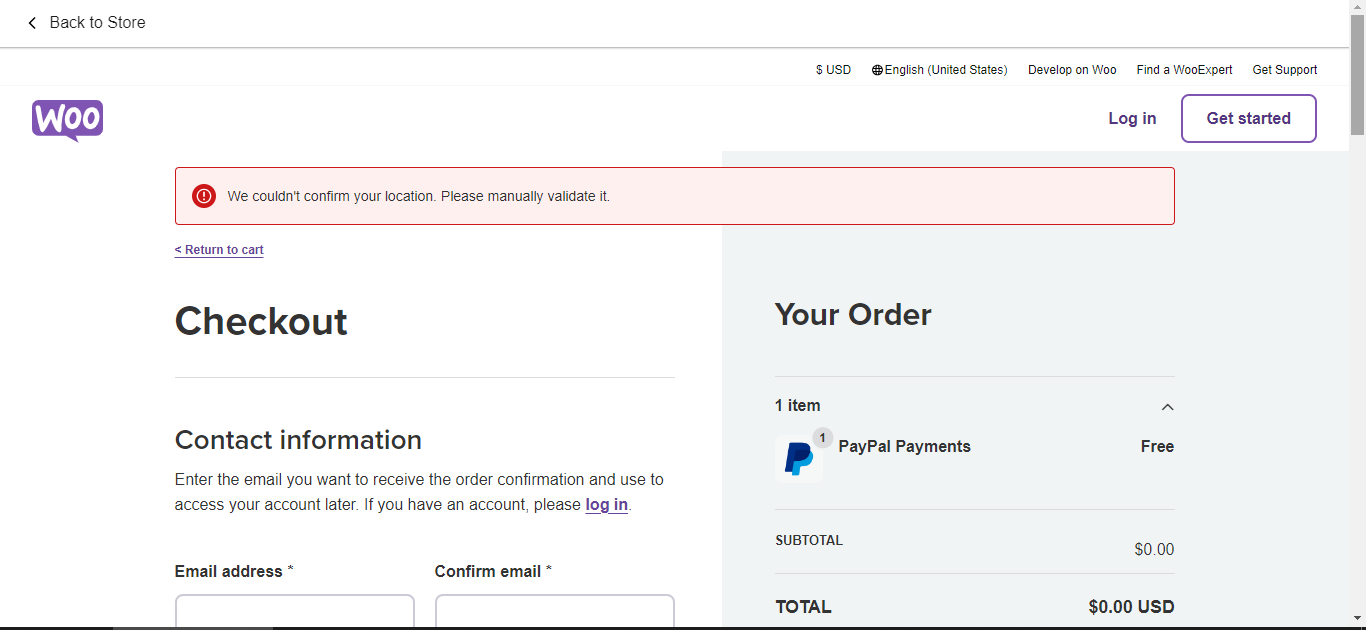
- Now, click on the “Proceed to Checkout” button.
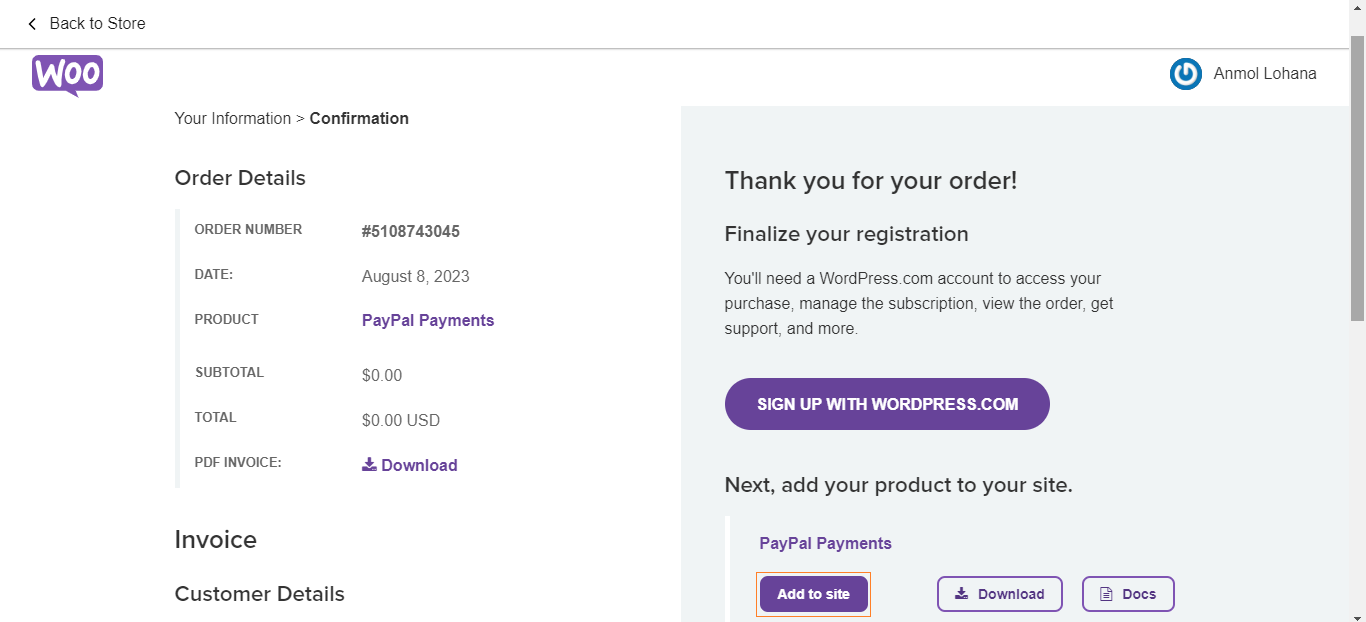
- Before checkout completion, it will ask you to enter some details. Enter the information, or if you already have an account where the information is added, you can go without entering the information again.
- You have completed the purchase process. Now, click on the “Add to Site” button.
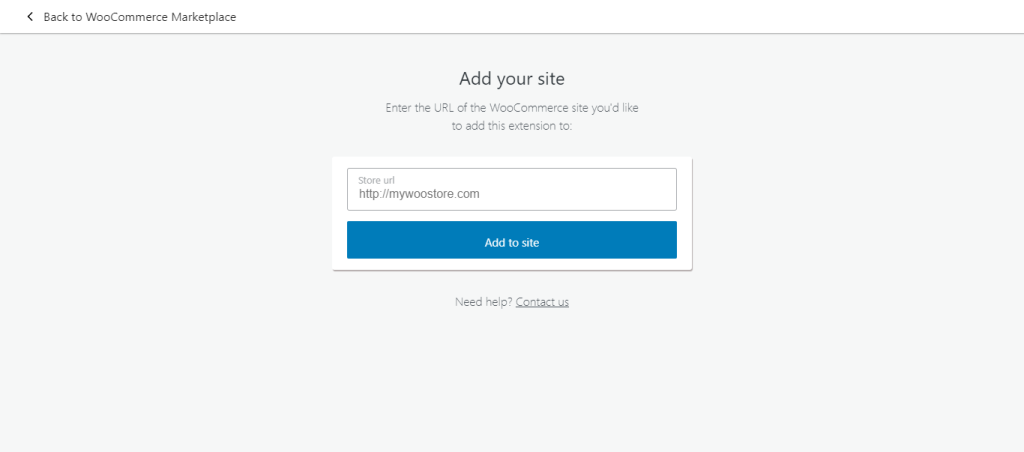
- Enter your store URL/domain here and click the “Add to Site” button.
- Click on the Connect Store URL.
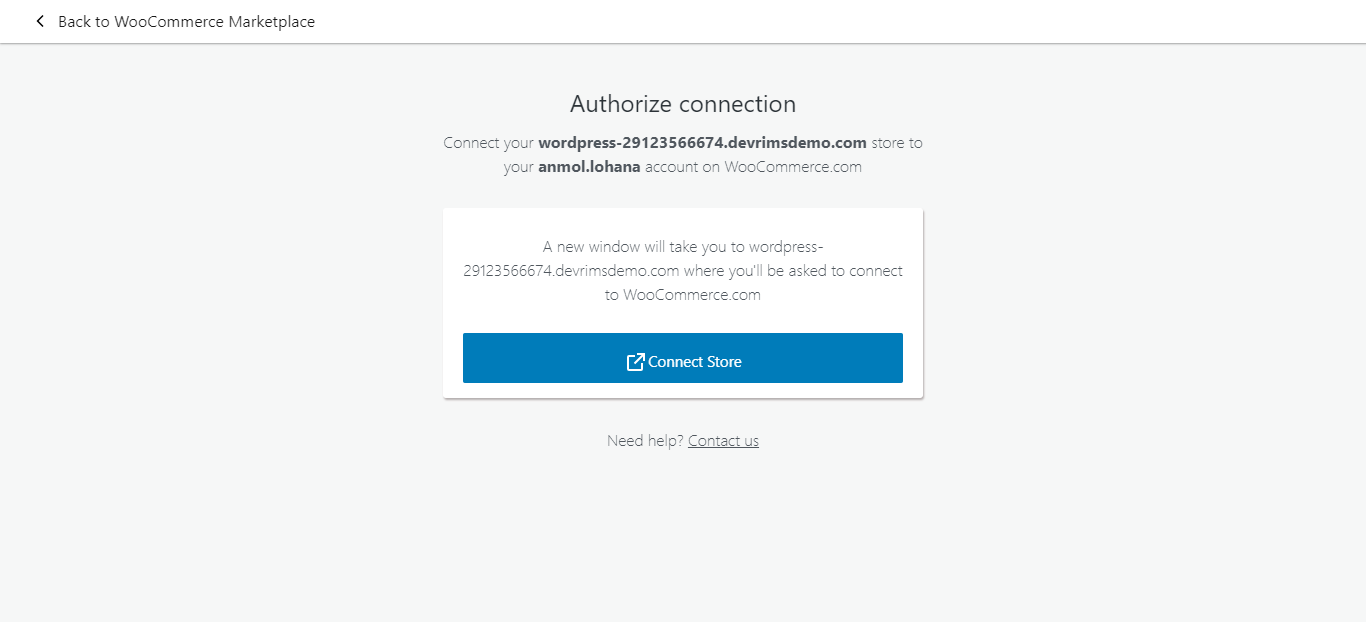
- Click on the “Connect” button.
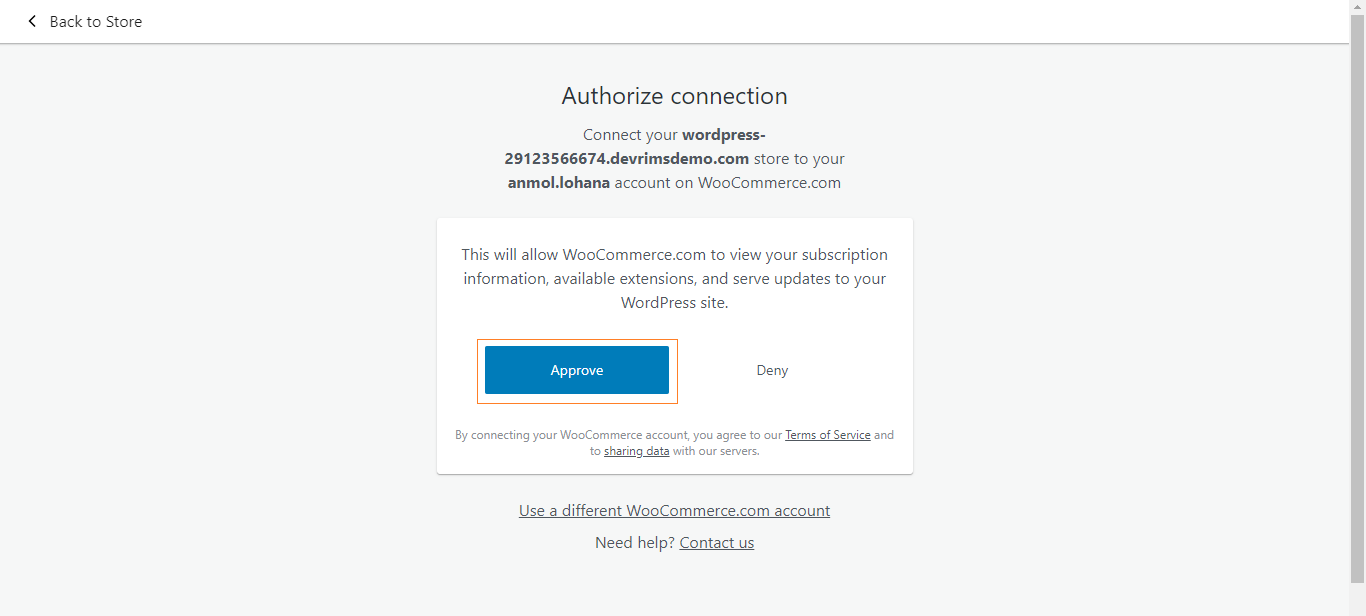
- Allow WooCommerce to view your subscription by clicking on the “Approve” button.
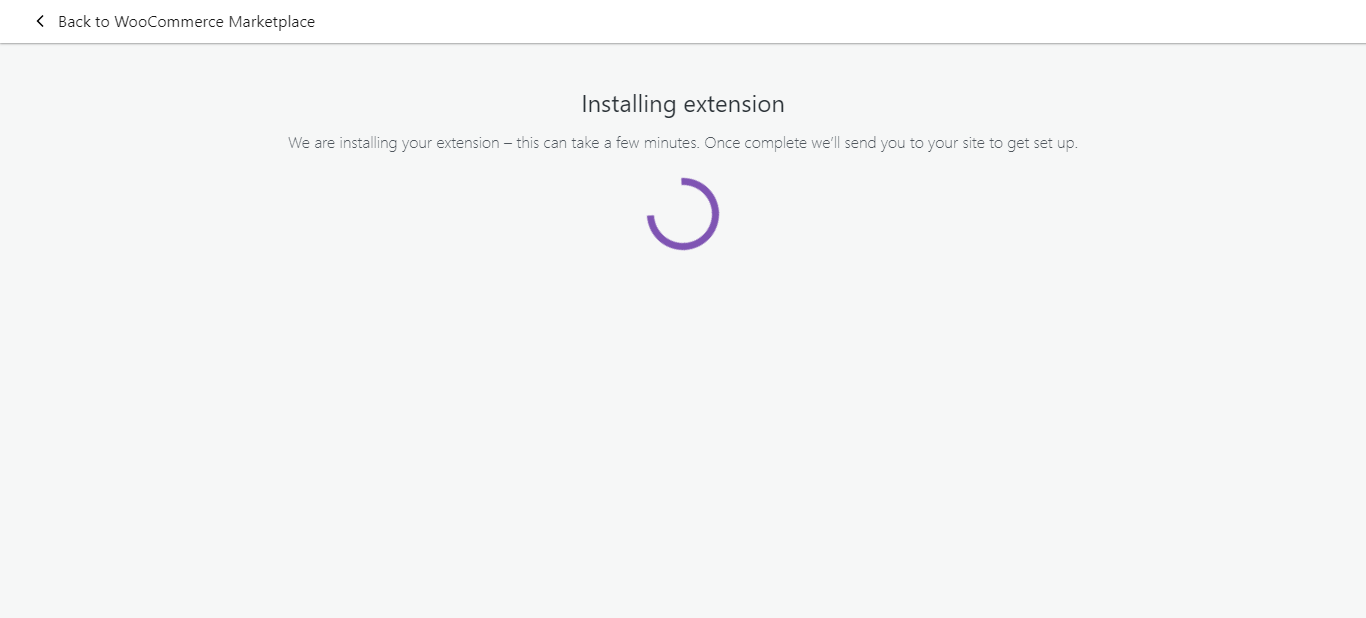
- It will take some time to install and set up the extension.
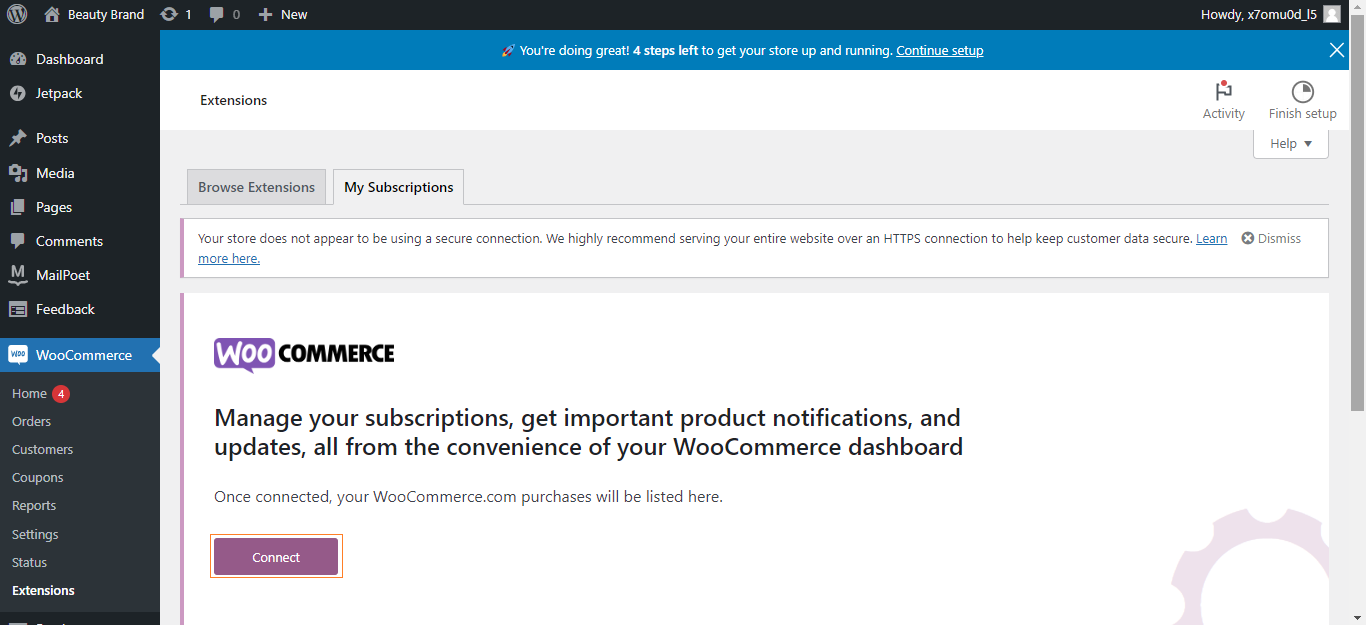
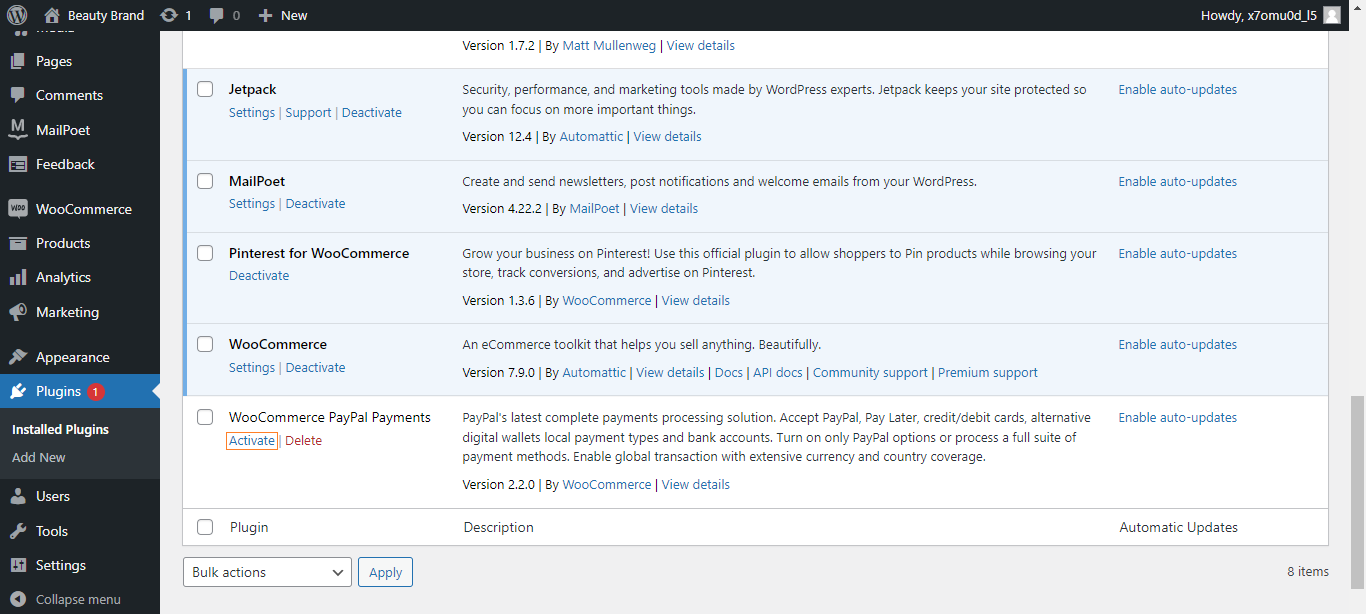
- Once the installation is done, go to the plugins section from the admin dashboard and activate the plugin.
- Connect the plugin to your account.
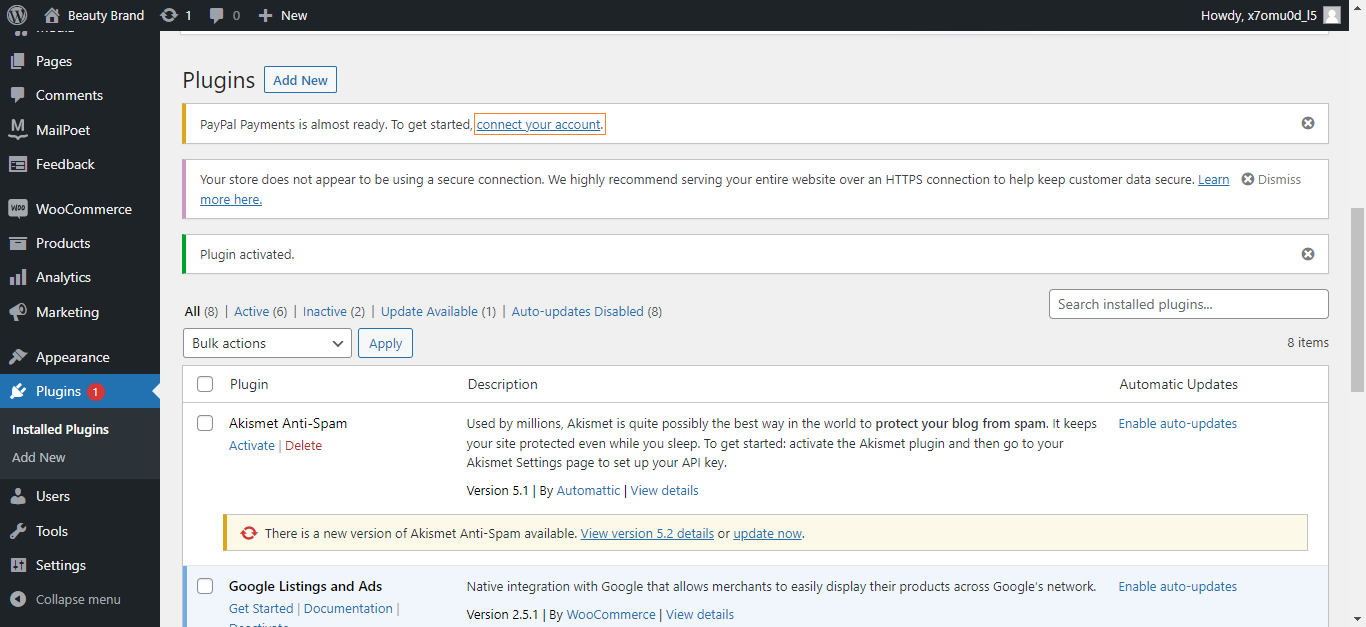
- The plugin is installed and activated successfully.
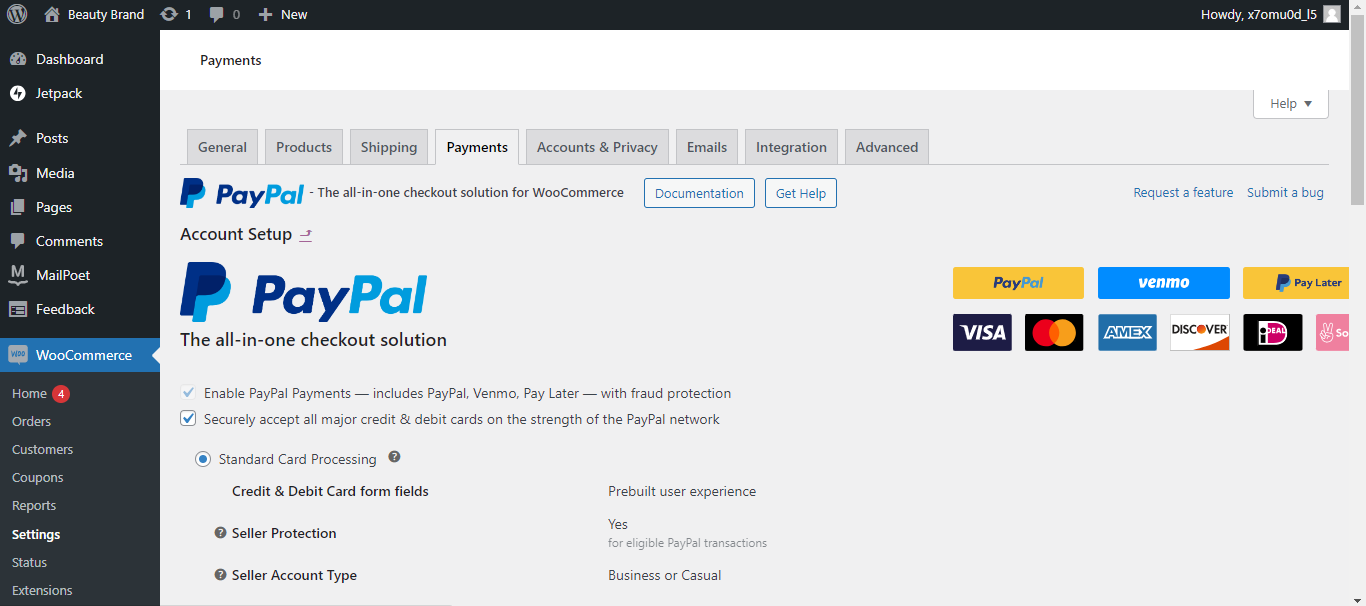
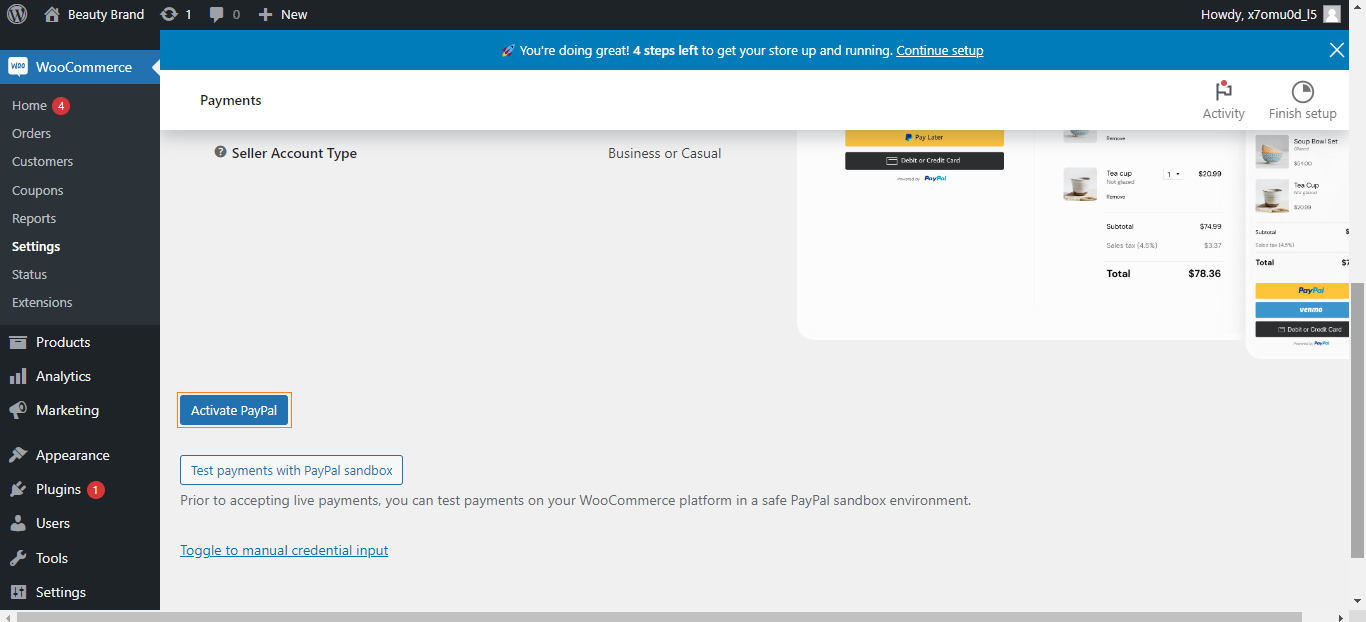
- Now, scroll down and test the PayPal Payment gateway method by clicking on the “Test payments with PayPal sandbox” button.
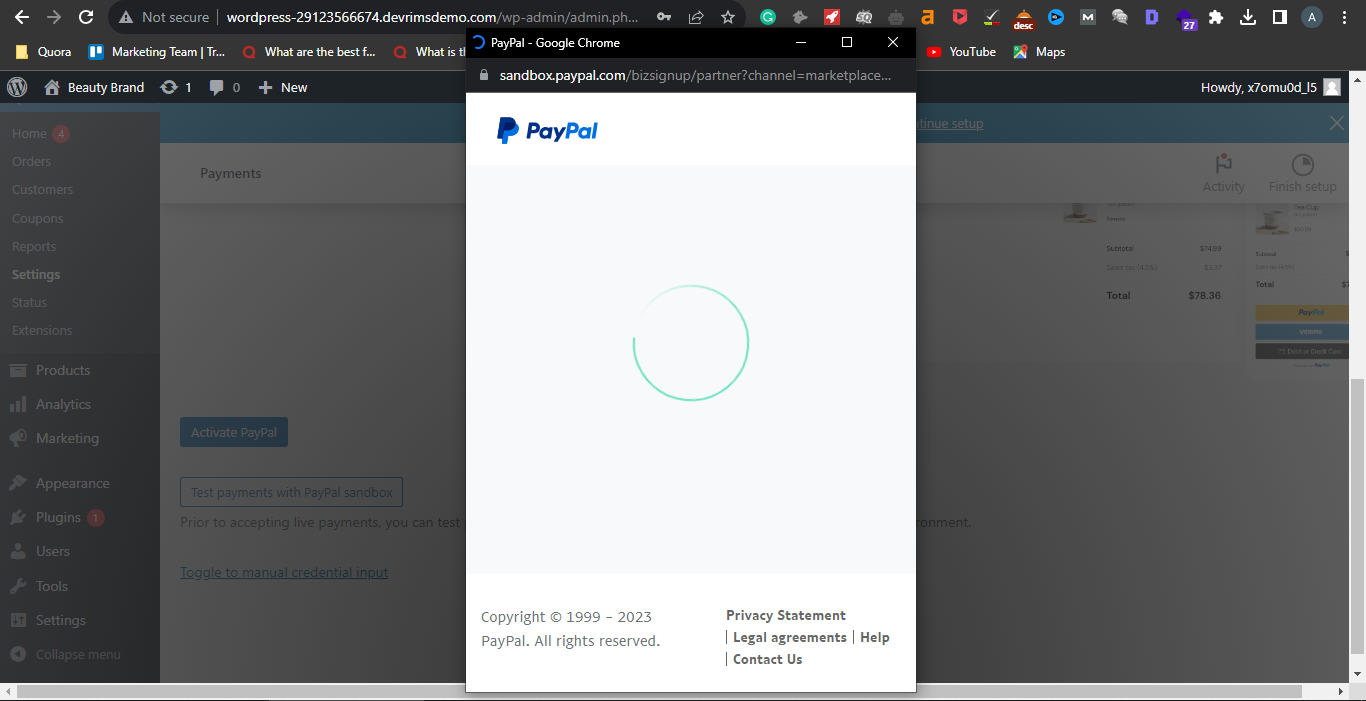
- It will take a while to process.
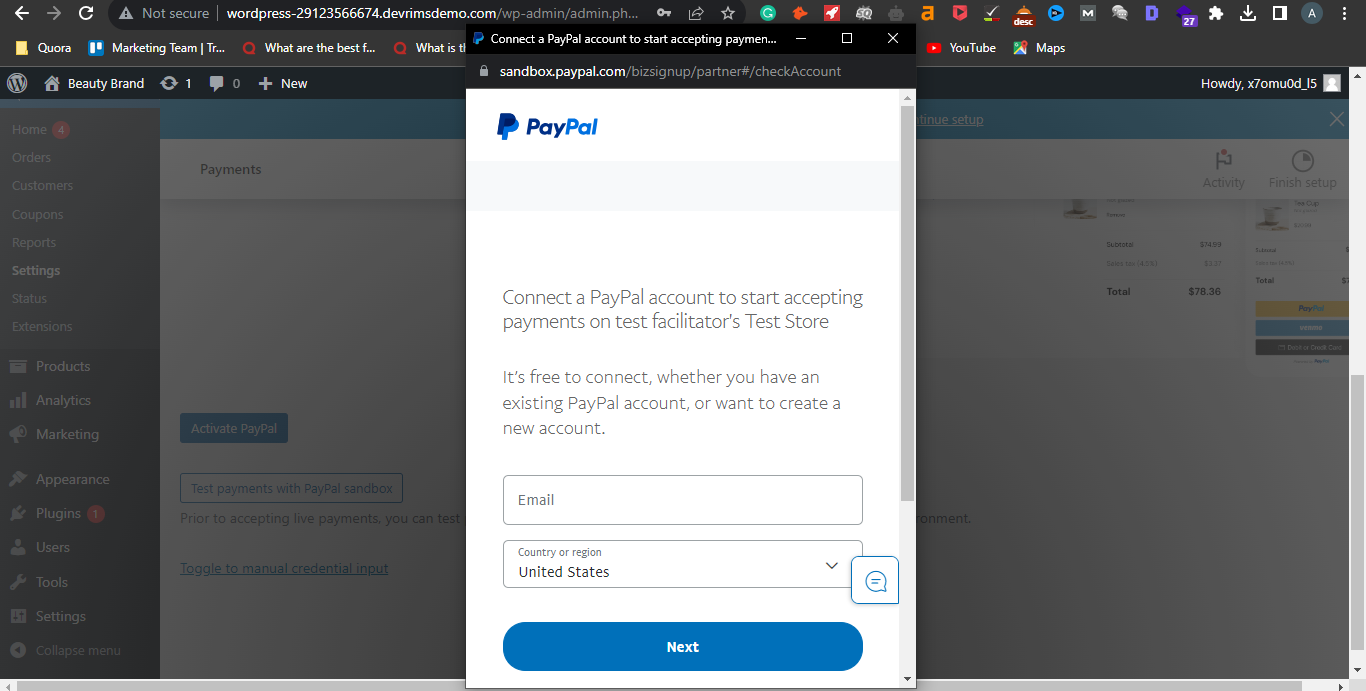
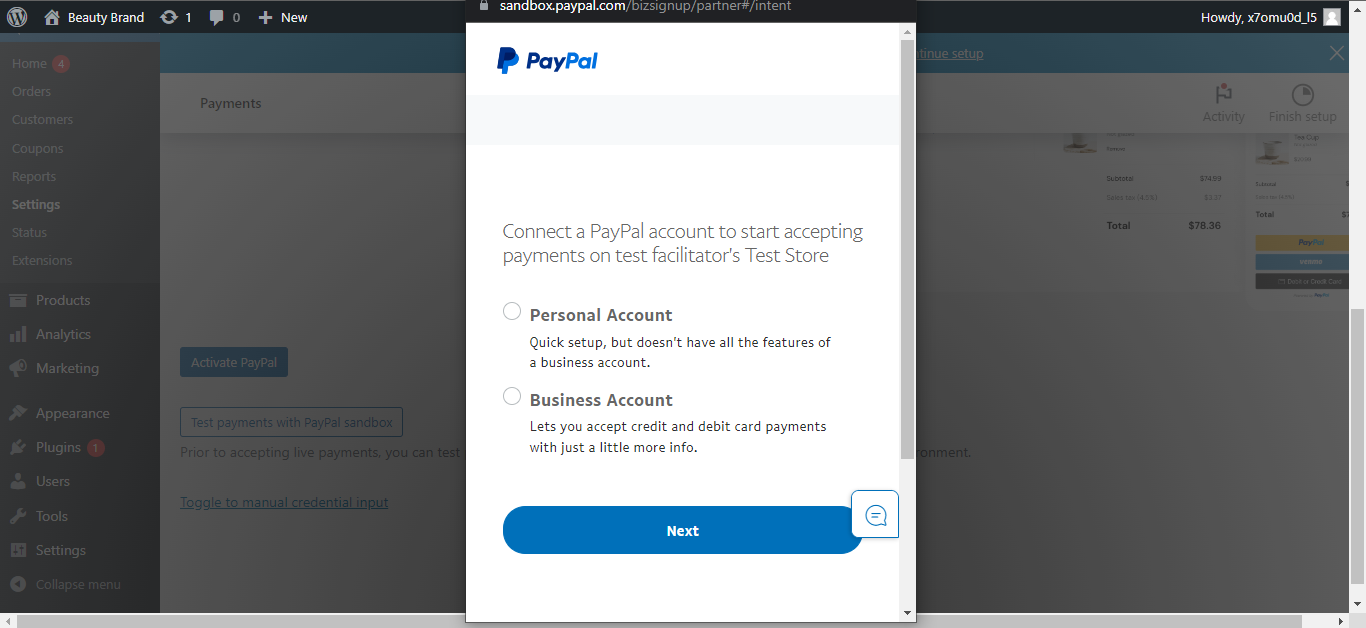
- Enter the email address for the PayPal account and select your location. After that, click on the “Next” button.
- Select the business account type and click on the “Next” button.
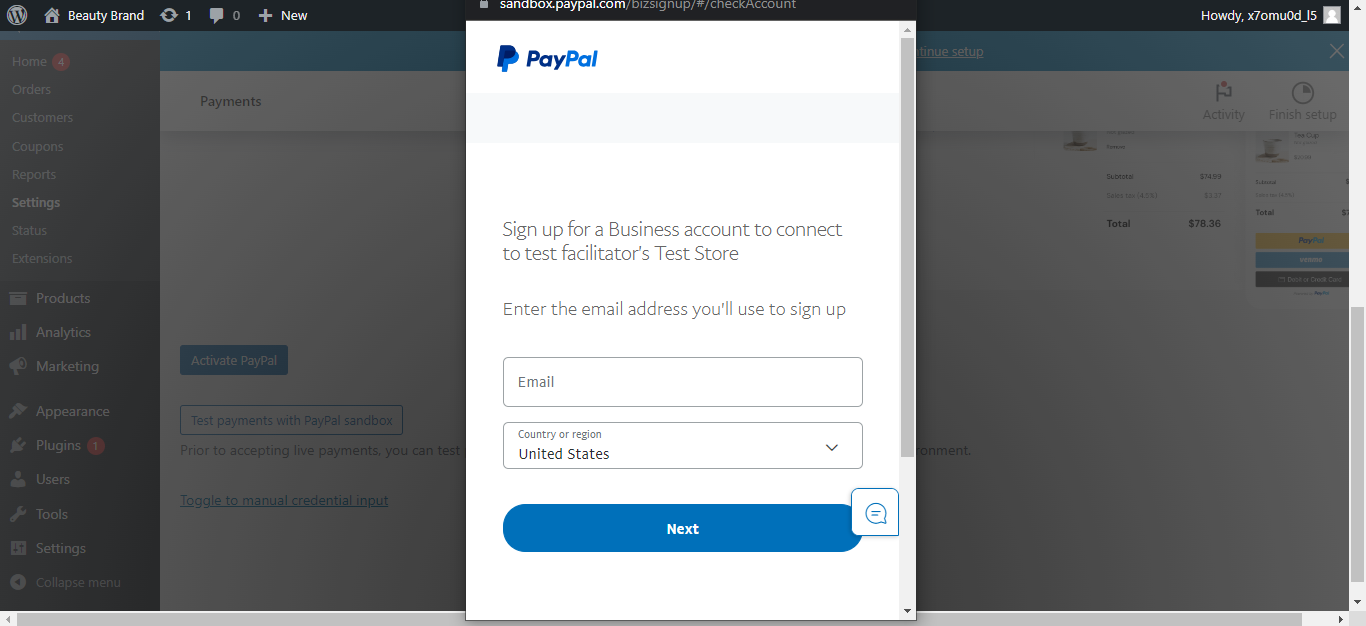
- Enter the email for the business account, select the region, and click the “Next” button.
- Create a password and confirm it. After that, click on the “Next” button.

- Fill in the required information and click on the “Agree and Create Account” button.

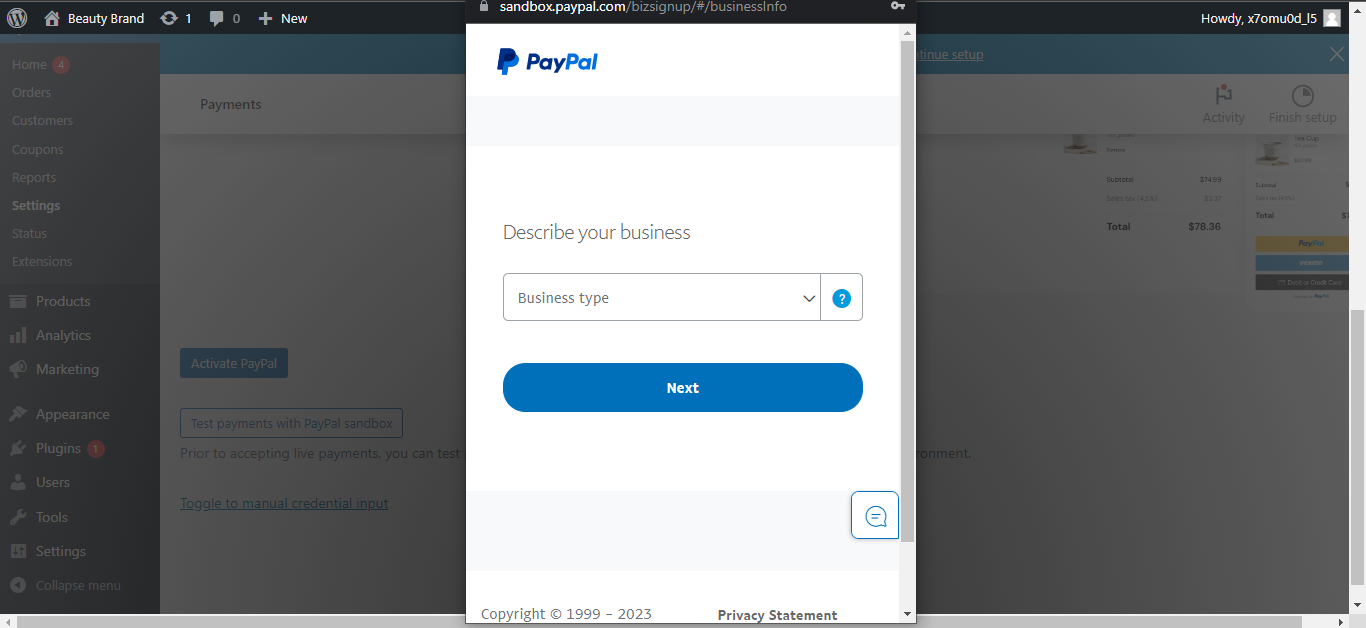
- Select your business type.
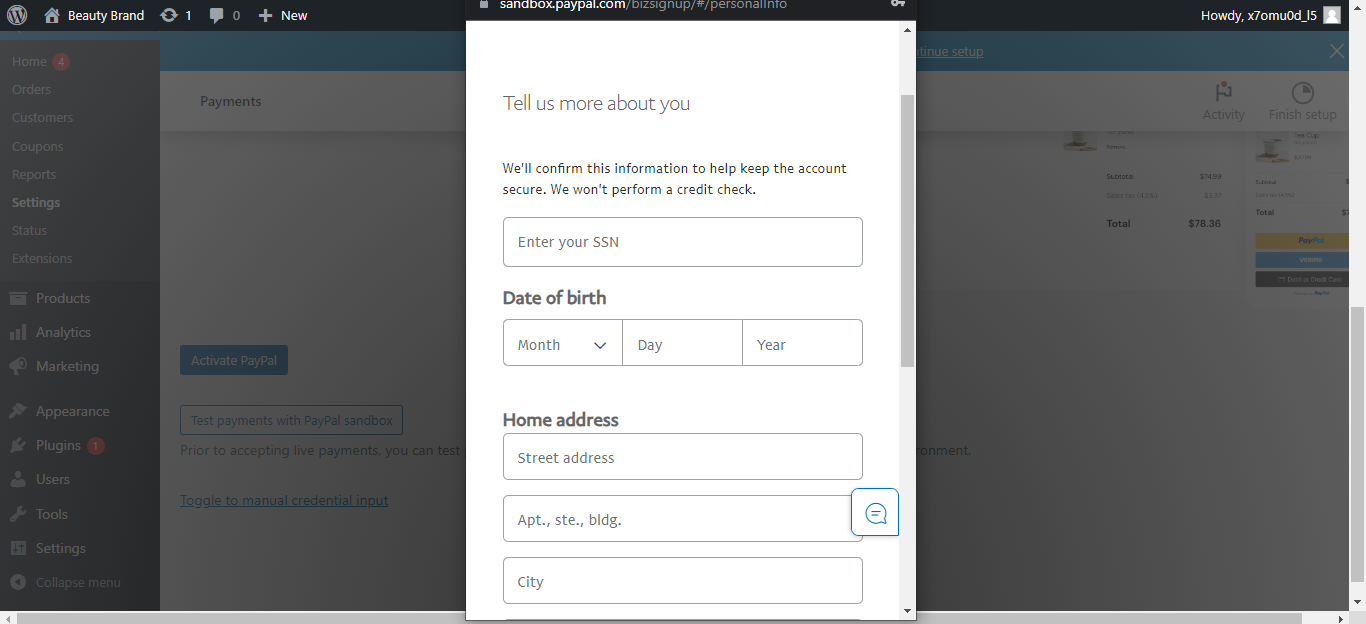
- Enter the required information and click on the “Submit” button.
- After some time of loading, it will show you this message.
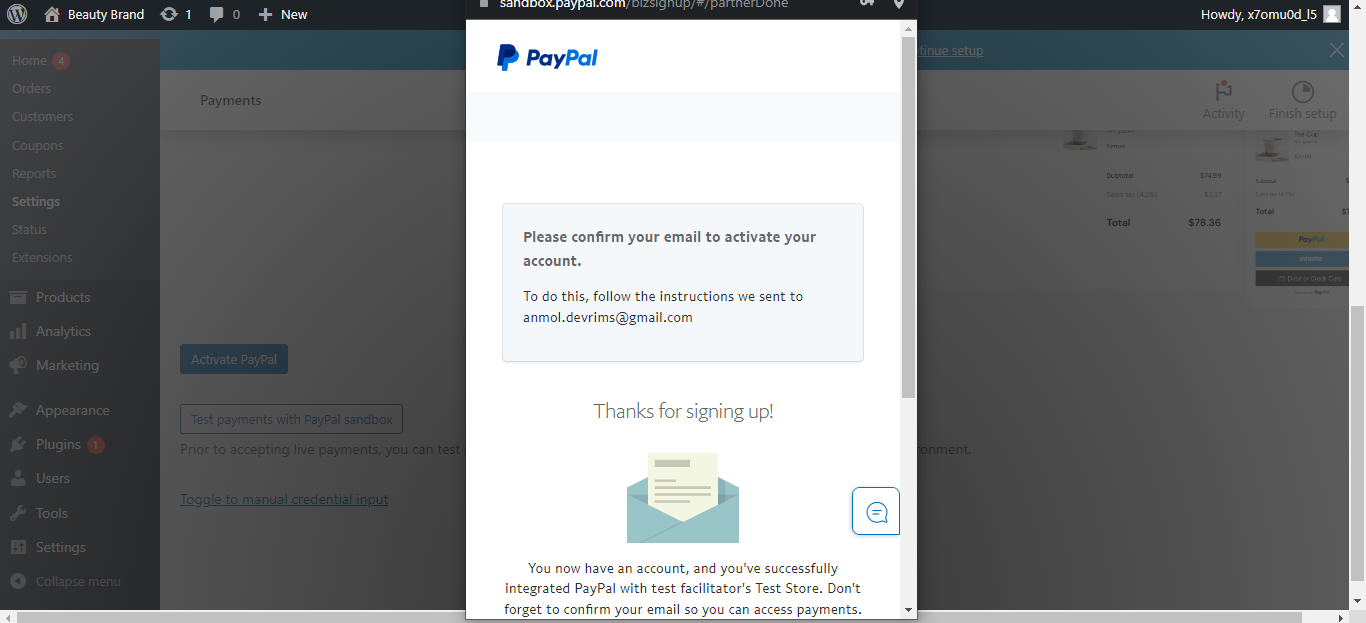
- You need to go to your Gmail account and verify your Gmail.
Note: You don’t need to perform account creation steps if you already have a PayPal account. Simply log in to your account and connect it to your store.
There you go! You have added a payment gateway successfully. Now, go to the payments section, and you will see the PayPal option for payment method. Enable it to add as your payment gateway to your store.
Customize your WooCommerce Store
Customize your WooCommerce store as you want by installing custom themes and templates, adding plugins or extensions manually, or any other way. You can create a homepage with the WooCommerce default option in its WooCommerce home section on the left navigational bar. You will see an option to Customize your online store, create a homepage and as many pages as you want. There are many other ways to customize an online WooCommerce store. Explore the plugins repo and customize your e-commerce site according to your requirements.
It is always a good idea to hire a WooCommerce developer if you want things to be setup properly. Depending on your needs, you can always add a developer to your team or hire them from on-hire trusted freelancing portals, like Toptal, Guru, etc.
Conclusion
Let’s wrap up our WooCommerce tutorial to build, set, and manage an e-commerce store. We have covered almost everything you need to know to build an online store and start selling your products online. Everything is covered in this blog, from setting WordPress site and installing WooCommerce plugin to adding products and a payment gateway.
Take your e-commerce business to new heights with the help of these fundamentals. Market your products and provide good customer service to grow your business more and more. As your store grows in sales and complexity, look into some of the powerful WooCommerce extensions available to add advanced functionalities.
We wish you the best with your new online store! All the effort you put into setting it up will pay off as you start servicing happy customers and growing your revenue. The world of e-commerce awaits – now step in there and start selling!

Related Tutorials