How to Fix the “Sorry, This File Type Is Not Permitted for Security Reasons” Error in WordPress?

- Why Does the "Sorry, This file type is not permitted for security reasons" Error Occur in WordPress?
- File Types that are Supported by Default in WordPress
- When do you need to Upload Another Format File?
- How do we fix the "Sorry, This file type is not permitted for security reasons" Error in WordPress?
- How to Keep Your WordPress Site Secure When Permitting Additional File Types?
- Conclusion
Are you getting an error message that says, “Sorry, this file type is not permitted for security reasons” when trying to upload a file to WordPress? If you need to upload the file but can’t, don’t worry. There are a few reasons why this error might appear.
It could be because the file you’re trying to upload is corrupted, contains malware, or WordPress simply doesn’t support that particular file type.
In this article, we’ll show you how to fix the “Sorry, this file type is not permitted for security reasons” error.
Note: If you think the file contains malware, it’s crucial to remove malware from WordPress immediately to protect your site’s security and reputation. You can do it by using security plugins or manually checking for suspicious code, deleting infected files, and updating your themes and plugins to keep everything secure.
- Why Does the "Sorry, This file type is not permitted for security reasons" Error Occur in WordPress?
- File Types that are Supported by Default in WordPress
- When do you need to Upload Another Format File?
- How do we fix the "Sorry, This file type is not permitted for security reasons" Error in WordPress?
- How to Keep Your WordPress Site Secure When Permitting Additional File Types?
- Conclusion
Why Does the “Sorry, This file type is not permitted for security reasons” Error Occur in WordPress?
WordPress, by default, supports specific file formats you can upload to your website.
Due to security reasons, WordPress displays the message “Sorry, this file type is not permitted for security reasons” whenever somebody tries to upload a file type that is not supported by default in WordPress.
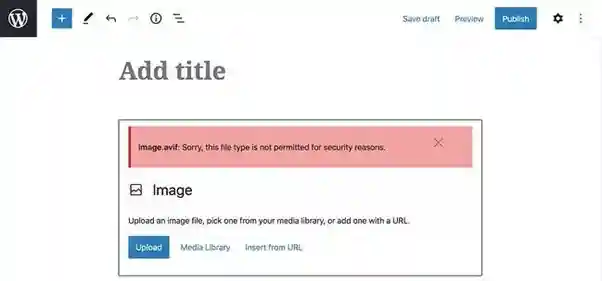
AVIF is an image format that generates compressed images without affecting image quality. Although it’s a less popular image format, it is expected to be revolutionary shortly.
So, if you try to upload an AVIF format image to WordPress media, it will display the message “Sorry, this File type is not permitted for security reasons.” WordPress through this error because it does not support the file format.
Let’s have a look below at how this message is displayed in the Gutenberg editor:
This error can occur for any file type, such as images, videos, documents, audio, etc. An alternative to uploading the file without errors is to upload the file via FTP or WordPress hosting file manager.
However, it is not as convenient as using the built-in WordPress media library. So, let’s try to fix the error using different methods. Before that, look at the file formats supported in WordPress by default.
File Types that are Supported by Default in WordPress
Due to security settings, WordPress may limit the file types you upload via the site’s admin – videos, documents, audio, and videos.
According to WordPress support, WordPress allows the following file formats by default:
Images:
.jpeg, .gif, .jpg, .png
Videos:
.avi, .wmv, .mov, m4v, .mp4, .3g2, 3gp, .ogv, mpg
Documents:
.xls, .xlsx, .doc, .docx, .pdf, .odt, .ppt, .ppsx, .pps, .pptx, .zip, .key
Audio:
.ogg, .m4a, .wav, .mp3
Any other formats other than the above formats will cause you to see error messages like “[filename has failed to upload]” or “Sorry, This file type is not permitted for security reasons.”
For example, when you need to upload a file type that WordPress does not support.
When do you need to Upload Another Format File?
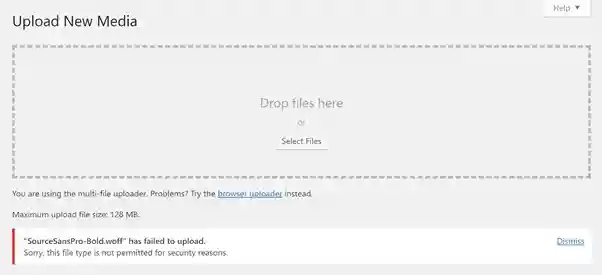
Suppose you try to upload custom fonts on your WordPress site in .tff and .woff formats. WordPress will show your error: “Sorry, this file type is not permitted for security reasons.”
See the screenshot below when trying to upload a .woff file on WordPress:
How do we fix the “Sorry, This file type is not permitted for security reasons” Error in WordPress?
There are many ways to solve this error. We will show you six different methods to solve the error.
- Check File Type Extension/Double-Checking the File Type
- Add Permitted File Types by Changing WordPress Multisite Network Settings
- Edit wp-config.php file
- Edit your theme’s functions.php file
- Using WordPress plugin
- Contact hosting provider
Check File Type Extension
The first thing you can do is check your file extension once again. Sometimes, users save the wrong file extension in a hurry.
So, in this case, you cannot resolve the error with the wp-config.php or functions.php file editing.
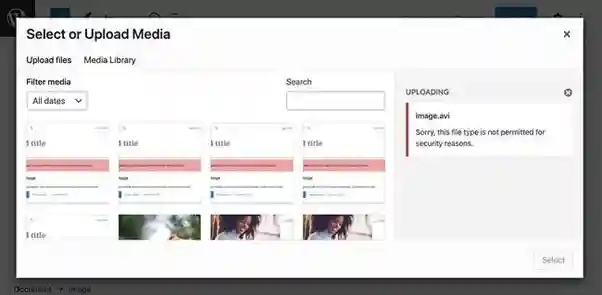
Consider the example of a user uploading a .jpg file as a .avi file and getting this error message.
You can check the file type extension on your PC to see if it is correct.
Go to the file location and click the View tab above for confirmation. Then, check the “File name extensions” box.

Or right-click on the file and go to the file properties. You will see the file type extension there.


So, this is the very first fixture you can do to deal with the error. You can move to the next step if you think it’s correct.
Add Permitted File Types by Changing WordPress Multisite Network Settings
Multisite installation is a WordPress installation when a network of sites implies the same WordPress installation core file. You may also add more allowed file types in this scenario.
You must click settings> Networks settings in the dashboard and then scroll down to upload settings.
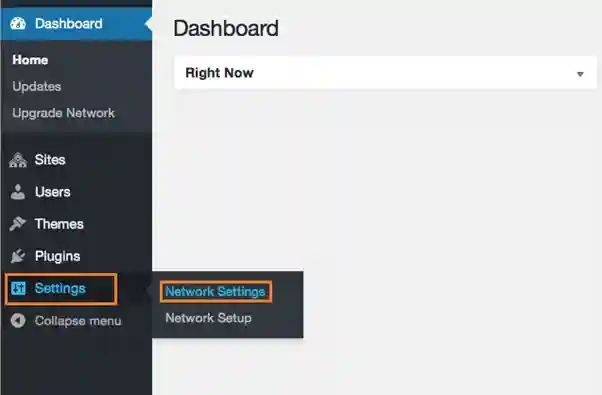
Now, upload file types in the input field next to upload file types. Also, add the file types that you want to upload.
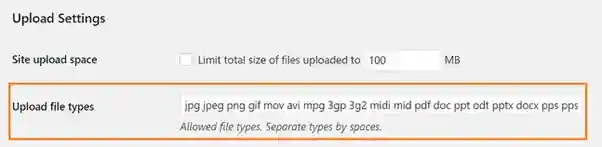
Now, save your changes. Users on this network will upload all file types mentioned here.
In the case of a single-site WordPress installation, you will not have this option in your settings. In that case, you can use another method to solve this.
Edit wp-config.php file
To enable more file types to be uploaded to your library, you must slightly vary your wp-config.php file.
This editing process is quite simple, but it’s recommended that you back up wp-config.php before making edits. You should know that a small error in the file can crash your whole site.
After you back up the wp-config.php file, you may follow the steps below to add the allowed file types.
- Access File Manager through the control panel.
- Open your public_html folder.
- Locate and right-click the wp-config.php file, then choose the Edit option.
- Scroll to the bottom of the file.
Scroll down to the end of the file to the line that reads /* That’s all, stop editing! Happy blogging. */and paste the following line of code:
define(‘ALLOW UNFILTERED UPLOADS’, true);
- Save your changes and sign in again to the WordPress dashboard. It would help if you were now permitted to upload any file type.
It’s not an ideal solution, but definitely, it’s an easy one. If more than one user uploads files on the WordPress site, you must define which file types should be permitted.
Edit your theme’s functions.php file
If you need to allow just a few file types to be uploaded to your site, you may use Upload_Mimes Filter and follow the below steps:
- Access File Manager from the control panel.
- Open the wp-content folder.
- Open the themes folder.
- Locate and right-click the functions.php file, then choose the Edit option.
- Scroll to the bottom of the file and paste the following code snippet.
function cc_mime_types($mimes) {
// New allowed mime types.
$mimes['svg'] = 'image/svg+xml';
$mimes['svgz'] = 'image/svg+xml';
return $mimes;
}
add_filter( 'upload_mimes', 'my_custom_mime_types' );
It will eventually add SVGZ and SVG files. You may add MIME types to this code snippet.
WordPress experts will not hesitate while making edits in wp-config.php and functions.php files. WordPress amateurs may use a WordPress plugin to avoid getting into a complication.
Using WordPress plugin
You can fix the “Sorry This File Type Is Not Permitted for Security Reasons” error using some plugins. We will show you how to fix it using three different WordPress plugins.
- WP Add Mime Types
- File Upload Types
- WP Extra File Types
WP Add Mime Types:
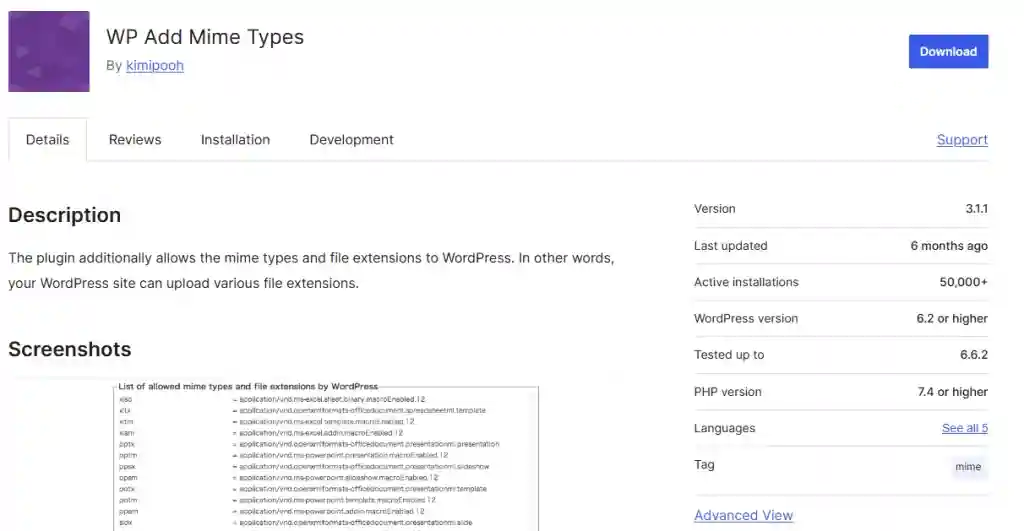
The WP Add Mime Types plugin is free and highly rated. It is beginner-friendly, has many file upload types, and allows you to add.
Install and activate the plugin and follow these steps:
- Go to the settings section on your WordPress dashboard and select the Mime Type Settings option.
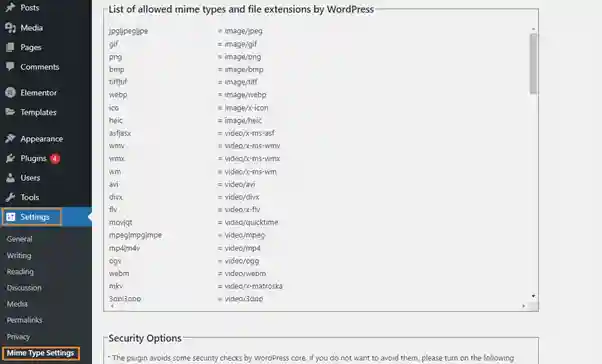
You will see three sections there:
“List of allowed mime types and file extensions by WordPress.” The file types come with this plugin.
“Security Options” For security settings.
“Add Values” to add any file types.
File Upload Types:
The File Upload Types plugin is also free, beginner-friendly, and highly rated. You can add File Upload Type easily using this plugin.
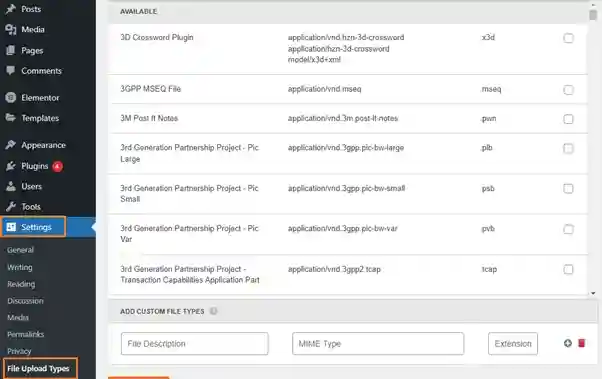
- Install and activate the plugin in your WordPress dashboard. You’ll be automatically redirected to the Plugins page.
- Select File Upload Types inside the Setting section on the dashboard.
- Check the box next to the file types you want to upload or add your custom file type.
- Click Save Settings when you’re ready.
WP Extra File Types:
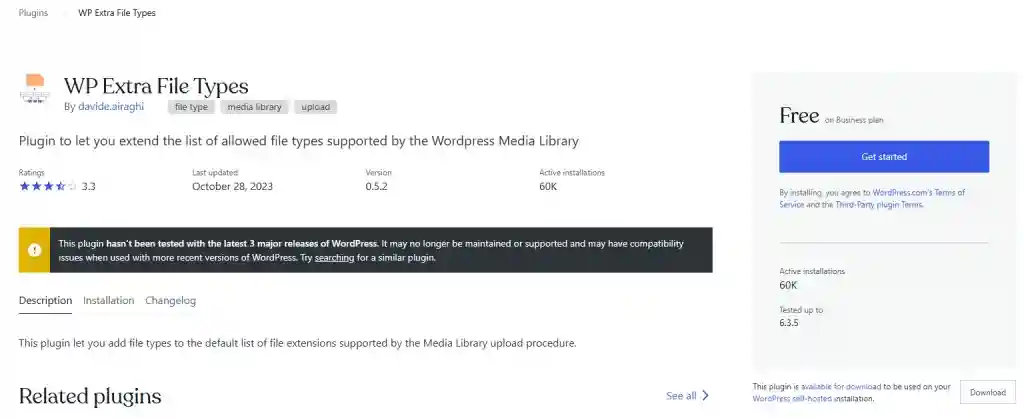
The WP Extra Types plugin works like the WP Add Mime Types and File Upload Types plugins.
- Install and activate the plugin on your WordPress, and then follow this step.
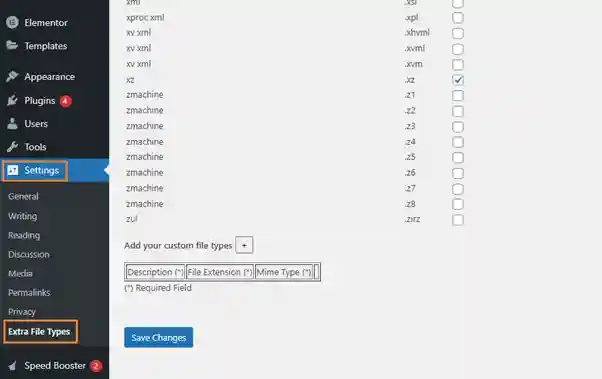
- Go to the WordPress dashboard and select the Extra File Types option inside the Settings section.
- You will see the file types that come with this plugin, and you can add a custom one, too.
Here, we mention three plugins to fix the error “Sorry, This File Type Is Not Permitted for Security Reasons.” you can use any of them.
All three plugins have similar features, and the way of use is the same so you can use any of these three plugins.
Contact hosting provider
If you have tried all the points highlighted above, you should now contact your web hosting company.
Some web hosting companies put limitations on file type uploading for security reasons. So, if this is the case, the above methods will not work. However, the hosting company’s customer support will be able to help you out.
How to Keep Your WordPress Site Secure When Permitting Additional File Types?
WordPress restricts us from uploading any file types, and through a message like Sorry, you are not allowed to access this page WordPress for security purposes.
These methods can help you upload any file type to your WordPress website, but we suggest you follow some rules while adding custom file types to keep your website secure.
- Restrict the unregistered users from uploading all file types; they can only upload the file types they need to upload.
- Install security plugins on your WordPress to protect your site and monitor vulnerabilities.
- Set a file size limit not to upload large files and files with malware.
- Add user activity logging to record which user has uploaded which file.
These are some points to remember while permitting additional file types for website security.
Conclusion
WordPress allows limited file types to upload for security reasons. If you try to upload any file type not in WordPress’s default list, it will show an error message: “Sorry; this file type is not permitted for security reasons.”
I hope this article was helpful for you to get rid of the “Sorry; this file type is not permitted for security reasons” and “[filename] has failed to upload” by making edits in a wp-config.php file or simply by the WordPress plugin installation. Also, you may add the desired file types allowed in WordPress.
Related Topics:

Related Tutorials