Whether you’re creating a new website or managing an existing one, the footer is an important part of your site’s design, even though it’s often overlooked. But what exactly is a footer? In WordPress, the footer is the section at the bottom of each page. It’s where you can display essential information and add extra features like links, call-to-action buttons, or social media icons.
You might be thinking: Is the footer really that important?
Yes, it is! The footer not only shows users they’ve reached the end of the page, but it also gives you another chance to guide them toward taking action—whether that’s subscribing to your newsletter or checking out other parts of your site.
In this article, we will see how to edit the footer in WordPress in six easy ways. Let’s get started!
What is a Footer in WordPress?
A footer in WordPress is the section at the bottom of your website, appearing on every page for a consistent user experience. It typically includes important links (e.g., privacy policy, terms of service), content like legal disclaimers, social media links or recent posts, widgets for customization, and elements that enhance SEO and navigation.
Key Elements:
- Important Links: Privacy policy, terms & conditions, disclaimers.
- Content: Links to blogs, FAQs, knowledge bases, or social media.
- Widgets: Add contact forms, recent posts, or CTAs.
- Custom Footers: Some themes allow custom footers for specific pages.
You can customize the footer from the WordPress dashboard or by editing the footer.php file in the theme.
6 Ways To Edit the Footer in WordPress
Here are 6 easy ways to edit the footer in WordPress: remove the “Powered by WordPress” text, add widgets, create a footer menu, use the theme customizer, design custom footers for specific pages, and add custom code for advanced features. Customizing your footer has never been easier!
1. Removing “Powered by WordPress” Text from Your Footer
Many WordPress themes display a “Powered by WordPress” text link in the footer by default. This text isn’t a widget, so removing or modifying it can be tricky, especially for beginners. There are three ways to remove it.
Using the Theme Customizer (For Themes with Custom Footer Options)
Some WordPress themes, like Astra, allow you to easily remove or customize the “Powered by WordPress” text through the WordPress Customizer.
- Login to your WordPress admin dashboard and navigate to Appearance > Customize.
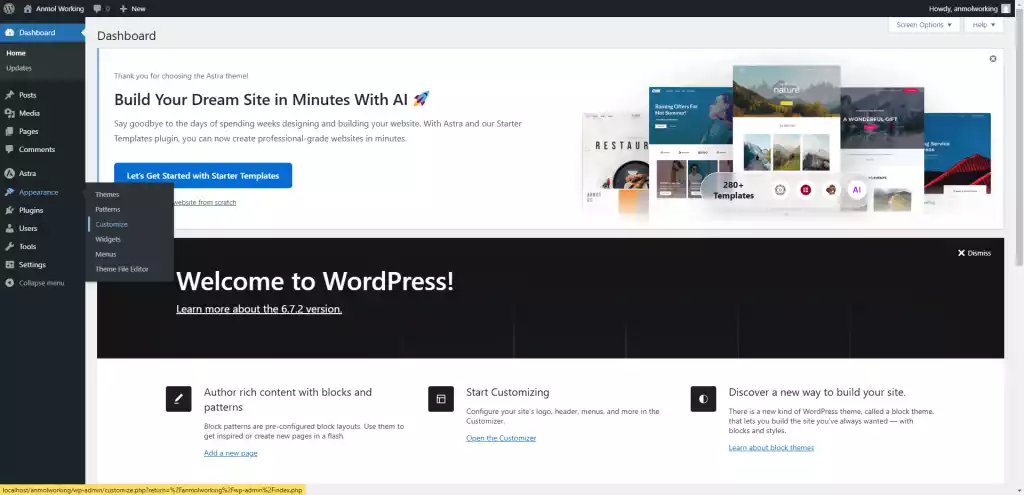
- Find the settings option for the footer (it might be labeled “Footer Builder” or “Footer Settings”).
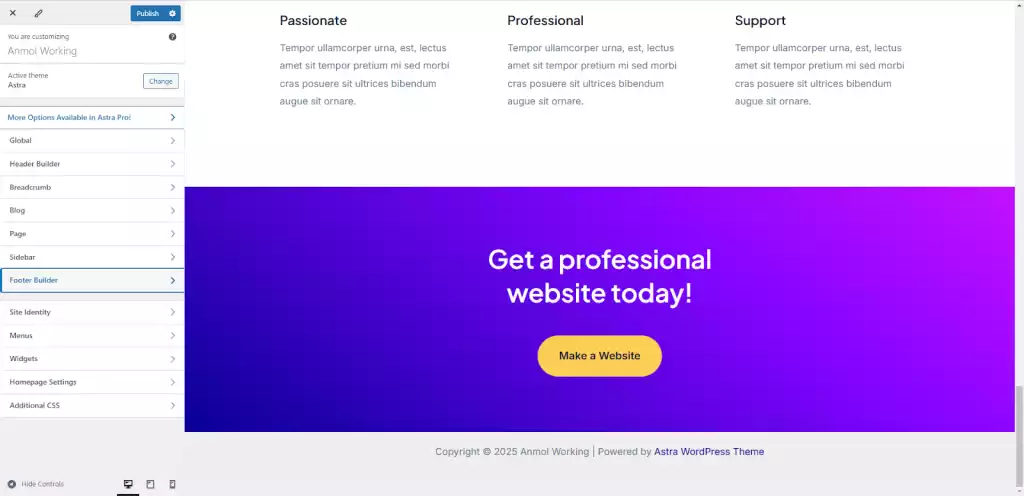
- Edit the Footer Text (For Themes like Astra): Click on ‘Footer Builder’ to open the customization options. Then, find the ‘Copyright’ section (or similar) where you can either delete or replace the default text with your own message.

- Once done with editing, click ‘Publish’ to make the changes live.
This method is the easiest if your theme offers customizer options.
Using a Plugin (For Easy Customization Without Code)
If you’re not comfortable with code or the Customizer, you can use a plugin to easily remove or modify the footer text. Plugins like “Remove Footer Credit” allow you to change or remove any footer text across your site without needing to touch theme files or settings.
2. Adding Widgets to Your Footer
Widgets are small content blocks that allow you to add elements like text, images, videos, or HTML code to different sections of your WordPress site. Many themes, including popular ones like Astra, let you customize your footer with widgets.
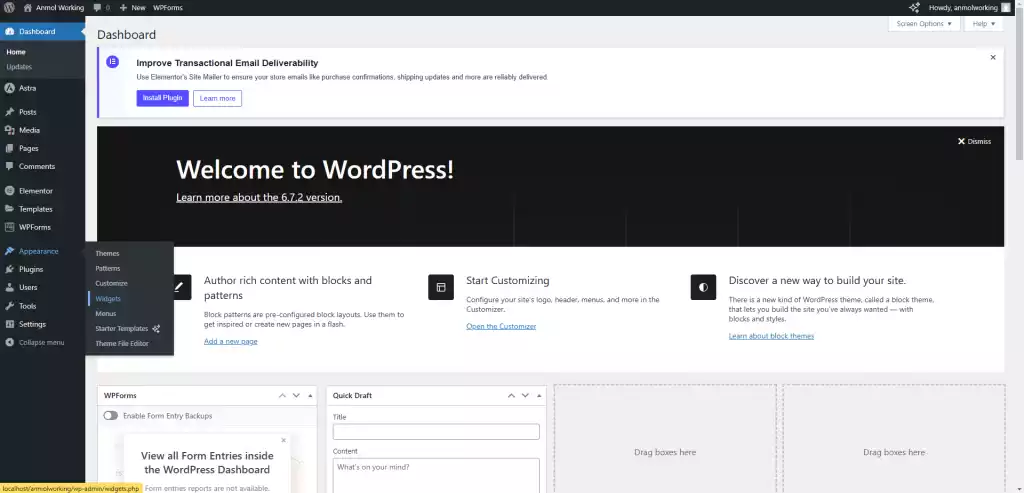
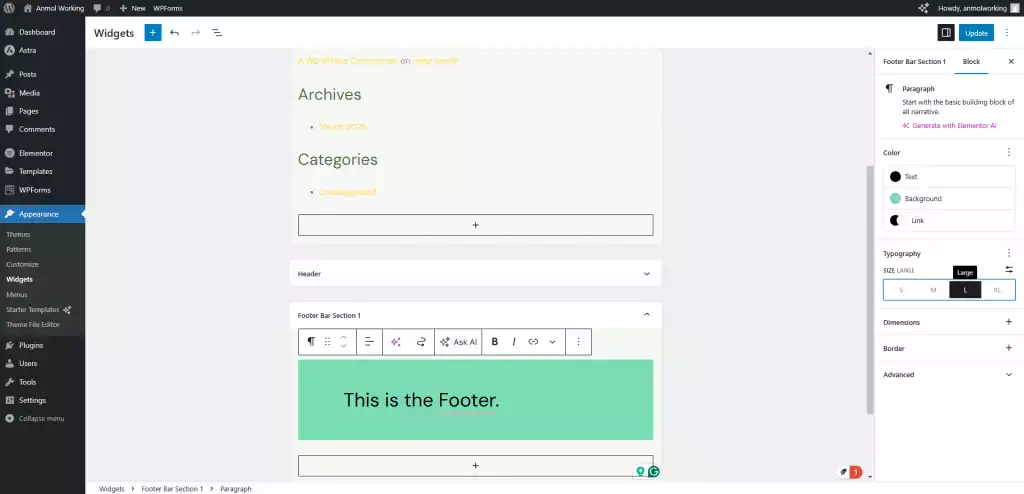
- To access the widgets section, log in to your WordPress dashboard and navigate to the Appearance > Widgets section in the left sidebar.
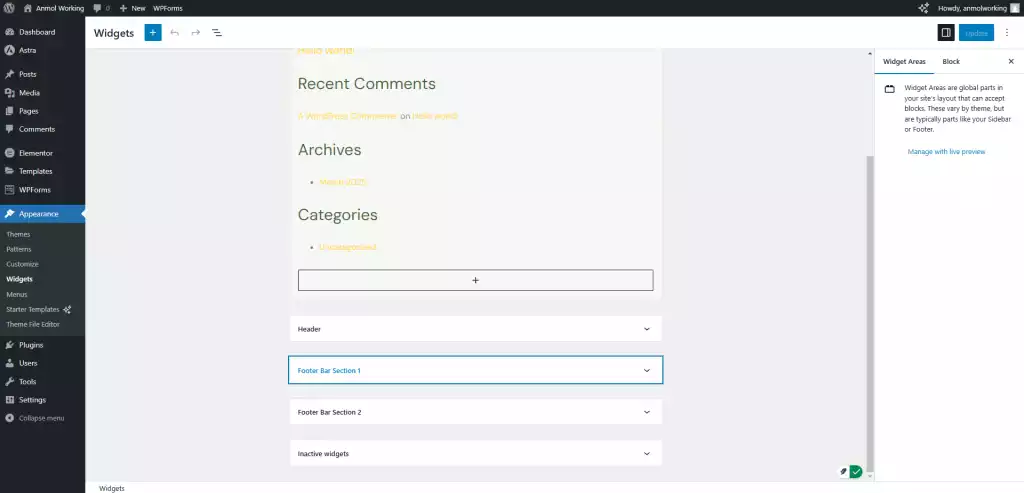
- On the Widgets page, you’ll see sections like Footer Bar Section 1, Footer Bar Section 2, etc. These are the areas you can customize within your footer.
- Expand the Footer Widget Area (e.g., Footer Bar Section 1) and click on the plus sign.
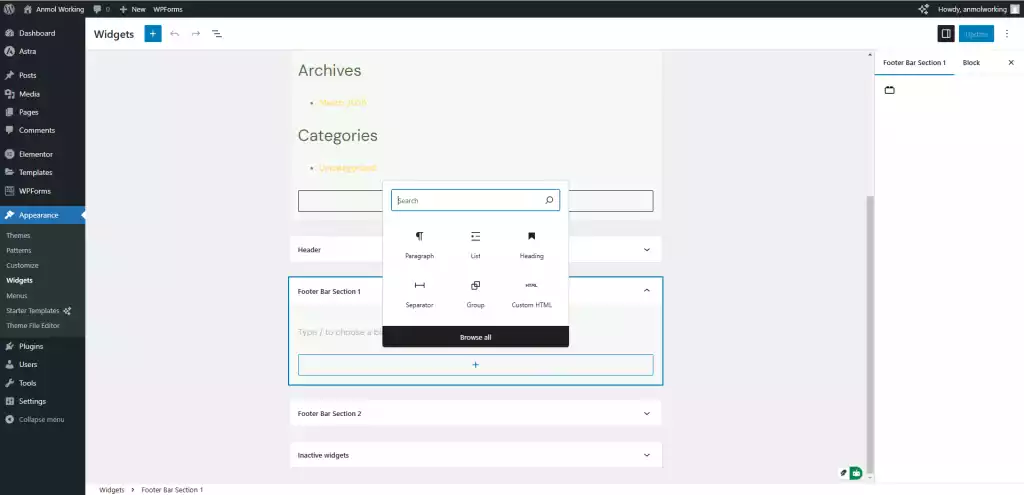
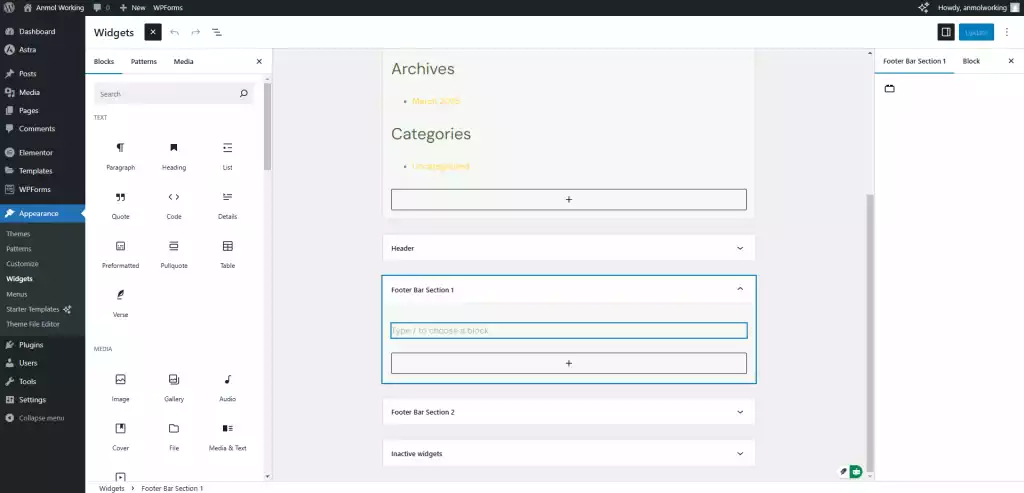
- You’ll see a few widgets here. Click on Browse All, you’ll see various widget options on the left side, such as Custom HTML, Text, Image, etc. To add a widget, simply click on it.
- Editing and customizing widgets depends on the content you want to add. Different widgets allow different options. For example, the Text Widget allows you to add formatted text, links, images, or even embed media (e.g., videos). To add it, click the Text widget in the footer area, enter your content, and click Save.
- You can also remove and render the widget. Click on the widget and you’ll see three dots on the right side of the bar. Select the Delete option to remove a widget, or drag it with the arrow to a new position to reorder within the same footer area.
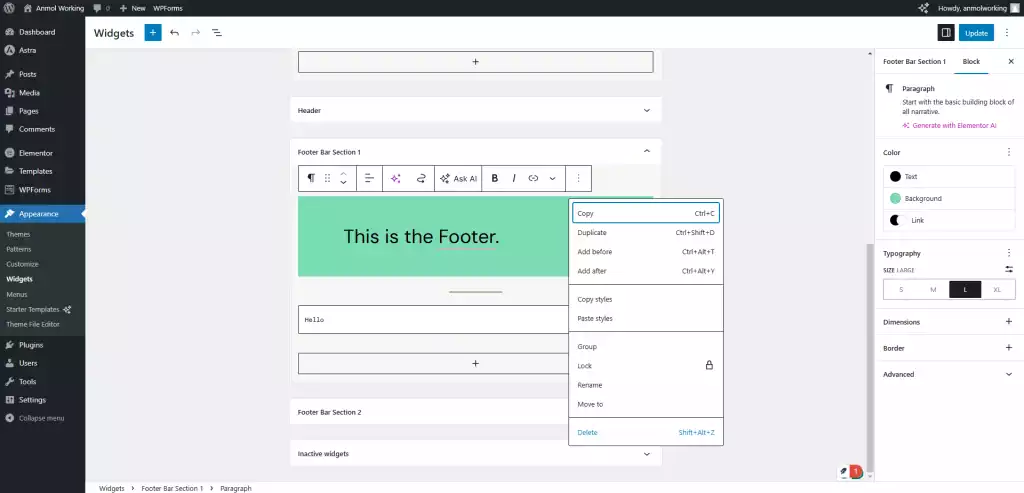
- After customizing your widgets, click Update to ensure your changes are applied.
With these simple steps, you can easily customize your footer using widgets.
3. Adding a Menu/Links to the Footer
Adding a menu to the footer depends on your theme. Some themes let you add menus to both the main navigation bar and the footer, while others may only allow one or neither.
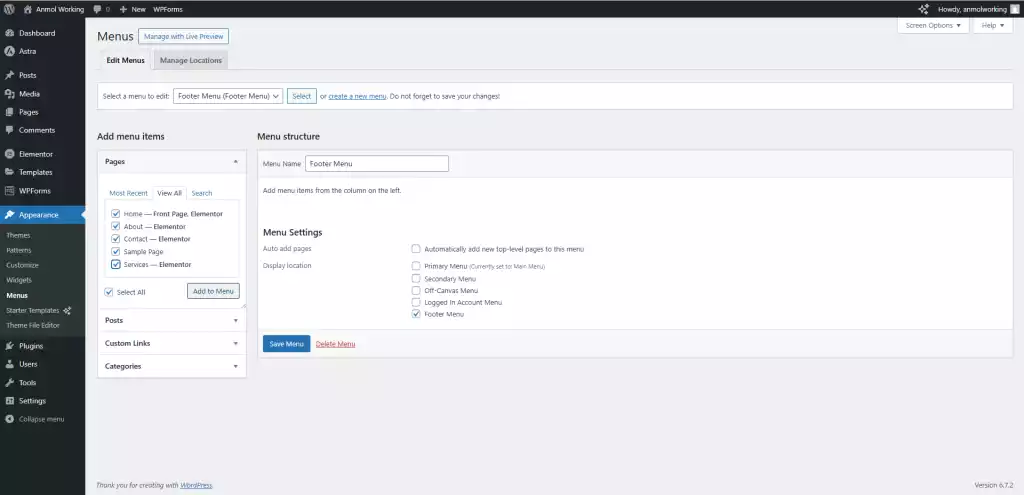
- First, you need to create a menu.
- To create a menu, log in to your WordPress dashboard and navigate to the Appearance > Menus section on the left sidebar.
- Click on Create a new menu and name it Footer Menu so that you can easily recognize it. Check the box next to the Footer Menu to assign the Menu Location. If you don’t see the Footer Menu option, that means your theme doesn’t support Footer Menus.
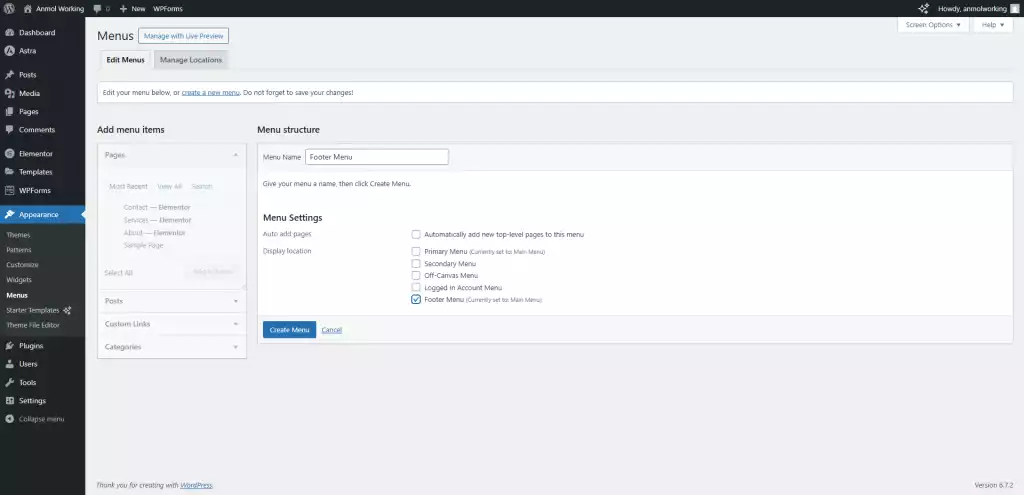
- Once done, click on the Create Menu button to save the changes.
- After creating a menu, you need to add links to it. In the Add menu items section, select the posts, pages, or categories you want to add to your footer menu and click Add to menu.
- You can also add custom links or other content, such as posts or WooCommerce pages, from the dropdown menu in the Add menu items section.
- After adding all the items, you can reorder them by dragging and dropping.
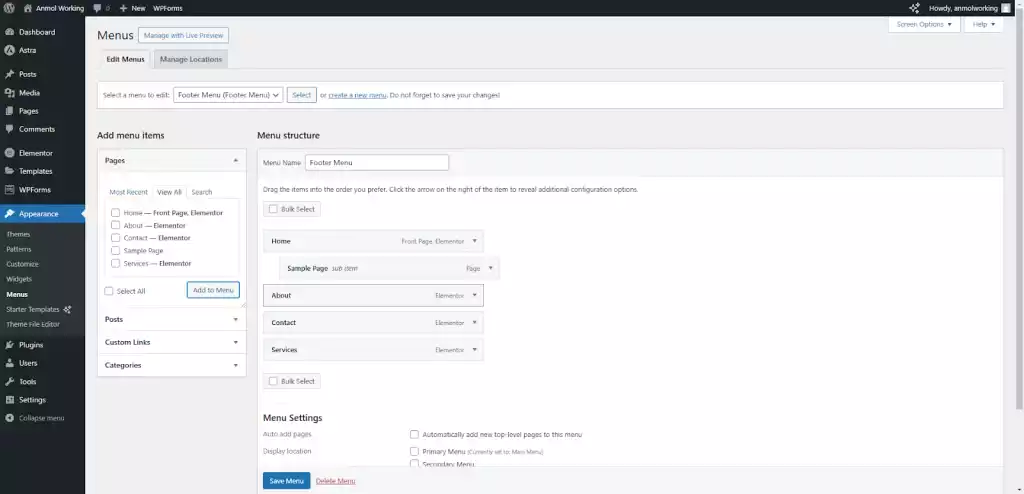
- Once you’ve set the order, click Save Menu to store your changes and display the menu in your footer.
- Now, navigate to the Appearance > Widgets section on the left sidebar and add the Navigation Menu widget to the footer widget area.
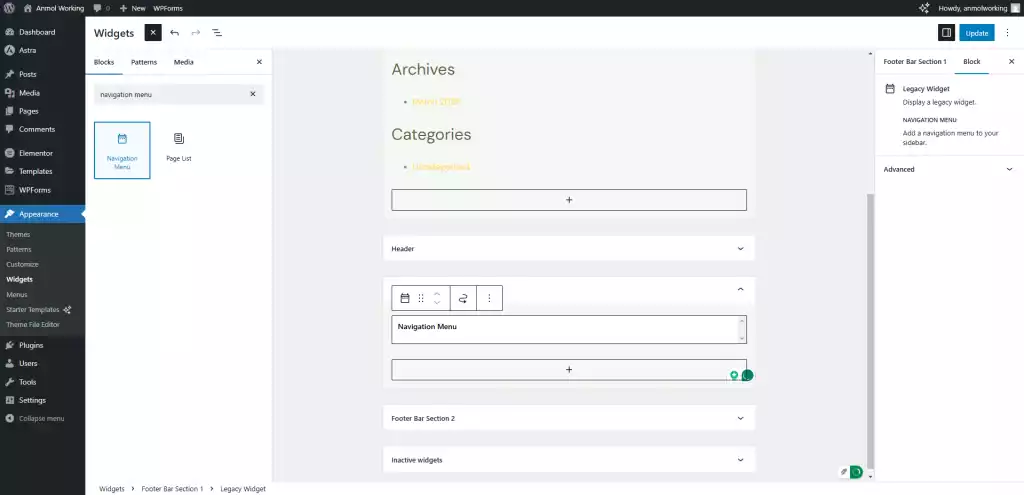
- In the widget settings, select the menu you created earlier (e.g., Footer Menu).
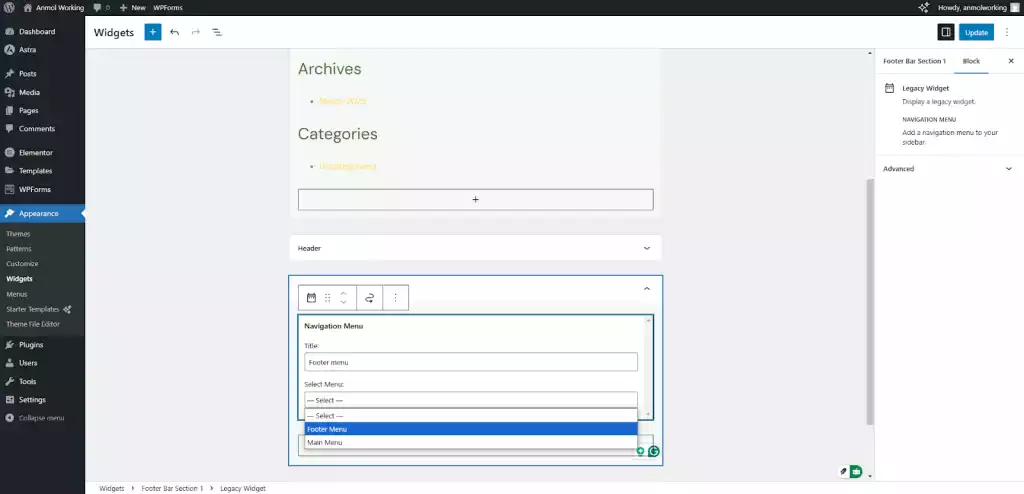
- Click Update to display your menu links in the footer.
We have successfully added a menu/links to the WordPress Footer.
4. Customizing Footer with the WordPress Theme Customizer
The WordPress Theme Customizer is an easy and safe way to update your site’s appearance, including the footer, without needing plugins or custom code. It lets you make changes in real time and see how they’ll look on different devices.
- To customize your Footer with the WordPress theme customizer, navigate to the Appearance > Customize section.
- In the Customizer, look for the Footer Builder option in the left sidebar and click it.
- Use the options to add widgets (like menus, and social icons) or edit the footer bar (change text, layout, etc.).
- Customize settings such as footer text, copyright info, layout (e.g., number of columns), and background colors or typography.
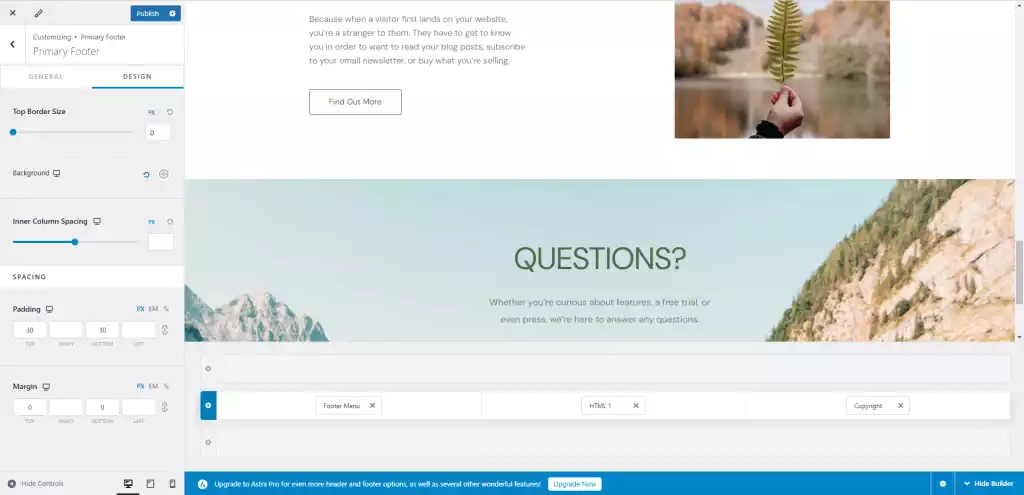
- See real-time changes and switch between desktop, tablet, and mobile views to ensure your footer looks great on all devices.
- Once you’re happy with your changes, click Publish to save and apply them to your site.
The Theme Customizer makes it simple to update your footer whenever you need to. Whether you’re adding a new widget, changing text, or adjusting the layout, it’s an easy process that doesn’t require coding. You can always tweak or update your footer as needed.
5. Creating a Custom Footer for Specific Pages
Custom footers can enhance user experience and help achieve goals like generating leads or making sales. A unique footer can improve conversions and maintain a cohesive design for landing, thank you, or checkout pages.
Here’s how to create custom footers for specific pages using the SeedProd plugin, a drag-and-drop builder that requires no coding.
- Install and activate the SeedProd plugin. You will need the Pro version for advanced customization.
- Go to SeedProd → Settings and enter your license key.
- Now, go to SeedProd → Pages and click Add New Landing Page.
- Choose a template, name your page, and click Save and Start Editing.
- In the builder, click the Sections tab. Select the Footer section and click the Plus icon to add it.
- Change background, font, images, logos, links, and social icons using the editor.
- Modify it for your page’s purpose, like a simple footer for checkout or a detailed one for blogs.
- Click Save and Publish to make your page live.
6. Adding Custom Code to Your WordPress Footer
Adding custom code to your WordPress footer can help you integrate external services, track data, or add specific features like analytics or chat widgets. There are a few ways to do this, depending on your experience level.
Modify the footer.php file (Manual Method)
- Navigate to the Appearance > Theme Editor or Connect your WordPress site using FTP Client and navigate to /wp-content/themes/yourtheme/.
- Find the footer.php file and open it.
- Locate the “Powered by WordPress” code and insert your custom code just before the closing </div> tag.
- Click on the Save Changes.
Add Custom Code using the WPCode Plugin
- In your WordPress dashboard, go to Plugins → Add New, search for WPCode, and click Install Now. Then click Activate.
- Go to Code Snippets → Header & Footer and paste your custom code (like Google Analytics) in the Footer box.
- Click Save Changes to apply your code.
Add Custom Code using the Insert Headers and Footers Plugin
- In your WordPress dashboard, go to Plugins → Add New, search for Insert Headers and Footers, click Install Now, and then click Activate.
- Go to Settings → Insert Headers and Footers, and paste your code in the Scripts in Footer section.

- Click Save to apply the code to your footer.
Conclusion
We’ve shared six easy ways to edit your WordPress footer, from removing the default “Powered by WordPress” text to adding custom widgets, menus, and code. Each method gives you the flexibility to adjust your footer to fit your needs and improve your site’s design and functionality.
Whether you’re a beginner or an experienced user, customizing your footer is simpler than ever. Use these tips to create a footer that enhances user experience and helps you reach your website goals.
Related Topics:


Related Tutorials